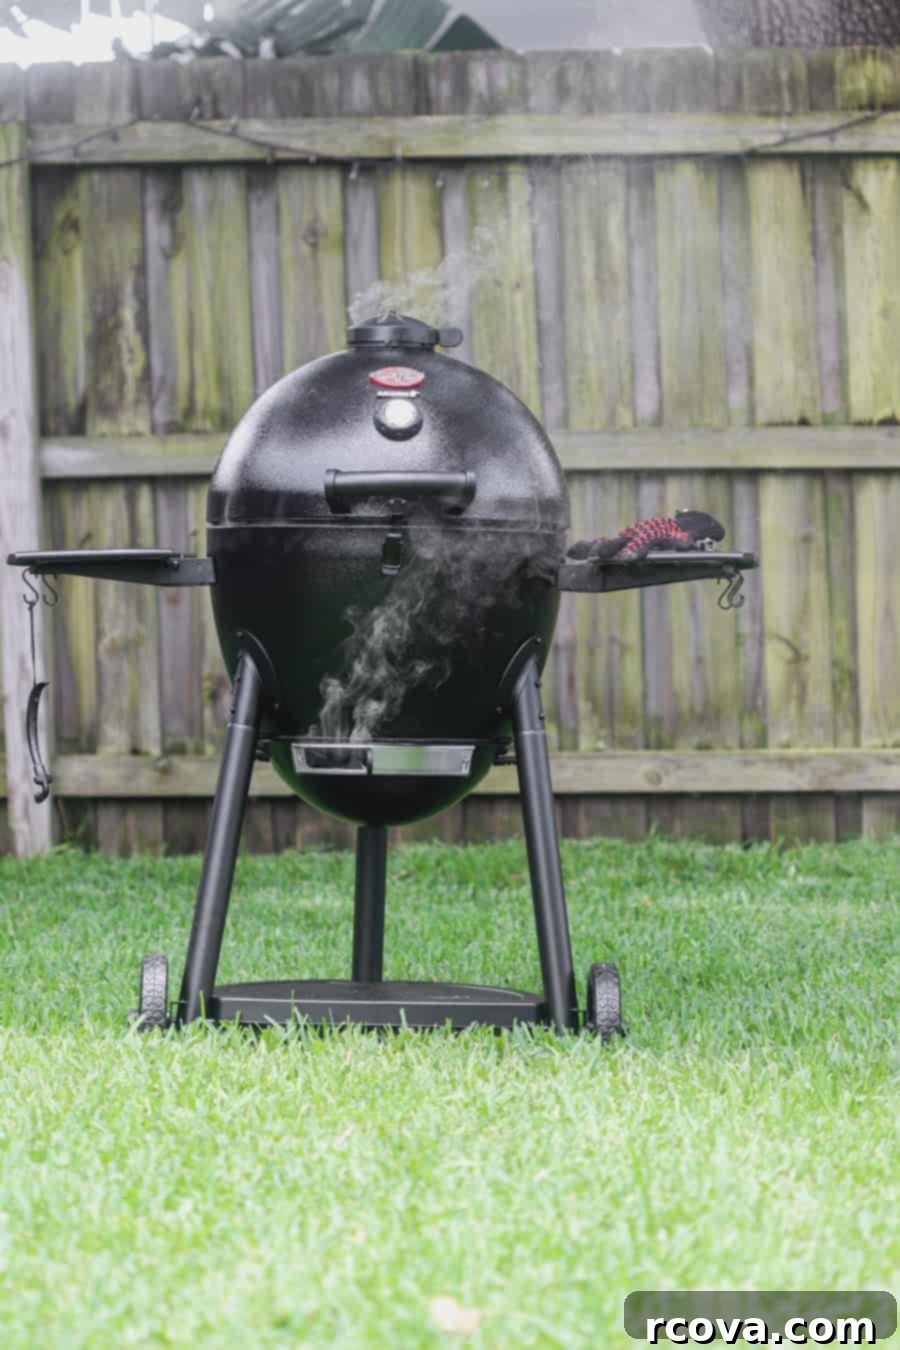
Mastering the Flames: Your Ultimate Guide to Charcoal Grilling
Embarking on the journey of charcoal grilling might seem daunting at first, especially with the apparent ease of gas grills. Yet, there’s a timeless satisfaction and an unparalleled flavor that only charcoal can deliver. Forget any intimidation; this comprehensive guide will transform you from a novice into a confident grill master, ready to harness the power of fire and smoke to create unforgettable meals. Whether you’re aiming for a perfectly seared steak or slow-cooked ribs, understanding your charcoal grill is the first step towards culinary triumph.
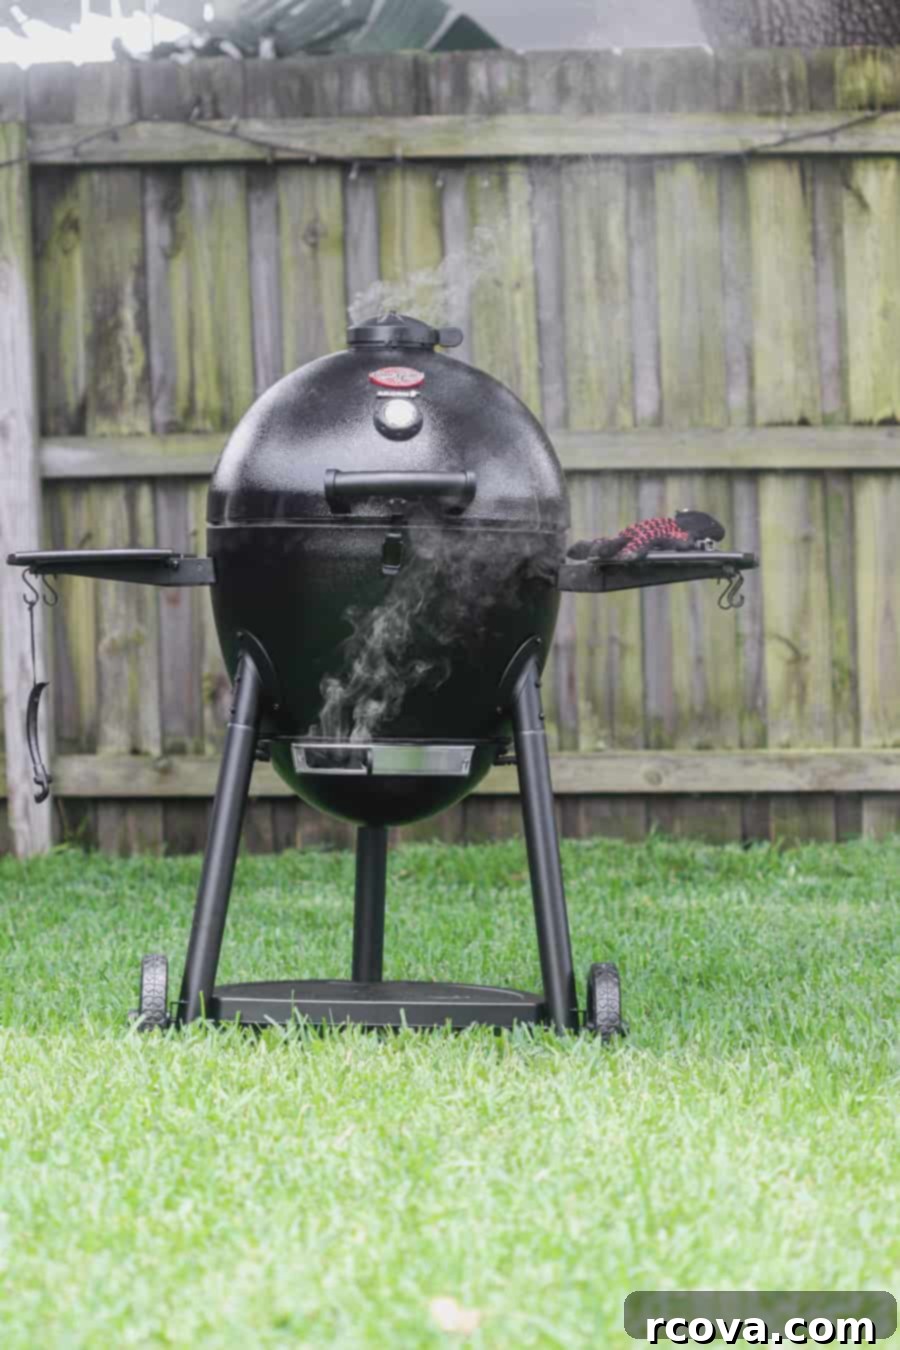
Why Choose Charcoal Grilling? The Flavor Difference
For many years, like a lot of aspiring home cooks, I was convinced a gas grill was the superior choice due to its perceived convenience. My husband, however, always championed the charcoal grill, insisting on its unmatched ability to impart that deep, smoky flavor we all crave during summertime cookouts. I often let him take the helm, admiring his effortless command over the coals. But then I realized I was missing out on half the fun – and the delicious results! Taking the time to learn the nuances of charcoal grilling, from controlling heat to understanding direct and indirect cooking zones, has not only boosted my confidence but also elevated our backyard BBQ game.
The allure of charcoal grilling lies primarily in the unique flavor profile it lends to food. Unlike gas grills, which cook with clean, odorless heat, charcoal briquettes or lump charcoal produce smoke as they burn. This smoke contains aromatic compounds that infuse your food with a complex, smoky, and often slightly sweet taste that simply can’t be replicated by propane or natural gas. This distinct char and flavor are what define true barbecue and elevate a simple meal into an experience.
Beyond flavor, charcoal grilling offers a traditional and engaging cooking experience. There’s a primal satisfaction in building a fire, managing the heat, and watching food transform over open flames. It’s a craft that, once mastered, opens up a world of culinary possibilities, allowing for both quick, high-heat searing and slow, low-temperature smoking. Don’t let the thought of managing coals deter you; with the right tools and knowledge, anyone can become proficient at charcoal grilling.
Essential Tools for Your Charcoal Grilling Success
Having the right equipment is crucial for a smooth and safe charcoal grilling experience. These are the tried-and-true tools that every charcoal enthusiast should have in their arsenal, making the process not only easier but also more enjoyable.
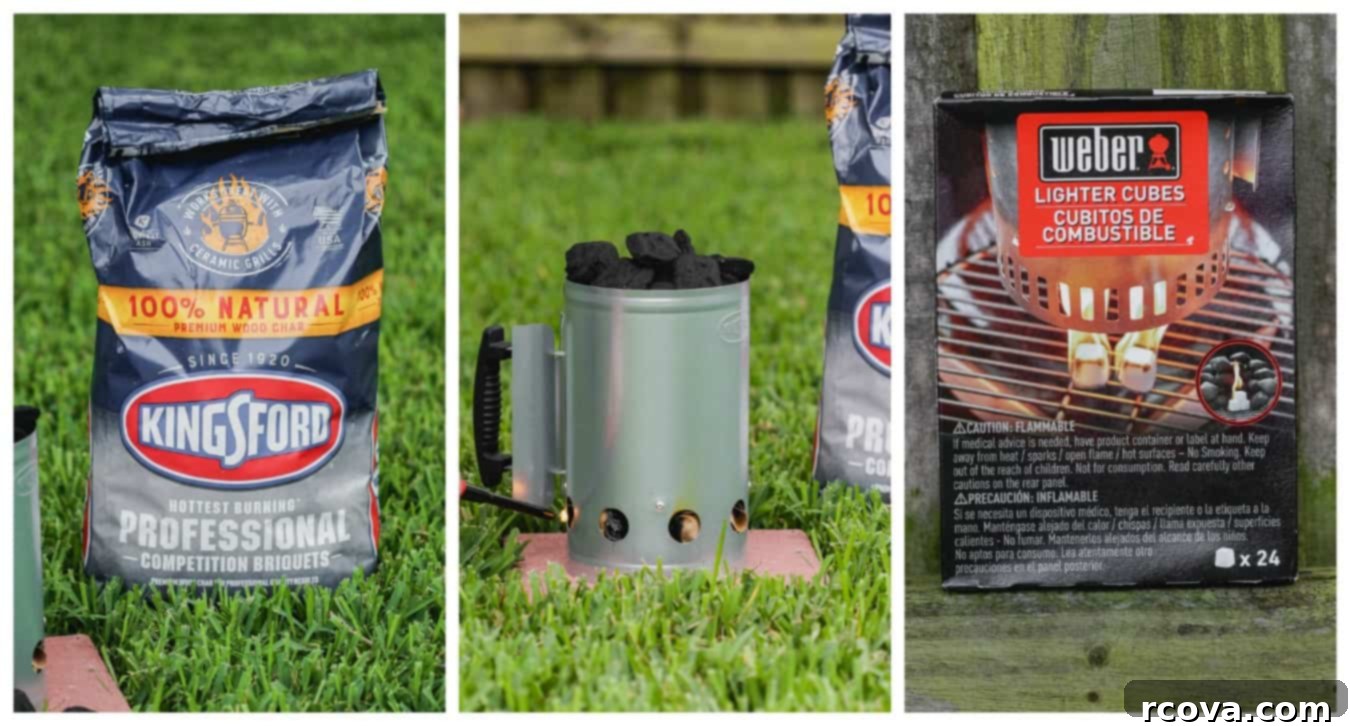
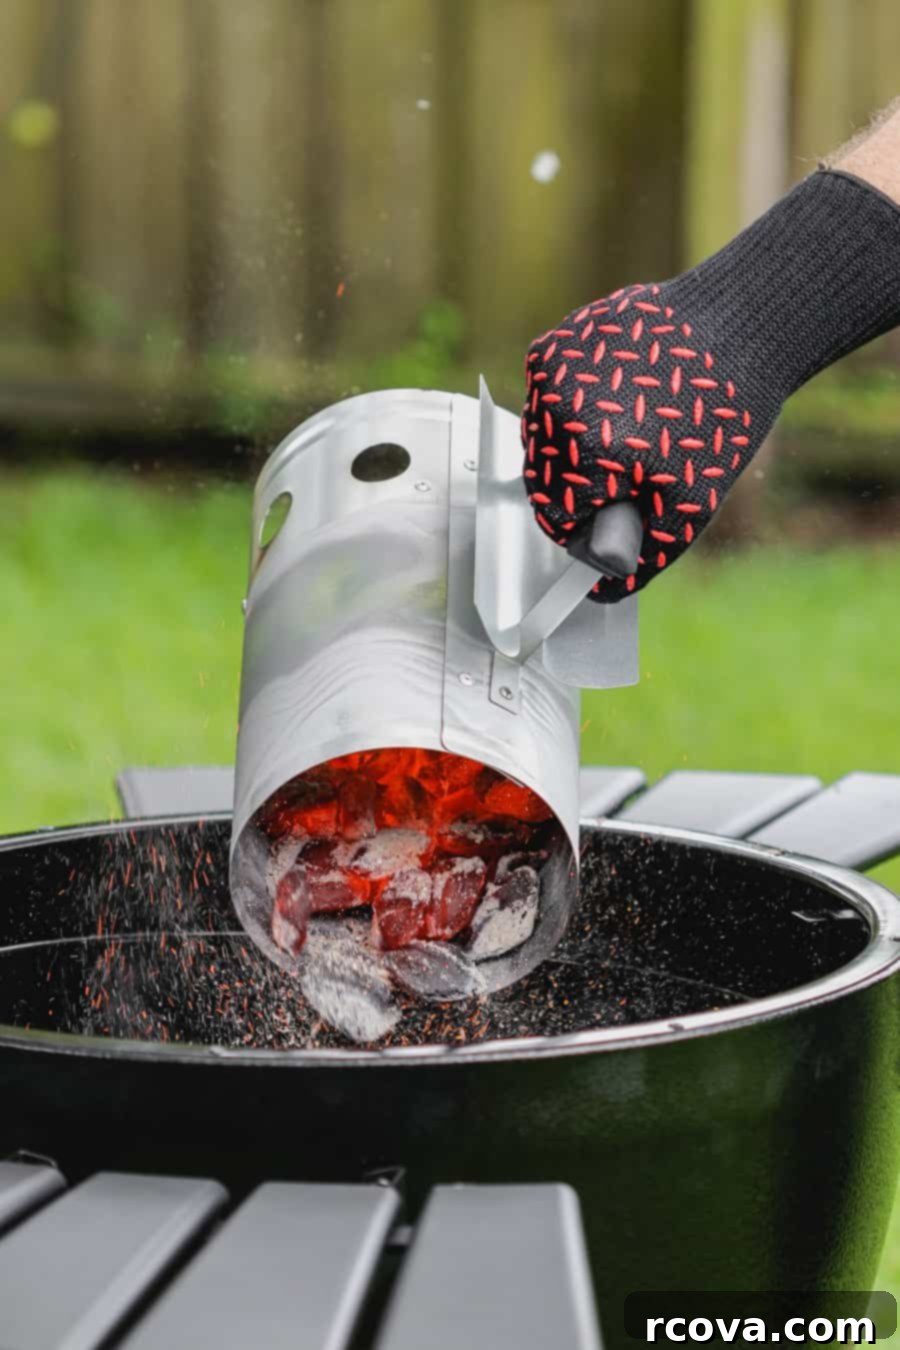
- Charcoal Chimney Starter: This is arguably the most indispensable tool for any charcoal griller. A chimney starter allows you to light your charcoal quickly and efficiently without the need for lighter fluid, which can impart an undesirable chemical taste to your food. It works by creating a strong upward draft, rapidly igniting the briquettes and getting them to an even, ash-covered state faster than traditional methods.
- Charcoal: The fuel for your fire! While many brands exist, we often rely on Kingsford Professional or Kingsford Original Charcoal for consistent results. However, feel free to experiment with different brands or types.
- Briquettes: These are uniformly shaped, burn consistently, and provide a steady heat, ideal for longer cooks and beginners. They typically contain binders and fillers.
- Lump Charcoal: Made from pure hardwood, lump charcoal burns hotter and cleaner, offering a more authentic smoky flavor. It’s irregular in shape and can be pricier, but many grill masters prefer it for its natural qualities.
- Fire Starters: To ignite your chimney starter, you’ll need something to get the initial flame going. Options include:
- Crumpled Newspaper or Brown Bag: An eco-friendly and readily available option.
- Lighter Cubes (Fire Starter Cubes): These odorless, non-toxic cubes are highly effective and burn longer than newspaper, ensuring your coals catch fire.
- Long-Reach Lighter: A long-handled lighter is essential for safely igniting your fire starters without getting too close to the flame.
- Heat-Resistant Insulated Gloves: Safety first! A good pair of these gloves is paramount for safely handling hot chimney starters, rearranging coals, or adjusting hot grill grates without the risk of burns.
- Long-Handled Metal Tongs: Indispensable for moving hot coals, adjusting their distribution, and safely placing or turning food on the grill. While not strictly necessary for starting, they are vital for managing your fire.
- Grill Brush: Keeping your cooking grates clean is key to preventing food from sticking and ensuring consistent heat transfer. A sturdy grill brush will make this task easy before and after each use.
- Reliable Grill Thermometer and Meat Thermometer: While many grills have built-in lid thermometers, an accurate digital meat thermometer is crucial for ensuring food safety and perfect doneness. A separate grill grate thermometer can also help monitor ambient cooking temperature more precisely.
How to Start a Charcoal Grill: A Step-by-Step Guide for Beginners
Getting your charcoal grill ready is a straightforward process once you understand the steps. Follow this guide, and you’ll be grilling in no time.
Step 1: Plan Your Heat and Measure Your Charcoal
The first step to successful charcoal grilling is to determine the amount of charcoal briquettes needed, which directly correlates to the desired cooking temperature. Different foods require different heat levels, and a chimney starter makes measuring precise.
- Low Heat (approx. 250°F – 350°F): Ideal for slow cooking large, tender cuts like ribs, whole chickens, briskets, or roasts. For this, you’ll typically need about 1.5-2 quarts of charcoal, which is roughly 1/3 of a standard chimney starter.
- Medium Heat (approx. 350°F – 450°F): Perfect for grilling chicken pieces (breasts, drums, wings), grilled vegetables, and fish. This requires a moderate amount of charcoal, usually 3-4.5 quarts, or a little over half a chimney starter.
- High Heat (approx. 450°F – 550°F): Essential for searing steaks, pork chops, and other thin cuts of meat that benefit from a quick, intense burst of heat to create a beautiful crust. For a hot grill, you’ll need a full chimney starter, which holds approximately 6 quarts of charcoal (around 100 briquettes).
By understanding these guidelines, you can tailor your charcoal quantity to the specific demands of your recipe, ensuring optimal cooking conditions from the start.
Step 2: Fill a Chimney Starter with Charcoal
Now that you know how much charcoal you need, it’s time to set up your chimney starter.
- First, place the empty chimney starter directly onto the lower grate of your grill. Some grill designs might have a designated charcoal bowl for this purpose.
- Next, tightly wad up two or three sheets of newspaper, or use one or two fire starter cubes. Place these under the chimney starter, directly on the charcoal grate. Ensure they are positioned well to ignite the bottom coals effectively.
- Finally, fill the chimney starter with the measured amount of charcoal briquettes. Stacking them neatly will help the heat distribute evenly.
Step 3: Light the Coals
This is where the magic begins! With your chimney starter loaded, it’s time to ignite the charcoal.
- Using your long-reach lighter, carefully ignite the crumpled newspaper or fire starter cubes placed beneath the chimney. The flames will quickly climb through the chimney, igniting the charcoal from the bottom up.
- Keep the grill lid open during this entire process. This provides ample airflow for the charcoal to catch and burn efficiently.
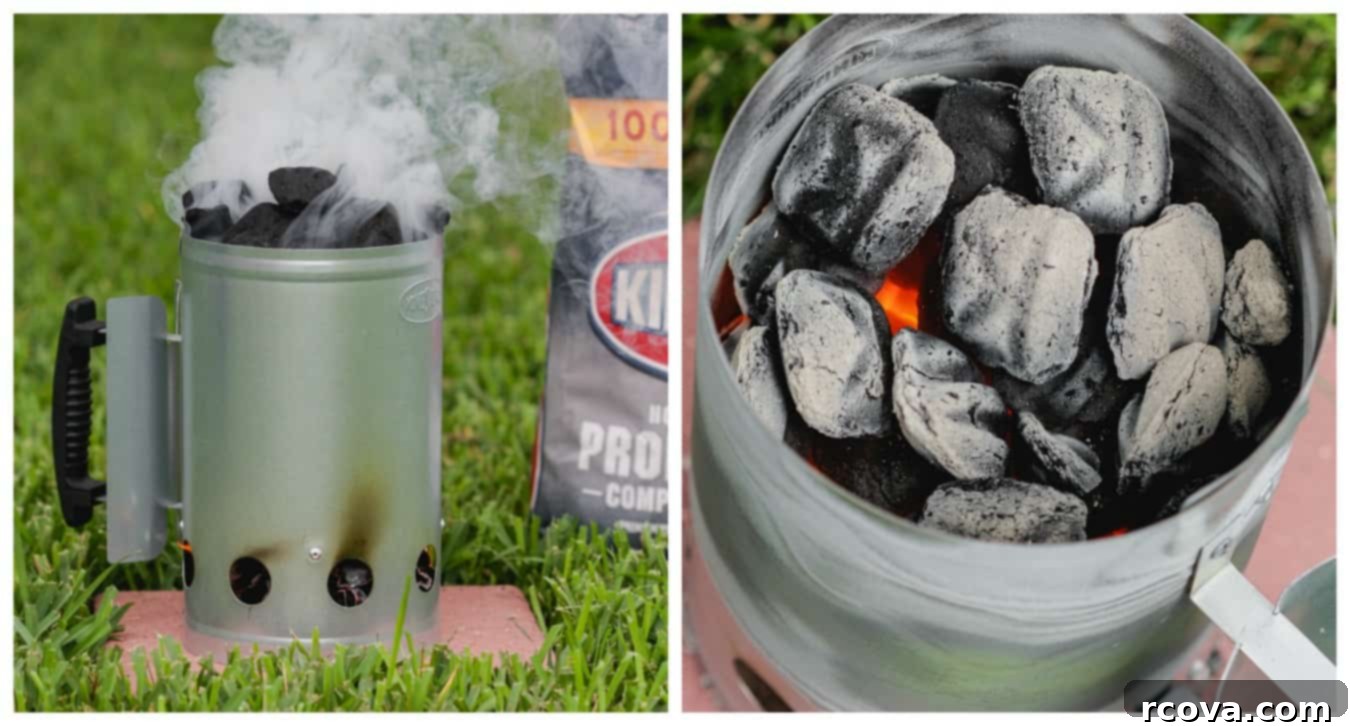
- Allow the charcoal to burn for approximately 12-15 minutes, or until the top layer of briquettes is lightly covered with a thin, grey ash. This visual cue indicates that the coals are hot and ready for grilling. They will glow orange from the bottom up.
- Once ready, put on your heat-resistant insulated gloves. Carefully grasp the handle of the chimney starter and pour the hot, ash-covered coals onto the lower grate or charcoal bowl of your grill. Be mindful of sparks and place the empty chimney starter on a non-combustible surface to cool.
Grilling with Charcoal: Direct vs. Indirect Heat and Temperature Control
Once your coals are glowing hot, how you arrange them determines your cooking method. Understanding direct and indirect heat is fundamental to mastering your charcoal grill.
Direct Heat Grilling
Grilling directly over hot coals involves placing food directly above the heat source. This method is perfect for foods that cook quickly (less than 20 minutes) and benefit from a good sear and those coveted grill marks. Think steaks, burgers, thin-cut pork chops, sausages, and vegetables that you want to char slightly.
To set up for direct heat, after pouring your hot coals, spread them out in a single, even layer across the entire charcoal grate. This creates a uniform zone of intense heat. Carefully place your cooking grates back on, close the lid, and let the grill preheat to your desired temperature (refer to the heat guide above). Make sure your grates have been cleaned and lightly oiled to prevent sticking.
Indirect Heat Grilling and the Two-Zone Fire
For thicker cuts of meat, delicate foods like fish, or items that require longer cooking times (more than 20 minutes) without drying out or burning, indirect heat is your best friend. This method involves cooking food adjacent to, rather than directly over, the heat source.
To create an indirect heat setup (often called a “two-zone fire”), arrange your lit coals on only one side of the charcoal grate – typically about half of it – creating a hot zone and a cooler zone. You can sear your food over the direct heat zone for a minute or two to achieve a beautiful crust, then move it to the cooler, indirect side to finish cooking slowly and evenly. This technique ensures thorough cooking without charring the exterior.
- Regardless of your charcoal arrangement, always place the cooking grates into position after arranging the coals.
- Close the lid of your grill.
- Ensure all grill vents (top and bottom) are open to allow proper airflow and temperature buildup.
- Wait 10-12 minutes for the grill to heat up and stabilize at your desired temperature. Use a reliable grill thermometer to monitor this.
- Before placing food, ensure your grates are clean and have been oiled (using a paper towel dipped in high-smoke-point oil and held with tongs) to prevent food from sticking.
- Place your food onto the cooking grate according to your recipe’s instructions and the chosen heat zone.
Mastering Temperature Control with Vents
One of the most powerful tools for controlling temperature on a charcoal grill is the vent system, typically located at the top and bottom of the grill. These vents regulate the airflow, which in turn controls the intensity of the burn.
- To Increase Temperature: Fully open both the bottom and top vents. More oxygen feeding the coals means a hotter, more vigorous burn.
- To Decrease Temperature: Partially close the bottom vent to restrict oxygen flow to the coals. You can also partially close the top vent, but generally, the bottom vent has a more significant impact on temperature reduction. Leaving the top vent slightly open allows smoke and hot air to escape, preventing stagnation.
- For Very Low Heat (Smoking): Keep the bottom vent almost entirely closed (a tiny crack) and the top vent barely open.
- If Temperature Isn’t Increasing: If you need additional heat and your vents are fully open, it might be time to add a few more hot coals. Use your long-handled metal tongs to safely place them among the existing coals.
Consistent temperature monitoring with a good grill thermometer is key. Don’t solely rely on the lid thermometer, as it often measures the air temperature at the top of the grill, which can be different from the cooking surface.
And that is it! With these techniques, you’re well on your way to mastering your charcoal grill and impressing everyone with your perfectly cooked, smoky creations!
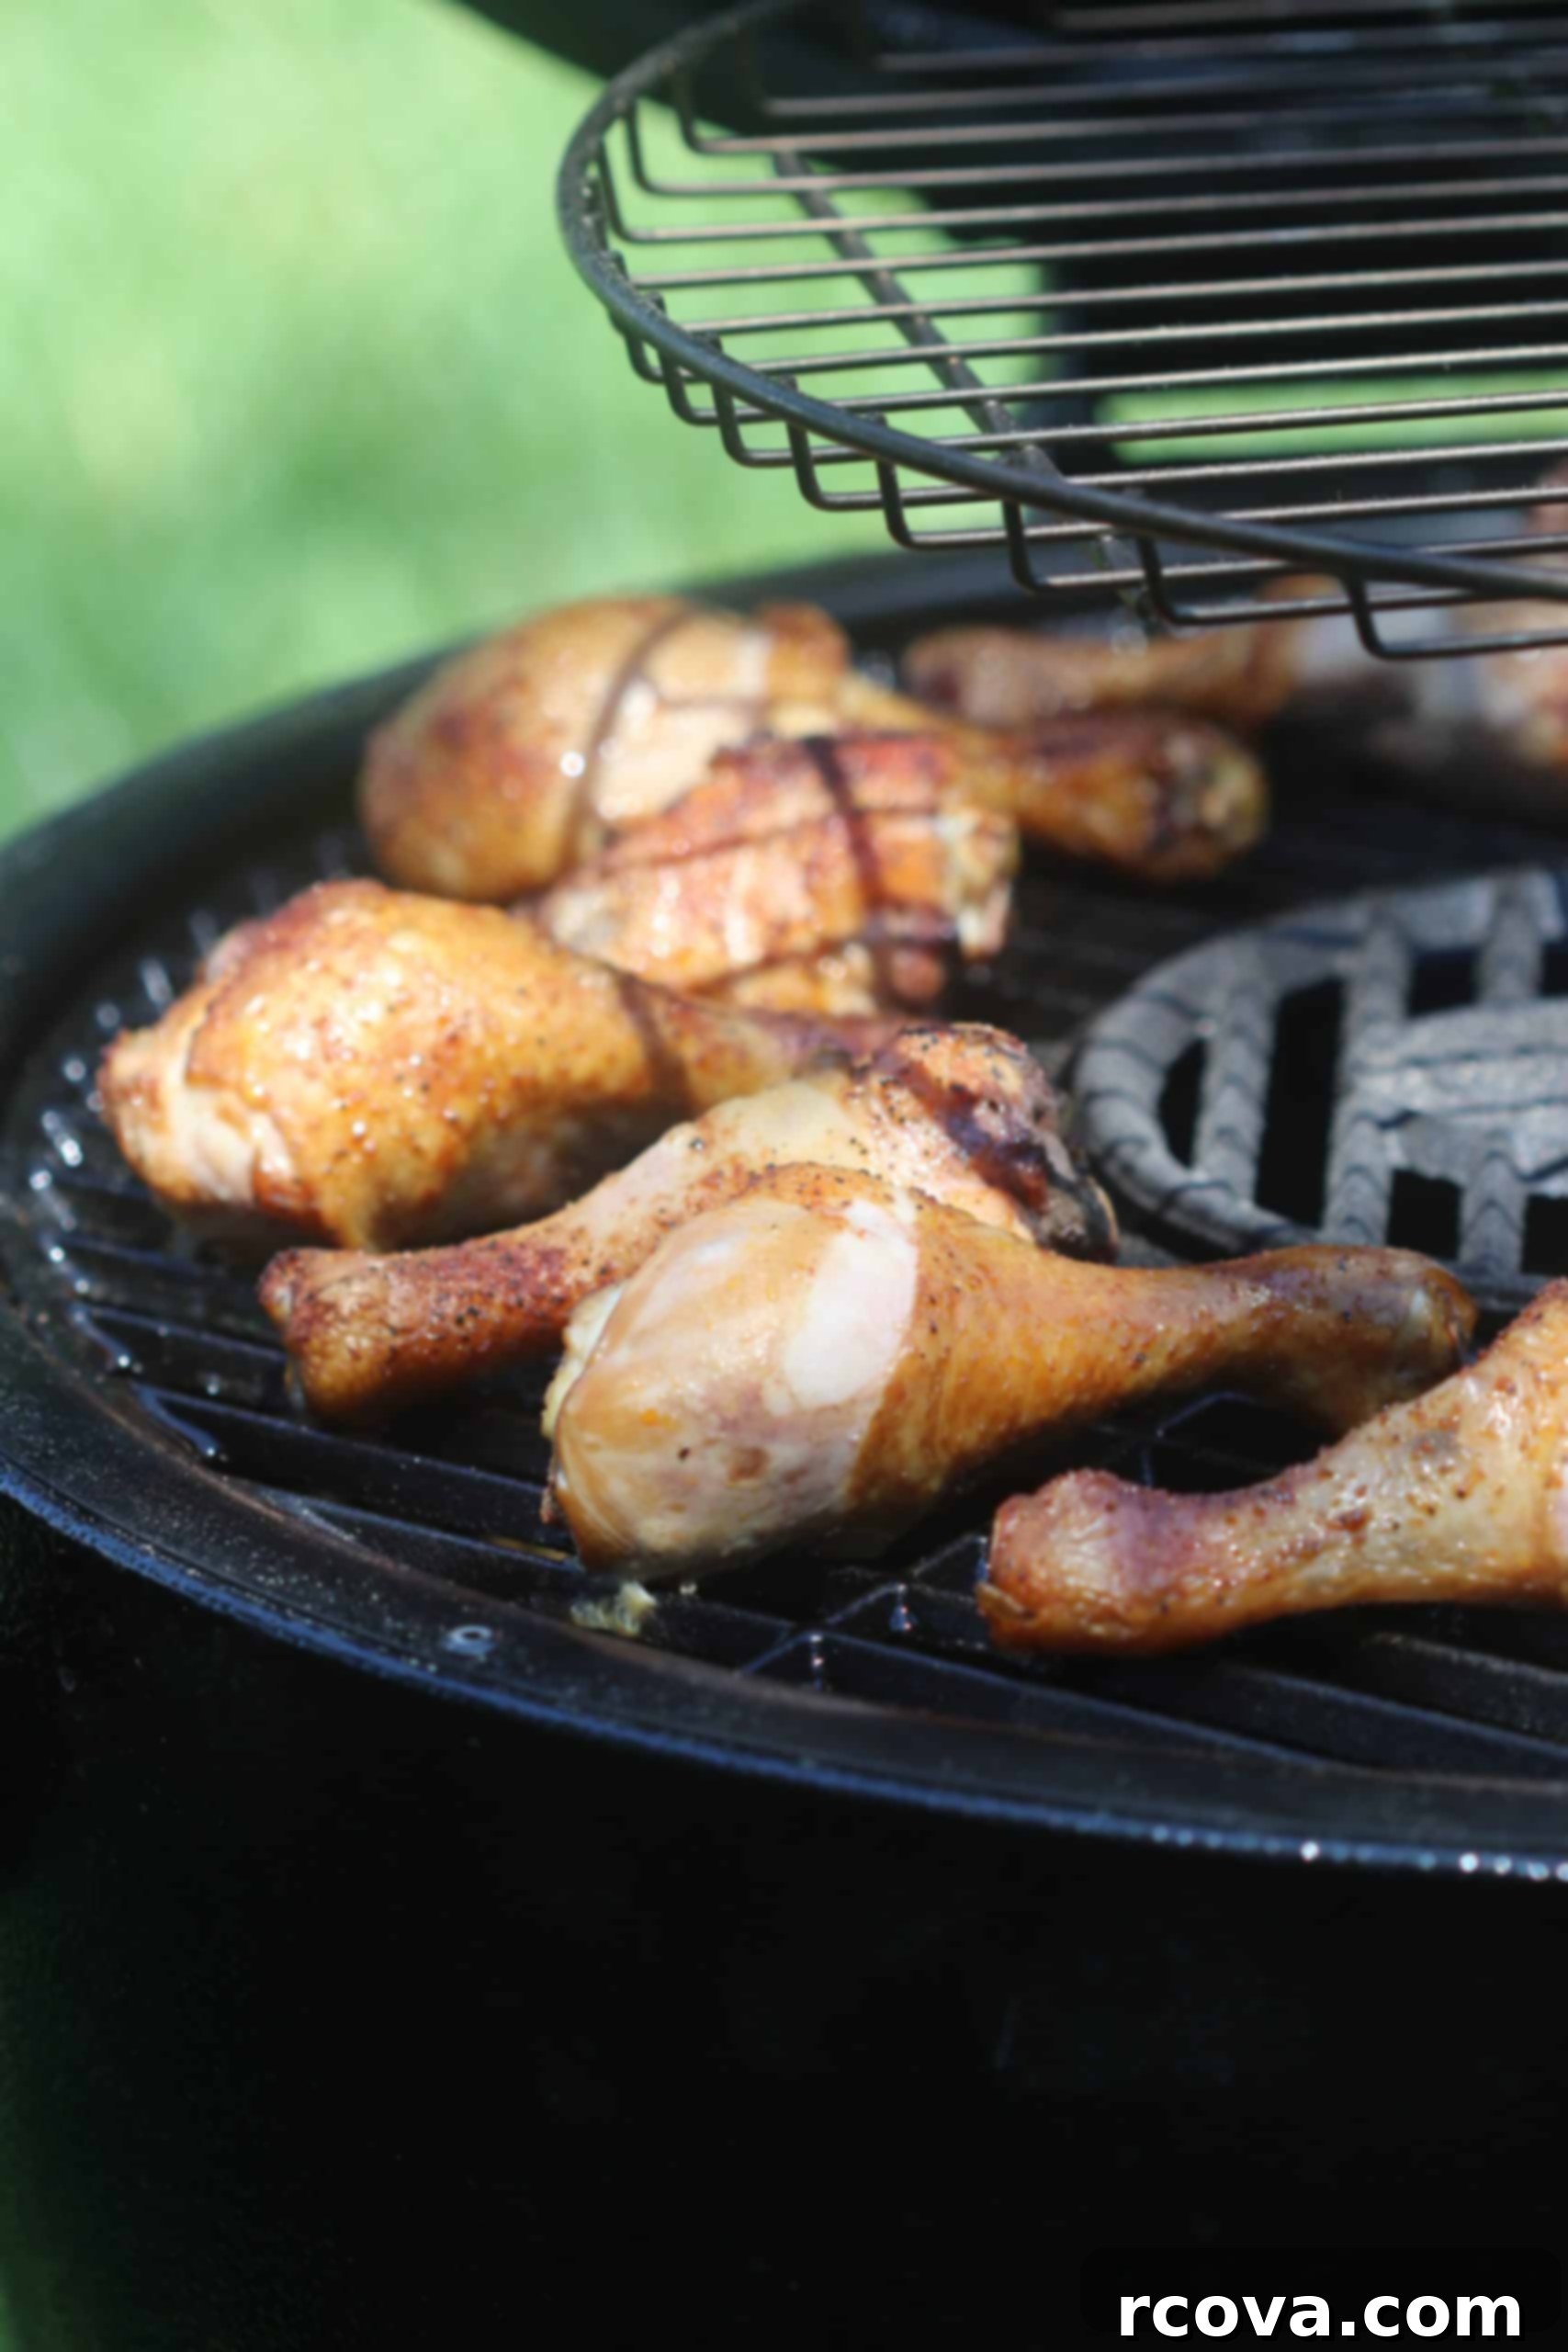
Recipes to Ignite Your Charcoal Grill
Now that you’re equipped with the knowledge and confidence to command your charcoal grill, it’s time to put your skills to the test. Here are some fantastic recipes that will showcase the incredible flavor only charcoal can provide:
- Habanero Grilled Pork Chops
- Italian Sausage + Pepper Foil Packs
- Grilled Pineapple Pizza with Jalapeños
- Cilantro Lime Chicken Wings
- Whipped Feta Turkey Burgers
This post may contain affiliate links. Purchasing through them helps support this website. Please see the disclaimer here.
