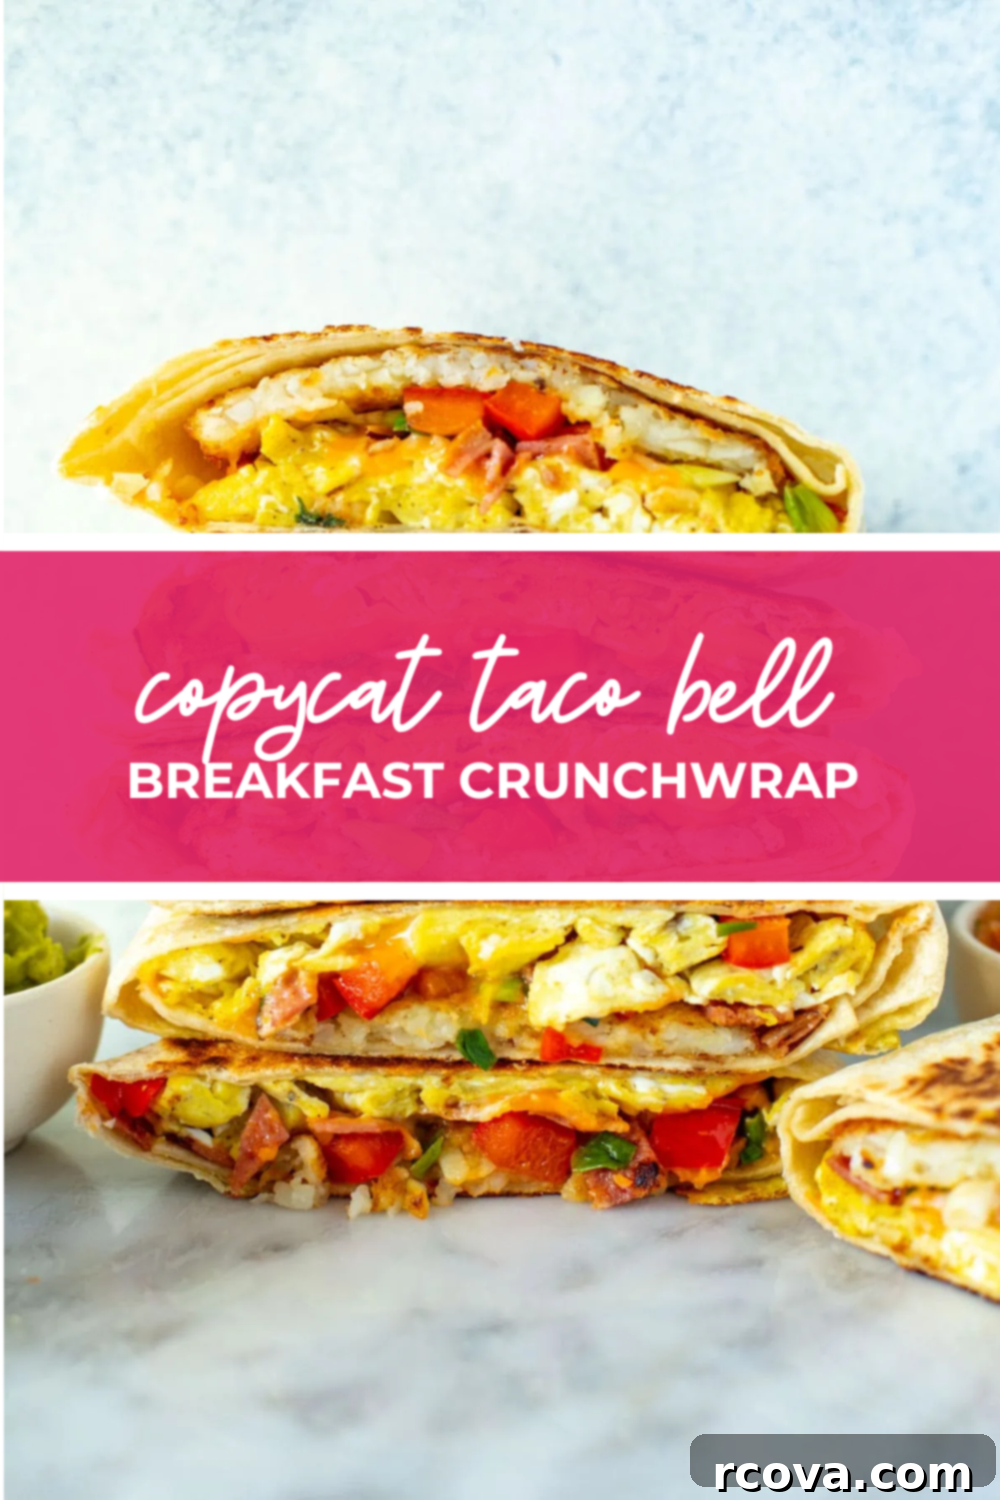
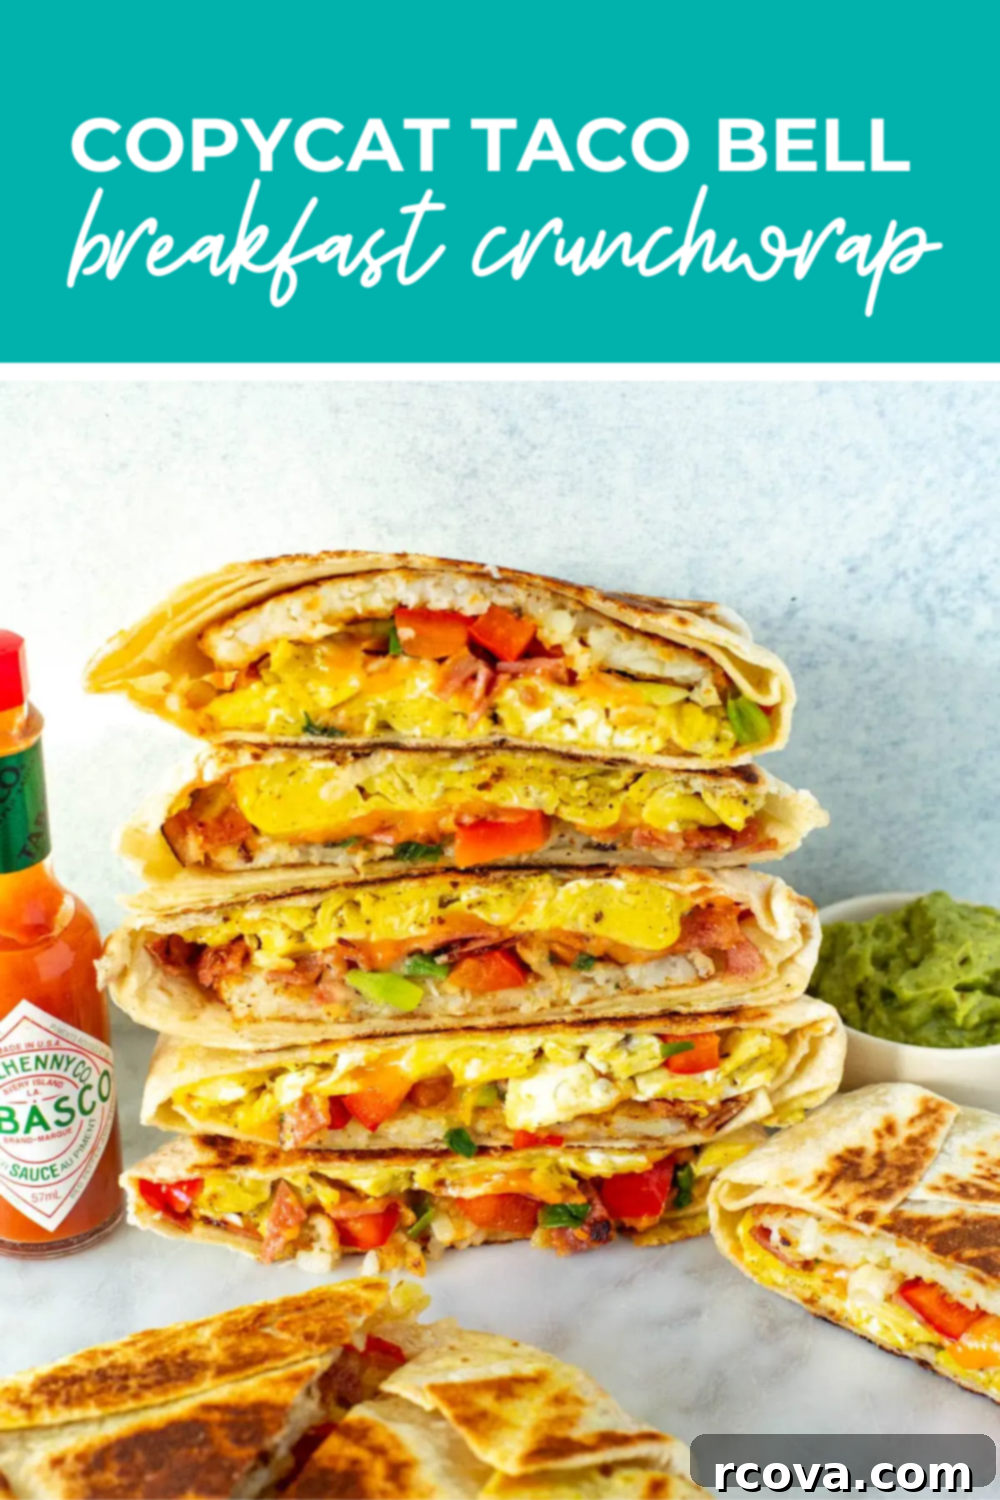
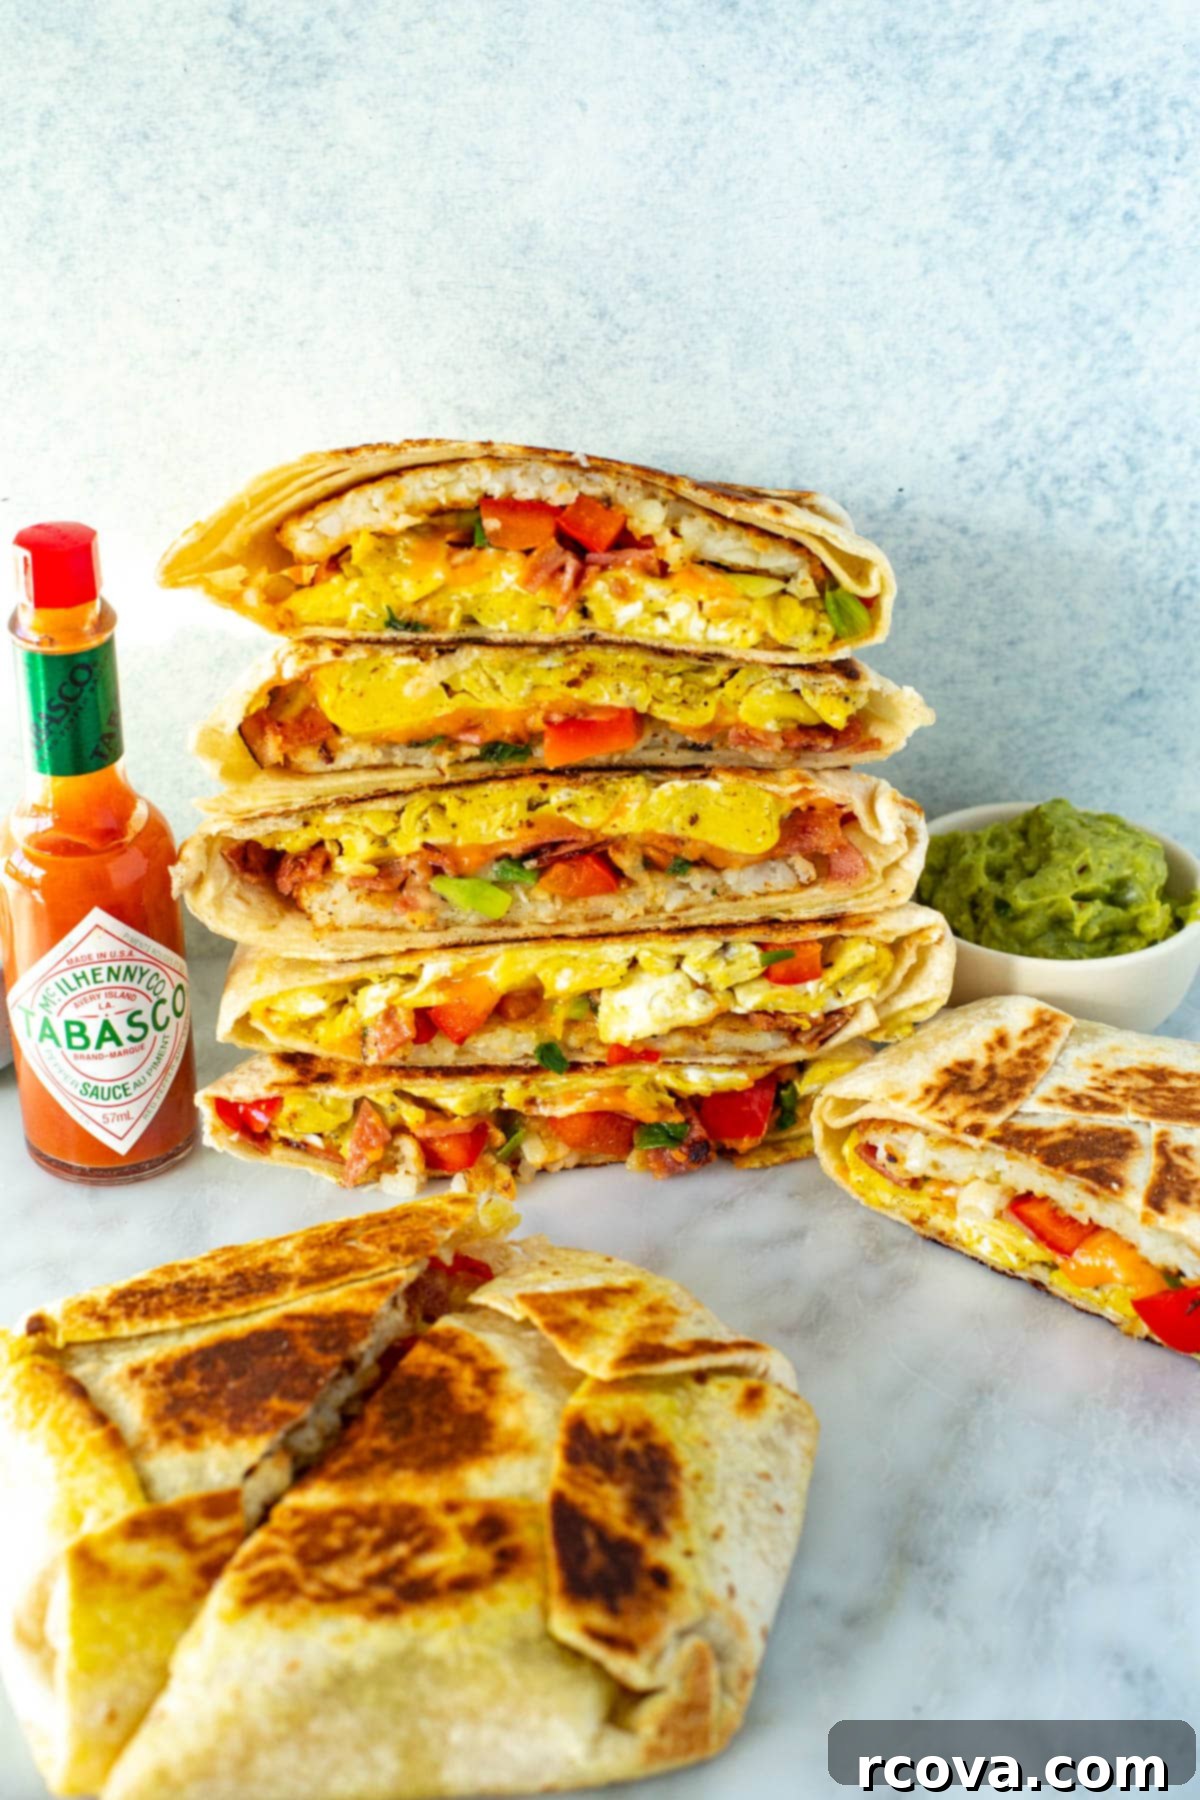
The Ultimate Homemade Breakfast Crunchwrap: A Delicious Taco Bell Copycat Recipe
Make your own restaurant-quality Breakfast Crunchwrap at home! This irresistible recipe features fluffy scrambled eggs, crispy hashbrowns, savory bacon, and melty cheddar cheese, all wrapped in a perfectly toasted tortilla. They’re also incredibly freezer-friendly, making them ideal for quick and easy meal prep!
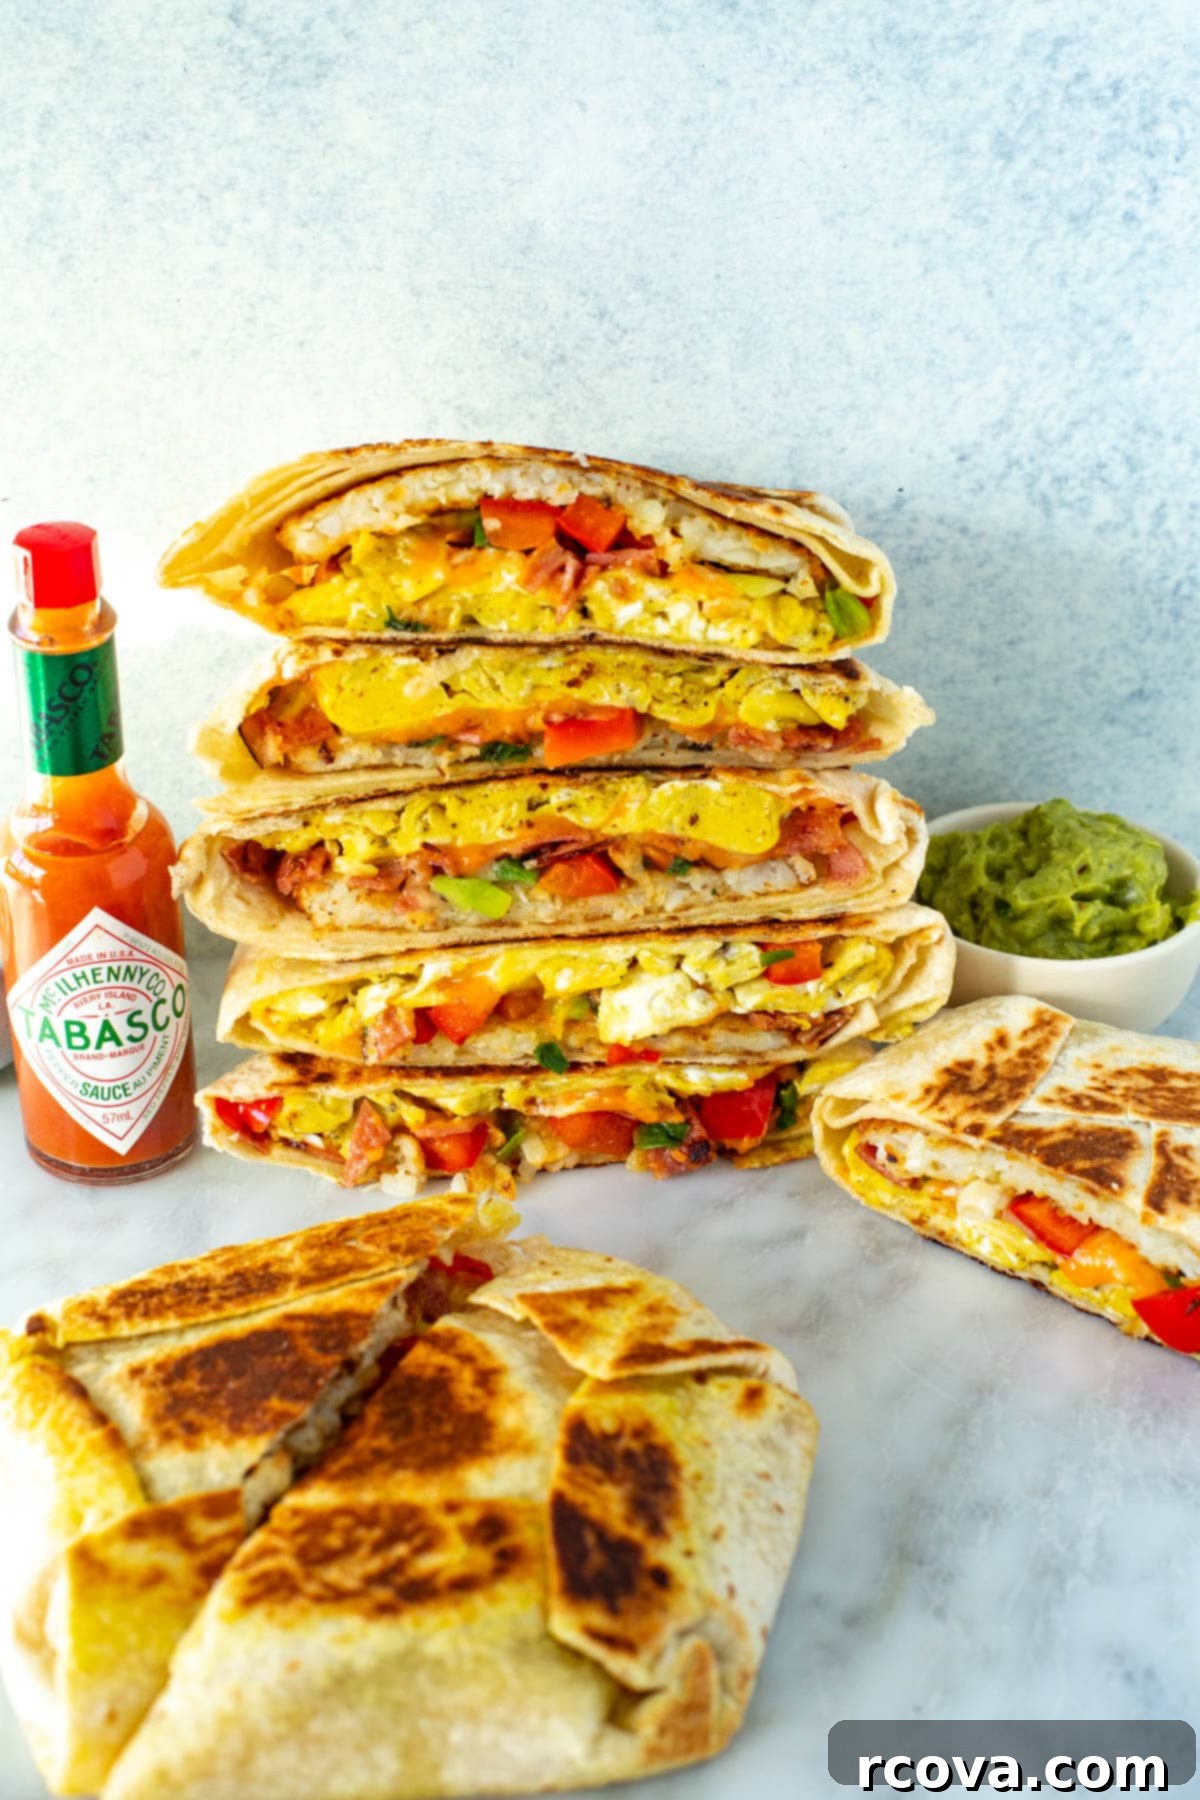
These homemade breakfast crunchwraps have become an absolute morning obsession in my kitchen! I honestly can’t get enough of them. Imagine waking up to a ready-to-go, incredibly satisfying breakfast that tastes even better than your favorite drive-thru version. I currently have one left in the freezer, and I’m practically drooling just thinking about it. My unique take on this classic goes above and beyond Taco Bell’s original, as I’ve managed to sneak in some fresh veggies, which, if you ask me, truly amplify the flavor profile and add a wonderful textural contrast. Get ready to ditch the fast-food line and elevate your breakfast game with this easy, customizable, and incredibly delicious recipe!
Why You’ll Absolutely Love This Homemade Breakfast Crunchwrap Recipe
- Perfect Copycat Flavor: Say goodbye to those early morning trips to the drive-thru! This breakfast crunchwrap recipe delivers an authentic taste experience that rivals, and some might even say surpasses, Taco Bell’s popular version. You get all the comfort and flavor you crave, right from your own kitchen.
- Incredibly Freezer-Friendly: One of the best features of these crunchwraps is how well they freeze. You can whip up a big batch ahead of time, store them in your freezer, and enjoy a delicious, warm breakfast whenever you need it. Just a quick reheat in a toaster oven or skillet, and they’ll taste as fresh and crispy as the day you made them – perfect for busy mornings or on-the-go meals.
- Customizable and Versatile: This recipe is a fantastic canvas for personalization. Whether you want to add extra veggies, switch up the protein, or experiment with different cheeses and sauces, it’s incredibly adaptable to your dietary preferences and taste buds.
- Budget-Friendly and Cost-Effective: Making your own breakfast crunchwraps at home is significantly cheaper than buying them from a fast-food restaurant. You control the ingredients, avoid markups, and can stretch your grocery budget further by preparing meals in bulk.
- Wholesome and Fresh Ingredients: Unlike many fast-food options, you know exactly what goes into your homemade crunchwrap. Using fresh eggs, quality bacon, and vibrant vegetables ensures a more nutritious and satisfying meal to start your day.
FREE Budget-Friendly Meal Plan!
Save thousands of dollars on food every year with my free budget-friendly meal plan ebook.
Ingredients and Smart Substitutions for Your Homemade Crunchwrap
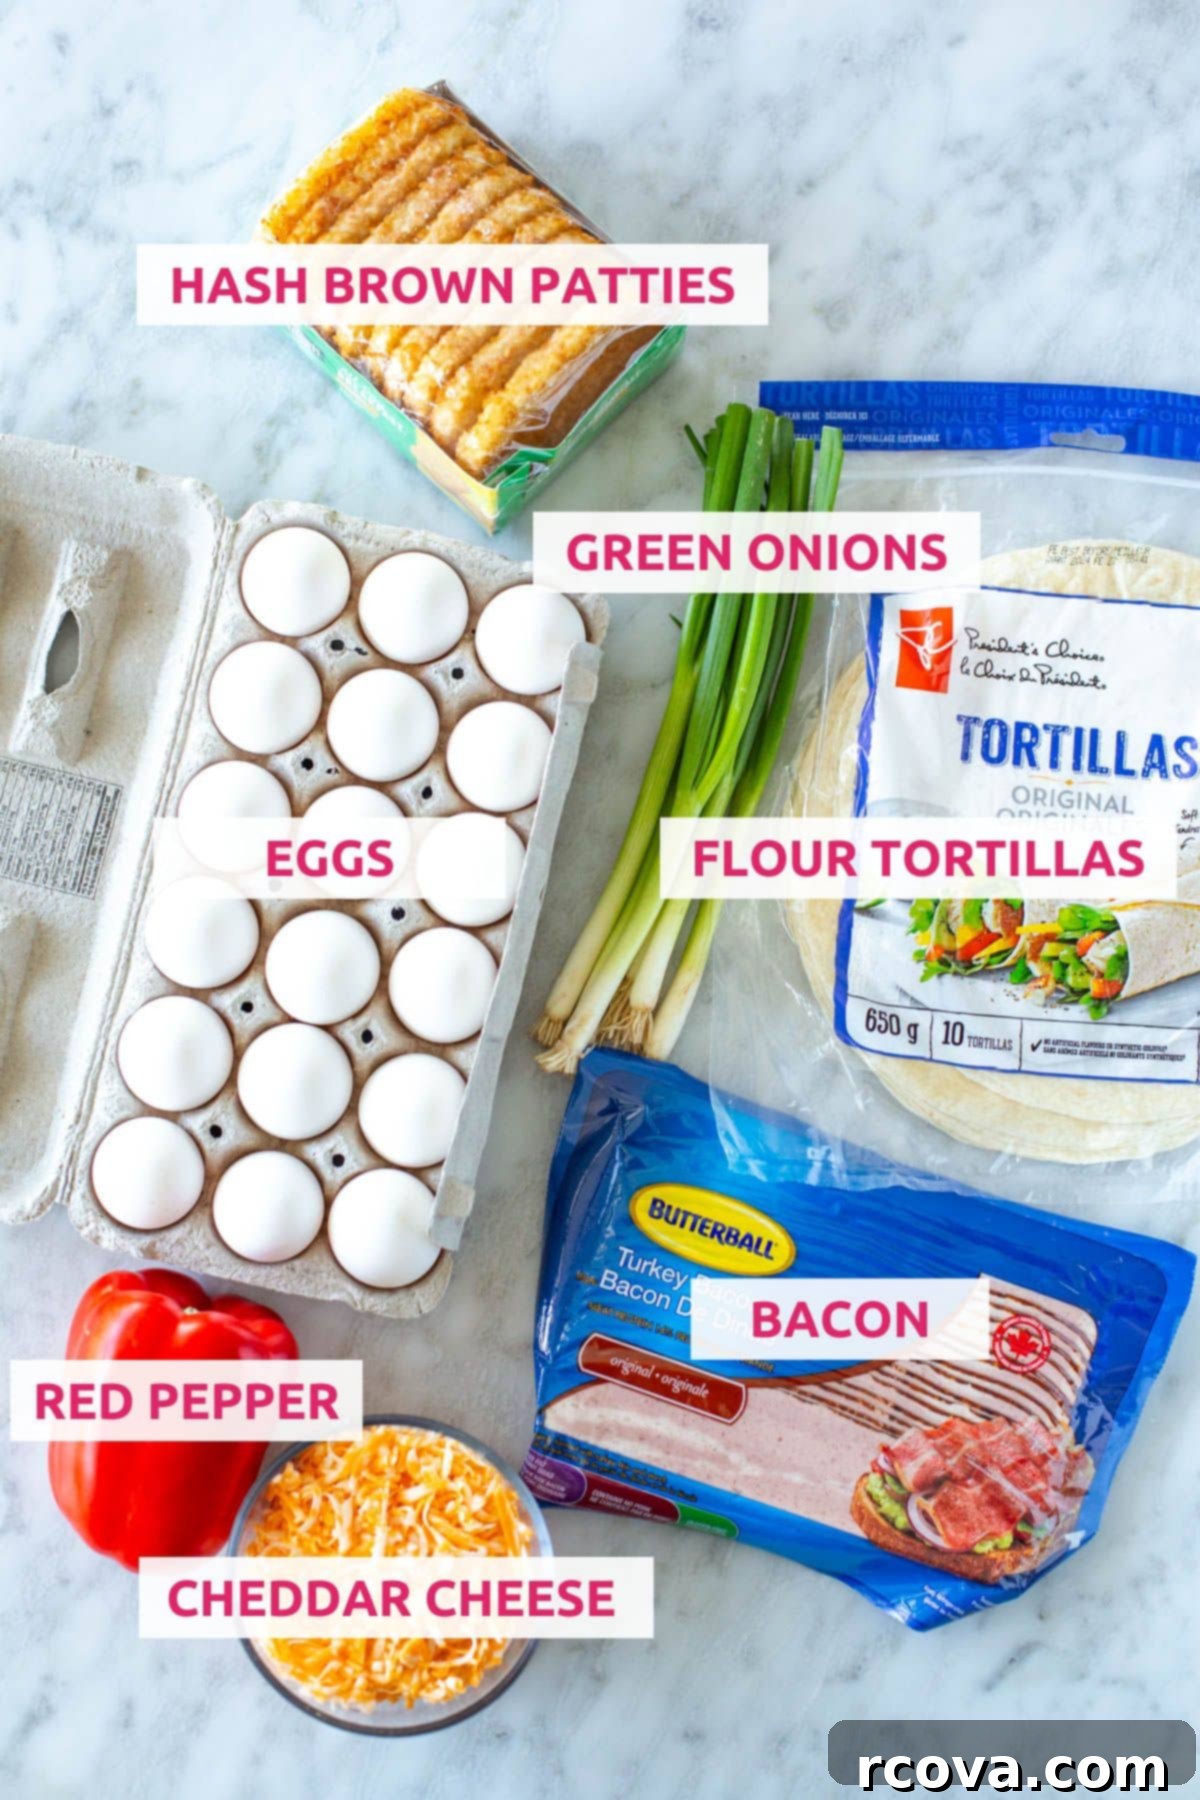
Crafting the perfect breakfast crunchwrap starts with fresh, quality ingredients. Here’s what you’ll need and some clever ways to mix things up:
- Flour Tortillas: We use both large and small flour tortillas for that signature crunchwrap structure. For a healthier twist, consider using whole wheat or corn tortillas. If you’re out of small tortillas, simply cut a larger one into a smaller circle!
- Eggs: Fresh large eggs are key for fluffy scrambled eggs. If you’re looking to reduce calories or fat, feel free to swap out whole eggs for scrambled egg whites. You can also incorporate a touch of milk or cream for extra richness.
- Bacon: Crispy bacon adds a wonderful salty, savory crunch. For a lighter alternative, turkey bacon works beautifully. Don’t limit yourself to bacon, though! Diced breakfast sausage, finely chopped ham, or even seasoned ground turkey can be fantastic protein substitutes.
- Hashbrown Patties: The hashbrown patty is the secret to the “crunch” in crunchwrap! Make sure they’re cooked until golden brown and super crispy. Tater tots or even leftover roasted potatoes, flattened slightly, would also be delicious alternatives if you’re feeling adventurous.
- Cheddar Cheese: Shredded cheddar cheese melts wonderfully and adds a classic flavor. But feel free to get creative with other varieties of cheese like a spicy Tex Mex blend, Monterey Jack for extra meltiness, or even a sharp provolone for a different bite.
- Red Pepper: Diced red bell pepper adds a touch of sweetness and vibrant color. Any color of bell pepper will work, so use what you have on hand or what you prefer. Yellow, orange, or even green peppers offer slightly different flavor profiles.
- Green Onions: Sliced green onions provide a mild oniony kick and freshness. If green onions aren’t available, finely diced red or white onion would also make an excellent aromatic addition to your veggie sauté.
How to Master This Homemade Breakfast Crunchwrap Recipe
Making your own breakfast crunchwrap might seem intricate, but it’s actually quite straightforward when you break it down. Follow these simple steps for a truly satisfying homemade breakfast experience:
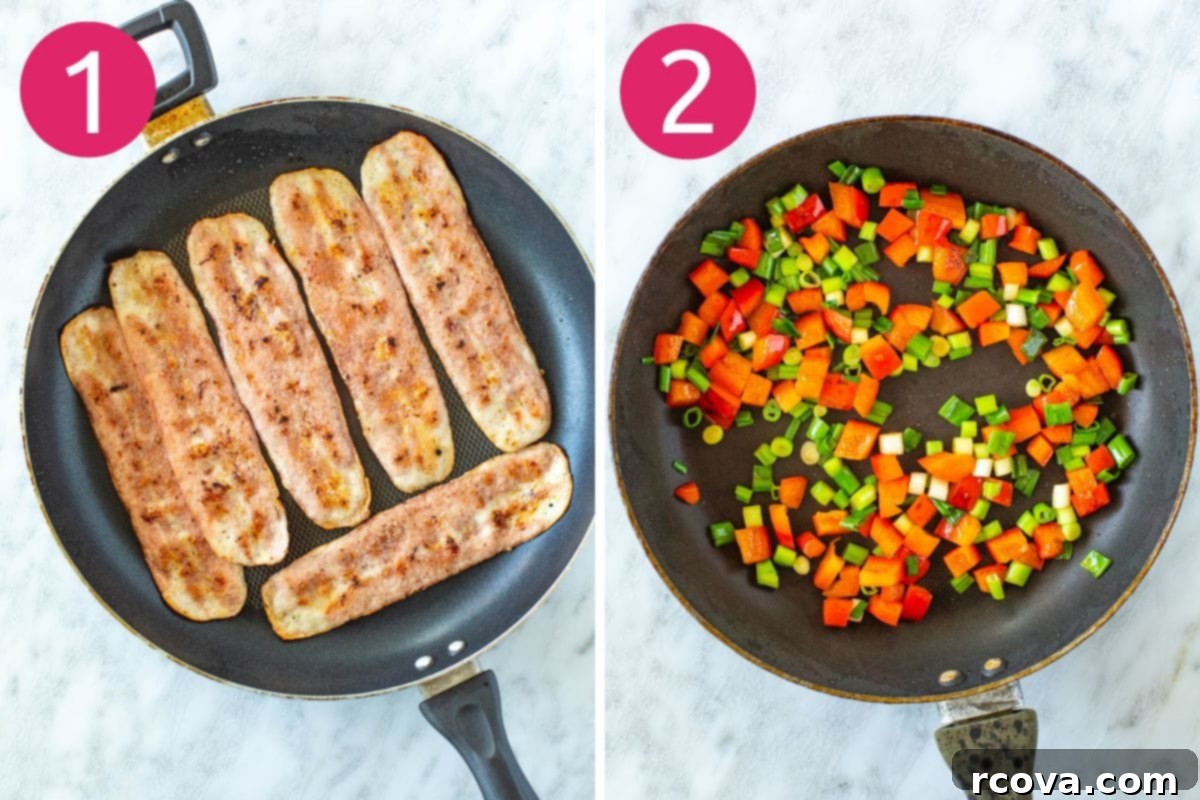
Step 1: Achieve Crispy Bacon Perfection.
Begin by cooking your bacon in a large skillet over medium-high heat. Allow it to cook until it reaches your desired level of crispiness – typically about 4 minutes per side. Once perfectly rendered and crispy, remove the bacon from the skillet and set it aside on a paper towel-lined plate to drain any excess fat. Remember to keep the bacon fat in the skillet, as it will add incredible flavor to your scrambled eggs in a later step. Once cool enough to handle, crumble the bacon into small pieces.
Step 2: Sauté Your Flavorful Veggies.
Using the same skillet (after removing the bacon), add a tiny drizzle of olive oil if needed. Toss in your diced red bell peppers and sliced green onions. Sauté these vibrant vegetables over medium heat for about 2-3 minutes, just until they begin to tenderize slightly but still retain a bit of their crispness. Season them lightly with a pinch of salt and pepper to enhance their natural flavors. This step adds a wonderful fresh element to your crunchwrap.
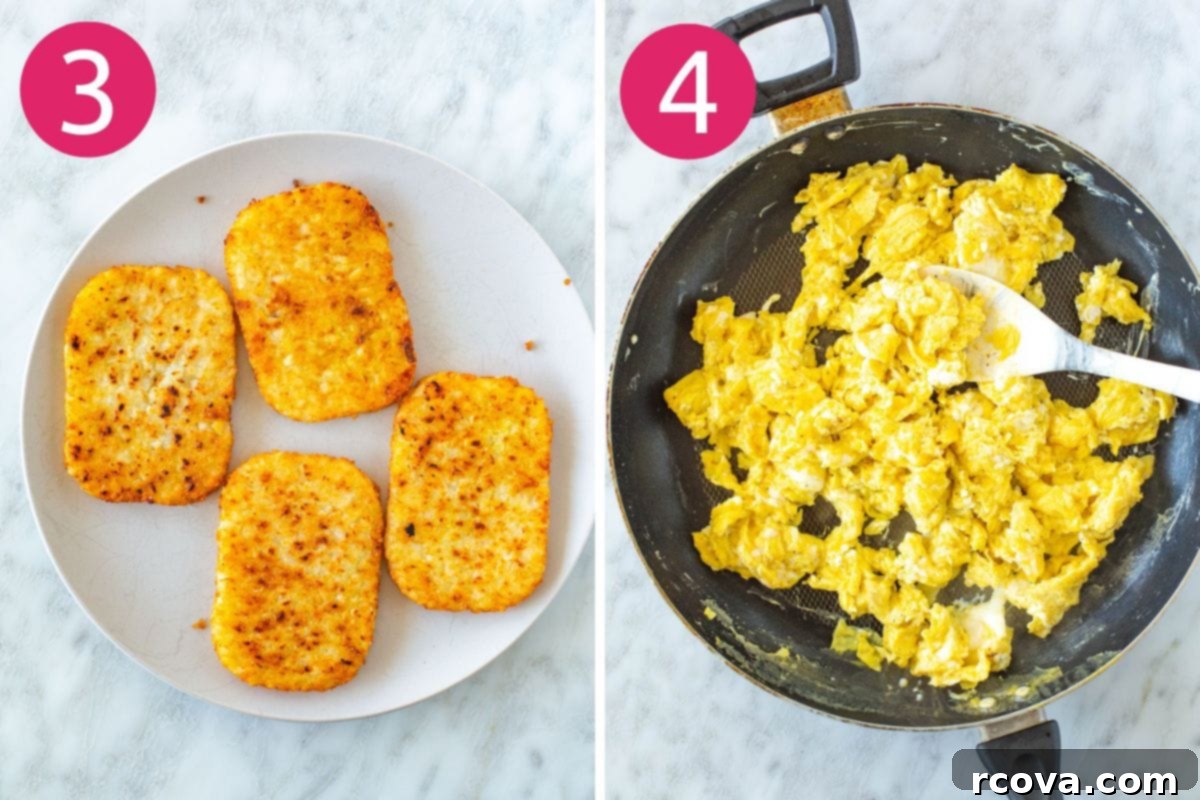
Step 3: Crispy Hashbrowns for That Essential Crunch.
While your veggies are sautéing, cook the hashbrown patties. Heat another large skillet (or clean the first one if preferred) over medium-high heat with a little cooking spray or oil. Place the hashbrown patties in the skillet and cook them for approximately 5 minutes per side, or until they turn a beautiful golden brown and become wonderfully crispy. These hashbrowns are crucial for the signature “crunch” of your homemade crunchwrap, so don’t skimp on the crispiness! Remove and set aside.
Step 4: Fluffy Scrambled Eggs.
In a medium bowl, whisk your eggs vigorously with a pinch of salt and pepper until well combined and slightly frothy. Pour the whisked eggs into the skillet containing the leftover bacon fat (from Step 1) and cook over medium heat. Stir gently as they cook for about 3-4 minutes until they are perfectly scrambled and set, but still moist and fluffy. Avoid overcooking them, as dry eggs can make your crunchwrap less enjoyable.
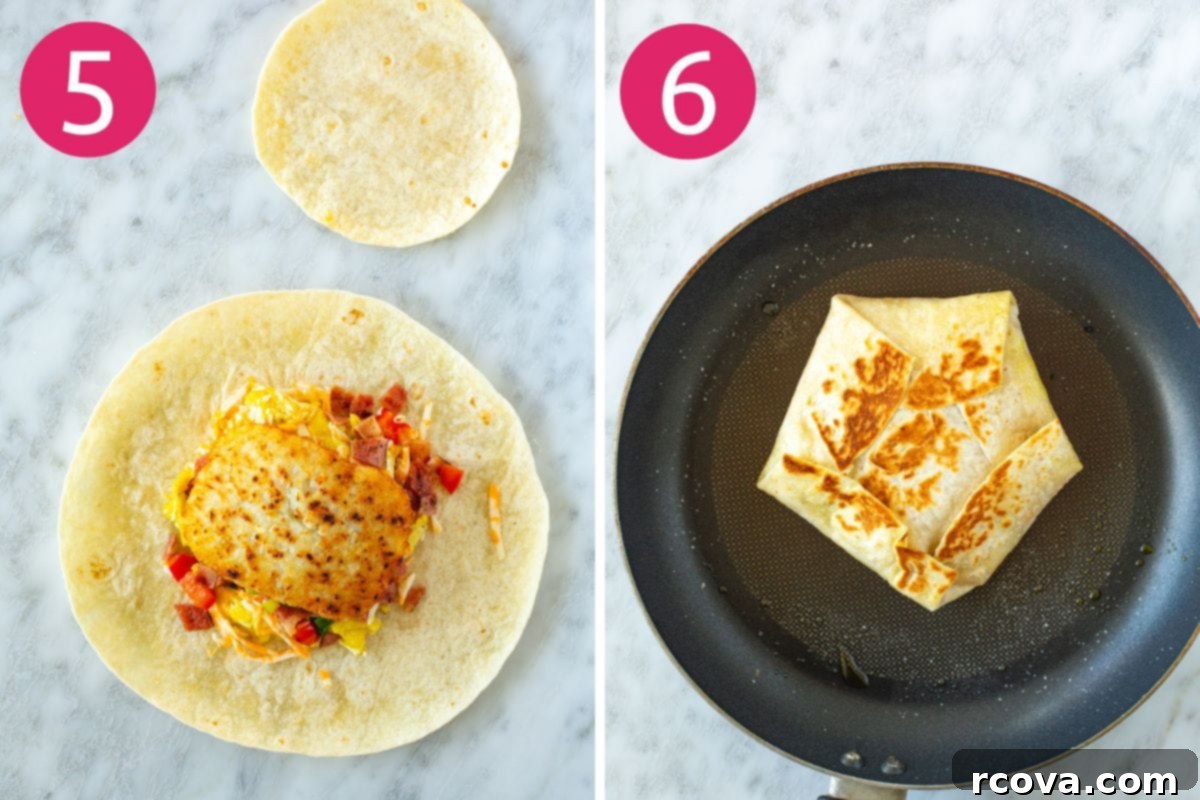
Step 5: Expertly Assemble Your Crunchwraps.
Now for the fun part: assembly! First, take four of your large flour tortillas. Stack them together and use a pair of kitchen scissors or a knife to cut out a smaller circle from the center of each, roughly 5 inches in diameter. These smaller tortillas will serve as the inner “crunch” layer. Lay out the remaining four large tortillas. Evenly divide your prepared scrambled eggs, shredded cheddar cheese, crumbled bacon, and sautéed veggies among the centers of these large tortillas. Place one crispy hashbrown patty directly on top of the filling on each tortilla. Finally, crown each hashbrown with one of your smaller, cut-out tortillas.
To fold, carefully bring the edges of the large tortilla over the smaller tortilla, pleating and folding them inwards to completely enclose all the delicious fillings. This creates a neat, sealed package that’s ready for frying. Ensure the seam is tight to prevent any filling from escaping during cooking.
Step 6: Fry to Golden Perfection and Serve!
Spray a large skillet with a bit of cooking spray and heat it over medium heat. Carefully place your assembled crunchwraps seam-side down into the heated skillet. Depending on the size of your pan, you might be able to cook two at a time, or you may need to cook them individually. Fry each side for 2-3 minutes until the tortillas are lightly browned and beautifully crispy. Keep a close eye on them to prevent burning. Once both sides are golden and the cheese inside is melted, remove them from the pan. For the best presentation and ease of eating, cut each crunchwrap in half. Serve immediately while warm and enjoy your incredible homemade breakfast creation!
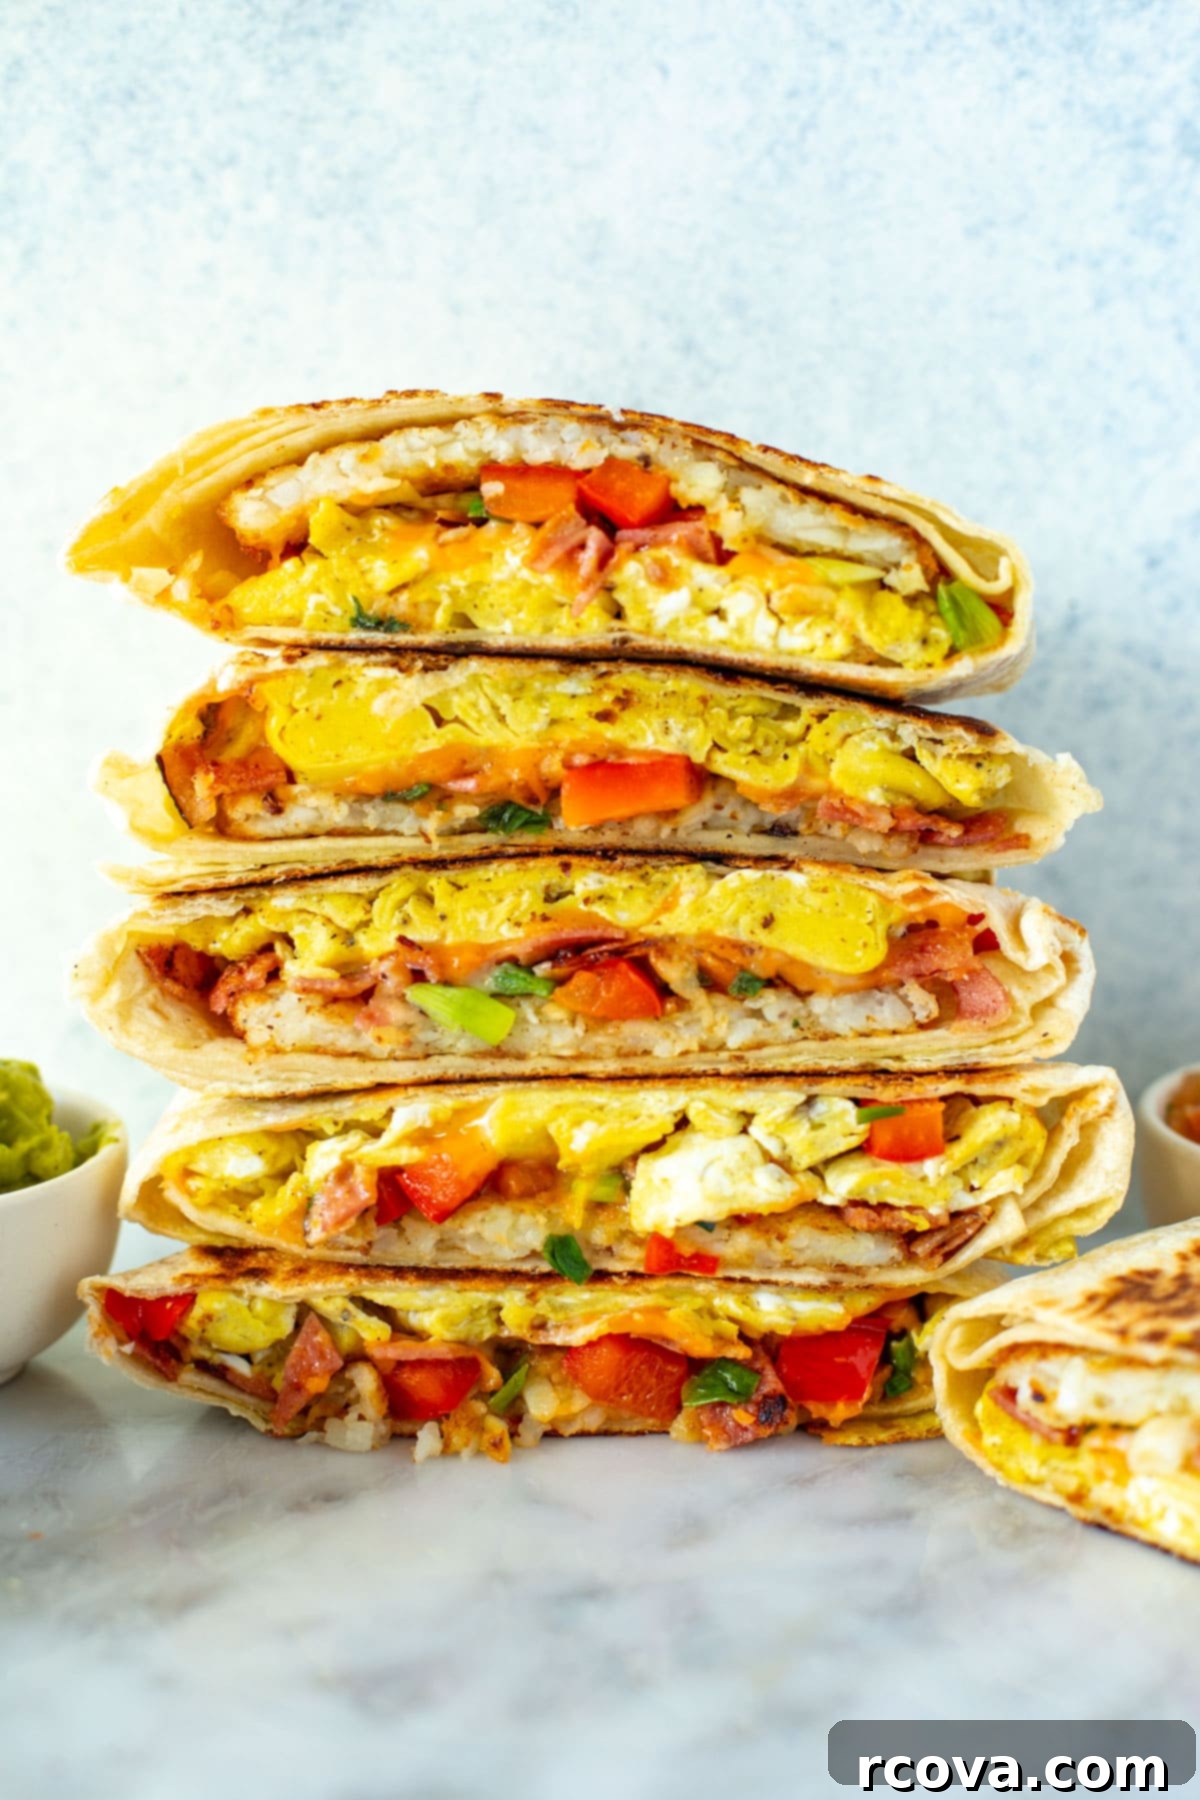
Breakfast Crunchwrap Tips & Tricks for Success
Here are some of my top tips for making this Taco Bell breakfast crunchwrap recipe an absolute hit at home, ensuring it’s always delicious and perfectly prepared:
- Experiment with Different Meats: Don’t limit yourself to just bacon! This recipe is incredibly adaptable. Try using savory turkey bacon for a leaner option, spicy diced breakfast sausage, or even finely diced and seasoned steak for a heartier meal. Each protein will lend a unique flavor.
- Make it Vegan-Friendly: With a few simple swaps, you can easily transform this recipe into a delicious vegan breakfast crunchwrap. Use your favorite plant-based cheese shreds and replace the eggs with a flavorful tofu scramble. You can also find plant-based bacon alternatives for that smoky flavor.
- Fry Immediately After Assembling: To achieve that perfect crispy exterior and prevent any sogginess, it’s crucial to fry your crunchwraps right after assembling them. The moisture from the fillings can start to soften the tortillas if left to sit too long, so move quickly from assembly to pan.
- Warm Your Tortillas: If your tortillas are cold, they might tear when you try to fold them. Briefly warming them in the microwave for 10-15 seconds or on a dry skillet for a few seconds per side can make them more pliable and easier to work with.
- Don’t Overfill: While it’s tempting to load up your crunchwrap, overfilling can lead to tears and make it difficult to seal properly. Aim for a balanced amount of each filling to ensure a sturdy and easy-to-handle wrap.
- Use a Non-Stick Skillet: A good quality non-stick skillet will make frying your crunchwraps much easier, ensuring even browning and preventing them from sticking, which can cause tearing.
Frequently Asked Questions About Breakfast Crunchwraps
Why is the tortilla tearing when I fold it?
Tortilla tearing is a common issue that usually stems from two main reasons: the tortilla being too cold or being overfilled. Cold tortillas are less pliable and more prone to cracking. To prevent this, gently warm your tortillas slightly in the microwave for 10-15 seconds or on a dry, warm skillet for a few seconds per side before you begin assembling. This will make them much more flexible. Additionally, ensure you’re not packing in too much filling. While generous portions are tempting, an overfilled tortilla will be difficult to fold and seal without tearing. Aim for a balanced amount of each ingredient.
How do I keep the crunchwrap from getting soggy?
The key to a perfectly crispy, non-soggy breakfast crunchwrap is to fry it immediately after assembly. The heat from the skillet creates a beautiful golden crust on the tortilla, which not only adds to the delicious texture but also acts as a barrier, preventing the moisture from the warm fillings (like eggs and sautéed veggies) from making the flour tortillas soggy. This immediate frying seals everything in and ensures that satisfying crunch with every bite. Avoid letting assembled crunchwraps sit for extended periods before frying.
Can I bake them instead of frying?
While I personally haven’t experimented with baking these specific crunchwraps, it’s definitely an option if you prefer to avoid frying. To bake, I would recommend placing them seam-side down on a parchment-lined baking sheet. Preheat your oven to 400°F (200°C) and bake until the tortillas are golden brown and crispy, likely around 15-20 minutes, flipping halfway through. Keep a close eye on them to prevent over-browning. The texture might be slightly different than a fried crunchwrap, but it should still be delicious!
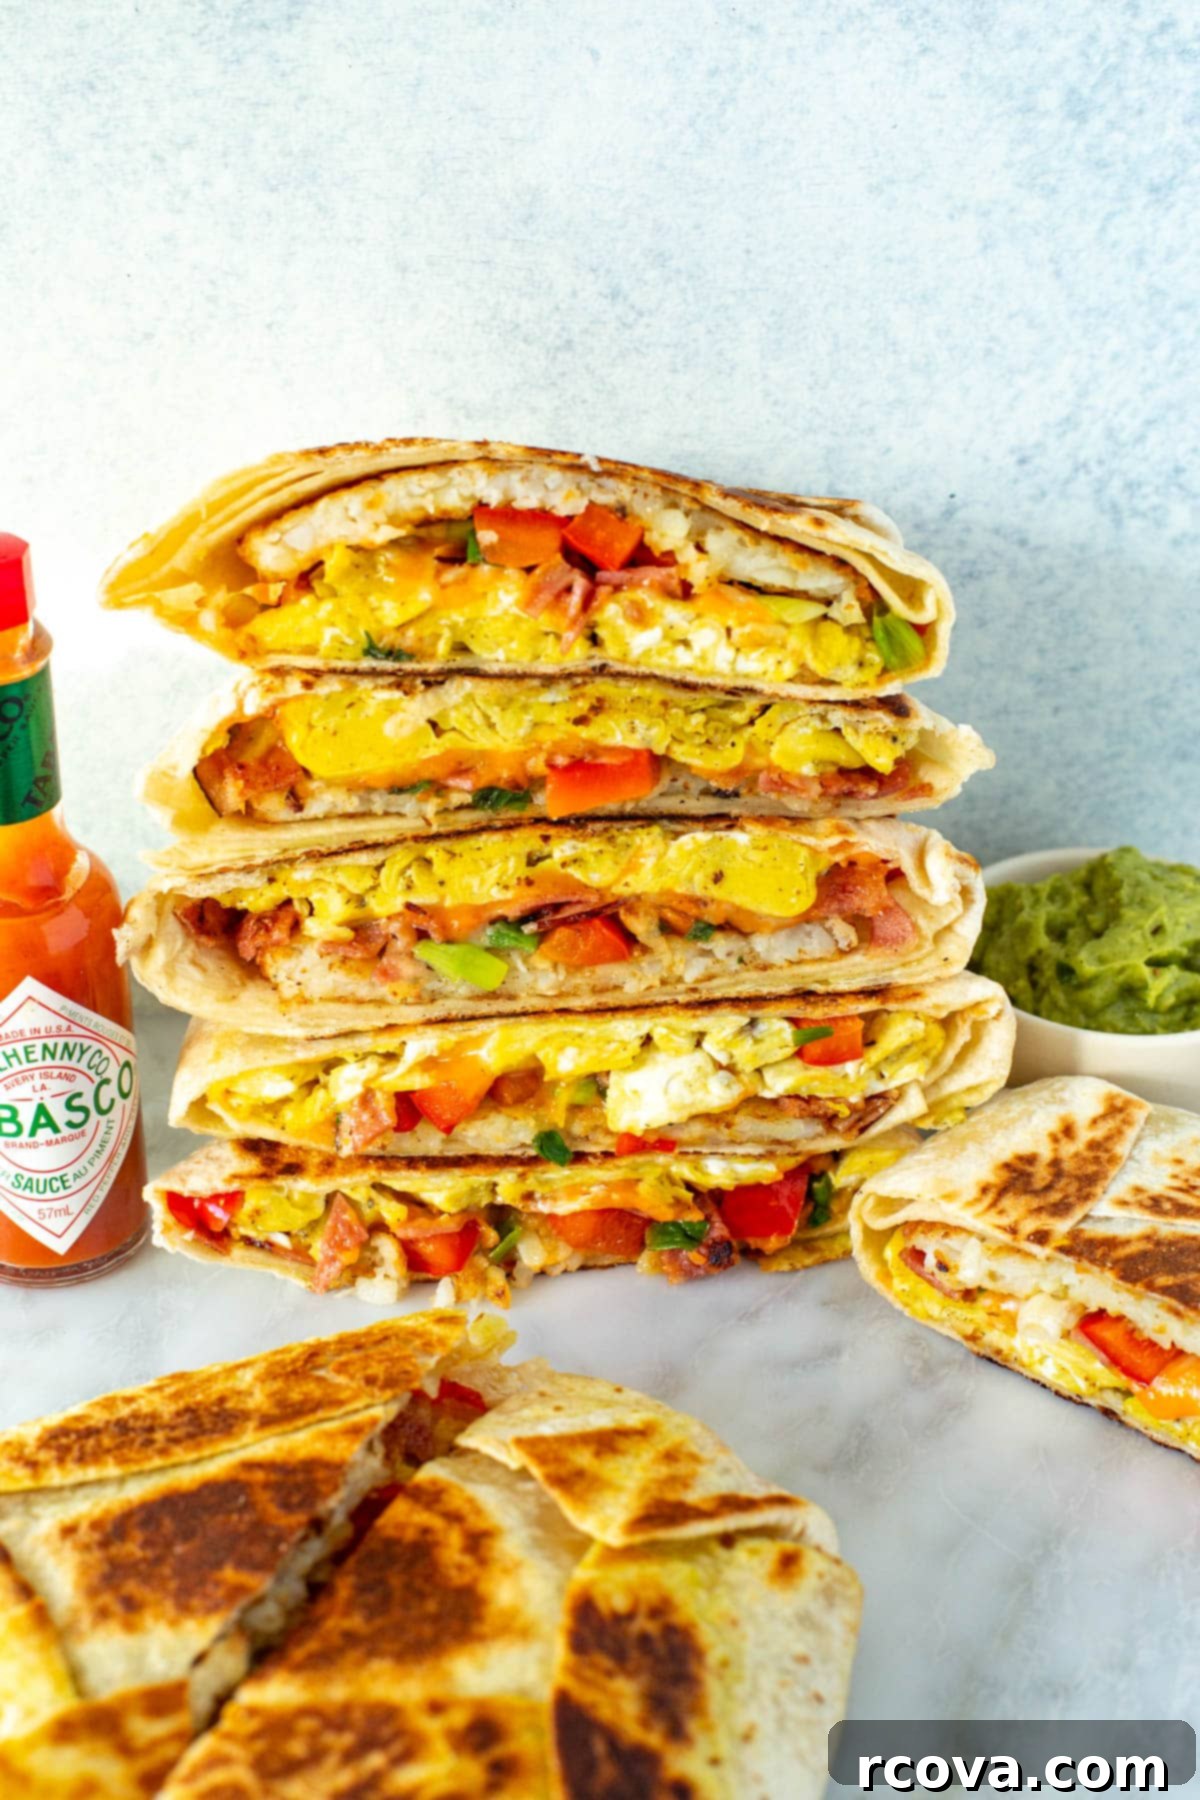
What to Serve with Your Breakfast Crunchwrap
These versatile breakfast crunchwraps are hearty enough to be a meal on their own, but pairing them with a fresh side or dipping sauce can take your breakfast experience to the next level. Here are some fantastic serving suggestions:
- Delicious Dipping Sauces: Enhance the flavor with a variety of sauces. Creamy guacamole, zesty salsa, a tangy creamy jalapeno dip, or your favorite hot sauce all complement the rich fillings perfectly. Don’t forget the classic Taco Bell quesadilla sauce copycat for that extra authentic touch!
- Fresh Fruit Medley: Balance the savory crunchwrap with the refreshing sweetness of fresh fruit. A side of cut-up strawberries, juicy mango slices, pineapple chunks, or a mixed berry salad makes for a light and healthy contrast.
- Healthy Smoothie or Fresh Juice: Boost your morning nutrition with a vibrant smoothie or a glass of freshly squeezed juice. My recipes for healthy smoothies or fresh juices are perfect companions for a wholesome breakfast.
- Your Favorite Caffeinated Beverage: Pair your savory crunchwrap with a comforting hot coffee or a refreshing cold brew. My cold brew recipe is a great way to kickstart your day.
How to Store and Reheat Your Breakfast Crunchwraps for Easy Meal Prep
One of the biggest advantages of these breakfast crunchwraps is their incredible meal prep potential. Here’s how to store them for freshness and reheat them perfectly:
Make-Ahead Strategy: To save time during busy mornings, you can prepare the individual fillings (scrambled eggs, cooked bacon, sautéed veggies, and hashbrown patties) separately in advance. Store each component in airtight containers in the refrigerator for up to 3 days. When you’re ready to eat, simply assemble and fry the crunchwraps fresh for the best taste and texture.
Storing Leftovers (or Prepped Wraps): If you’ve assembled and cooked your breakfast crunchwraps, allow them to cool completely to room temperature before storing. This prevents condensation from building up and making them soggy. Wrap each individual crunchwrap tightly in plastic wrap or aluminum foil, then place them in an airtight container or reusable freezer bags. They will stay fresh in the fridge for 2-3 days.
Freezing for Longer Storage: These crunchwraps are truly freezer-friendly! After cooking and cooling completely, wrap each crunchwrap tightly in plastic wrap, then an additional layer of aluminum foil. Label them with the date. Store them in the freezer for up to 3 months. This is perfect for grab-and-go breakfasts whenever you need them.
Reheating Instructions:
- From the Fridge: Reheat refrigerated crunchwraps in a skillet over medium heat for 5-7 minutes per side, or in a preheated oven at 350°F (175°C) for 8-10 minutes, until heated through and crispy.
- From the Freezer: For frozen crunchwraps, you can reheat them directly from frozen. Unwrap them and place them in a preheated oven at 375°F (190°C) for 15-20 minutes, or until thoroughly heated and crispy. You can also use a toaster oven or air fryer for a crispier finish. Microwaving is an option for speed, but the texture won’t be as crispy.
More Delicious Breakfast Recipes You’ll Love
If you’re a fan of convenient and tasty breakfast options, be sure to explore these other fantastic recipes perfect for starting your day right:
-
Meal Prep Breakfast Burritos
-
Sausage Egg McMuffin Copycat Recipe
-
Starbucks Spinach Feta Wrap
Essential Meal Prep Tools for Your Breakfast Crunchwraps
To make your breakfast crunchwrap meal prep journey as smooth and efficient as possible, consider these helpful tools:
- Grab some glass meal prep bowls if you plan on preparing individual components or storing assembled, unfried crunchwraps. They’re great for portion control and microwave reheating.
- For freezing these delicious breakfast crunchwraps for extended periods, invest in high-quality reusable freezer bags. They protect against freezer burn and help keep your crunchwraps fresh for up to 3 months.
- A sturdy non-stick skillet is indispensable for perfectly cooking your bacon, sautéing veggies, scrambling eggs, and frying the crunchwraps to a golden crisp.
- Good quality parchment paper is useful for lining baking sheets if you opt to bake your crunchwraps or for separating individual wraps before freezing.

Taco Bell Breakfast Crunchwrap Recipe
Print
Pin
Rate
SEND ME MY PLAN
Ingredients
- 8 flour tortillas
- 8 eggs
- 1/2 tsp salt
- 1/4 tsp pepper
- 4 slices bacon you could also use turkey bacon for lower calories
- 4 hash brown patties
- 1 cup cheddar cheese grated
- 1/2 red pepper diced
- 2 green onions sliced
Instructions
-
Cook bacon in a large skillet over med-high heat until cooked through and crispy, about 4 minutes per side. Remove from heat and set aside. Crumble when cool. Do not drain fat as you’ll cook the eggs in it.
-
Add peppers and onions to another skillet with a bit of olive oil and saute, seasoning with salt and pepper, for 2-3 minutes until just tender.
-
Meanwhile, cook hashbrown patties in a large skillet with a bit of cooking spray over med-high heat for about 5 minutes per side until golden and crispy. Remove from heat and set aside.
-
Whisk eggs with salt and pepper in a large bowl. Add to the same skillet with bacon fat, cooking on medium for about 3-4 minutes until scrambled and set.
-
Stack 4 of the flour tortillas together. Cut into a smaller circle with scissors to make 4 smaller flour tortillas for your crunchwraps; they should be about 5 inches in diameter.
-
Now it’s time to assemble! Divide the eggs, cheese, crumbled bacon and veggies among 4 of the large tortillas. Top each with a hash brown, then add your smaller tortilla. Meanwhile, spray a large skillet with cooking spray and heat over medium heat.
-
Fold the large flour tortilla edges overtop of the smaller tortilla that is sitting on top of the other fillings. Quickly and carefully flip upside down onto the heated frying pan, then repeat with all other crunchwraps. Depending on the size of pan used, you may be able to cook 2 at once, or you may have to do one at a time.
-
Cook for 2-3 minutes each side until lightly browned on both sides. Watch to ensure they don’t burn. Cut each crunchwrap in half then serve and enjoy!
Notes
Serve with a side of guacamole, salsa, creamy jalapeno dip, hot sauce or Taco Bell quesadilla sauce.
Make sure you fry the wraps right after assembling to keep them from getting soggy.
Swap out the bacon for breakfast sausage or steak.
Store the leftovers in the fridge for 2-3 days. Reheat in a skillet or in the oven for 8-10 mins at 350°F.
Nutrition
