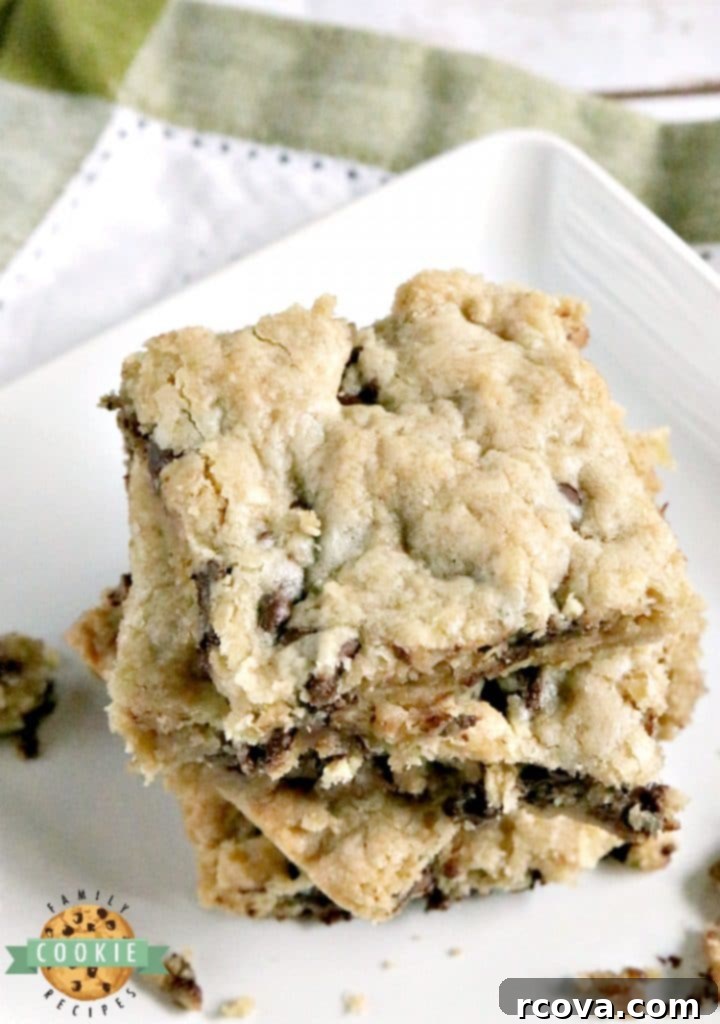
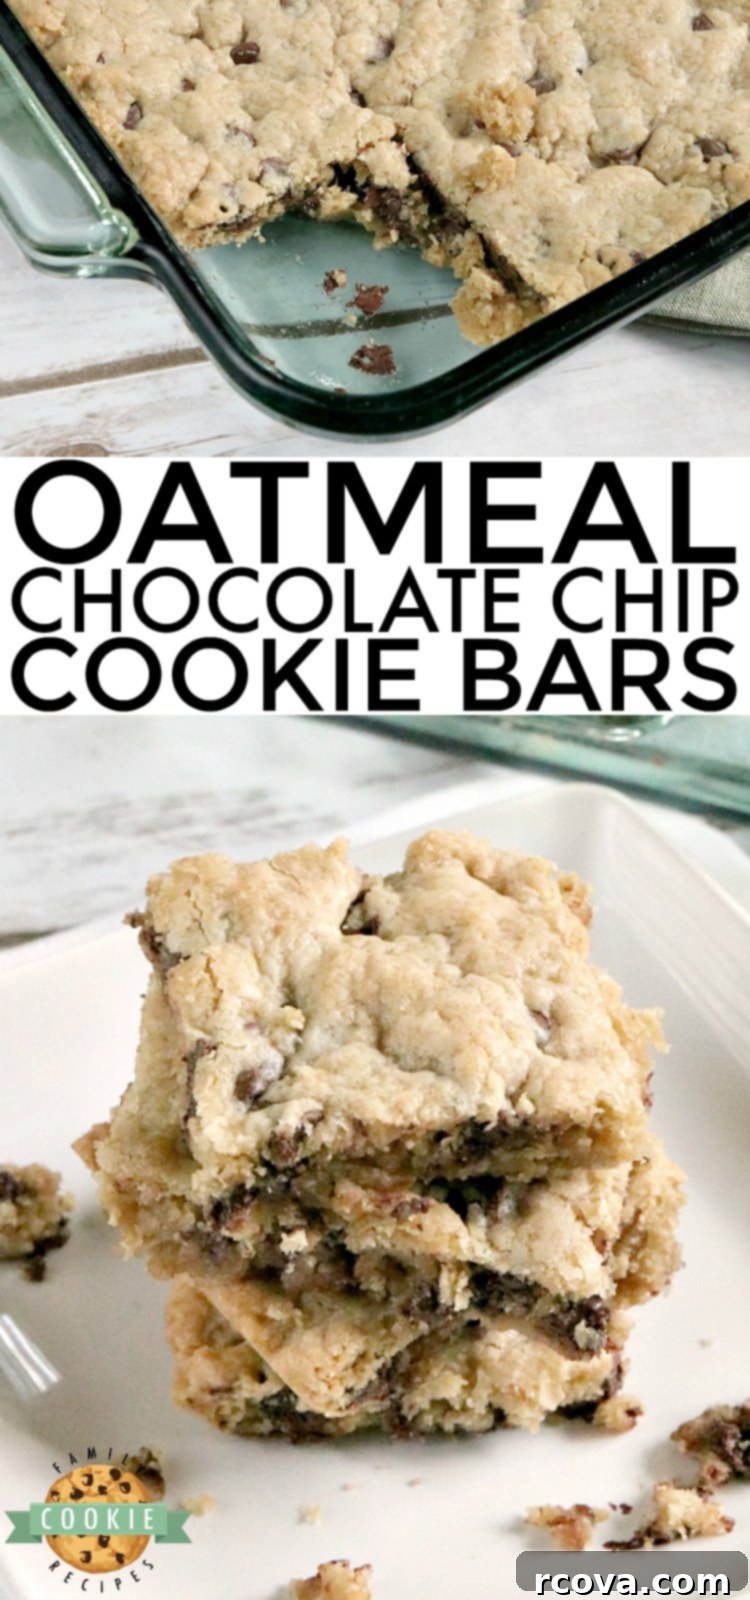
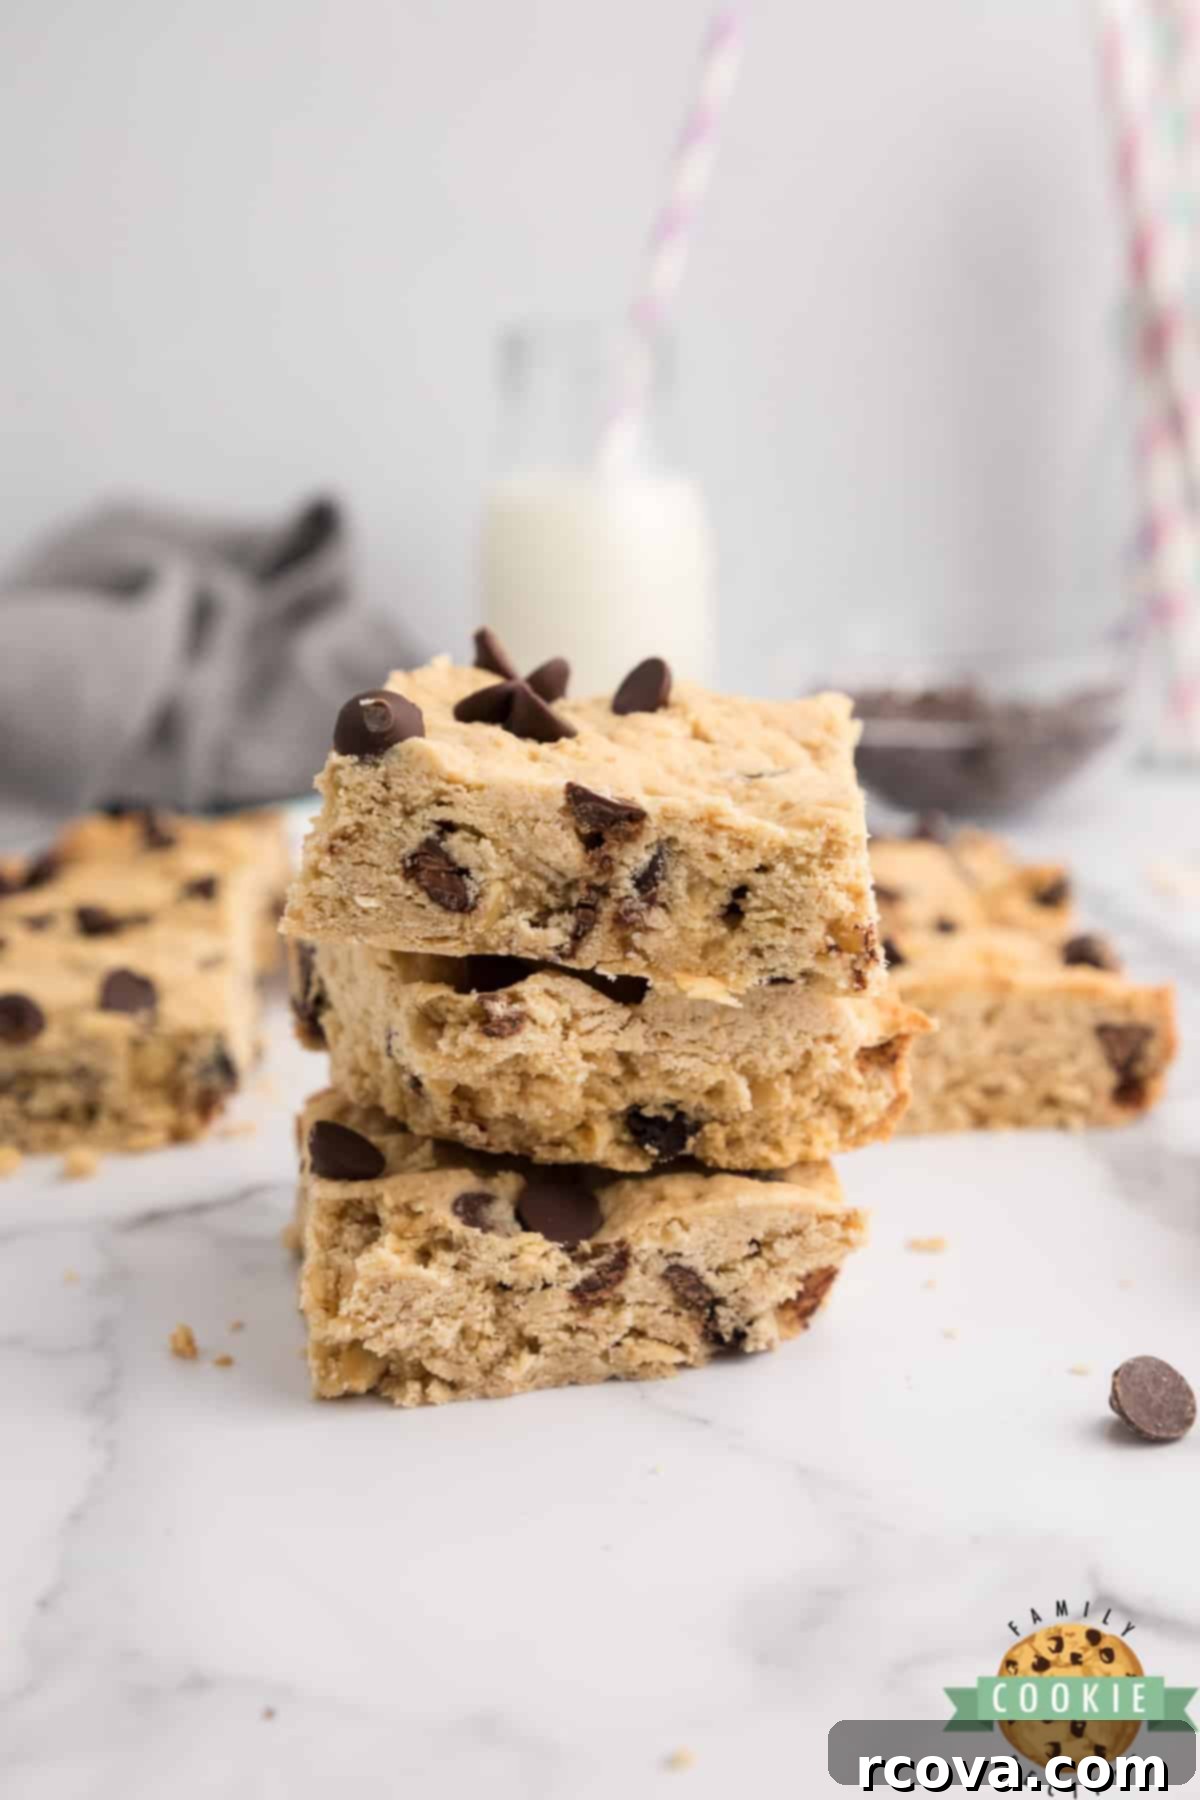
Irresistible Oatmeal Chocolate Chip Bars: The Ultimate Chewy & Easy Cookie Bar Recipe
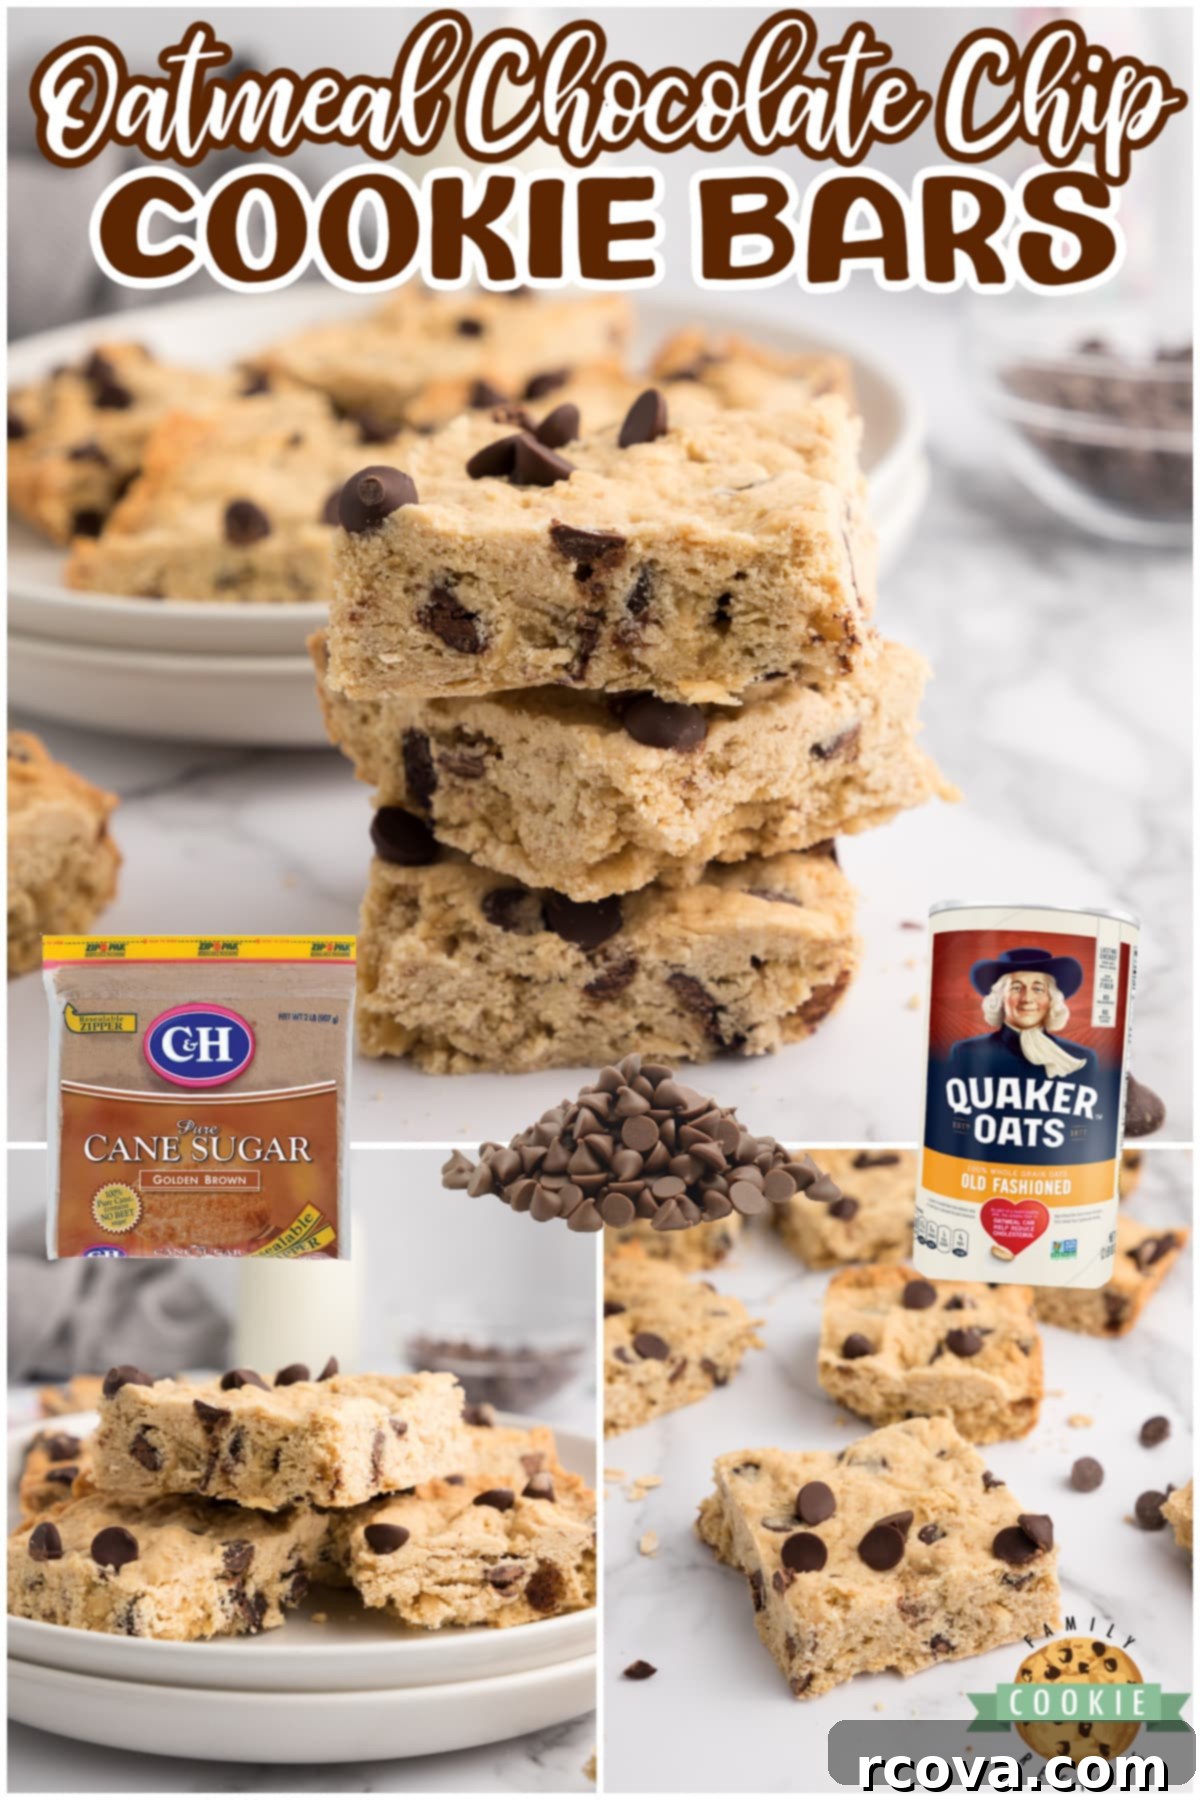
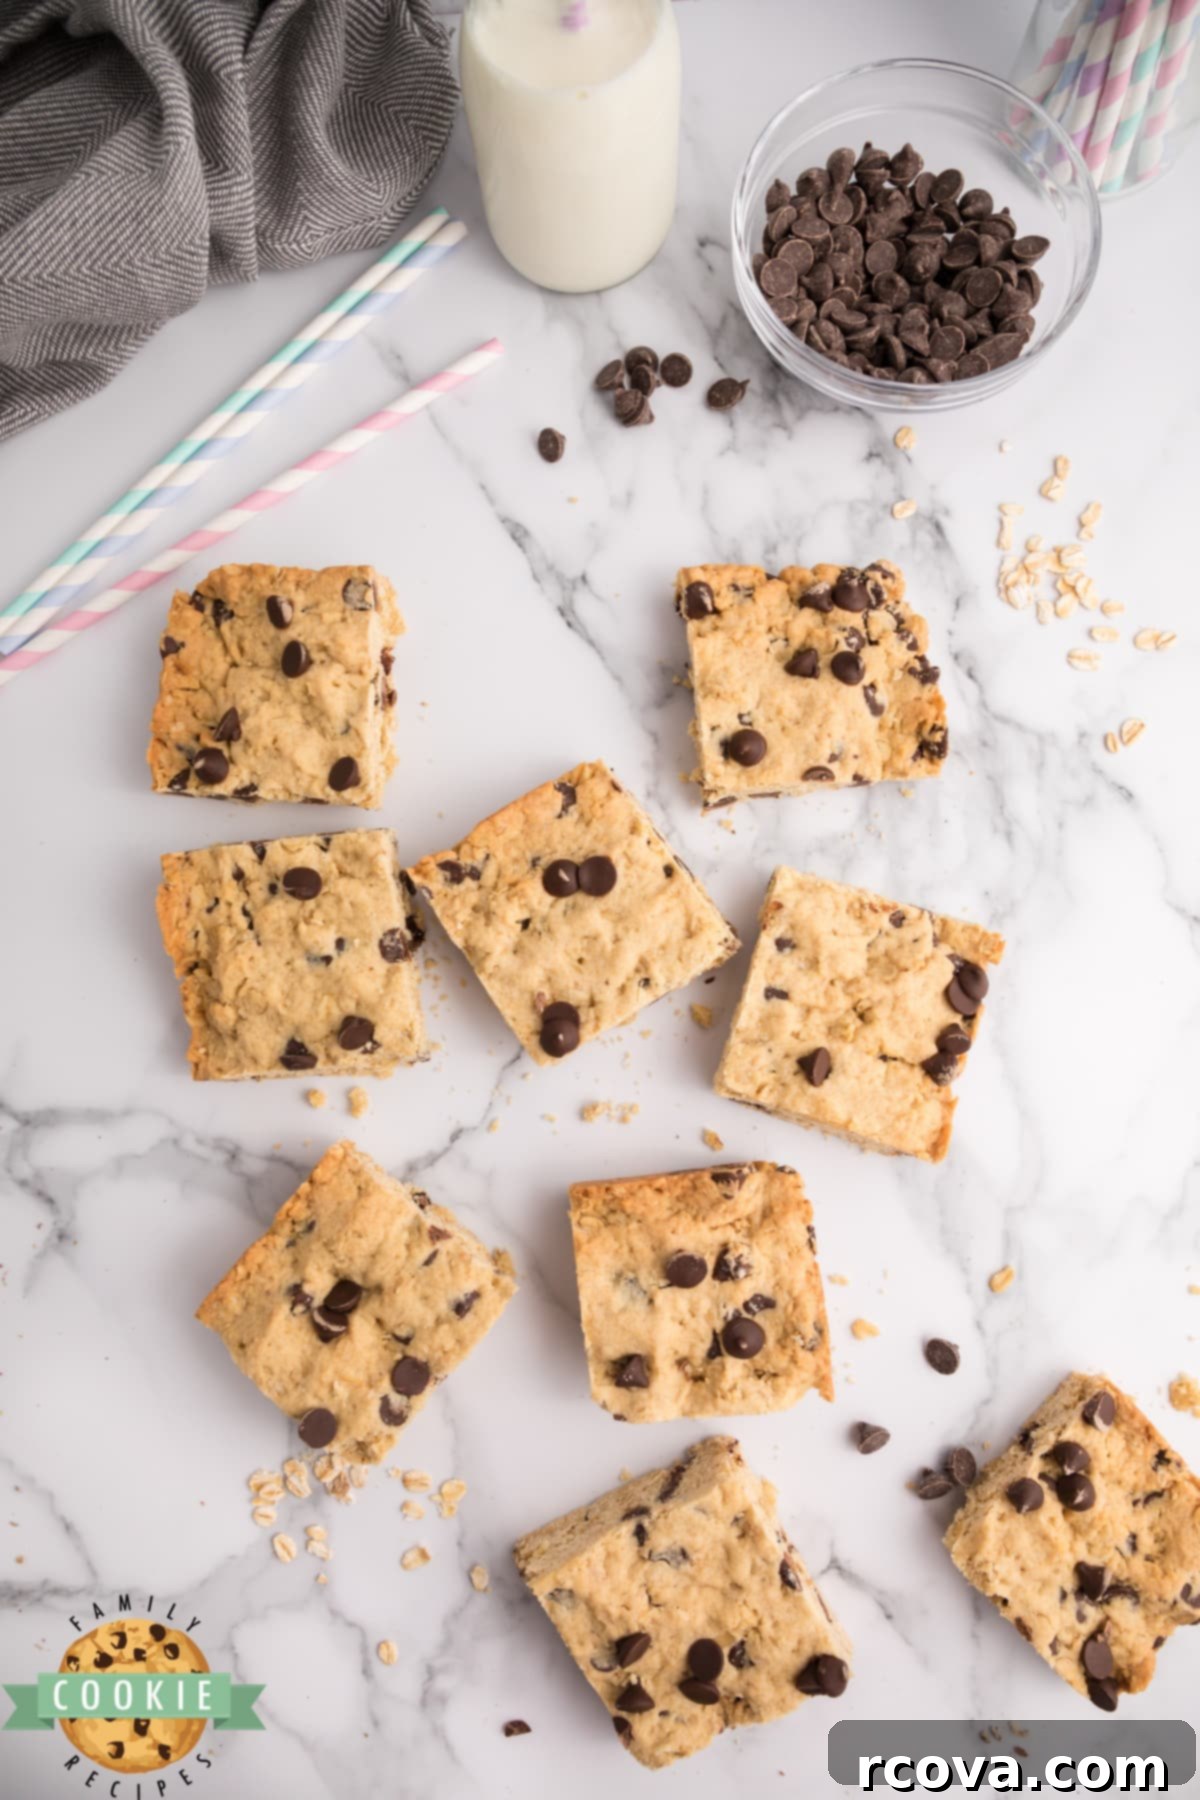
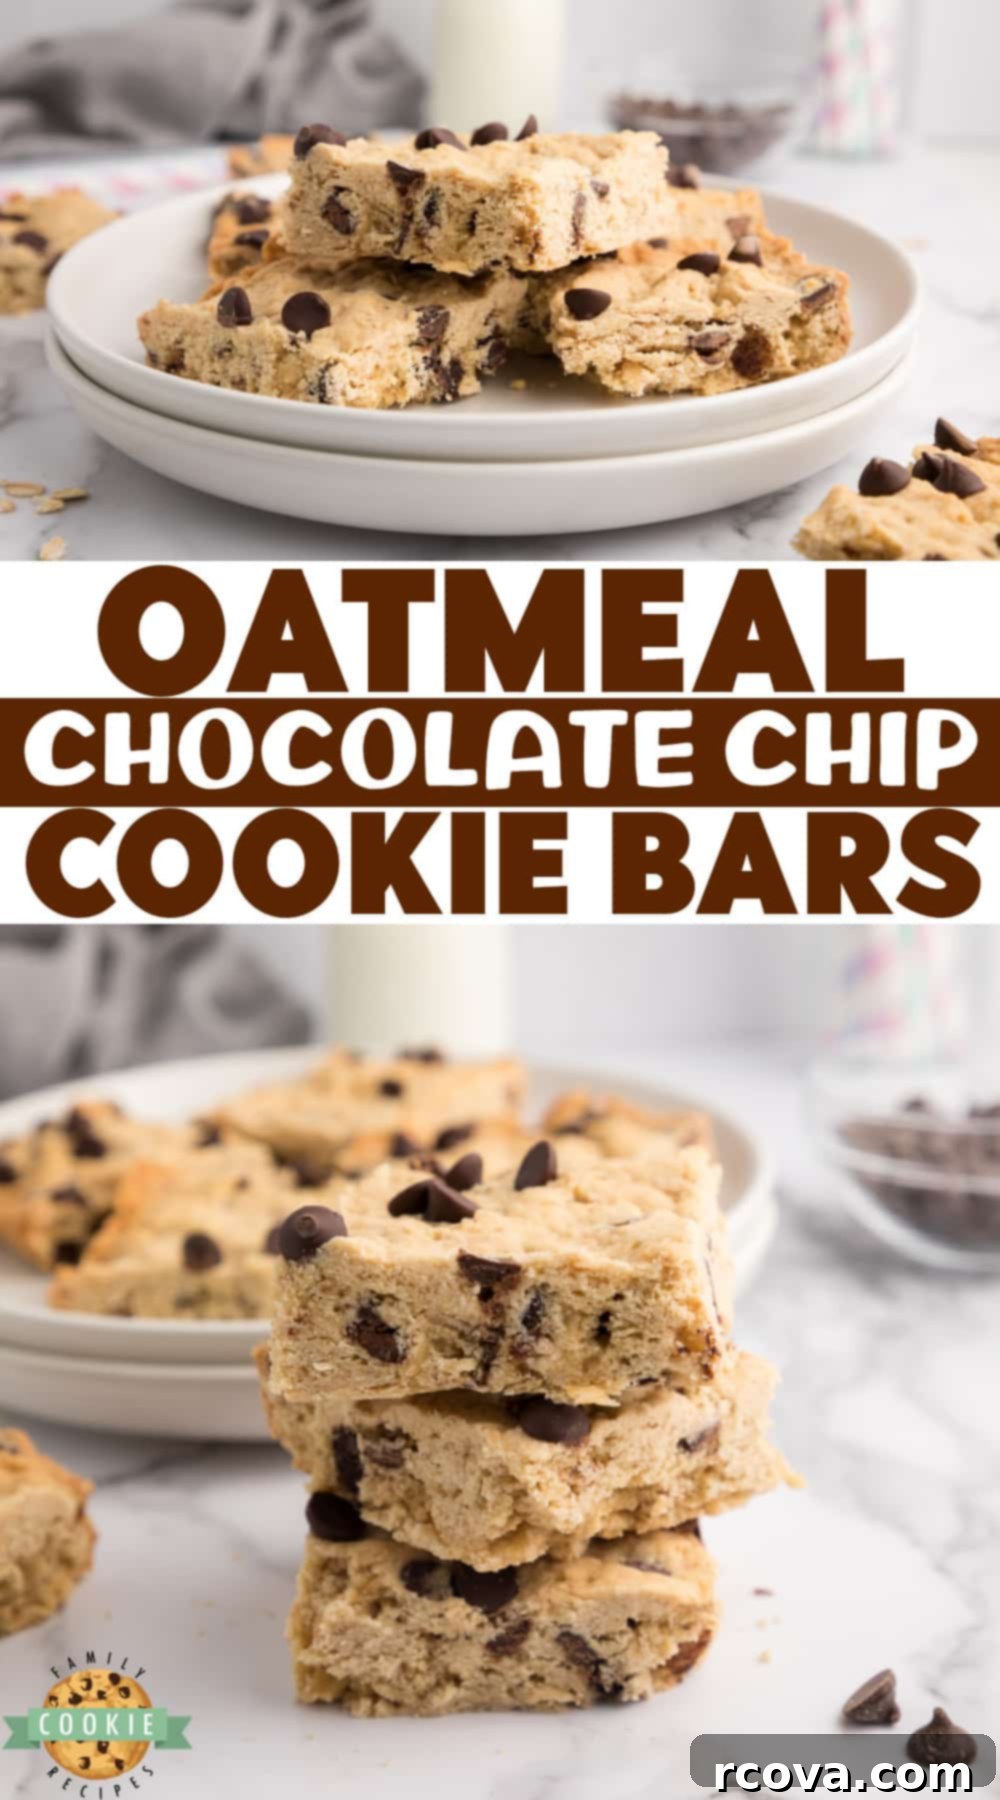
Oatmeal Chocolate Chip Bars are a truly delightful treat, known for their perfectly soft and irresistibly chewy texture. These bars are an absolute lifesaver when you’re craving homemade cookies but lack the time to scoop individual portions. This simple yet delicious chocolate chip cookie bar recipe is packed with wholesome oats and generous amounts of gooey chocolate chips, coming together quickly for a fuss-free baking experience.
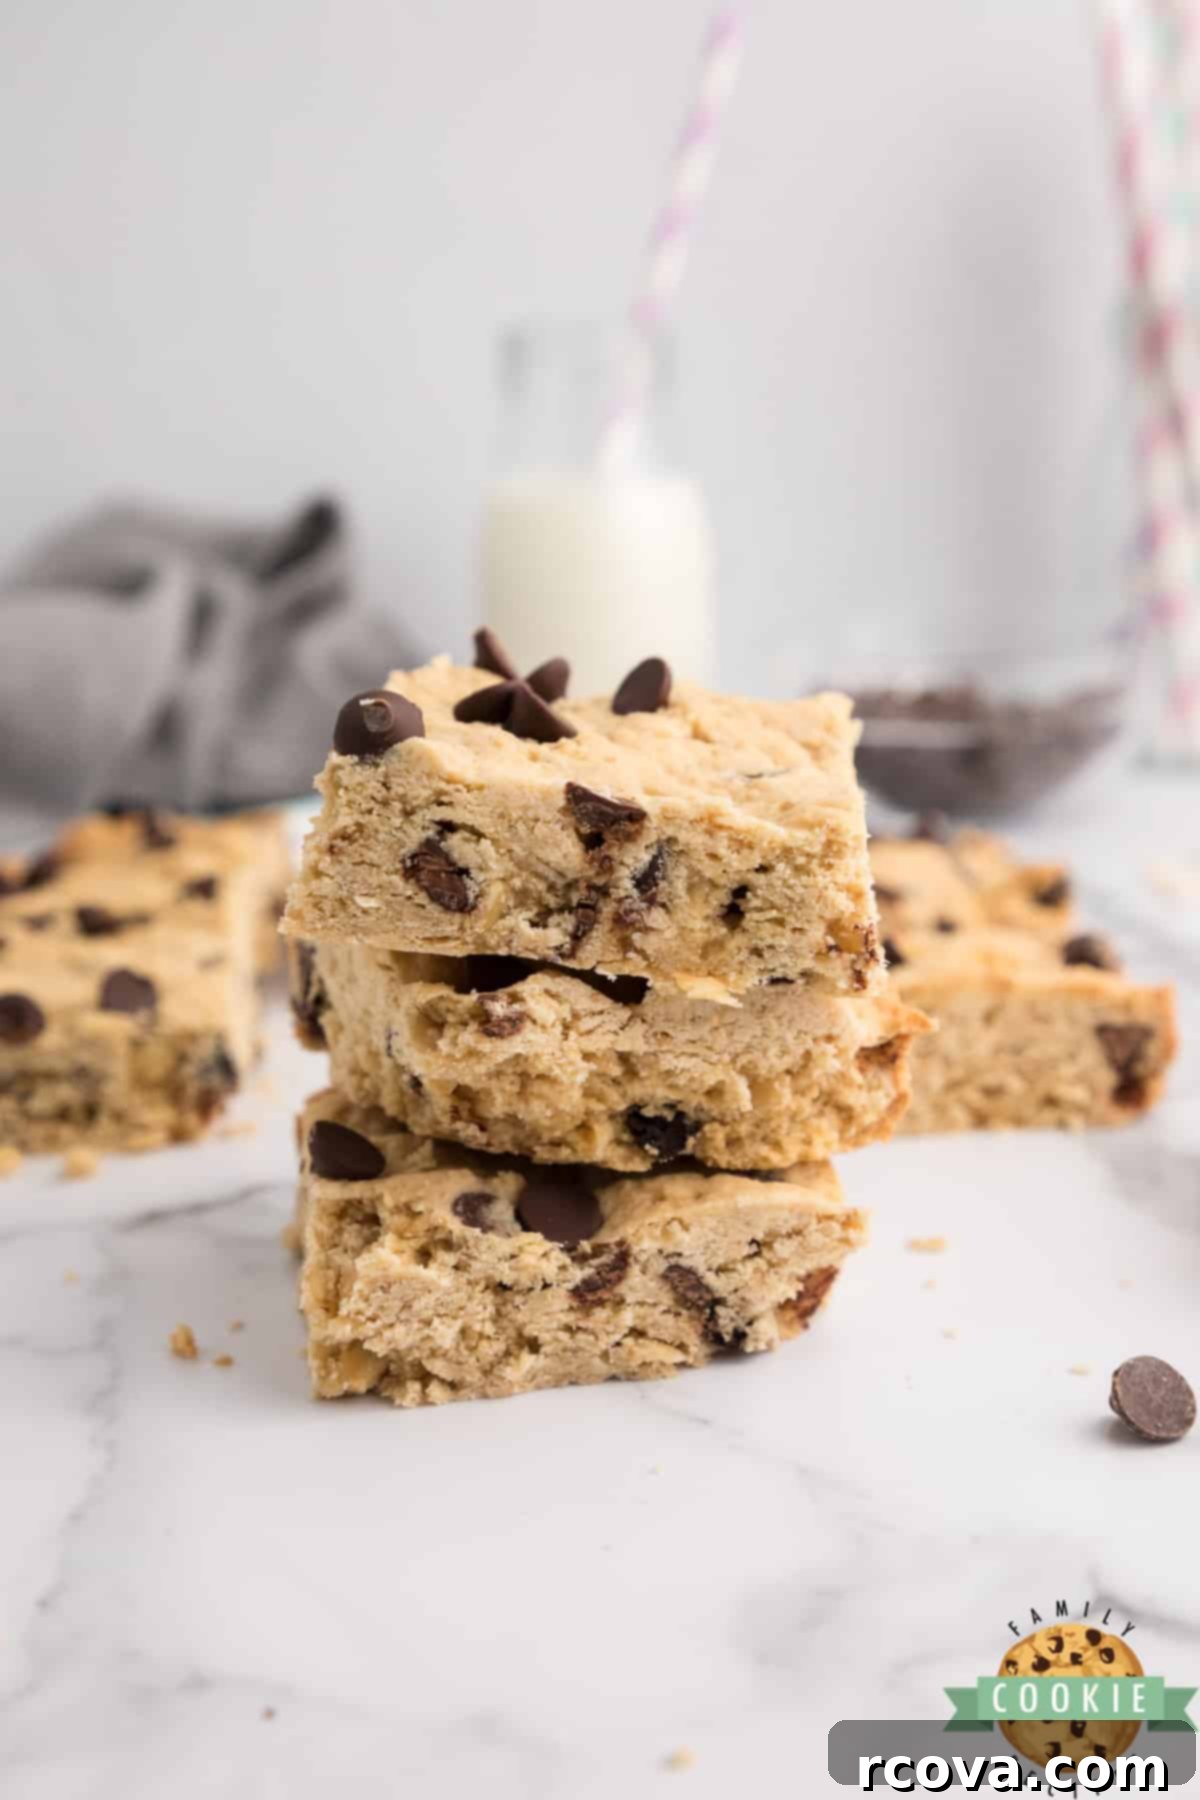
In our home, Oatmeal Chocolate Chip Bars are a frequent request, and for good reason—they are incredibly easy to make. Sometimes, they feel almost *too* easy! It’s like baking one gigantic, satisfying cookie, and who could ever complain about that? While I absolutely adore making traditional cookies, there are plenty of days when my schedule doesn’t permit the luxury of scooping and baking multiple batches on various cookie sheets. That’s where these amazing cookie bars shine. They offer all the deliciousness of your favorite oatmeal chocolate chip cookies without the extensive individual prep time, making them a fantastic solution for busy bakers.
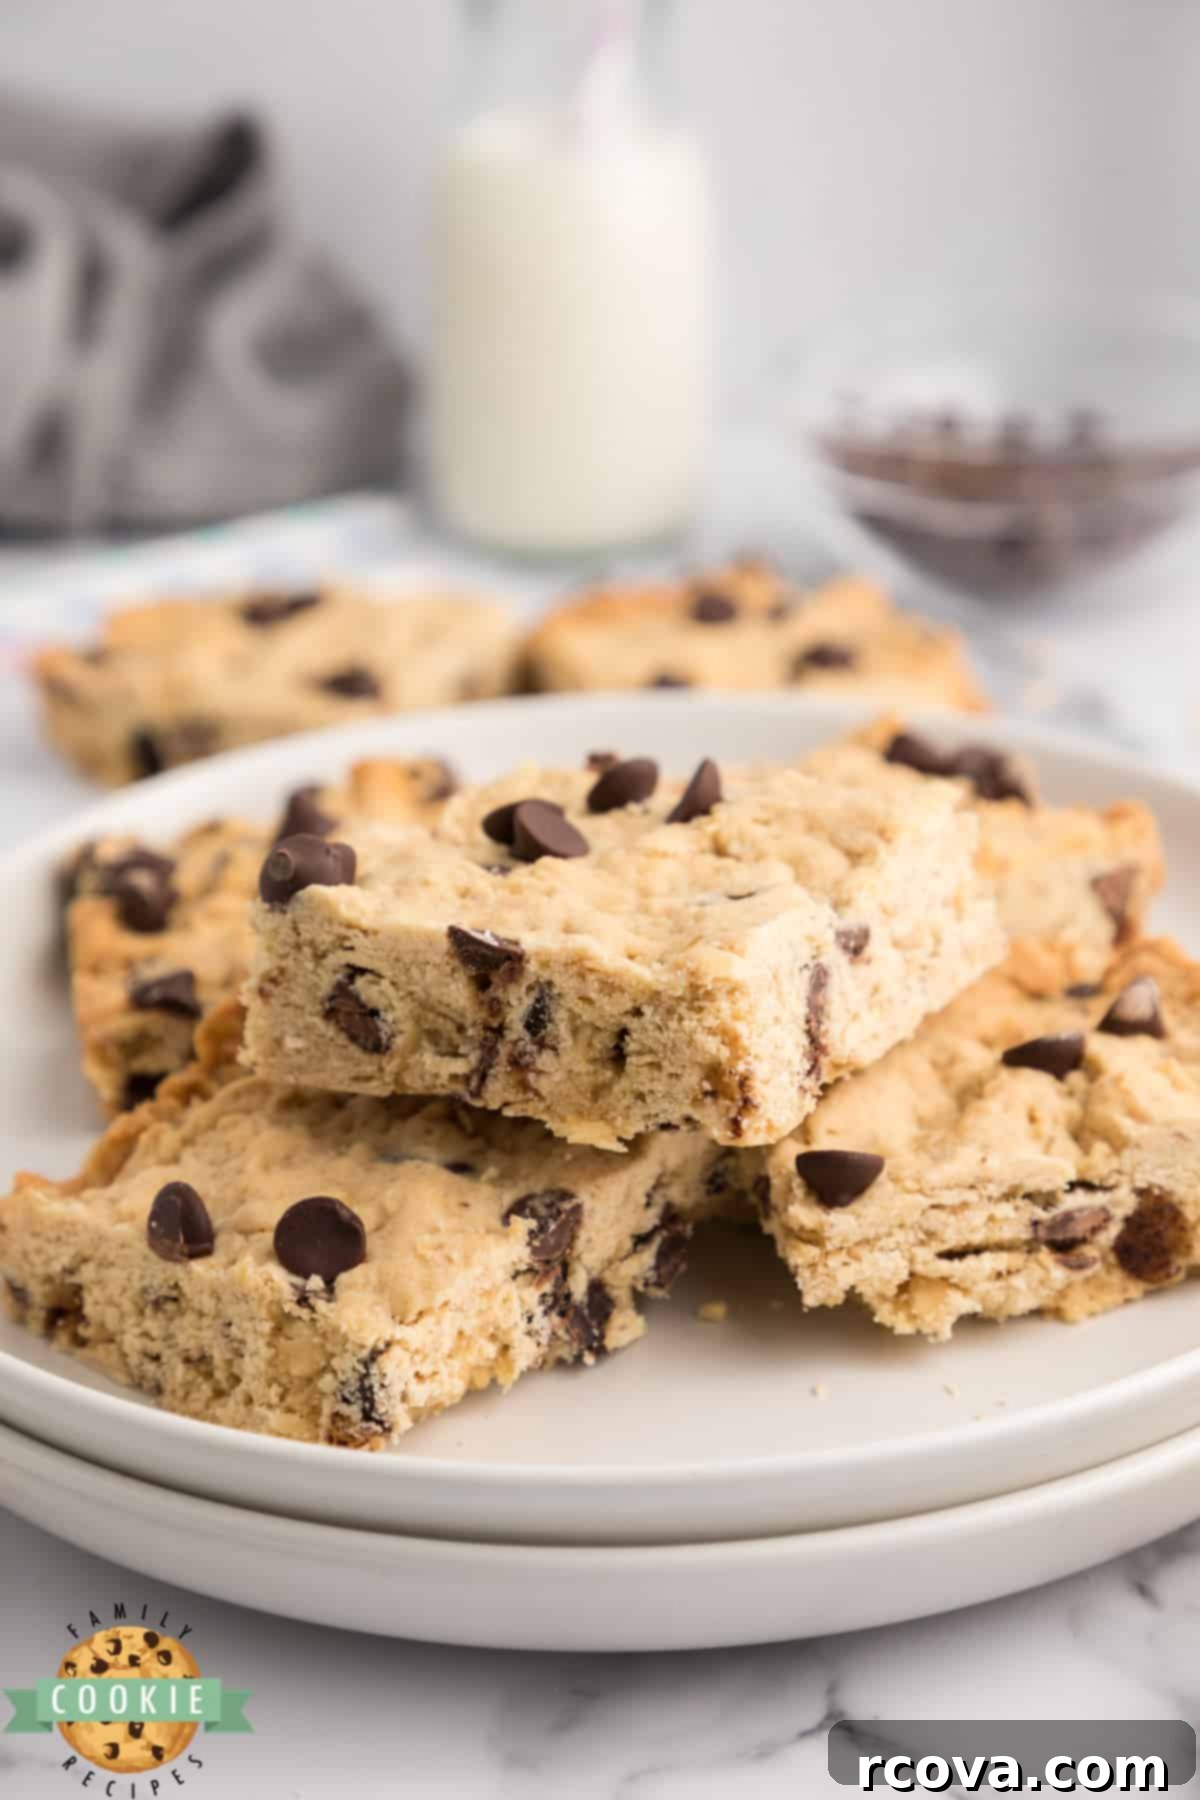
Effortless Baking: The Magic of Oatmeal Chocolate Chip Bars
These delectable cookie bars share the same beloved foundation of ingredients found in classic oatmeal chocolate chip cookies. We’re talking about pantry staples like butter, sugar, flour, eggs, and, of course, hearty oats. The primary difference, and the true beauty of this recipe, lies in the preparation. Instead of forming individual cookies, you simply spread all the dough evenly into a single 9×13 inch baking pan. This simplifies the baking process immensely. Once baked to golden perfection, you just let them cool, slice into convenient bars, and serve. It’s an unbeatable way to enjoy a warm, comforting dessert with minimal fuss.
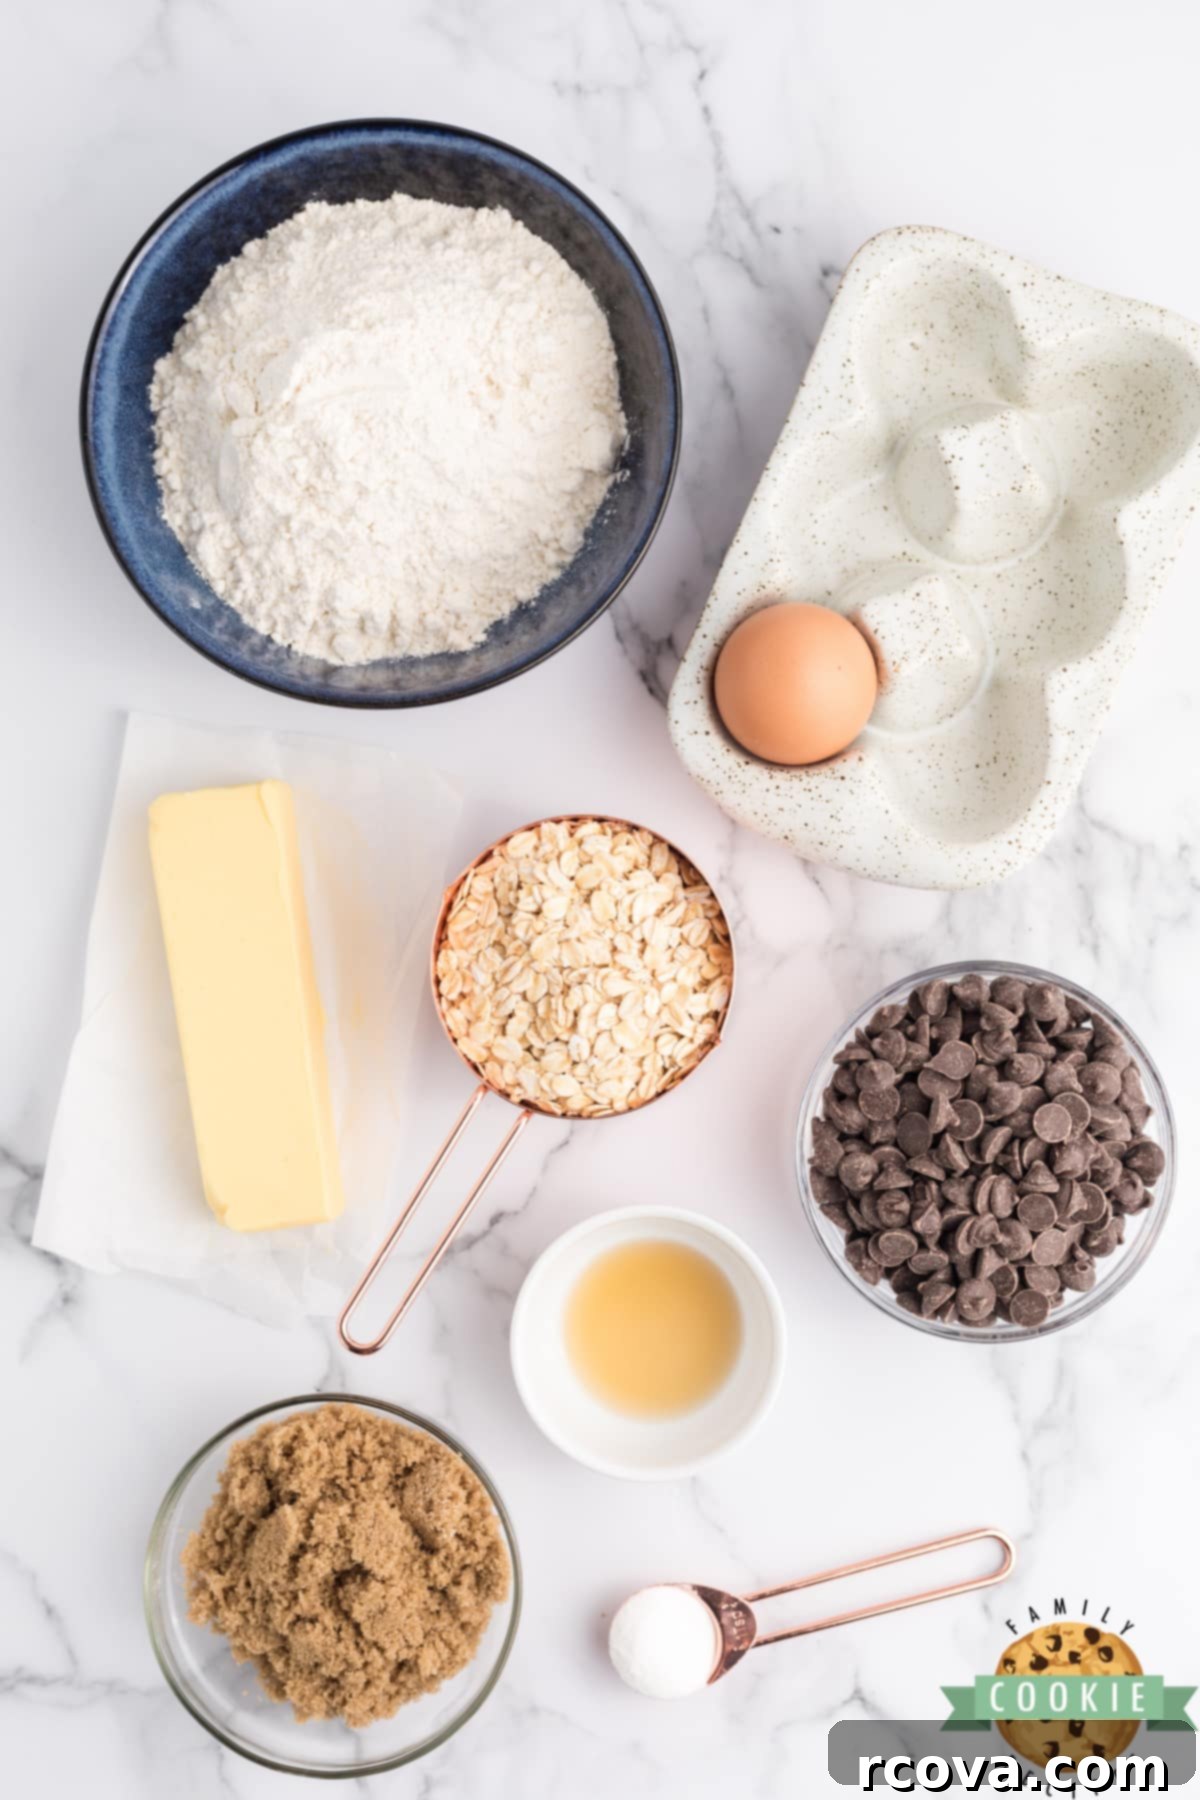
Key Ingredients for Perfect Oatmeal Chocolate Chip Bars
Crafting the perfect batch of oatmeal chocolate chip bars starts with understanding each ingredient’s role. Here’s a detailed look at what you’ll need and why it matters:
Flour – For most cookie and bar recipes, all-purpose flour is your go-to. It provides the necessary structure and body without making the bars too dense. When measuring flour, remember to spoon it into your measuring cup and then level it off with a straight edge to ensure accuracy and avoid overly dry bars.
Baking soda – This is the essential leavening agent that helps your cookie bars rise and become wonderfully soft. Don’t skip it! For optimal results, always check that your baking soda isn’t old or expired, as its effectiveness diminishes over time.
Salt – A small amount of salt is crucial. It doesn’t just add its own flavor; it enhances all the other ingredients, bringing out the sweetness of the sugars and the richness of the chocolate. It creates a balanced and more complex flavor profile.
Oats – The star of the show! You have flexibility here: either old-fashioned (rolled) oats or quick oats will work. Personally, I love using a half-and-half blend. If you opt for all quick oats, your bars will be slightly denser and have a softer crumb. Using all old-fashioned oats will yield a chewier texture, with more distinct oat pieces, adding to that satisfying “oatmeal” feel. The choice is yours based on your preferred chewiness!
Butter – I typically use salted butter in my cookie recipes because it adds a subtle depth of flavor. However, unsalted butter works perfectly fine too! If using unsalted, you don’t necessarily need to adjust the salt measurement in the recipe; the difference in the final taste is minimal for most palates. The key is to soften the butter to room temperature, which allows it to cream properly with the sugars.
Sugars – This recipe calls for a total of one cup of sugar. I find a balanced combination of half granulated sugar and half brown sugar creates the best texture and flavor. Brown sugar contributes moisture and a rich, molasses-like flavor, leading to a chewier bar. Granulated sugar aids in crispness at the edges and sweetness. However, if you only have one type on hand, you can use all brown sugar for a richer, more intensely flavored bar, or all granulated sugar for a slightly crisper texture.
Egg – A single large egg is vital for binding all the ingredients together, providing structure, moisture, and helping to create that classic chewy texture in your bars.
Vanilla extract – Never underestimate the power of good vanilla! The quality of your vanilla extract significantly impacts the overall flavor of your baked goods. A high-quality pure vanilla extract will infuse your bars with a warm, inviting aroma and a depth of flavor that artificial versions simply can’t match.
Chocolate chips – While semi-sweet chocolate chips are my go-to for this recipe, feel free to get creative! You can swap them for milk chocolate chips, dark chocolate chips, white chocolate chips, or even butterscotch chips – which are absolutely incredible in these bars! If chocolate isn’t your thing, or you prefer a different kind of mix-in, consider adding raisins or chopped nuts instead.
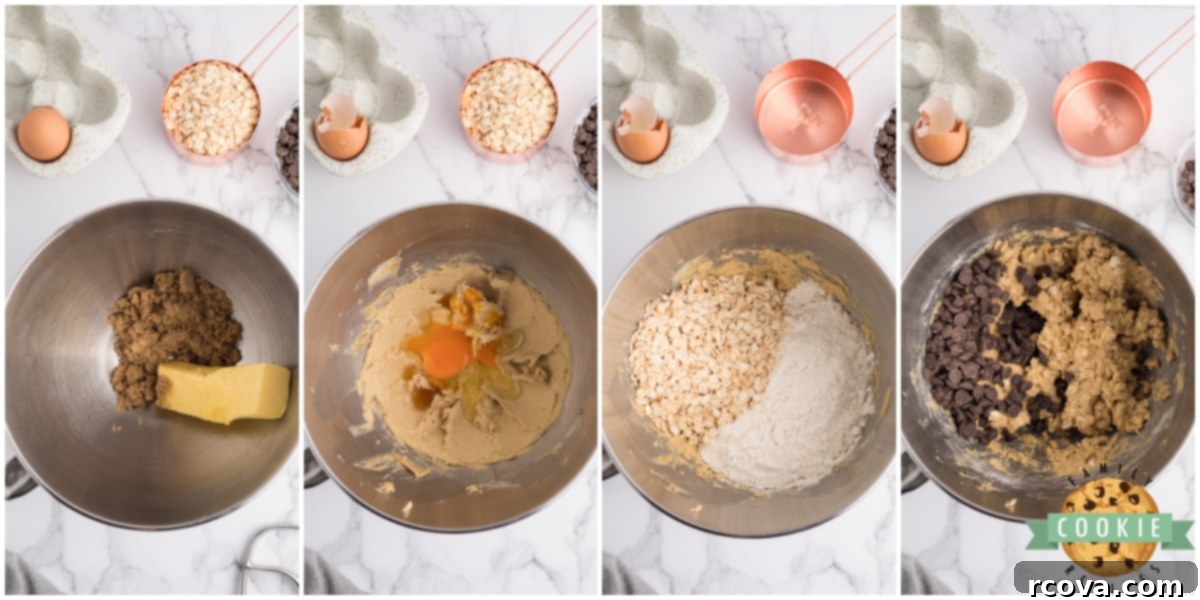
Simple Steps to Make Oatmeal Chocolate Chip Bars
Baking these bars is a straightforward process. Follow these easy steps for delicious results:
- Preheat your oven to 375°F (190°C). Lightly grease a 9×13 inch baking pan or line it with parchment paper for easy removal.
- In a medium bowl, whisk together the flour, baking soda, and salt. Set aside.
- In a large mixing bowl, using an electric mixer, beat the softened butter, granulated sugar, brown sugar, egg, and vanilla extract until the mixture is light and creamy. This usually takes about 2-3 minutes. Don’t rush this step, as proper creaming incorporates air, which contributes to the bars’ texture.
- Gradually add the dry ingredients to the butter and sugar mixture, mixing on low speed until just combined. Be careful not to overmix, as this can lead to tough bars.
- Stir in your chosen chocolate chips (or other mix-ins) by hand until they are evenly distributed throughout the dough.
- Transfer the dough into your prepared 9×13 inch pan. Use your fingers or a rubber spatula to press the dough evenly across the entire bottom of the pan. It might seem thick, but it will spread.
- If you want more visible chocolate on top, sprinkle a few extra chocolate chips over the surface of the dough just before baking.
- Bake for 18-20 minutes, or until the edges are lightly golden brown and the center looks set but still slightly soft. Remember, they will continue to set as they cool.
- Let the cookie bars cool in the pan on a wire rack before slicing and serving. If you’re like me, you might enjoy them warm – they’ll be a little more crumbly but absolutely heavenly!
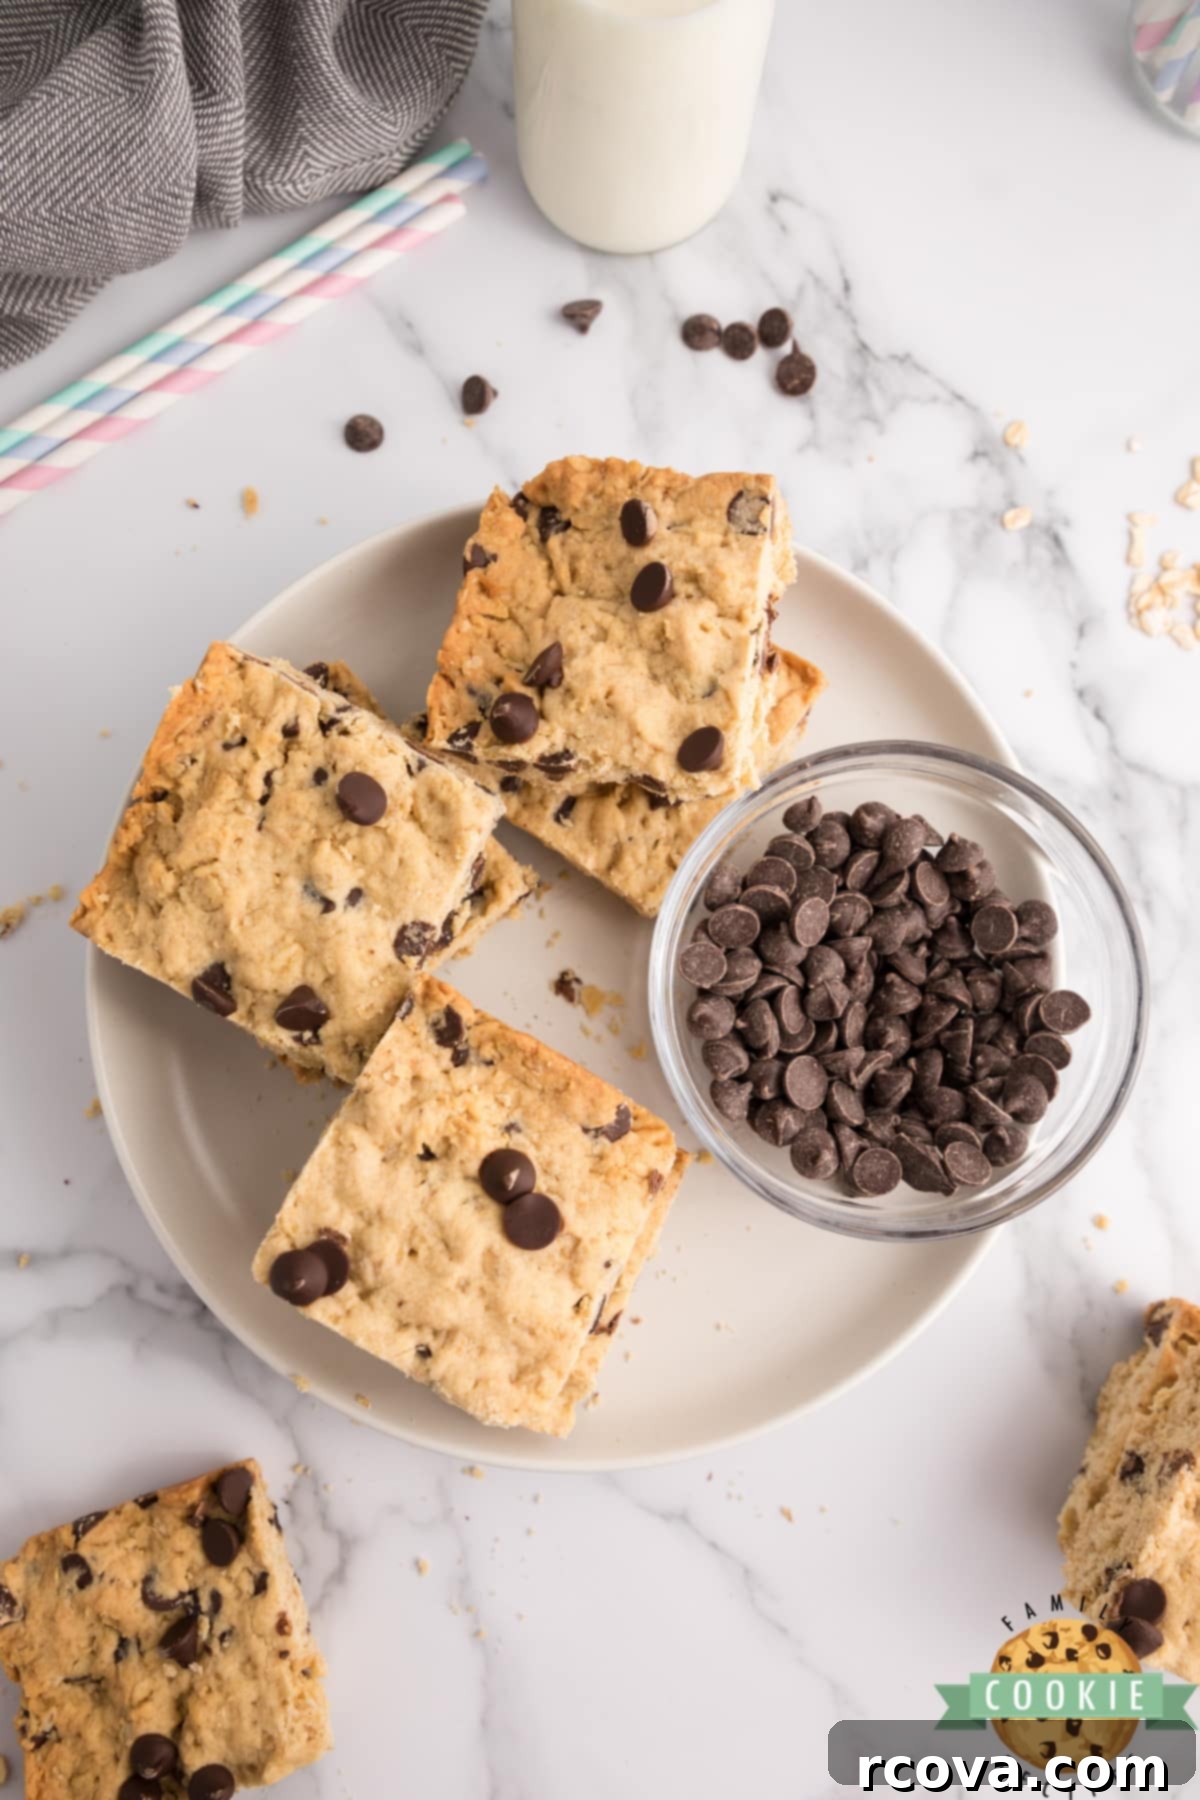
Essential Tips for Baking the Best Cookie Bars
- Room Temperature Butter is Key: Never melt the butter! Always soften it to room temperature before you begin. This allows the butter to cream with the sugars properly, creating a smooth mixture that incorporates air and contributes to a lighter, chewier bar.
- Cream Butter and Sugars Thoroughly: Dedicate 2-3 minutes to creaming the butter and sugars together until light and fluffy. This step is crucial for achieving the perfect consistency and texture in your cookie bars.
- Preheat Your Oven: Always preheat your oven completely before placing your cookie bars inside. A consistently heated oven ensures even baking and helps your bars turn out perfectly every time.
- Avoid Overbaking: This is perhaps the most important tip for chewy bars! When I take my bars out of the oven, they still look slightly underbaked in the very center. Don’t worry! They will continue to bake and set in the hot pan for a few more minutes after you remove them, resulting in that wonderfully soft and chewy interior. Overbaking leads to dry, crumbly bars.
- Line with Parchment Paper: For incredibly easy removal and cleanup, line your baking pan with parchment paper, leaving an overhang on the sides. Once cooled, you can simply lift the entire slab of bars out of the pan before slicing.
Oatmeal Chocolate Chip Bars
Print
Pin
Rate
Ingredients
- 1 ¾ cups all-purpose flour
- ¾ tsp baking soda
- ¼ tsp salt
- 1 cup oats (old-fashioned or quick, or a mix)
- ¾ cup butter softened to room temperature
- ½ cup granulated sugar
- ½ cup packed brown sugar
- 1 large egg
- 1 tsp vanilla extract
- 1-2 cups semi-sweet chocolate chips (or other favorite mix-ins)
Instructions
-
Preheat oven to 375°F (190°C).
-
In a medium bowl, mix together the flour, baking soda, and salt. Set aside.
-
In a large bowl, use an electric mixer to beat the softened butter, granulated sugar, brown sugar, egg, and vanilla extract together. Mix for at least 2-3 minutes until light and creamy.
-
Gradually add the dry ingredients to the butter/sugar mixture and mix on low speed until just combined. Be careful not to overmix.
-
Stir in the chocolate chips (and oats) by hand until evenly distributed.
-
Press the cookie dough into a greased 9X13 inch pan (or parchment-lined pan) until evenly distributed.
-
Bake for 18-20 minutes, or until the tops and edges start to turn a light golden brown. The center might still look slightly soft. Cool completely in the pan before slicing and serving.
Nutrition
Choosing the Right Oats for Your Cookie Bars
The type of oats you use can subtly change the texture of your Oatmeal Chocolate Chip Cookie Bars, making it a matter of personal preference. You can certainly use quick oats, old-fashioned (rolled) oats, or even a combination of both. I often find myself reaching for a blend of half quick oats and half old-fashioned oats, as it strikes a nice balance between texture and chewiness. However, feel free to use whatever variety you have in your pantry!
If you decide to use all quick oats, your cookie bars will tend to be a bit denser and slightly puffier, with a more uniform texture. This is because quick oats are cut into smaller pieces and cook faster. On the other hand, old-fashioned oats provide a heartier, chewier texture. The larger flakes give the bars a more substantial feel and a distinct “oatmeal” character, which some find more satisfying. I particularly love the chewiness that old-fashioned oats impart, and honestly, it makes it a little easier for me to rationalize enjoying a few of these cookie bars for breakfast!
How to Perfectly Soften Butter to Room Temperature
Softened butter is non-negotiable for most cookie recipes, including these Oatmeal Chocolate Chip Bars, as it creams properly with sugar to create a light and airy dough. The ideal way to soften butter is to simply set it out on your counter for a few hours. However, life rarely goes according to such a perfect schedule! If you find yourself in a pinch, here are a few quick tricks:
- Microwave Method (Carefully!): This is my go-to for speed, but it requires precision to avoid melting the butter. Place the entire stick of butter (unwrapped, unless it’s in a microwave-safe wrapper) into the microwave. Microwave for about 6-7 seconds on high. Check its softness. If it’s still quite firm, try another 5-7 seconds. Repeat in shorter intervals (3-5 seconds) until it yields easily when pressed but isn’t melted.
- Defrost Setting: I’ve found the defrost setting on my microwave to be excellent for softening butter. While it takes a bit longer (closer to 30 seconds to a minute), it seems to soften the butter more gently, reducing the risk of accidental melting.
- Water Bath Method: Fill a bowl with warm (not hot) water. Place the unwrapped stick of butter in its original wrapping or a plastic bag into the warm water for about 10-15 minutes. It will soften beautifully and evenly.
- Cut into Cubes: If you’re really short on time, cut the cold butter into small cubes (about 1/2 inch). Spread them out on a plate and let them sit for 15-30 minutes. The increased surface area will help them soften much faster than a whole stick.
Storing and Freezing Your Delicious Oatmeal Chocolate Chip Bars
These chewy oatmeal bars are so good, you might wonder how to make them last! Proper storage ensures they retain their delightful texture and flavor.
- Room Temperature Storage: Once completely cooled, store your oatmeal bars in an airtight container at room temperature. They will stay fresh, soft, and chewy for up to 5 days. Layering them between sheets of parchment paper can prevent them from sticking together.
- Freezing for Later: These oatmeal chocolate chip bars freeze exceptionally well, making them perfect for meal prepping desserts or having a treat ready for unexpected guests.
- Ensure the bars are entirely cooled before attempting to freeze them. Warm bars will create condensation, leading to soggy results.
- Slice the bars into individual portions.
- Place the sliced bars in a single layer on a baking sheet and flash freeze for about 30 minutes to an hour until firm. This prevents them from sticking together once bagged.
- Once firm, transfer the frozen bars to an airtight freezer-safe container or a heavy-duty freezer bag. Squeeze out as much air as possible to prevent freezer burn.
- Freeze for up to 3 months.
- To enjoy, simply remove the desired number of bars from the freezer and let them defrost at room temperature for an hour or two. You can also gently warm them in the microwave for a few seconds for that fresh-baked feel.
Exciting Variations for Your Oatmeal Chocolate Chip Bars
While the classic oatmeal chocolate chip bar is perfect on its own, it’s also a fantastic canvas for creative variations. Here are some ideas to customize your next batch:
- Nutty Additions: Stir in 1/2 to 1 cup of chopped walnuts, pecans, or almonds along with the chocolate chips for added crunch and flavor.
- Different Chips: Experiment with other types of chips like peanut butter chips, white chocolate chips, or dark chocolate chips. A combination can be delicious too!
- Dried Fruit Delight: For a twist, replace some or all of the chocolate chips with 1 cup of dried cranberries, raisins, or chopped dried apricots.
- Spice It Up: Add 1/2 teaspoon of ground cinnamon or a pinch of nutmeg to the dry ingredients for a warm, spiced flavor.
- Caramel Swirl: Drizzle melted caramel over the top of the bars immediately after they come out of the oven for an extra layer of sweetness and decadence.
- Coconut Crunch: Mix in 1/2 cup of shredded coconut for a tropical twist and added texture.
Frequently Asked Questions About Oatmeal Chocolate Chip Bars
Can I make these cookie bars gluten-free?
Yes, you can! To make these bars gluten-free, substitute the all-purpose flour with a 1:1 gluten-free baking flour blend that contains xanthan gum. Ensure your oats are certified gluten-free, as some oats can be cross-contaminated during processing.
What if my bars turn out dry or crumbly?
Dry or crumbly bars are often a sign of overbaking. Remember to remove them from the oven when the edges are just lightly golden and the center still looks a bit soft. They will continue to bake as they cool. Another common culprit is too much flour, so ensure you’re measuring it correctly by spooning it into the measuring cup and leveling it off.
Can I use only one type of sugar?
While the combination of granulated and brown sugar offers the best balance of sweetness and chewiness, you can use all brown sugar for a richer, chewier bar or all granulated sugar for a slightly crisper texture. Adjusting the sugar content might slightly alter the final texture, but the bars will still be delicious.
How can I make them thicker?
For thicker bars, you can bake them in a slightly smaller pan, such as an 8×8 inch square pan. Be aware that this will increase the baking time. Start checking for doneness around the 25-30 minute mark, looking for golden edges and a mostly set center.
Love cookie bars as much as we do? Here are some of our favorite cookie bar recipes:
- S’mores Cookie Bars
- Peanut Butter Cookie Bars
- Butterfinger Cookie Bars
- Mint Chocolate Chip Cookie Bars
- Pumpkin Snickerdoodle Cookie Bars
- Tagalong Cookie Bars
- Snickerdoodle Cookie Bars
- Cherry Almond Cookie Bars
- Fudgy Oatmeal Cookie Bars
- Sugar Cookie Bars
- No Bake Cookie Bars
- Swiss Miss Chocolate Chip Cookie Bars
These soft, chewy, and incredibly easy Oatmeal Chocolate Chip Bars are truly a gift for anyone who loves homemade cookies but needs a more efficient baking solution. Packed with wholesome oats and rich chocolate chips, this chocolate chip cookie bar recipe comes together in a flash, promising a delightful treat every time. So next time you’re craving something sweet, skip the individual scoops and bake a batch of these glorious bars!


On a personal note, Little Baby B is now 6 months old! I can hardly believe how quickly time flies. She absolutely adores food, and those chubby cheeks are a dead giveaway! She’s certainly not picky and will try almost anything, but avocados and bananas are her absolute favorites. She can easily devour a whole avocado in one sitting and polish off a banana pretty quickly too. Her latest adorable trick? Chomping down on the spoon while I’m feeding her – she’s already quite talented!

