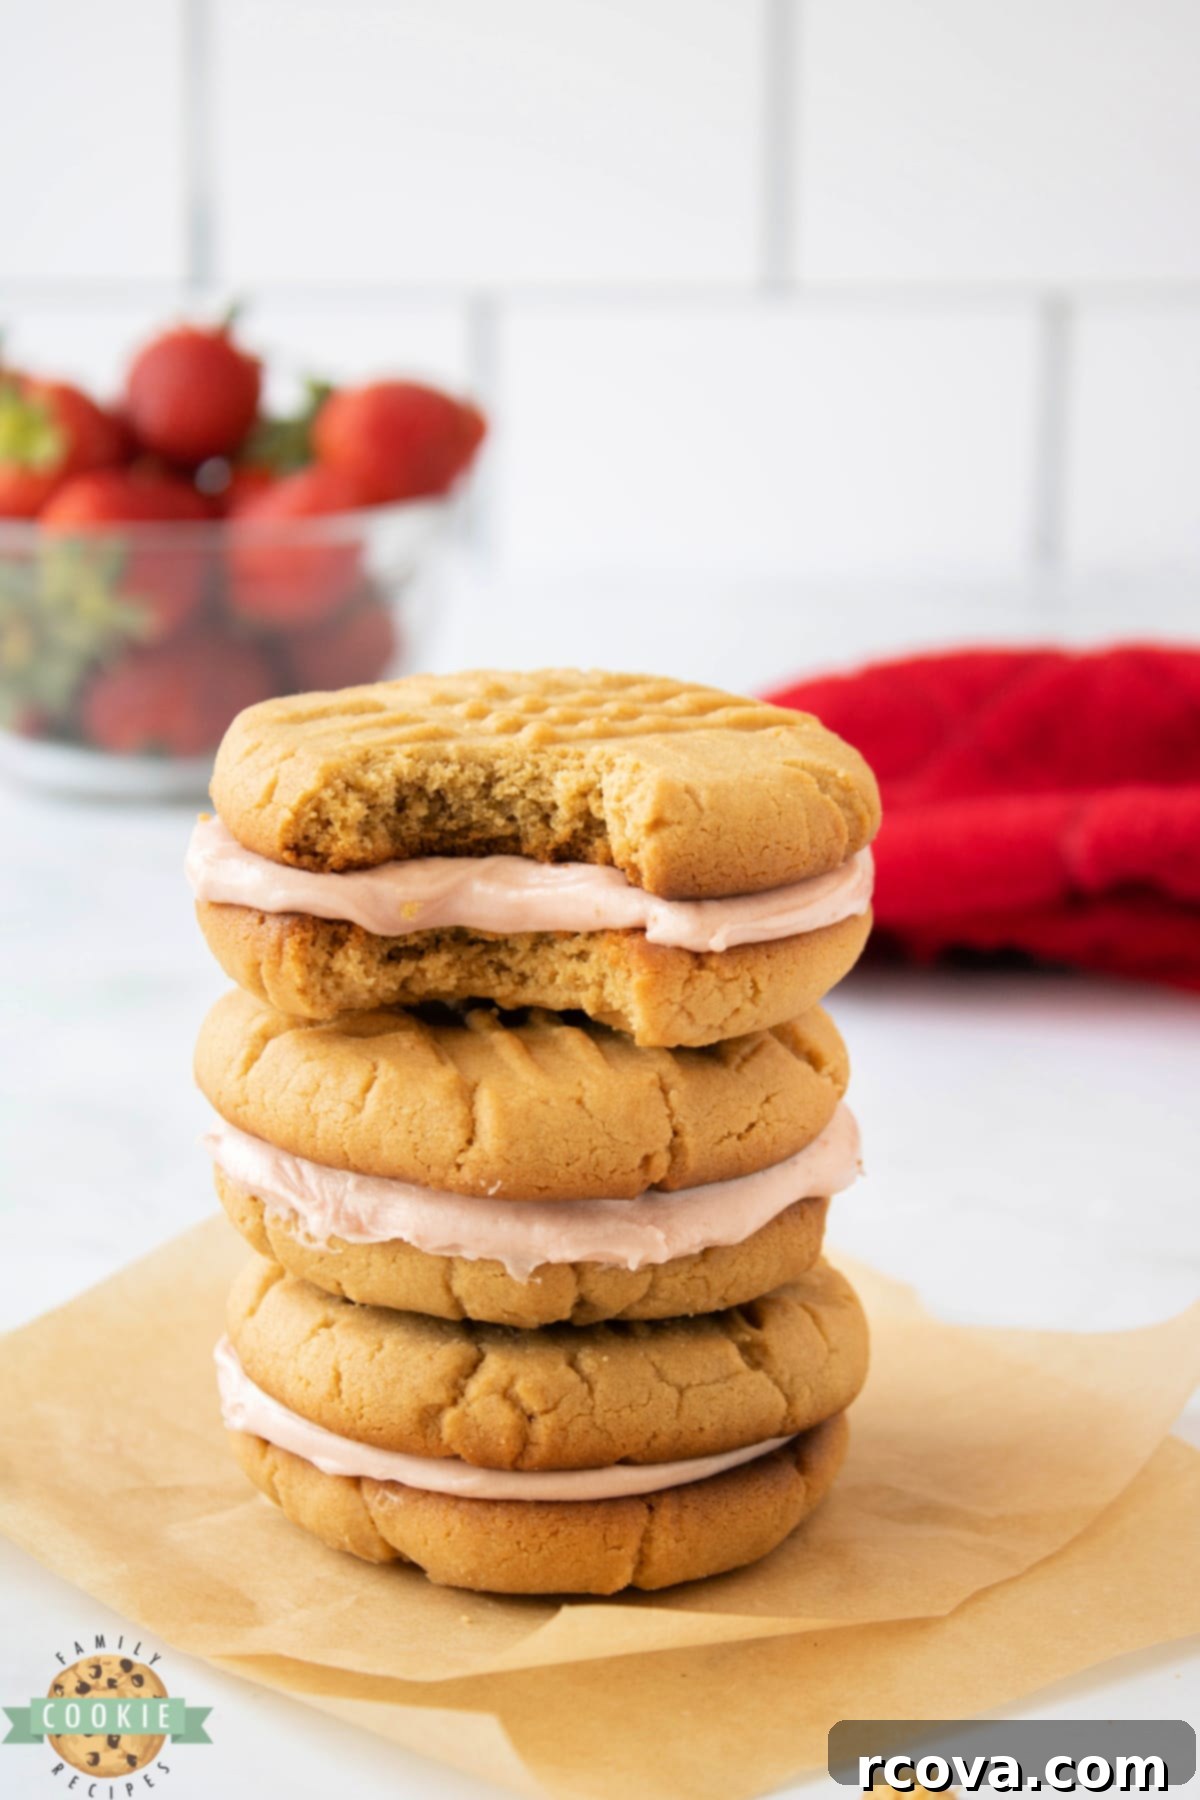
Irresistible Peanut Butter and Jelly Sandwich Cookies: A Taste of Childhood Nostalgia
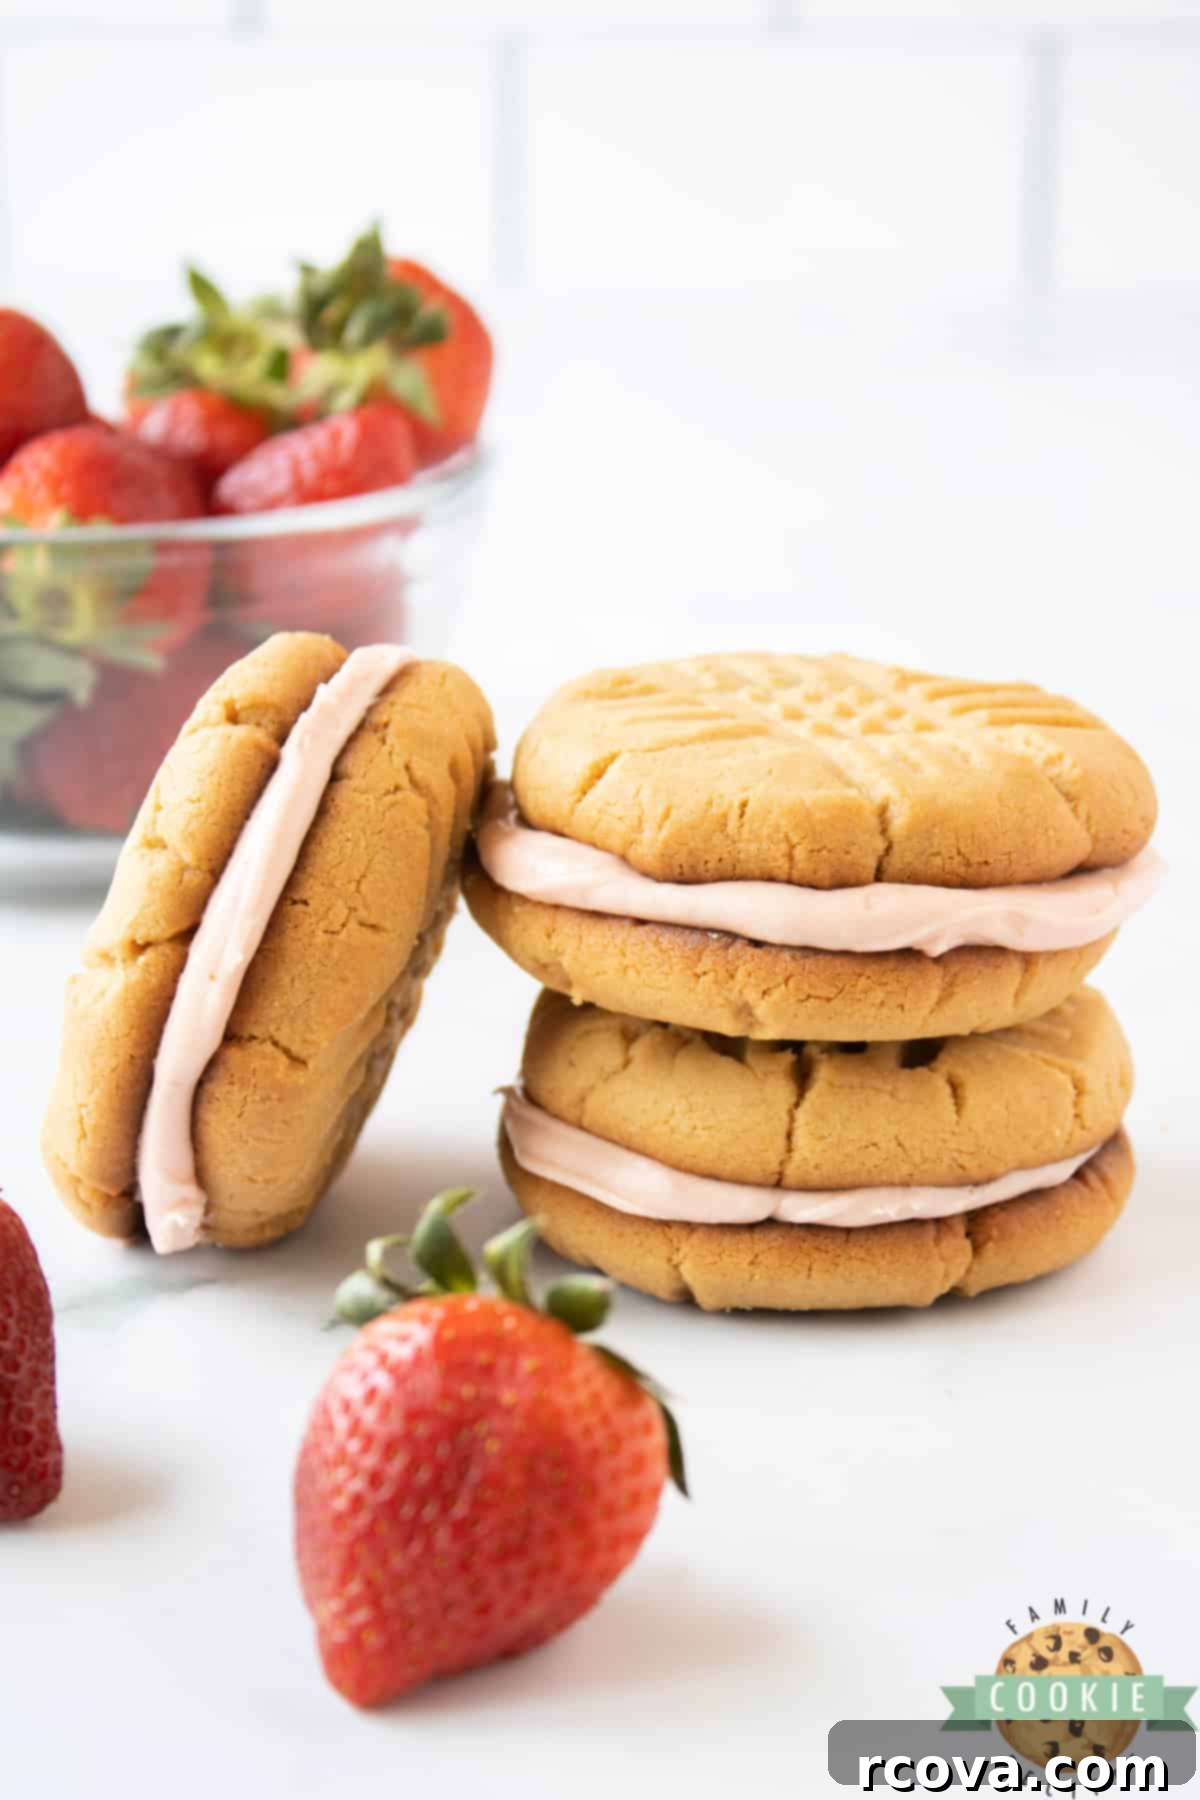
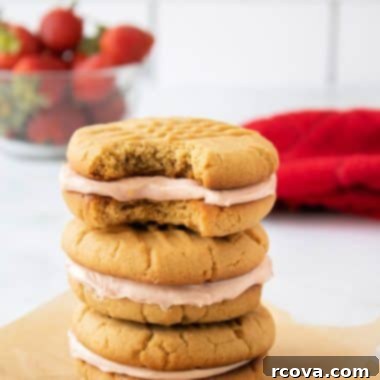
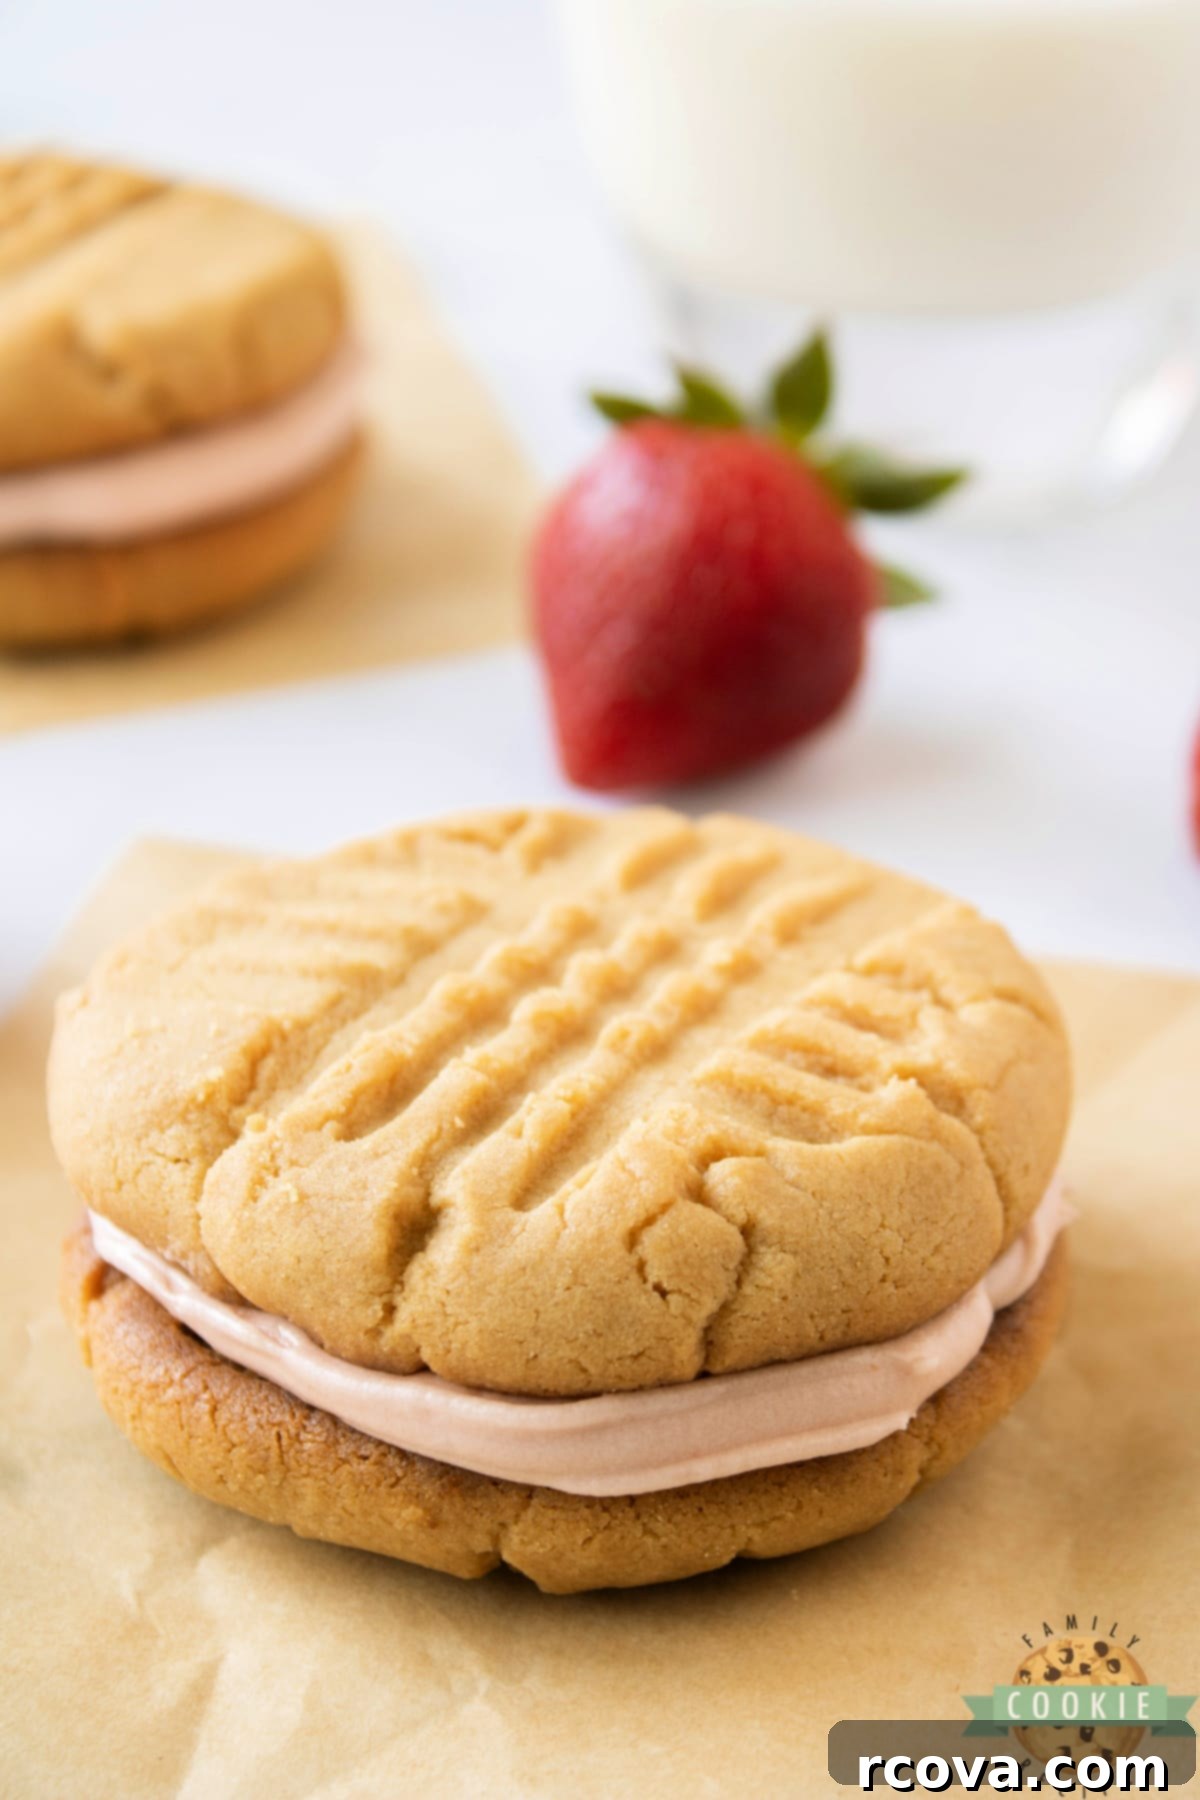
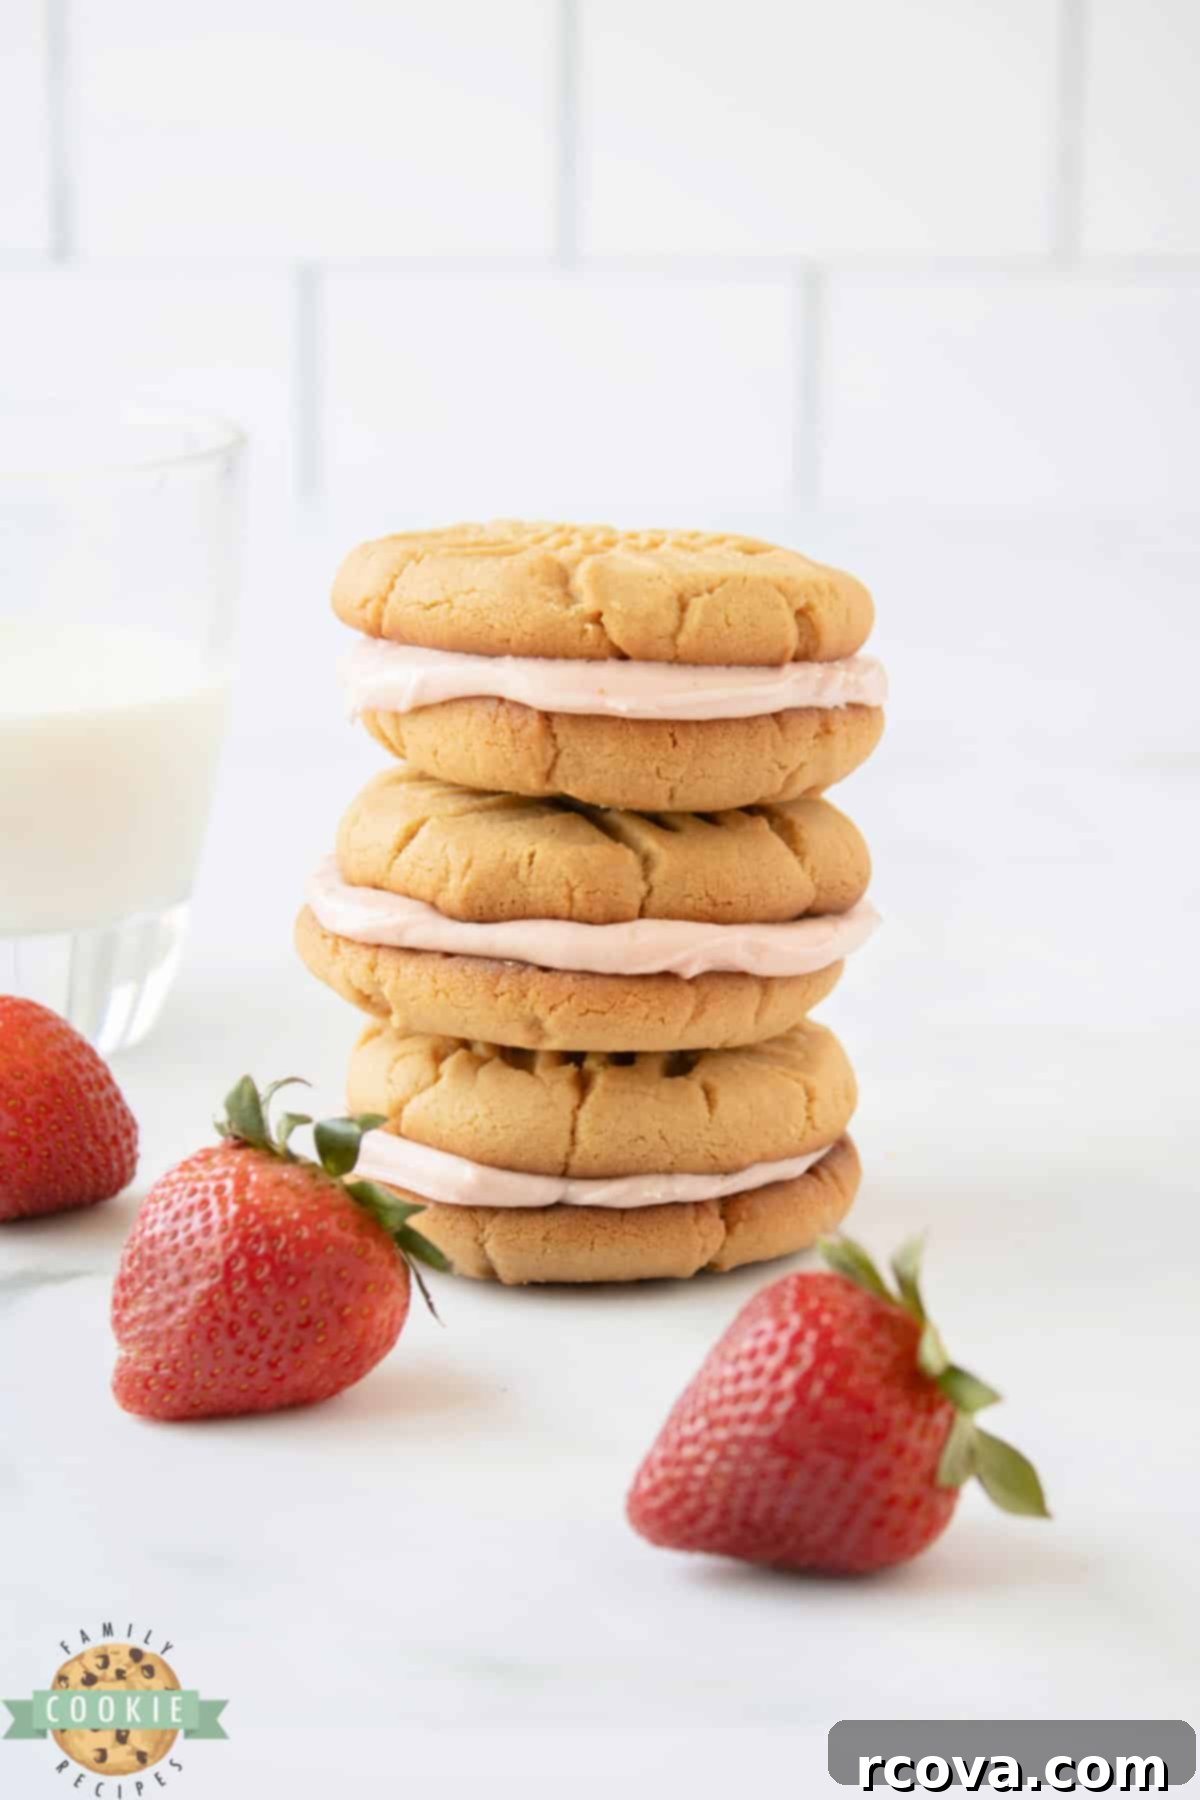
Dive into a delicious trip down memory lane with these incredible Peanut Butter and Jelly Sandwich Cookies. Imagine two perfectly soft and chewy peanut butter cookies, embracing a luscious, creamy strawberry buttercream frosting. This delightful treat takes your beloved childhood sandwich and transforms it into an irresistible dessert that adults and kids alike will adore. It’s more than just a cookie; it’s a comforting hug in edible form, blending the classic flavors of peanut butter and sweet jelly in every single bite.
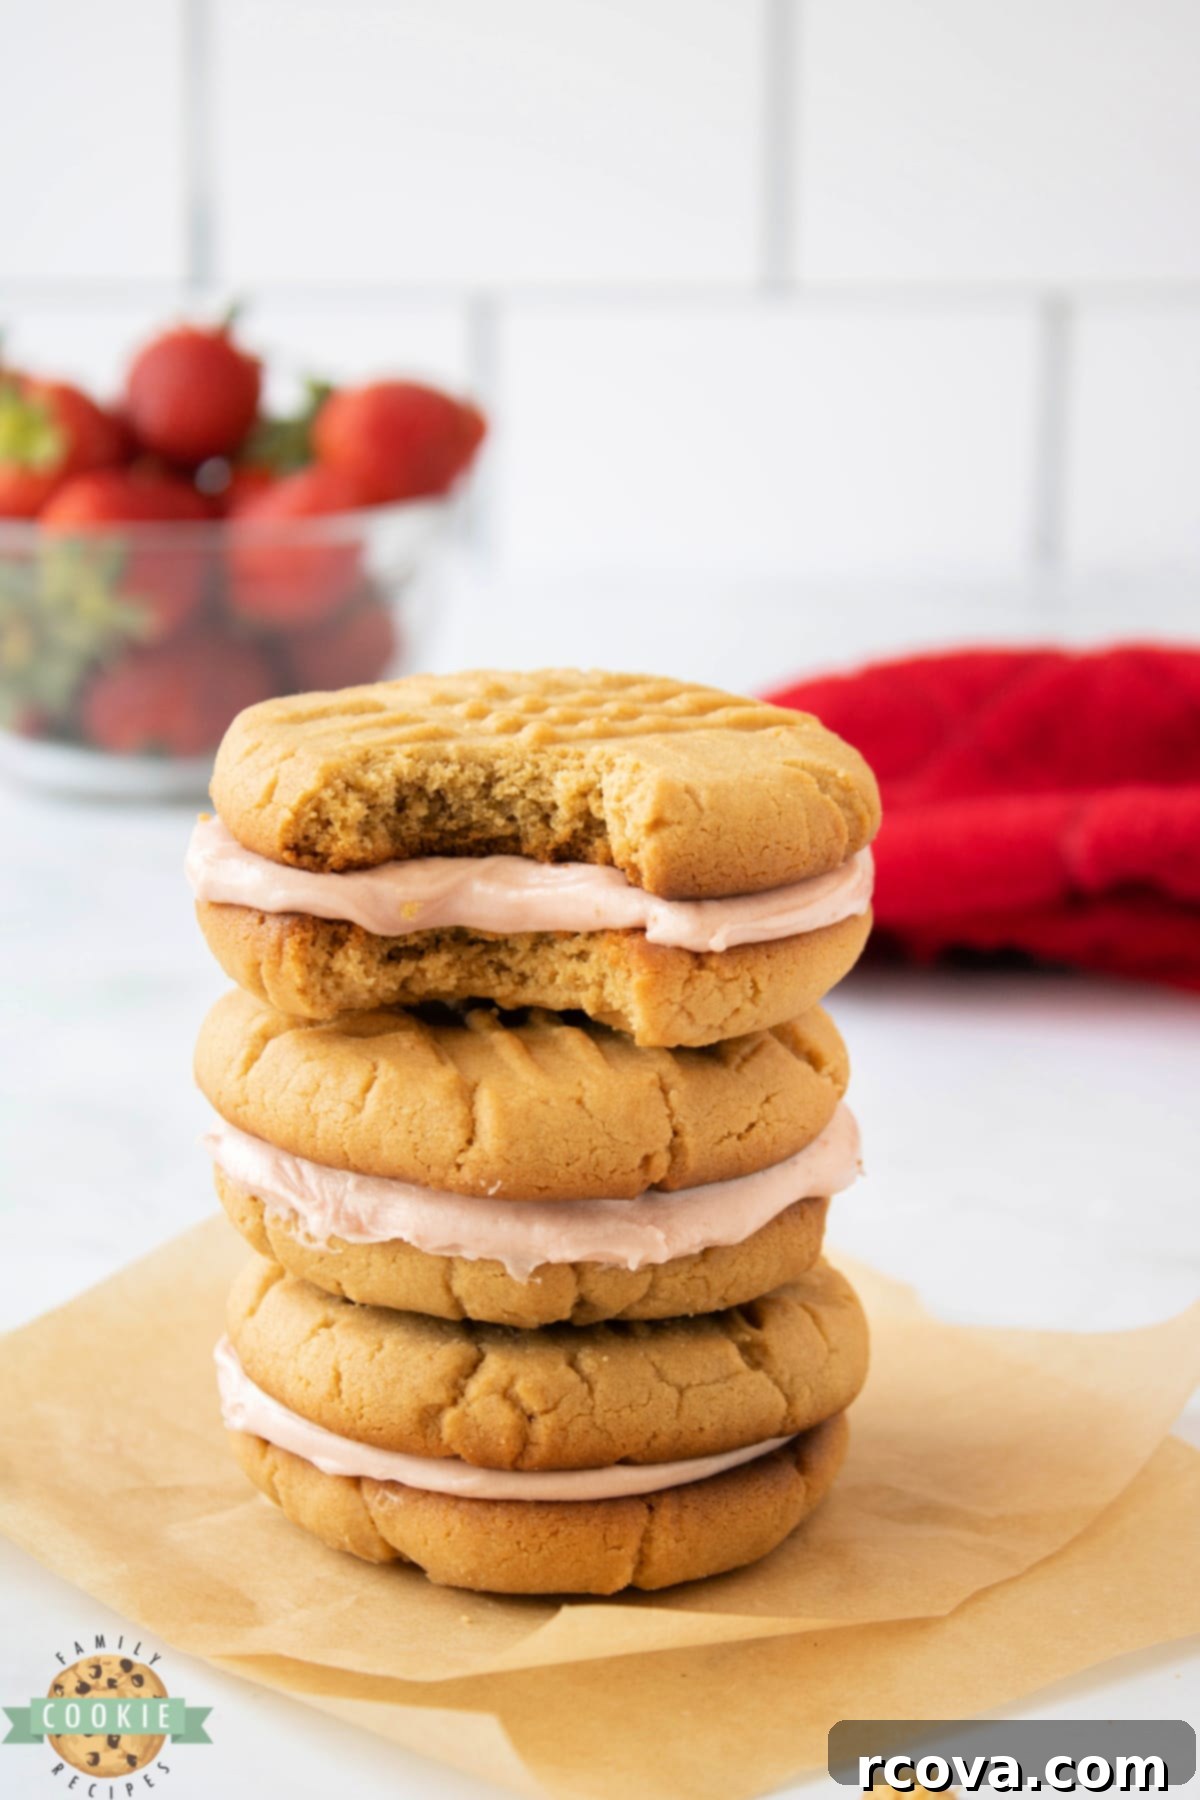
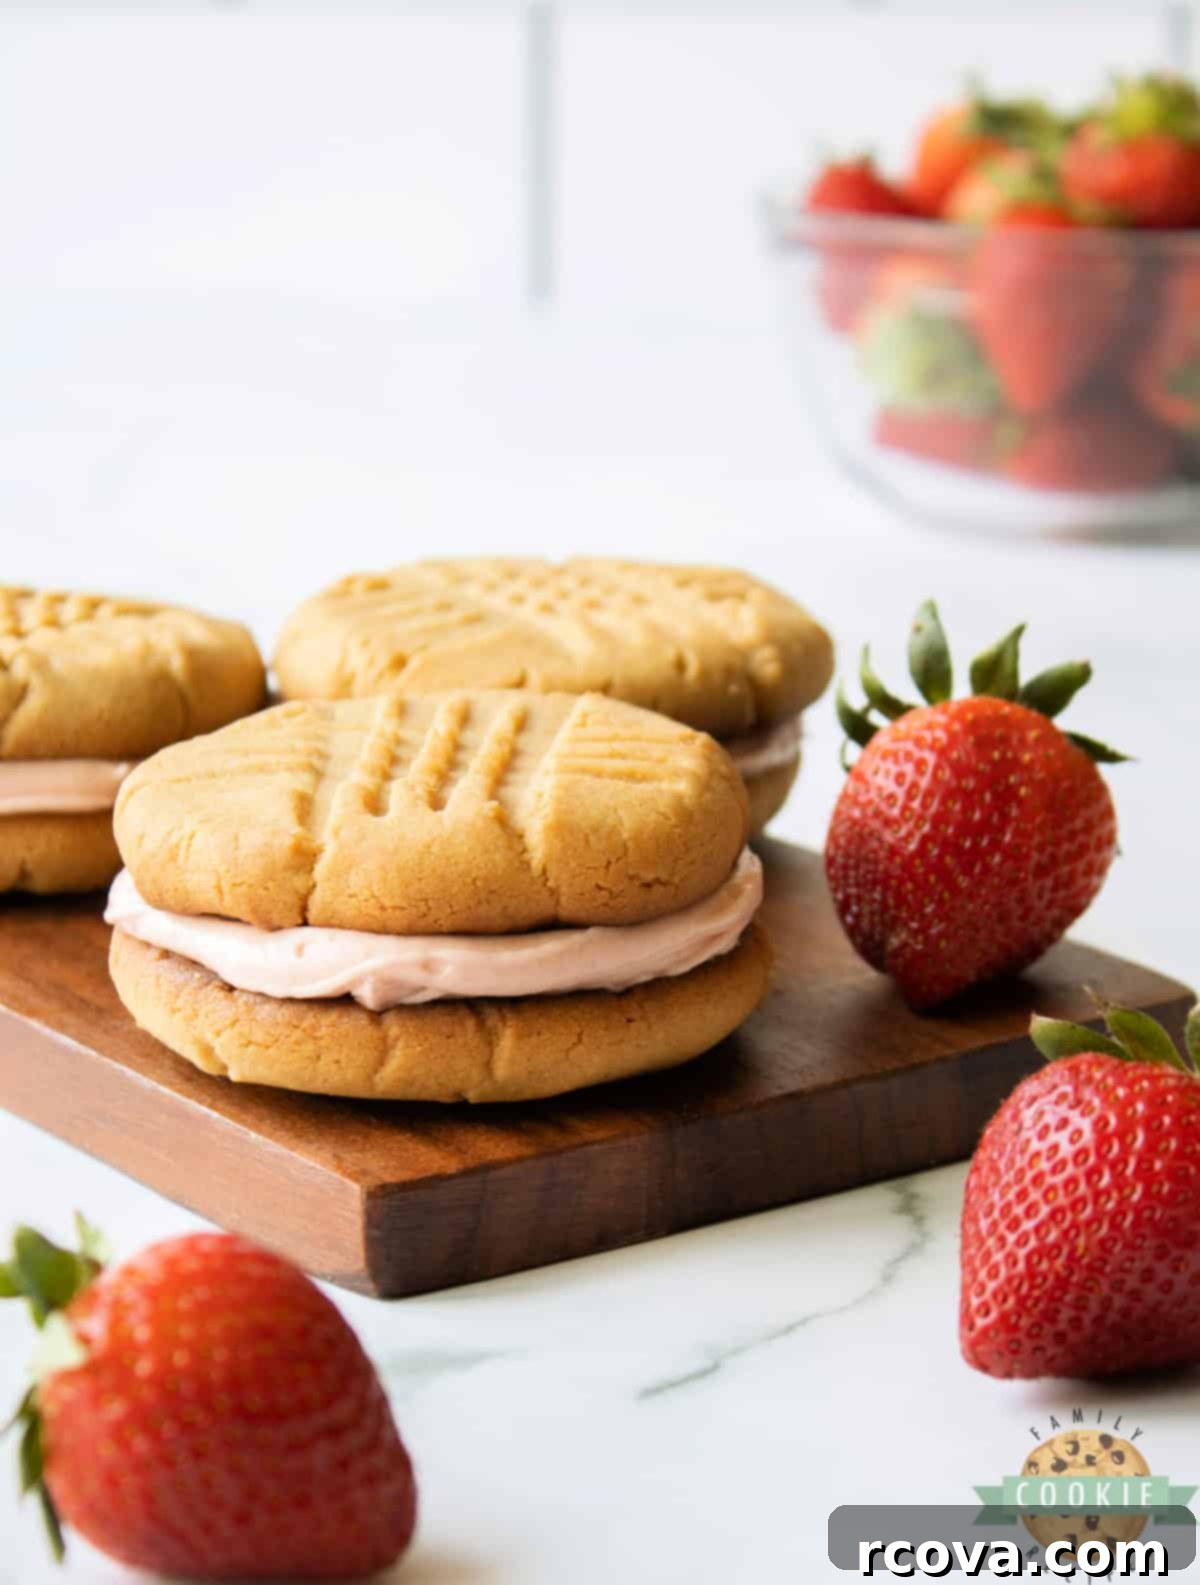
While we absolutely adore classic peanut butter cookies on their own, we’ve discovered that pairing them with a vibrant strawberry frosting elevates them to a whole new level of deliciousness. And what could be better than a single peanut butter cookie? Two, of course, when they’re sandwiched together with a generous layer of that dreamy frosting! These sandwich cookies aren’t just a dessert; they’re an experience, offering a harmonious blend of nutty, sweet, and fruity flavors with every bite.
Crafting the Perfect Peanut Butter and Jelly Sandwich Cookies
The journey to these exquisite sandwich cookies begins with an outstanding peanut butter cookie base. Our recipe focuses on creating cookies that are wonderfully soft and chewy in the center, with just the right amount of firmness around the edges. This ideal texture is achieved through a thoughtful combination of both butter and shortening in the dough. Butter contributes to the rich flavor, while shortening helps the cookies maintain their shape during baking and ensures that signature soft chewiness that makes them so irresistible. This foundational peanut butter cookie is truly a star on its own, but it’s also the perfect canvas for our delightful filling.
Once your delectable peanut butter cookies are baked to golden perfection and allowed to cool completely, the next step is to create the star of the show: the strawberry buttercream frosting. This creamy, dreamy frosting is surprisingly simple to make, requiring just a few common ingredients: softened butter, powdered sugar, and your favorite strawberry jam. The jam not only imparts a beautiful pink hue but also infuses the frosting with a burst of sweet, fruity flavor that perfectly complements the nutty cookies. Once prepared, generously spread this luscious frosting between two cooled cookies, gently press them together, and voilà – you have a stunning and delicious sandwich cookie ready to be devoured!
Essential Tips for Perfect Peanut Butter and Jelly Sandwich Cookies
Achieving bakery-quality sandwich cookies at home is easier than you think, especially with these helpful tips designed to ensure every batch is a success. From shaping your cookies uniformly to selecting the right ingredients, these insights will guide you to perfection.
- Achieve Uniformity with a Cookie Scoop: For professional-looking cookie sandwiches, consistency in size is key. Using a cookie scoop (a 2-tablespoon size works perfectly for this recipe) to portion out your dough is invaluable. This ensures that each cookie ball is exactly the same size, which means they will bake evenly and, more importantly, line up perfectly when you assemble your sandwiches. No more mismatched cookies!
- Customize Your Jelly/Jam Choice: While strawberry jam is a classic choice that pairs wonderfully with peanut butter, feel free to get creative with your favorite fruity spreads! Love grape jelly? Go for it! Raspberry jam? Delicious! Apricot? Why not? The key, regardless of flavor, is to opt for a seedless variety. Seeds can disrupt the smooth, creamy texture of your buttercream frosting, making it less enjoyable. A smooth jam ensures a silky, luxurious filling.
- Select the Right Peanut Butter: For optimal baking results, we highly recommend using regular, creamy peanut butter brands like Jif or Skippy. These types of peanut butter contain stabilizers that help the cookies maintain their structure and achieve the perfect texture. Natural peanut butters, which often separate and have a different oil content, tend to yield less consistent and sometimes drier cookies in baked goods. If you enjoy a bit of crunch, feel free to use crunchy peanut butter – it adds a delightful textural contrast to the soft cookies and creamy frosting.
- Don’t Overmix the Dough: When combining your wet and dry ingredients, mix just until everything is incorporated. Overmixing can develop the gluten in the flour too much, leading to tough or dense cookies rather than the desired soft and chewy texture. Stop mixing as soon as no dry streaks of flour remain.
- Properly Soften Your Butter: The consistency of your butter dramatically impacts your cookie dough and frosting. For both the cookies and the buttercream, softened butter (not melted!) is essential. It should be pliable enough to leave an indent when pressed, but still hold its shape. (More on how to perfectly soften butter further down!)
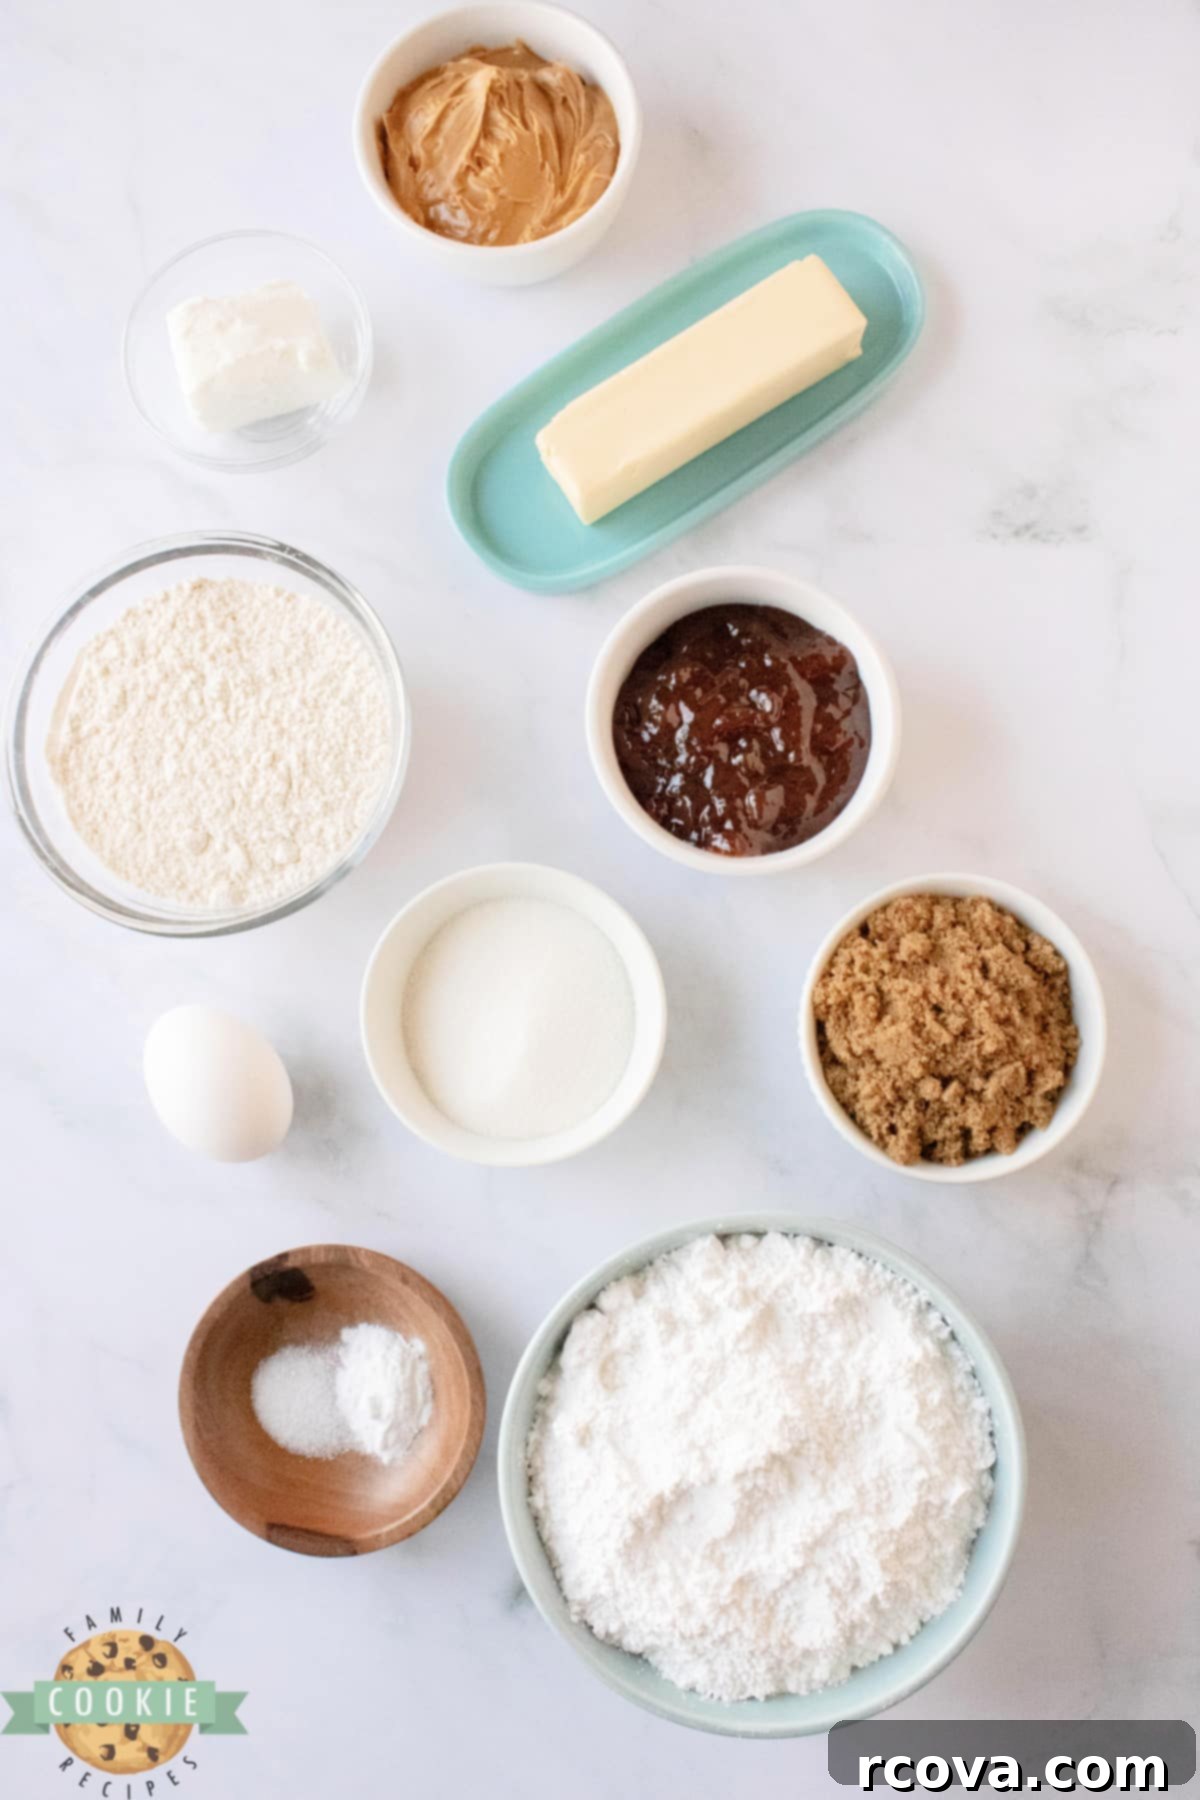
Key Ingredients for Your Peanut Butter & Jelly Sandwich Cookies
Understanding the role of each ingredient is crucial for baking success. Here’s a closer look at what goes into making these delectable cookies and their creamy frosting.
PEANUT BUTTER COOKIE INGREDIENTS
- All-Purpose Flour: The structural backbone of your cookies. It provides body and helps create that classic cookie texture.
- Baking Soda: This leavening agent is vital for giving your cookies their slight lift and a tender crumb. Always check the expiration date to ensure it’s active!
- Salt: A pinch of salt doesn’t just add seasoning; it balances the sweetness and enhances the rich flavor of the peanut butter, making all the other ingredients shine.
- Butter (Softened): You’ll need 1/4 cup (half a stick) of unsalted butter, softened to room temperature. Butter contributes rich flavor and helps with the texture. Softened butter creams easily with sugar, incorporating air for a lighter cookie.
- Shortening: Also 1/4 cup. Using shortening alongside butter is our secret to extra soft and chewy cookies that still hold their shape beautifully. Shortening has a higher melting point than butter, which prevents excessive spreading. Crisco sticks are convenient for mess-free measuring.
- Granulated Sugar & Brown Sugar: A delightful combination! Granulated sugar provides crispness and sweetness, while brown sugar adds moisture, chewiness, and a subtle molasses flavor, contributing to the cookie’s tenderness. Ensure your brown sugar is fresh and soft for the best results.
- Creamy Peanut Butter: The star flavor! We recommend creamy peanut butter (like Jif or Skippy) for consistent results in baking. Its emulsifiers prevent oil separation, leading to a more uniform cookie texture. Feel free to use crunchy if you prefer added texture. Avoid “natural” peanut butters, as their higher oil content can make cookies greasy or crumbly.
- Large Egg: Acts as a binder, holding all the ingredients together and adding moisture, which contributes to the cookie’s structure and richness.
STRAWBERRY BUTTERCREAM FROSTING INGREDIENTS
- Butter (Softened): One full stick (1/2 cup) of softened butter forms the base of this rich buttercream, providing its characteristic creamy texture and flavor.
- Powdered Sugar (Confectioners’ Sugar): Essential for a smooth, lump-free frosting. You’ll need 3 1/2 cups to achieve the perfect sweetness and thick consistency. Sifting it can help prevent lumps.
- Seedless Strawberry Jam: This is what gives your frosting its vibrant strawberry flavor and beautiful color. While strawberry is traditional for PB&J, you can experiment with other seedless jams like raspberry or grape. The key is “seedless” to ensure a silky-smooth finish.
Step-by-Step Guide: How to Make Peanut Butter & Jelly Sandwich Cookies
Follow these detailed instructions to create your own batch of delightful peanut butter and jelly sandwich cookies at home.
MAKE THE COOKIE DOUGH
- Preheat your oven to 350°F (175°C). This ensures a consistent baking temperature from the moment your cookies enter the oven, which is crucial for even baking.
- Prepare two baking sheets by lining them with parchment paper or silicone baking mats. This prevents sticking and makes for easy cleanup, ensuring your cookies slide right off without breaking.
- In a medium mixing bowl, whisk together the flour, baking soda, and salt. This step is important to evenly distribute the leavening agent and salt throughout the dry ingredients.
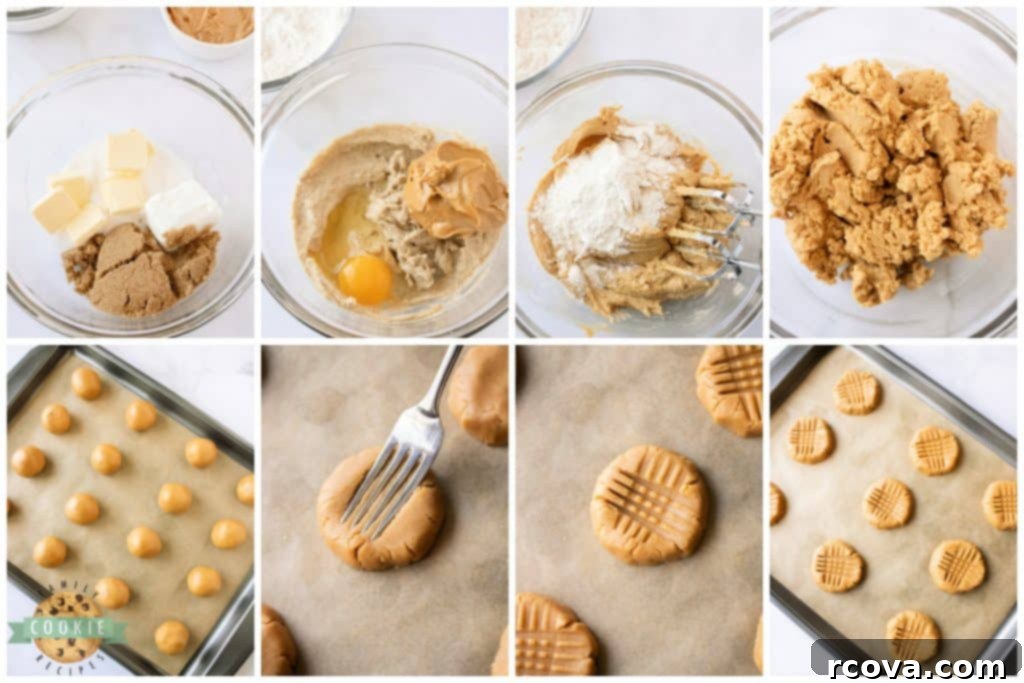
- In a separate, larger mixing bowl, using an electric mixer on low speed, beat the softened butter, shortening, granulated sugar, and brown sugar. Continue beating for about 3 minutes, or until the mixture becomes light, fluffy, and creamy. This creaming process incorporates air, which contributes to the cookies’ tender texture.
- Next, add the creamy peanut butter and the large egg to the wet ingredients. Mix for another 2-3 minutes, ensuring everything is thoroughly combined and smooth.
- Gradually add the whisked flour mixture to the wet ingredients, a little at a time. Beat on low speed until just combined. Be careful not to overmix! Stop as soon as no dry streaks of flour are visible. Use a rubber spatula to scrape down the sides and bottom of the bowl periodically to ensure all ingredients are fully incorporated.
SHAPE THE COOKIES
- Using a 2-tablespoon cookie scoop, portion out the dough. Roll each portion into a smooth ball between your palms. This recipe should yield approximately 18 uniform balls of dough, which will create 9 sandwich cookies.
- Place half of the cookie dough balls on each prepared baking sheet, ensuring they are spaced adequately apart to allow for spreading during baking.
- Take a fork and gently press crisscross patterns onto the top of each cookie dough ball. Try to press them down to a consistent thickness to ensure even baking. This iconic peanut butter cookie pattern also helps with even heat distribution.
BAKE AND COOL THE PEANUT BUTTER COOKIES
- Bake the cookies for 8-10 minutes. Look for the bottom edges to be set and just barely starting to turn golden brown. The centers will still appear very soft, and this is perfectly normal. They will continue to firm up as they cool. Overbaking will result in hard, dry cookies.
- Once removed from the oven, allow the cookies to cool on the baking sheet for about 5 minutes. This crucial resting period allows them to set completely before you attempt to move them.
- After 5 minutes, carefully transfer the cookies to a wire rack to cool completely. They must be entirely cooled before you apply the frosting; otherwise, the frosting will melt.
MAKE THE STRAWBERRY FROSTING
- While your cookies are cooling, begin preparing your luscious strawberry buttercream frosting.
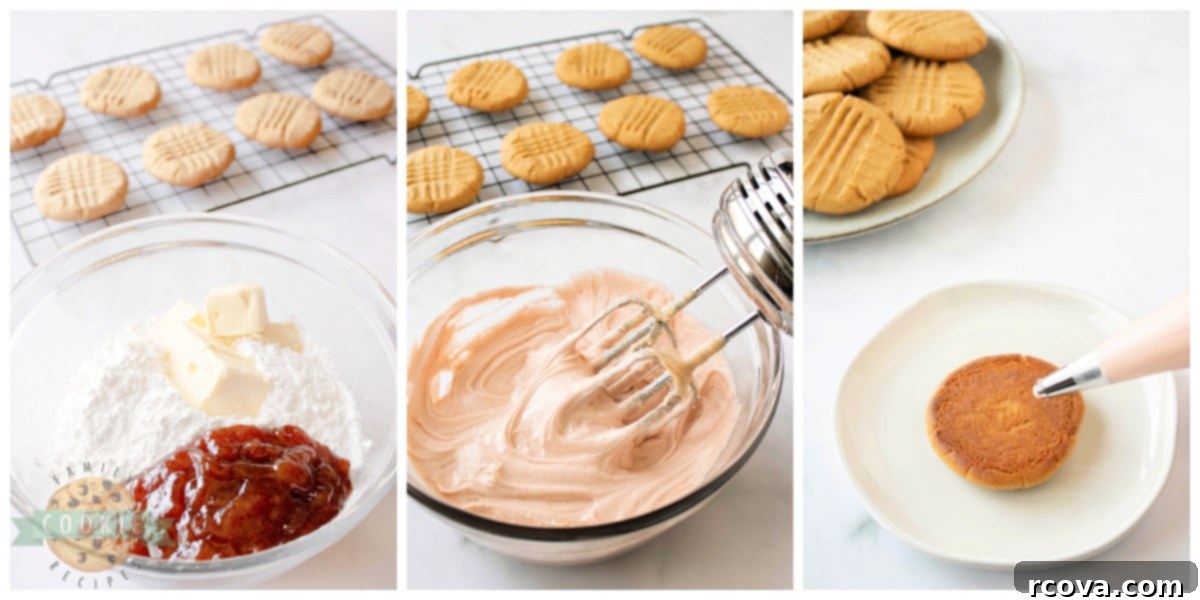
- In a clean mixing bowl, beat the softened butter and powdered sugar together using an electric mixer. Start on low speed to prevent a cloud of sugar, then increase to medium-high. Beat for about 3-4 minutes, or until the mixture is light, fluffy, and creamy. This process ensures the frosting is airy and smooth.
- Gently mix in the seedless strawberry jam until it’s just combined and the frosting is uniformly pink and flavorful. Avoid overmixing once the jam is added to maintain the buttercream’s texture.
ASSEMBLE THE COOKIE SANDWICHES
- Once the peanut butter cookies are completely cool, it’s time for assembly! You can use a piping bag with a round tip for a neat, elegant swirl of frosting, or simply use a knife or small offset spatula to spread a generous amount onto the flat side of half of your cookies.
- Carefully top each frosted cookie with another unfrosted cookie, gently pressing down to create a delicious sandwich.
- Serve your freshly assembled Peanut Butter and Jelly Sandwich Cookies immediately for the best experience. If you’re not planning to serve them within an hour or two, it’s best to store the cookies and frosting separately to maintain optimal texture. The baked peanut butter cookies can be kept in an airtight container at room temperature, while the frosting should be stored in a covered container in the refrigerator. Assemble the sandwiches right before you’re ready to enjoy them.
PEANUT BUTTER AND JELLY SANDWICH COOKIES RECIPE
Print
Pin
Rate
Ingredients
PEANUT BUTTER COOKIE INGREDIENTS
- 1 ½ cups all-purpose flour
- ½ teaspoon baking soda
- ¼ teaspoon salt
- ¼ cup unsalted butter softened
- ¼ cup shortening
- ¼ cup granulated sugar
- ½ cup light brown sugar
- ⅔ cup creamy peanut butter
- 1 large egg
STRAWBERRY BUTTERCREAM FROSTING INGREDIENTS
- ½ cup unsalted butter softened
- 3 ½ cups powdered sugar
- ⅔ cup seedless strawberry jam
Instructions
MAKE THE COOKIE DOUGH
-
Preheat oven to 350°F (175°C).
-
Line two baking sheets with parchment paper or silicone baking mats.
-
Whisk flour, baking soda and salt together in a mixing bowl.
-
In a separate bowl, beat softened butter, shortening, granulated sugar and brown sugar on low until light and creamy (about 3 minutes).
-
Add in the creamy peanut butter and egg, then mix for another 2-3 minutes until well combined.
-
Adding the flour mixture a little at a time, beat on low until just combined, scraping down the sides and bottom of the bowl as needed to ensure all ingredients are incorporated without overmixing.
SHAPE THE COOKIES
-
Use a cookie scoop (2 tablespoon size) to portion out the dough and then roll it into smooth balls. You should be able to make 18 balls of dough.
-
Place half of the cookie dough balls on each prepared baking sheet, ensuring sufficient space between them.
-
Using the back of a fork, create the classic crisscross patterns on the tops of each cookie, pressing down gently and striving for a consistent thickness across all cookies.
BAKE AND COOL THE PEANUT BUTTER COOKIES
-
Bake for 8-10 minutes, or until the bottom edges are set and just barely starting to brown. The centers will still appear very soft, which is ideal for a chewy cookie.
-
Allow the cookies to cool for 5 minutes on the baking sheet to firm up slightly, then carefully transfer them to a wire rack to cool completely before frosting.
MAKE THE STRAWBERRY FROSTING
-
While the cookies are cooling, prepare the creamy strawberry frosting.
-
In a clean bowl, beat the softened butter and powdered sugar until light and creamy. This typically takes about 3-4 minutes of mixing.
-
Mix in the seedless strawberry jam and stir just until it is evenly combined, resulting in a beautifully colored and flavored frosting.
ASSEMBLE THE COOKIE SANDWICHES
-
When the cookies are completely cool, pipe or spread the frosting onto the flat side of half of the cookies. Top each frosted cookie with another unfrosted cookie to create the sandwich.
-
Serve your delightful cookie sandwiches immediately. For longer storage, if not serving within an hour or two, keep the cookies in an airtight container at room temperature and the frosting in a covered container in the refrigerator. Assemble the sandwiches just before serving for the freshest taste and best texture.
Nutrition Information (per cookie sandwich)
How to Store Peanut Butter and Jelly Cookie Sandwiches
Proper storage is essential to keep your delicious sandwich cookies fresh and maintain their delightful texture. Here’s how to do it right:
If you have already assembled your cookie sandwiches and anticipate having leftovers, it’s best to store them in an airtight container in the refrigerator. The frosting, being buttercream-based, benefits from refrigeration to prevent it from becoming too soft or melting, especially in warmer environments. They will stay fresh for up to 3-4 days this way.
However, if you’re preparing a large batch and don’t plan to serve all the cookie sandwiches immediately, consider storing the components separately. The baked peanut butter cookies can be stored in an airtight container at room temperature for up to 5-7 days. The strawberry buttercream frosting should be kept in a covered container in the refrigerator for up to a week. When you’re ready to enjoy them, simply take out the cookies and frosting, let the frosting come to a slightly softer consistency at room temperature for about 15-20 minutes (or beat it briefly if it’s too firm), and then assemble the cookie sandwiches right before serving. This method ensures the cookies remain perfectly soft and the frosting is creamy and fresh when eaten.
Expert Tips for Baking the Best Peanut Butter Cookies
Beyond the general tips, here are some invaluable insights specifically for mastering the peanut butter cookie component of your sandwich cookies. These techniques will help you achieve that perfect soft, chewy, and flavorful base every time.
- Ensure Butter is Perfectly Softened, Not Melted: This is arguably one of the most critical steps in cookie baking. Butter that is too cold won’t cream properly with sugar, leading to a dense cookie. Butter that is melted will make your dough greasy and cause the cookies to spread too much, resulting in flat, crispy cookies. Aim for butter that is soft enough to leave an indent when you press it, but still firm enough to hold its shape. If you have the luxury of time, simply leave your butter on the counter for 1-2 hours before you plan to bake. For those spontaneous cookie cravings (we all have them!), use your microwave’s defrost setting. Place the butter (cut into smaller pieces if it’s a full block) in a microwave-safe bowl and microwave in 5-10 second intervals. Check frequently by pressing it with a rubber spatula or your finger to check its consistency. The defrost setting warms the butter more gently and evenly, significantly reducing the risk of accidental melting.
- Always Preheat Your Oven: A properly preheated oven is non-negotiable for consistent cookie results. Placing cookie dough into an oven that hasn’t reached its target temperature can lead to cookies that spread too much, bake unevenly, or don’t achieve the desired texture. Always give your oven at least 15-20 minutes to fully preheat and stabilize its temperature.
- Invest in a Cookie Scoop: For perfectly uniform cookies, a cookie scoop is your best friend. It not only ensures all your cookies are the same size, promoting even baking, but also makes the process much faster and less messy. This is especially important for sandwich cookies where matching sizes are key.
- Utilize Parchment Paper or Silicone Baking Mats: These baking aids are game-changers. Parchment paper or a silicone baking mat prevents your cookies from sticking to the baking sheet, ensuring easy removal without any scraping or tearing. They also promote even heat distribution, contributing to perfectly baked bottoms without excessive browning.
- Avoid Overbaking for Softness: This is a common mistake! Peanut butter cookies often appear slightly underbaked when they are first removed from the oven, with centers that still look quite soft. Resist the urge to bake them longer! They will continue to cook and firm up on the hot baking sheet for a few extra minutes after removal. Baking them until they look fully “done” in the oven will lead to hard, crispy cookies once cooled, losing that desirable soft and chewy texture.
Mastering the Art of Softening Butter
As mentioned, perfectly softened butter is a cornerstone for both the cookie dough and the buttercream frosting. It’s the key to achieving light, airy textures and proper incorporation of ingredients. Here’s my go-to method for softening butter without melting it:
My preferred technique involves using the defrost function on the microwave. If you need a full stick (1/2 cup) of butter, you can leave it in its original paper wrapper. However, if you’re using a partial amount, place the required portion of butter into a glass or porcelain bowl. Set your microwave to its lowest defrost setting and run it for short intervals, typically 10-20 seconds at a time. After each interval, gently press the butter with a rubber spatula or your finger to check its consistency. It should yield easily to pressure, creating an indent, but it should not be liquid or shiny. If it’s still too firm, continue defrosting in additional 5-10 second bursts, always watching it closely. Butter can go from perfectly softened to melted very quickly, and once melted, it won’t cream properly, affecting the final texture of your baked goods and frosting. Patience and vigilance are key here!
Love Peanut Butter Cookies? Explore More Delicious Recipes!
If you’re as passionate about peanut butter cookies as we are, you’re in for a treat! The versatility of peanut butter in baking is truly endless. After mastering these delightful Peanut Butter and Jelly Sandwich Cookies, why not explore other fantastic variations? From classic chewy cookies to exciting new twists, there’s a peanut butter cookie for every craving. Here are some of our other cherished peanut butter cookie recipes that we know you’ll love:
- Easy Peanut Butter Cookies
- Fudge Peanut Butter Cookie Cups
- Best Chocolate Chip Peanut Butter Cookies
- Reese’s Peanut Butter Cookies
- Peanut Butter Oatmeal Chocolate Chip Cookies
- Best Monster Cookies
- Chocolate Peanut Butter Cookie Cups
- Five Chip Peanut Butter Oatmeal Cookies
- Peanut Butter Cookie in a Mug
- Reese’s Chocolate Chip Cookies
- Reese’s Chocolate Peanut Butter Cookies
- Peanut Butter Sandwich Cookies
- Fluffernutter Cookies
- Peanut Butter Butterfinger Cookies
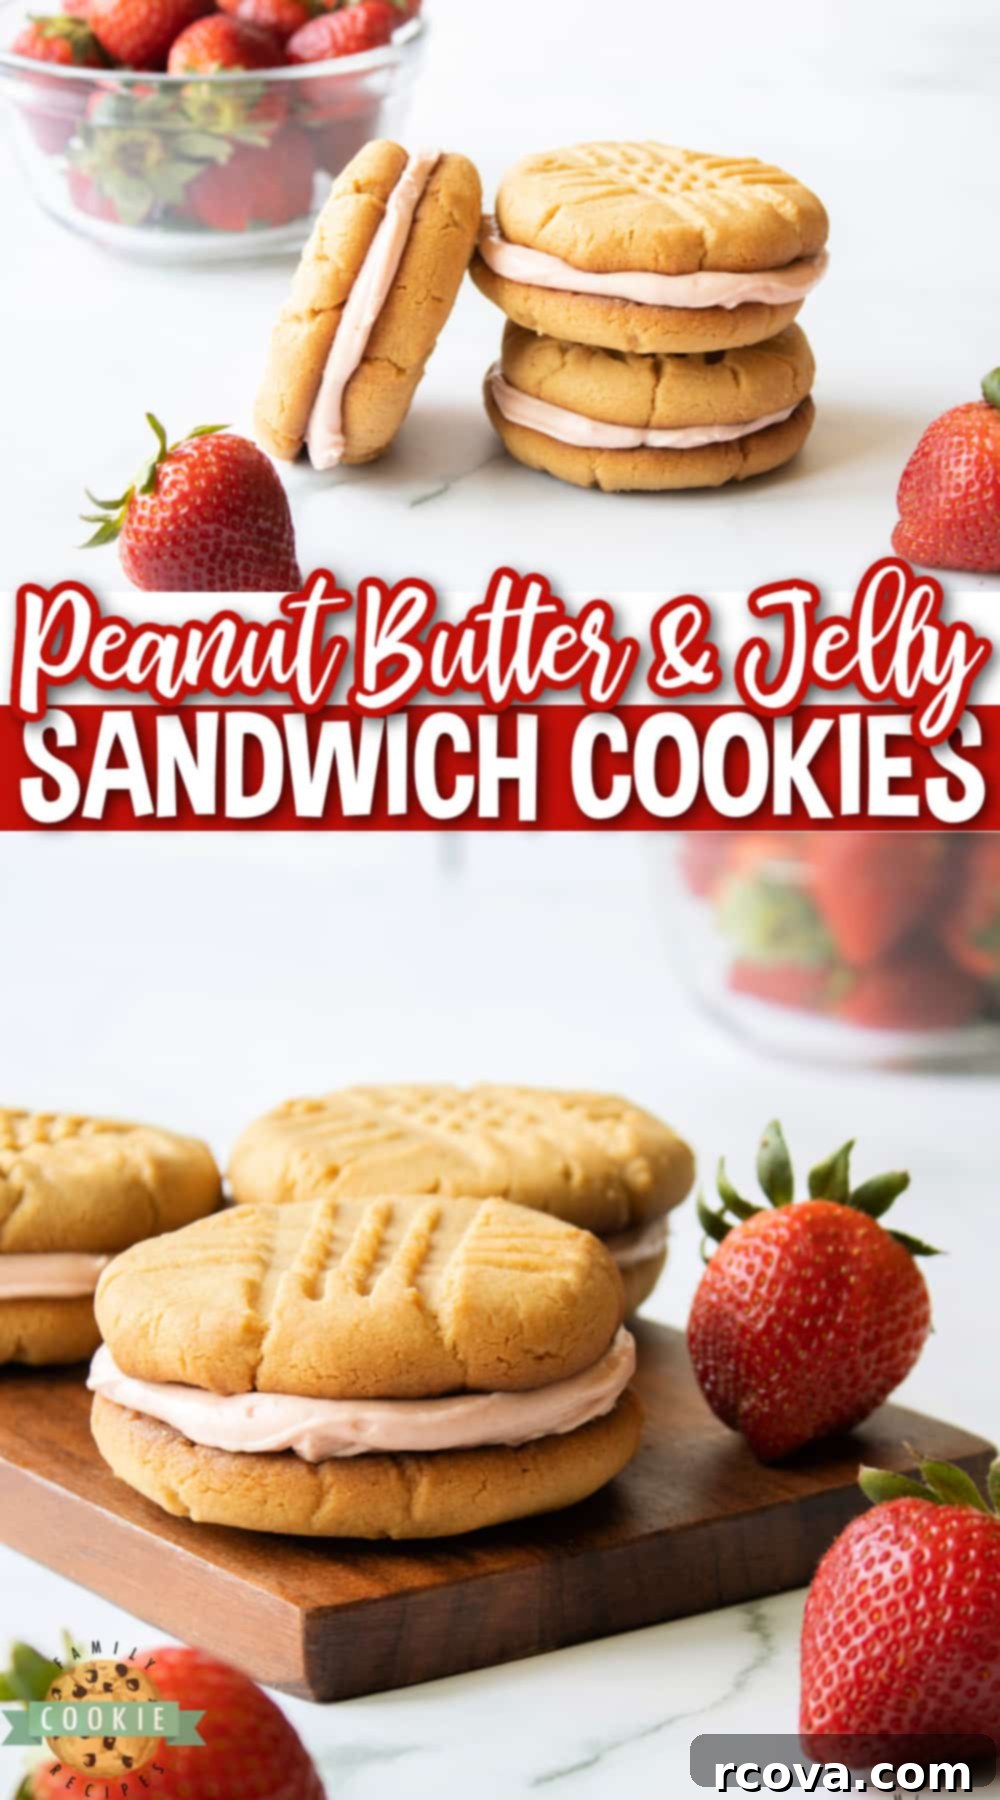
These Peanut Butter and Jelly Sandwich Cookies are more than just a dessert; they are a delightful journey back to simpler times, packed with flavor and fun. Perfect for parties, afternoon snacks, or simply satisfying a sweet craving, they combine the best of both worlds: a comforting peanut butter cookie and a bright, fruity jelly frosting. We hope you enjoy making and sharing these wonderful cookies as much as we do!
