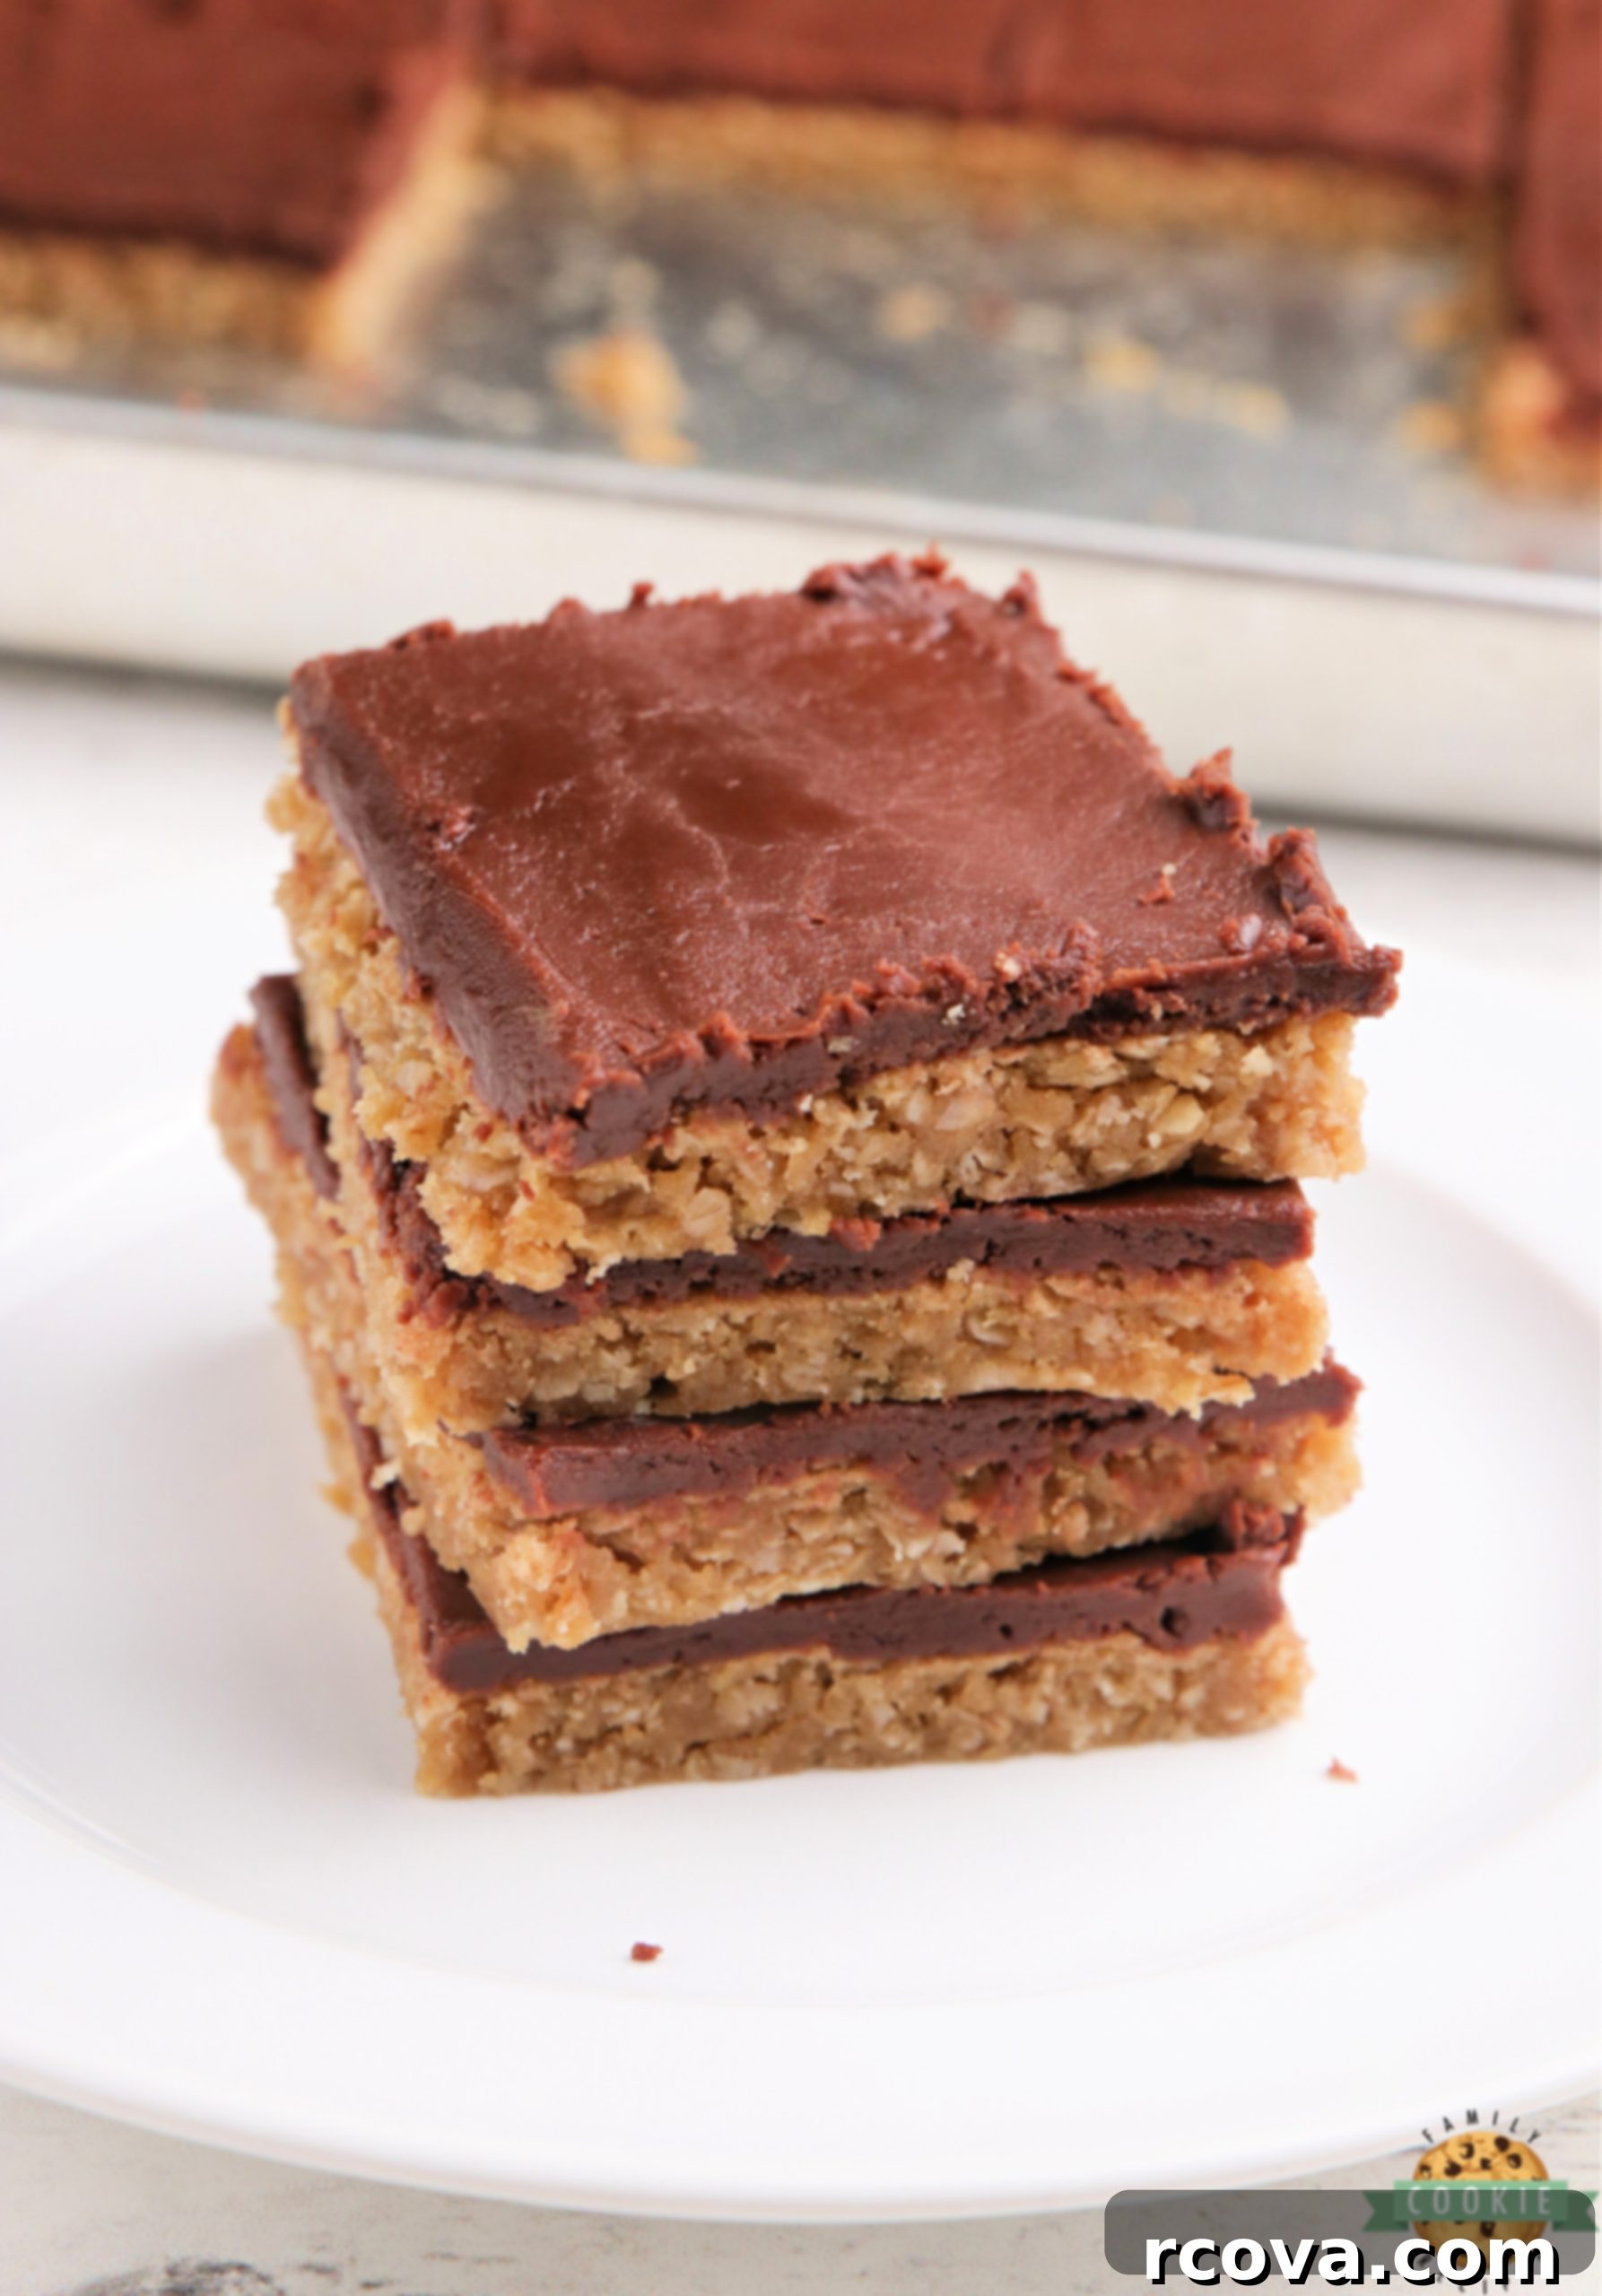
The Ultimate Chewy Peanut Butter Cookie Bars with Rich Chocolate Frosting Recipe
Prepare to fall in love with these utterly irresistible Peanut Butter Cookie Bars! They are wonderfully soft, delightfully chewy, and crowned with the most decadent chocolate fudge frosting you could ever imagine. This simple, homemade cookie bar recipe combines the nostalgic flavor of peanut butter with hearty oats, all brought together by a luscious, easy-to-make chocolate ganache-like frosting. Perfect for sharing, these bars are a guaranteed crowd-pleaser for any occasion, from casual family gatherings to special events.
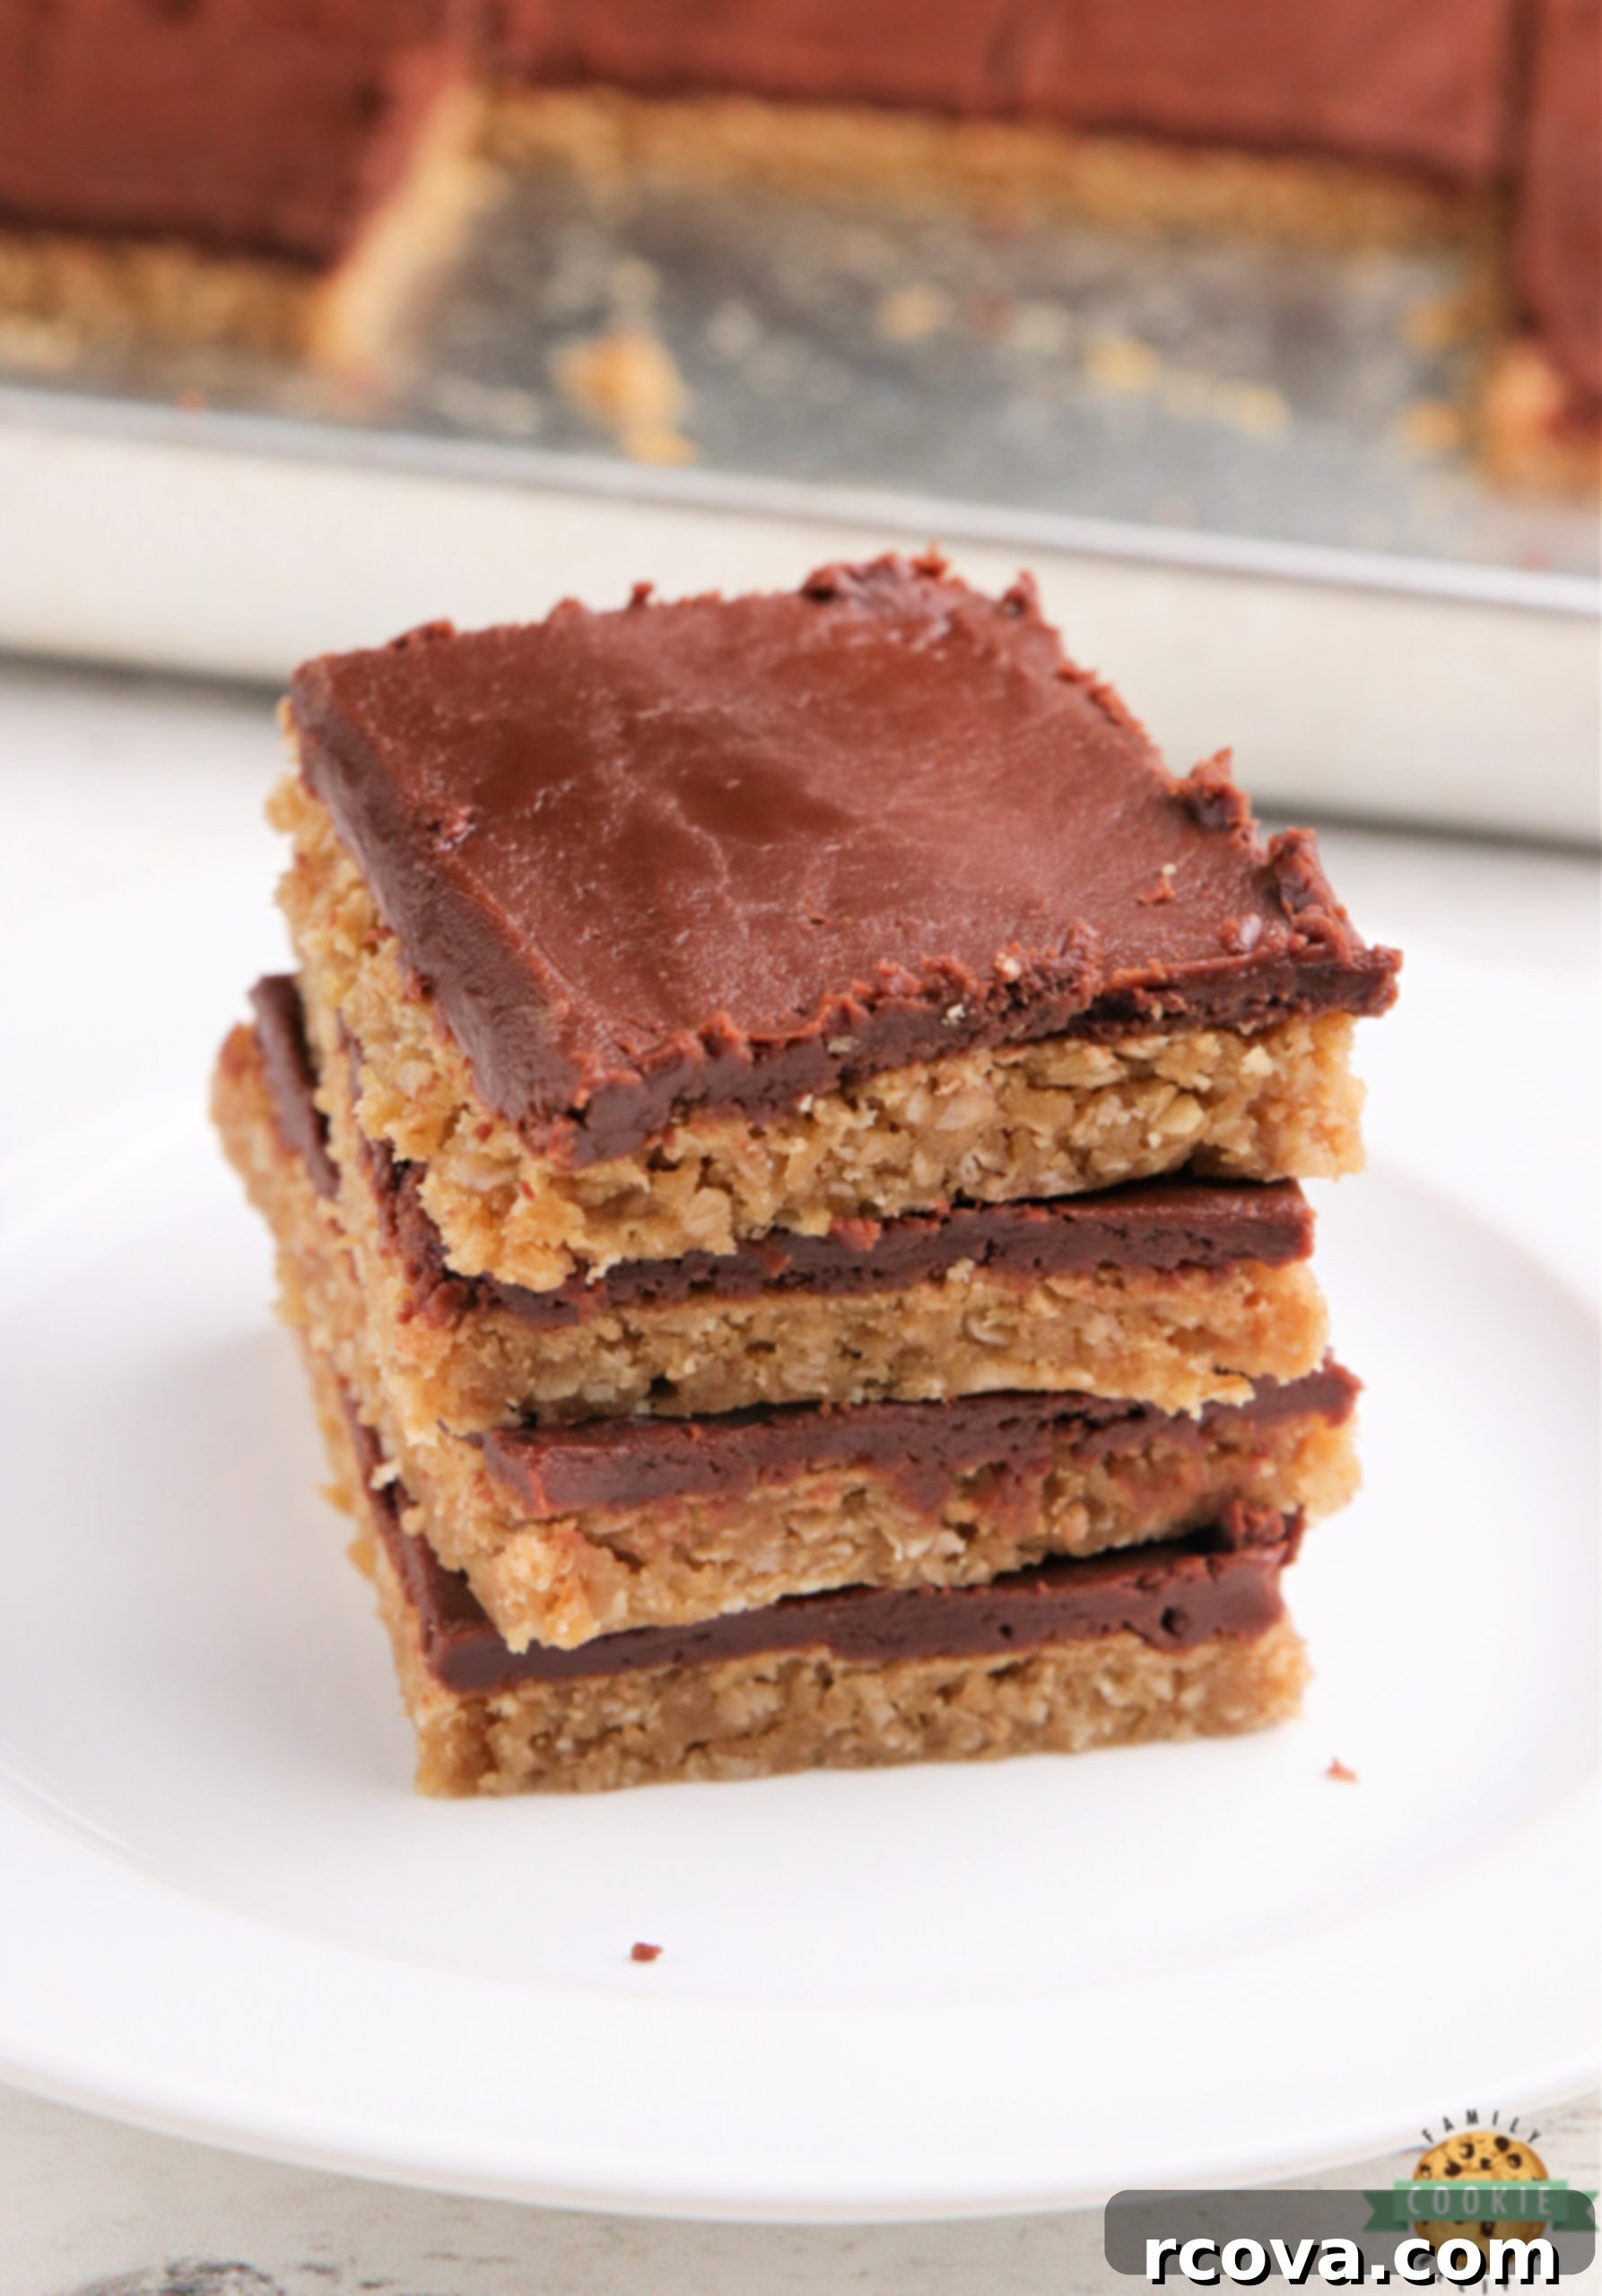
Why These Peanut Butter Cookie Bars Are a Family Favorite
It’s no secret that the combination of chocolate and peanut butter holds a special place in our hearts. There’s something truly magical when these two classic flavors come together in a sweet treat, and these cookie bars are no exception. In fact, my family has unanimously declared these Peanut Butter Cookie Bars to be among the “top 5 treats I’ve ever made,” which is high praise considering I bake multiple times a week! Their perfect balance of sweet and savory, combined with an incredibly satisfying texture, makes them an instant hit with both kids and adults.
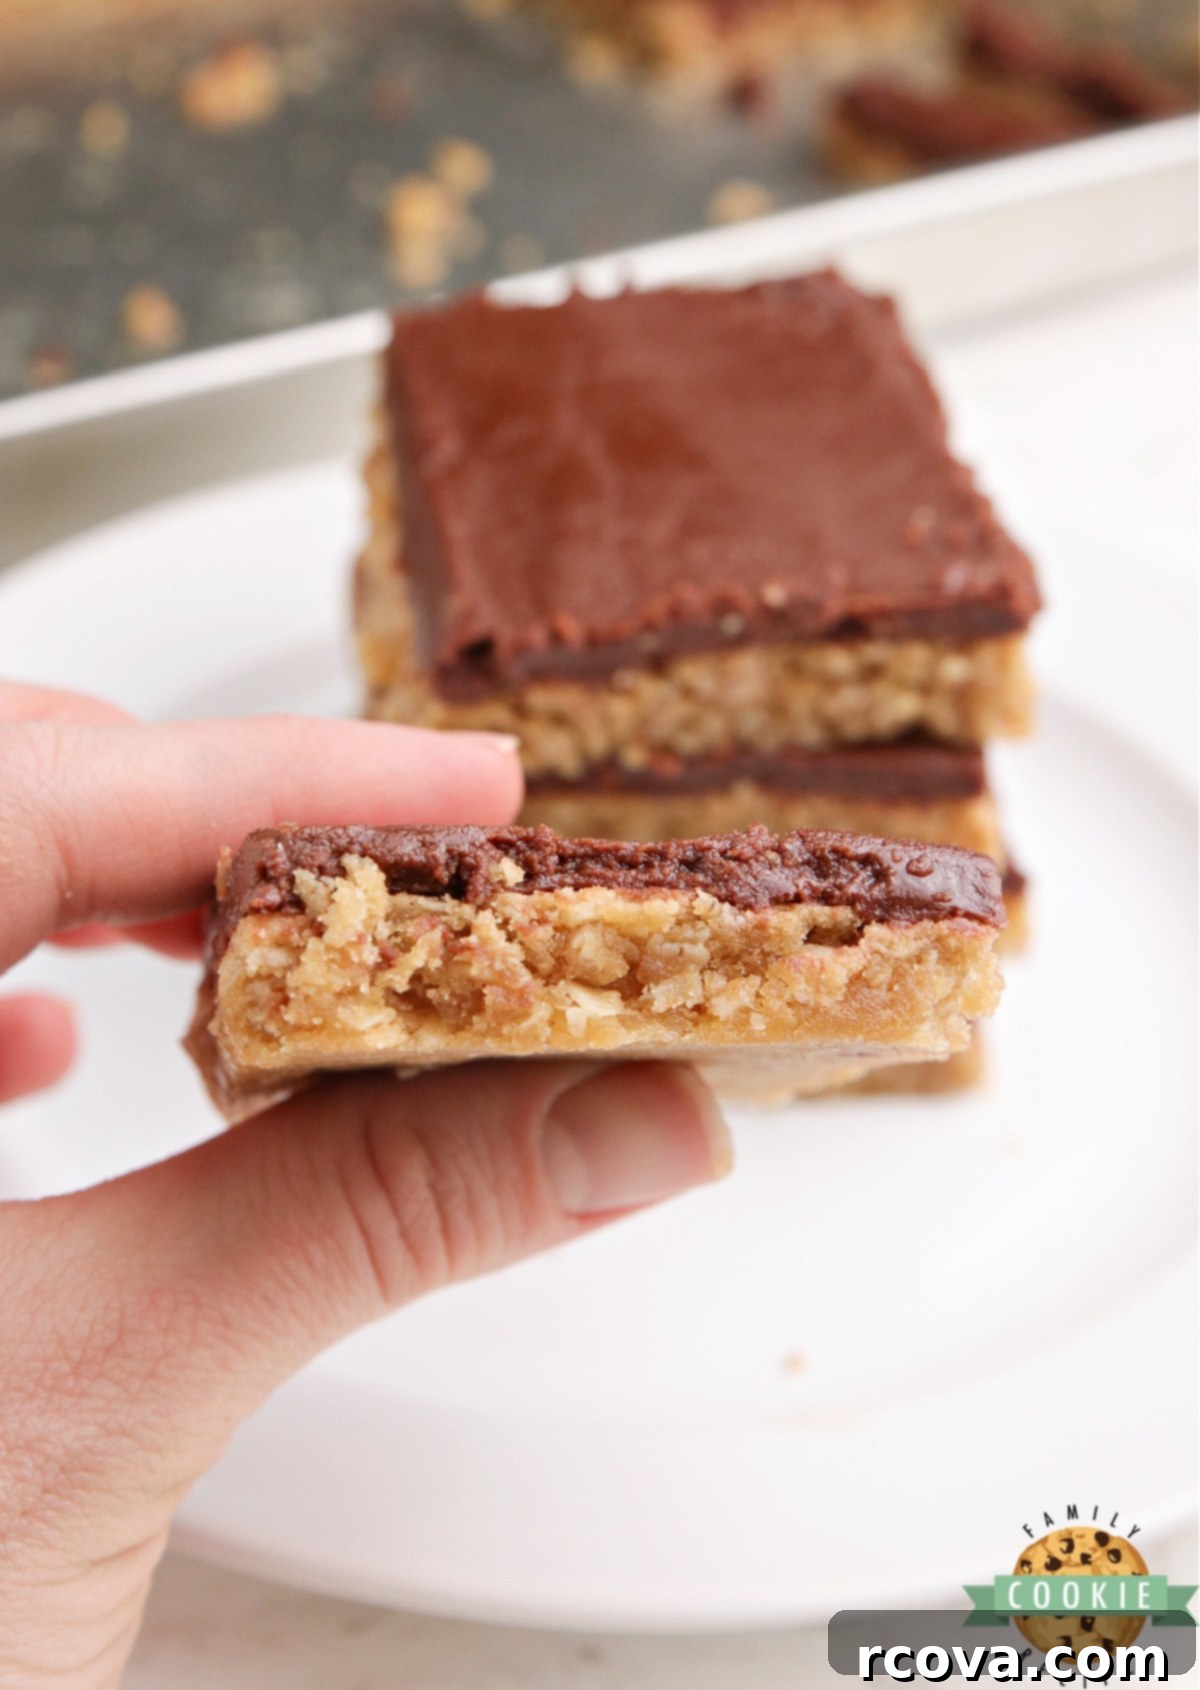
What makes these bars truly stand out is their exceptional texture. The cookie base is rich with creamy peanut butter and hearty oats, resulting in a soft yet chewy bite that simply melts in your mouth. This delightful foundation is then generously topped with a rich, fudgy chocolate frosting that adds another layer of indulgence. It’s a symphony of flavors and textures in every single square.
The Convenience of Cookie Bars: Effortless Baking for Delicious Results
One of my favorite aspects of baking cookie bars, as opposed to individual cookies, is the sheer convenience and time-saving factor. Forget the repetitive process of shaping dough, transferring multiple batches to the oven, and then cooling racks taking over your entire kitchen counter. With cookie bars, you simply prepare a single batch of dough, spread it evenly into one pan, and bake it all at once!
This streamlined approach means less hands-on time and fewer dishes, making them an ideal choice for busy bakers or when you need a delicious dessert in a hurry. The result? A perfectly uniform pan of delectable treats, ready to be sliced and served, without compromising on taste or quality. Plus, their sturdy nature makes them excellent for transporting to potlucks, parties, or packing into lunchboxes.
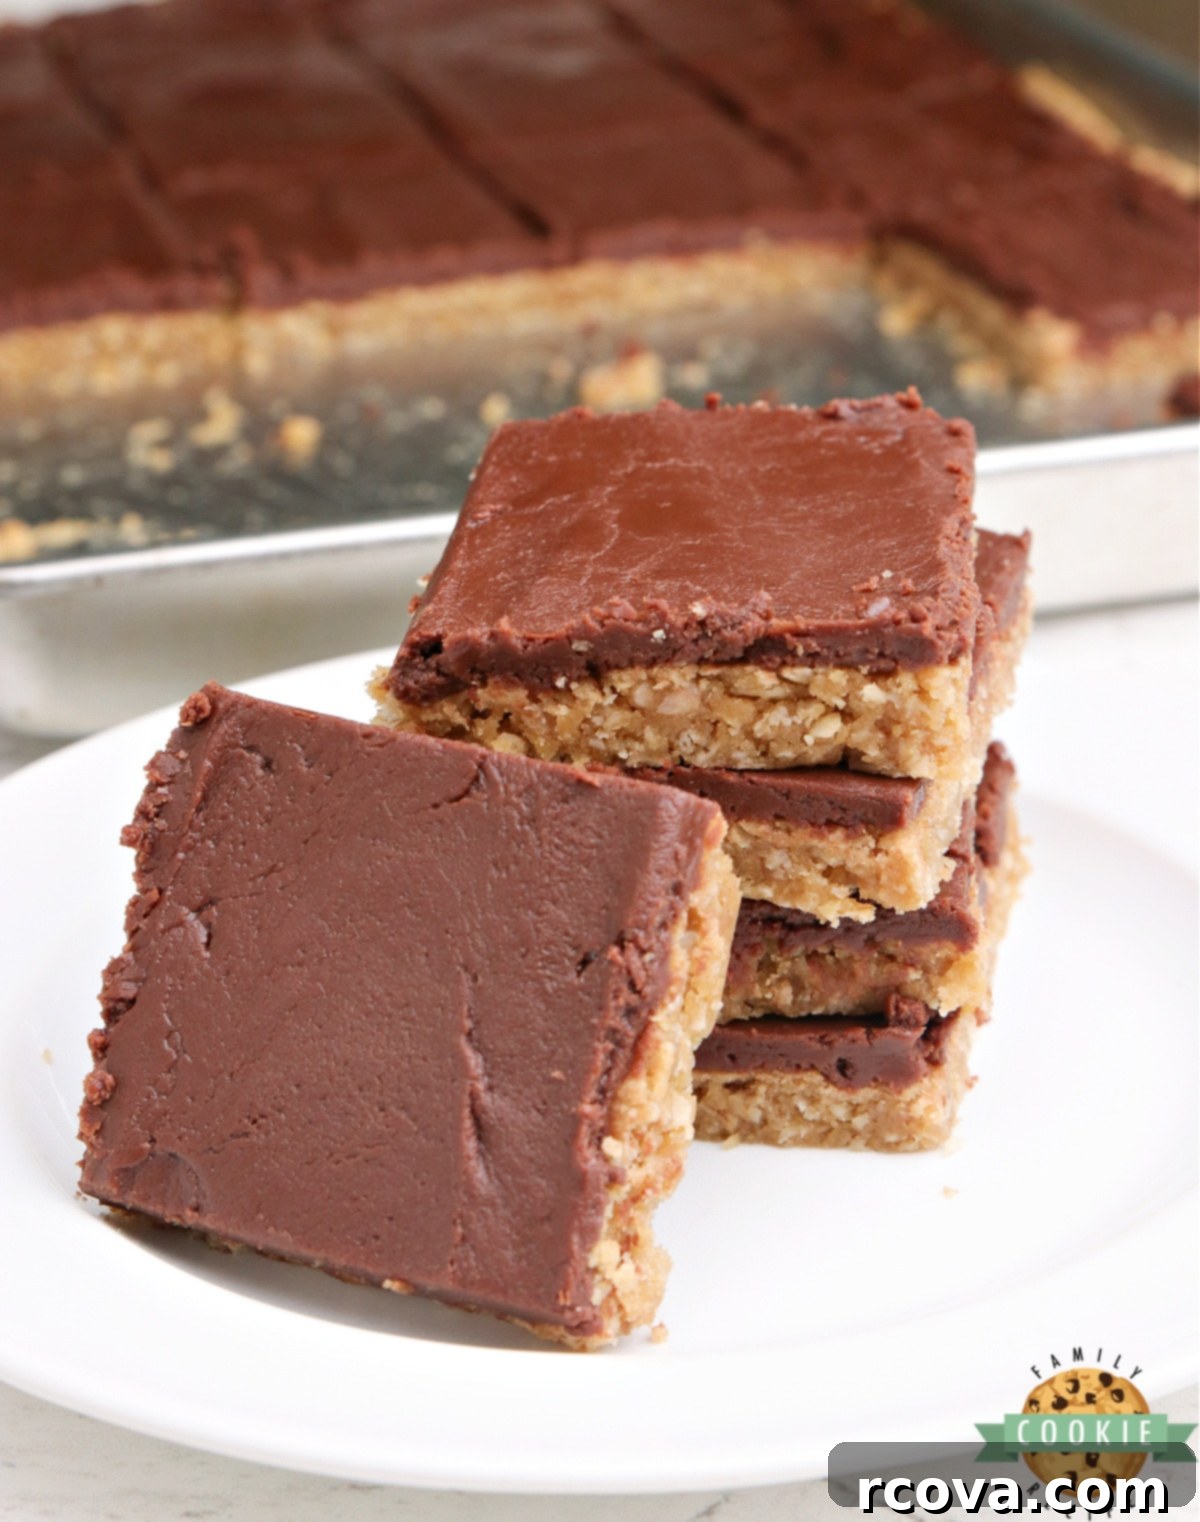
Explore More Delicious Cookie Bar Recipes
If you’re as big a fan of cookie bars as we are, you’ll be thrilled to discover some of our other cherished recipes. These variations offer diverse flavors and textures, ensuring there’s a cookie bar for every craving:
- Butterfinger Cookie Bars
- Mint Chocolate Chip Cookie Bars
- Tagalong Cookie Bars
- Snickerdoodle Cookie Bars
- Cherry Almond Cookie Bars
- Fudgy Oatmeal Cookie Bars
- Strawberry Cheesecake Cookie Bars
- Sugar Cookie Bars
- Chocolate Chip Cookie Bars
- No Bake Cookie Bars
- Oatmeal Chocolate Chip Cookie Bars
- Lemon Sugar Cookie Bars
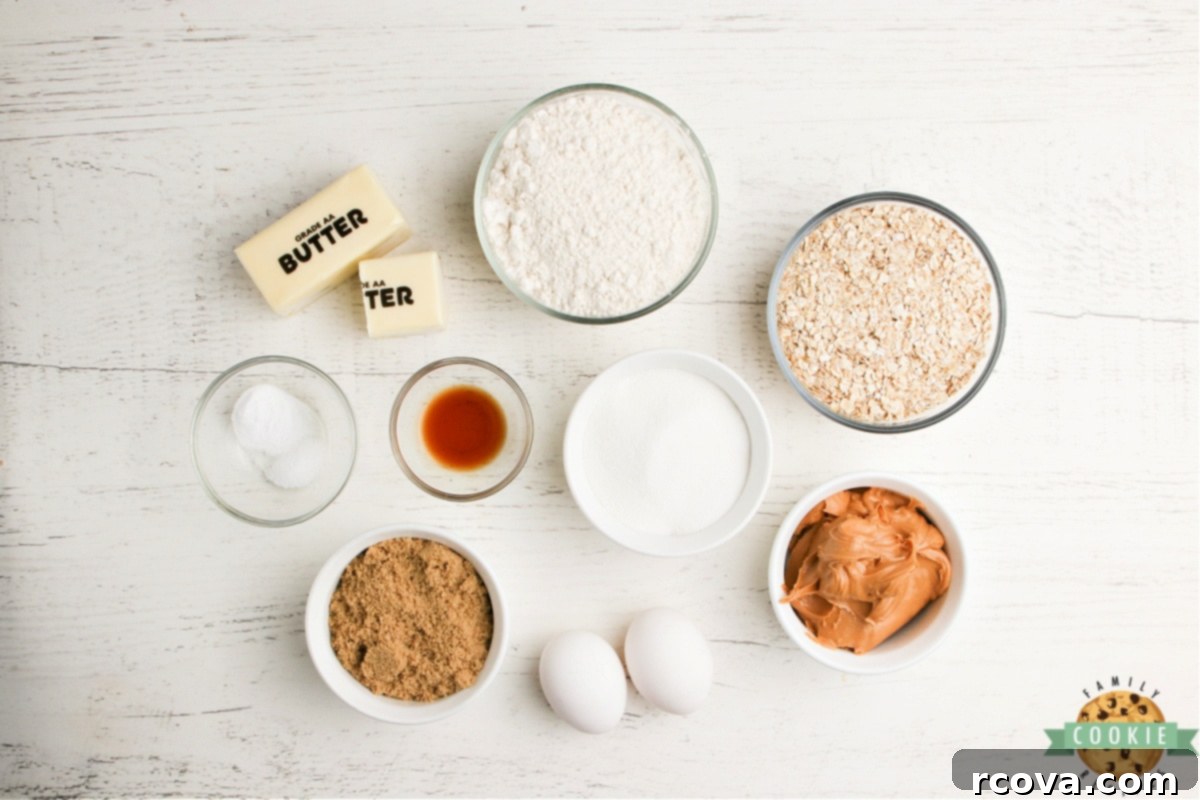
Key Ingredients for Perfect Peanut Butter Cookie Bars
Crafting these delectable bars requires a few simple, high-quality ingredients. Here’s what you’ll need and why each component is important:
Butter: I always opt for salted butter as it enhances the flavor beautifully, but unsalted butter works perfectly fine if that’s your preference. Just remember to avoid margarine, as it won’t yield the same rich taste or texture. Ensure your butter is softened to room temperature, but definitely not melted, before incorporating it into the recipe. This is crucial for proper creaming and a light, airy texture.
Sugar: This essential ingredient provides the foundational sweetness for our cookie bars. It contributes to the golden-brown edges and crispy-chewy texture.
Brown sugar: Beyond just sweetness, brown sugar adds a wonderful depth of flavor with its subtle molasses notes, contributing to the bars’ chewiness and moistness. Always check that your brown sugar is soft and fresh, not dried out or stale, for the best results.
Peanut butter: The star of the show! For optimal texture and flavor in these cookie bars, I highly recommend using a regular creamy peanut butter (brands like Jif or Skippy, or a good quality store-brand equivalent, work best). Through extensive testing and reader feedback, we’ve found that natural-style peanut butters, which tend to be runnier with separated oils, don’t always perform as consistently well in this particular baking application.
Eggs: We need 2 large eggs. They act as a crucial binding agent, bringing all the ingredients together and adding structure to the cookie bars.
Vanilla: A touch of vanilla extract elevates all the other flavors. I strongly suggest using a good quality vanilla extract or even a Vanilla Bean Paste for a truly exceptional aroma and taste.
Baking soda: This is our primary leavening agent, responsible for giving the cookie bars a slight lift and a tender crumb. Always check the expiration date on your baking soda to ensure it’s fresh and active for best results.
Salt: Just a small amount of salt is added, but don’t omit it! It balances the sweetness and enhances all the other flavors, making the peanut butter and chocolate truly shine.
Flour: All-purpose flour is my go-to for these bars, providing the necessary structure without making them tough. However, you can experiment with bread flour for a chewier texture, or pastry flour for a slightly more delicate crumb.
Oats: Quick oats are ideal for this recipe, blending seamlessly into the batter and contributing to the soft, chewy texture. If you only have old-fashioned rolled oats, you can use them, but be aware that the bars might be slightly less moist and chewier. To minimize this, you can give them a quick pulse in a food processor before adding them to the dough.
Crafting the Irresistible Chocolate Fudge Frosting
This fudgy frosting is the crowning glory of our peanut butter bars. Here’s what makes it so special:
Sugar: Granulated sugar provides the sweetness and helps create the smooth, glossy texture of the frosting.
Butter: Just like in the cookie base, real butter is paramount here. It gives the frosting its luxurious richness and smooth consistency.
Milk: You’ll only need 1/3 cup of milk. Any type of milk (dairy or non-dairy) will work beautifully, providing the liquid necessary to bring the frosting together.
Semi-sweet chocolate chips: These are the source of our rich chocolate flavor. Semi-sweet chips offer a balanced sweetness that complements the peanut butter without being overly sugary.
Mini marshmallows: This might seem like an unusual addition, but the mini marshmallows are key! They not only add a subtle hint of classic fudge flavor but, more importantly, they contribute significantly to the absolute perfect, smooth, and slightly elastic consistency of the frosting. They help prevent the frosting from becoming too stiff or grainy.
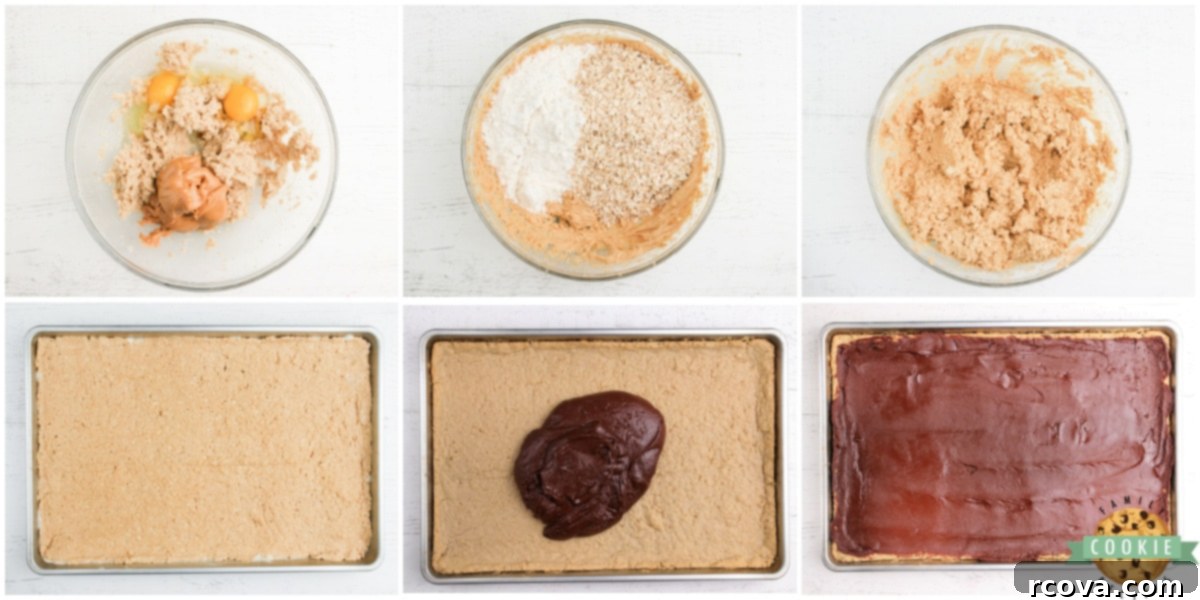
Step-by-Step Guide: How to Make Peanut Butter Cookie Bars
Ready to bake? Follow these simple instructions for delicious homemade peanut butter cookie bars with chocolate fudge frosting:
Preheat your oven to 325°F (160°C). Lightly grease a jelly roll pan (approximately 10″x15″x1″). This specific size ensures the bars are the right thickness. A light coating of cooking spray or butter and flour will prevent sticking.
In a large mixing bowl, using an electric mixer, cream together the softened butter and both sugars for about 2 minutes. This step is crucial for incorporating air and achieving a light, fluffy base. Next, add the peanut butter, eggs, and vanilla extract. Continue creaming for another 2-3 minutes until the mixture is well combined, smooth, and slightly pale. Scrape down the sides of the bowl as needed to ensure everything is incorporated.
In a separate bowl, whisk together the baking soda, salt, and flour. Gradually add these dry ingredients to the wet mixture, mixing on low speed just until combined. Be careful not to overmix, as this can lead to tough bars. Once the flour mixture is mostly incorporated, gently stir in the quick oats by hand until evenly distributed.
Pour the thick cookie batter into your prepared jelly roll pan. The batter will be quite dense, so you’ll need to spread it evenly to fill the entire pan. A small rolling pin can work wonders for this, or you can use your fingers or the back of a spoon, pressing gently to create an even layer.
Bake for approximately 13-15 minutes, or until the edges just begin to turn a very light golden brown. It’s important not to overbake these bars! They might still look slightly soft or “underbaked” in the center when you pull them out, but they will continue to set and firm up as they cool in the hot pan. Overbaking will cause them to lose their wonderful moisture and become dry.
While the cookie bars are cooling in the pan, you can begin preparing the decadent chocolate fudge frosting. This allows the bars to cool sufficiently without waiting too long.
In a small saucepan, combine the sugar, butter, and milk. Melt these ingredients together over medium heat, stirring frequently to prevent scorching. Bring the mixture to a rolling boil and let it boil for exactly 1 minute. This brief boiling period is key for the frosting’s texture. Remove the saucepan from the heat and immediately add the semi-sweet chocolate chips. Stir vigorously until the chocolate is completely melted and the frosting is smooth and glossy. Finally, add the mini marshmallows and stir until they are fully melted and incorporated, creating that perfect fudgy consistency. Spread this warm, glorious frosting evenly over the cooled cookie bars. The bars don’t need to be completely cold, but should have cooled for at least 20-30 minutes before frosting.
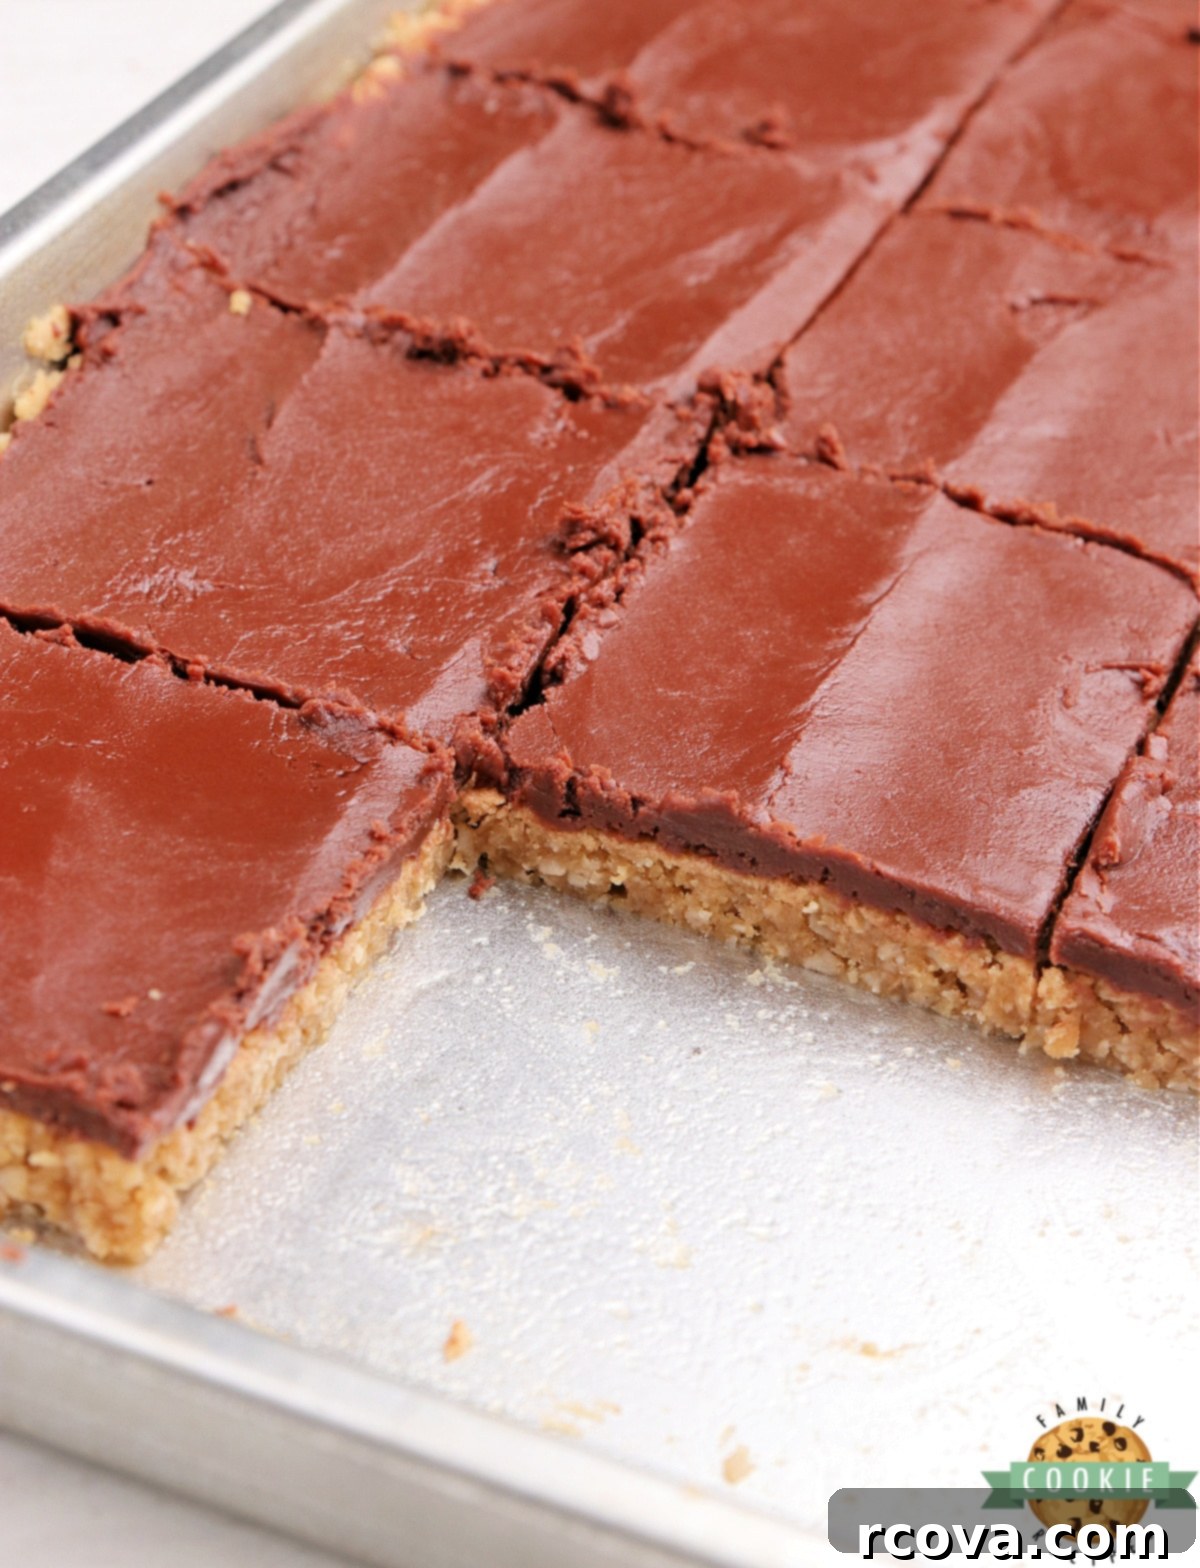
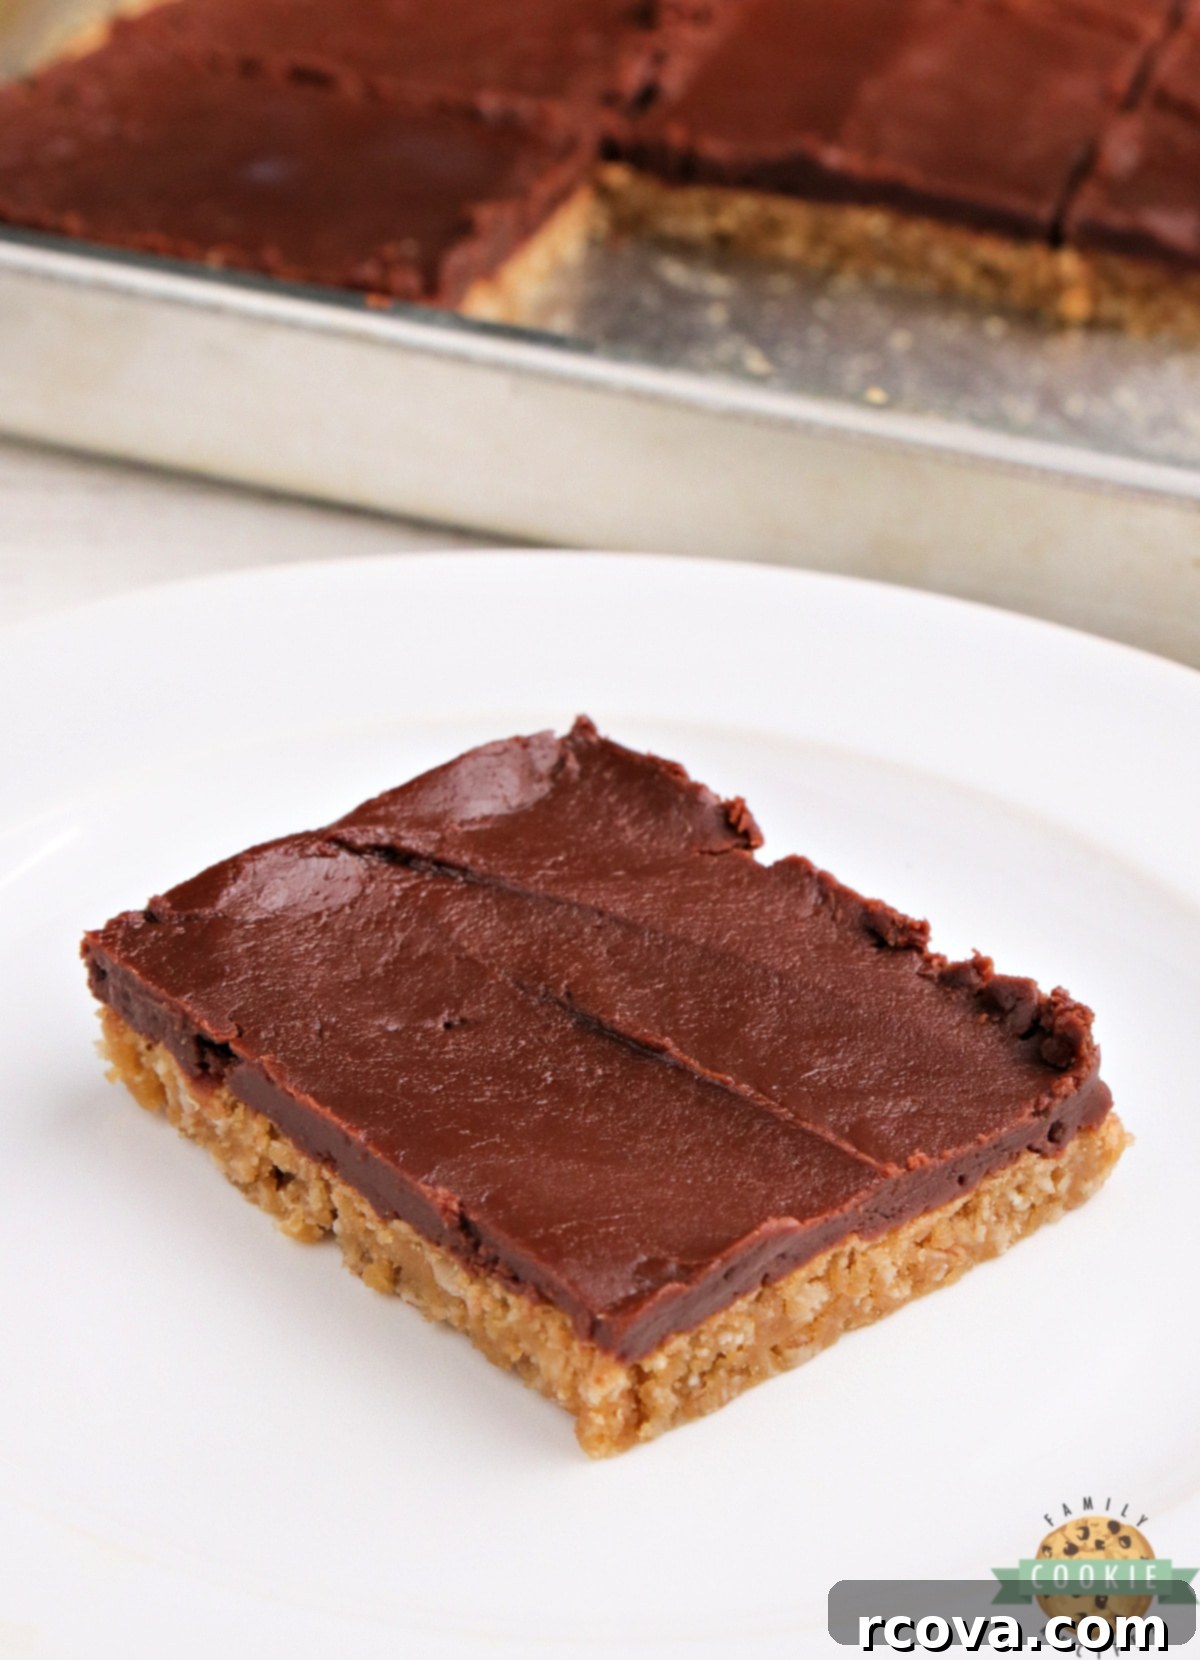
Allow the frosting to set slightly before slicing the bars into squares. Then, serve and enjoy!
Peanut Butter Cookie Bars
Print
Pin
Rate
Ingredients
- ¾ cup butter
- ¾ cup sugar
- ¾ cup brown sugar
- ¾ cup peanut butter
- 2 eggs
- 1 tsp vanilla
- ¾ tsp baking soda
- ½ tsp salt
- 1 ½ cups flour
- 1 ½ cups quick oats
Chocolate Frosting
- 1 cup sugar
- 5 tablespoons butter
- ⅓ cup milk
- 1 cup semi-sweet chocolate chips
- ¾ cup mini marshmallows
Instructions
-
Preheat oven to 325°. Grease a jelly roll pan (10″X15″X1″).
-
Cream butter and sugars together for about 2 minutes with an electric mixer. Add peanut butter, eggs and vanilla and cream for another 2-3 minutes.
-
Add baking soda, salt and flour and mix just until combined. Stir in the oats.
-
Pour the batter into the prepared jelly roll pan. The batter will be thick so you will need to spread it evenly to fill the entire pan. I use a small rolling pin, but you can use your fingers or the back of a spoon.
-
Bake for about 13-15 minutes or until the edges barely start to turn a golden brown. Do not over bake or the bars will lose a lot of their moisture!
-
While the bars cool, you can make the frosting.
-
In a small saucepan, melt the butter, sugar and milk together over medium heat, stirring frequently. Bring to a boil and let it boil for 1 minute. Remove from heat and add the chocolate chips. Stir until the chocolate is completely melted and then add the marshmallows. Stir until the marshmallows are melted and then spread over the cooled bars. (The bars don’t have to be completely cooled, but should at least sit for about 20-30 minutes before adding the frosting.)
-
Slice and serve!
Nutrition
Choosing the Right Peanut Butter for Baking Success
When it comes to baking these delightful peanut butter bars, the type of peanut butter you choose can significantly impact the final texture. Through years of baking and experimenting, I’ve consistently found that regular creamy peanut butter (such as Jif, Skippy, or similar commercial brands) yields the best results. These types of peanut butter are formulated for stability, with oils that are well-emulsified throughout.
In contrast, natural-style peanut butters, which often separate into oil and solids, tend to be much runnier even after thorough stirring. This higher oil content and different consistency can throw off the moisture balance in baked goods, leading to bars that might be too crumbly, too greasy, or simply not as soft and chewy as desired. While I appreciate natural peanut butter for many applications, for these specific cookie bars, sticking with a classic, regular creamy variety will ensure a consistently perfect outcome every time.
Expert Tips for Baking the Best Peanut Butter Bars
Achieving bakery-quality peanut butter bars at home is easier than you think with these expert tips:
- Do Not Use Melted Butter! This is a critical point. The butter needs to be softened to room temperature, allowing it to cream properly with the sugars and incorporate air. Using melted butter will drastically change the texture of your dough, resulting in greasy, dense, and less chewy cookie bars. Plan ahead and let your butter sit out for at least an hour before you start baking.
- Cream Butter and Sugars Thoroughly: Don’t rush this step! Dedicate at least 2-3 minutes to creaming the softened butter and sugars together with an electric mixer. This process incorporates air into the mixture, which is fundamental for achieving a light, tender, and chewy consistency in your finished cookie bars. It also ensures the sugar crystals are properly dissolved.
- Stick to Regular Peanut Butter: As discussed, regular creamy peanut butter (like Jif or Skippy) is your best friend here. Natural peanut butters, with their tendency for oil separation and runnier consistency, often lead to inconsistent and less favorable results in baking. Their different fat and sugar composition can significantly alter the cookie bar’s structure and moisture.
- Always Preheat Your Oven: This might seem obvious, but it’s a step often skipped or rushed. A properly preheated oven ensures that your cookie bars begin baking at the correct temperature from the moment they enter, leading to even cooking and helping them rise and set correctly. This consistency is key to perfect results every time!
- Avoid Overbaking: This is arguably the most important tip for chewy cookie bars. Peanut butter bars can go from perfectly soft to dry and crumbly in a matter of minutes. When I remove my bars from the oven, they still look slightly underbaked in the very center, and the edges are just barely golden. This is ideal! They will continue to bake and set in the hot pan for a few more minutes after being removed from the oven, achieving that perfect chewy texture. If you wait until they look completely baked, they will likely be overcooked.
- Cool Before Frosting: While the instructions mention not needing to be *completely* cooled, ensure the bars have sat for at least 20-30 minutes. Applying warm frosting to hot bars will cause the frosting to melt and run, creating a messy rather than neatly frosted result. Patience is a virtue here!
More Peanut Butter Treats You’ll Adore
If these Peanut Butter Cookie Bars have captured your heart, you’re in for a treat! Peanut butter is incredibly versatile in baking, and we have many more recipes that highlight its deliciousness:
- Best Chocolate Chip Peanut Butter Cookies
- Peanut Butter Oatmeal Chocolate Chip Cookies
- Peanut Butter Chip Chocolate Cookies
- Easy Peanut Butter Cookies
- Fudge Peanut Butter Cookie Cups
- Reese’s Peanut Butter Cookies
- Best Monster Cookies
- Peanut Butter No Bake Cookies
- Reese’s Peanut Butter Pudding Cookies
- Reese’s Chocolate Peanut Butter Cookies
- Butterfinger Peanut Butter Cookies
- Snickers Peanut Butter Cookies
- Apple Peanut Butter Cookies
- Rice Krispie Chocolate Chip Peanut Butter Cookies
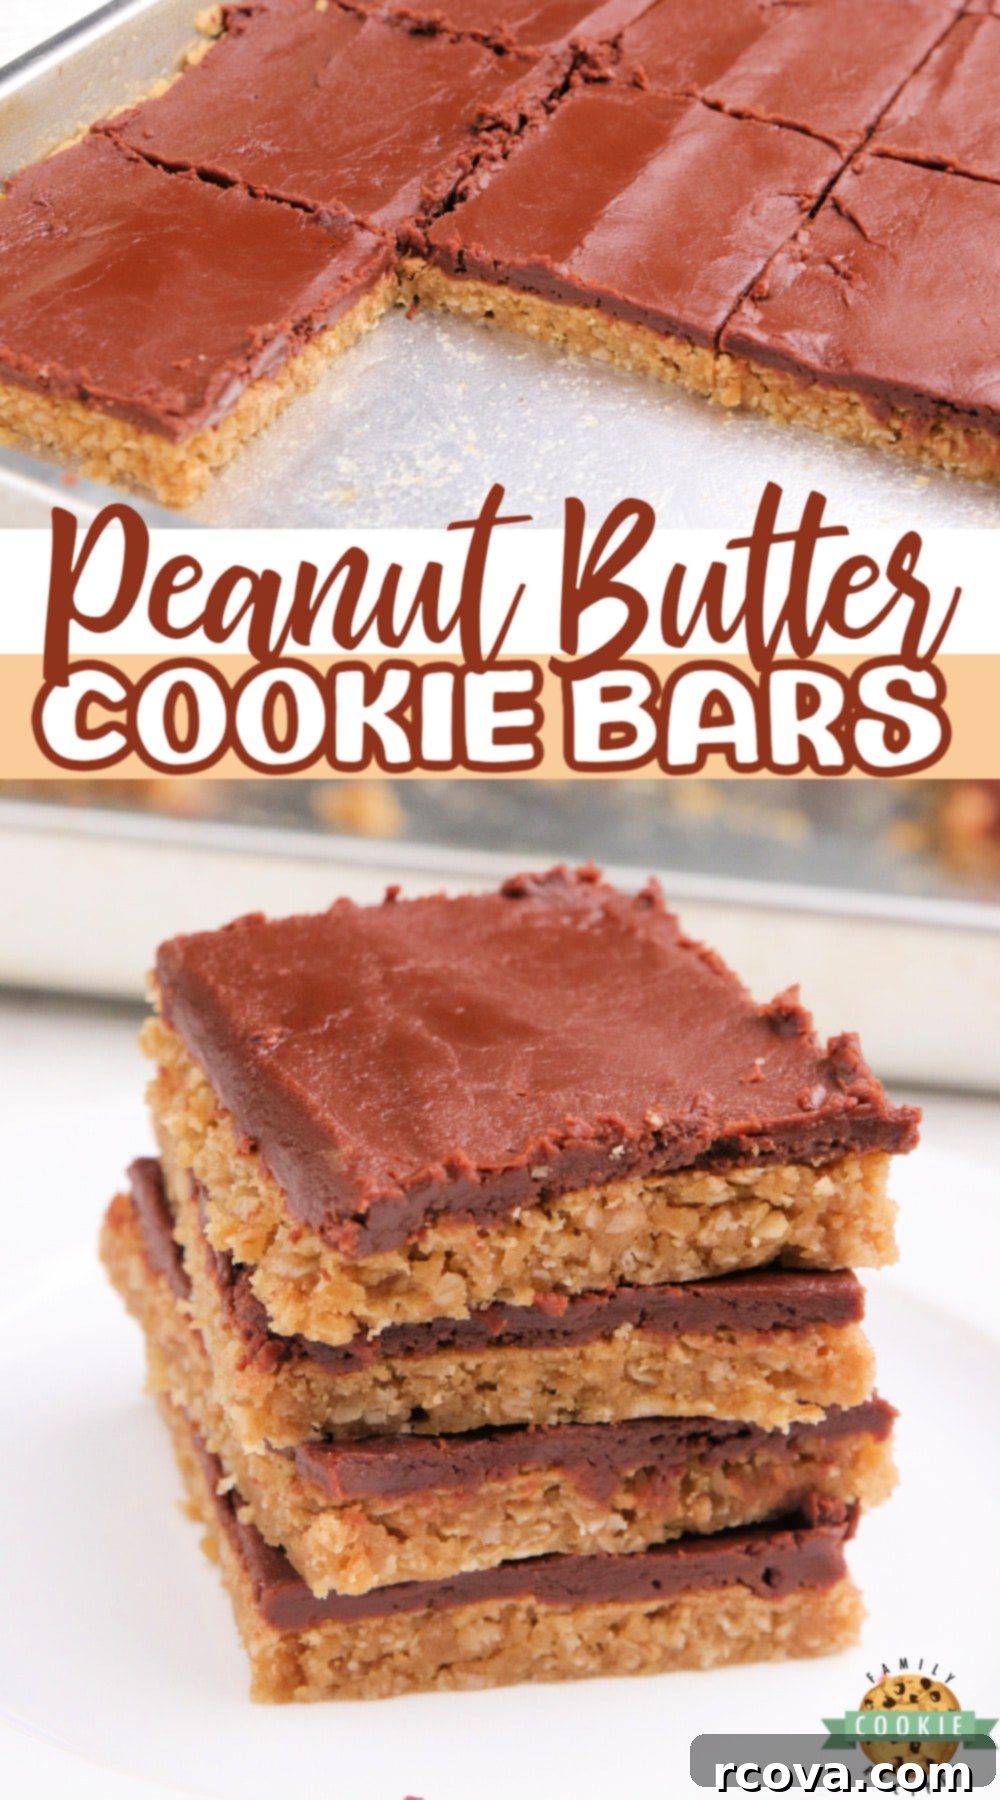
These Peanut Butter Cookie Bars are more than just a recipe; they’re an invitation to create joy in your kitchen. Soft, chewy, and topped with a luxurious chocolate fudge frosting, they truly are a dream come true for any dessert lover. Made with wholesome peanut butter and oats, this recipe promises a delightful experience from start to finish. Happy baking!


Speaking of family, a couple of weeks ago, we embarked on a rather frantic shopping trip. My oldest daughter needed a pair of shoes for prom, and true to family tradition, she absolutely despises heels. This made finding anything suitably fancy, yet flat, quite the challenge! Little Miss B was with us, and she made the shopping experience quite memorable. She was on a mission, constantly finding the most sparkly, tallest high heels imaginable and getting incredibly excited about them. She’d strut all over the store, even with the shoes still tied together and about ten sizes too big for her tiny feet. The moment she spotted a taller, even sparklier pair, the old ones were discarded in favor of the new treasure. You can imagine the scene when it was time to leave – pure hysteria because I wouldn’t let her keep any of her towering, glittery finds. It seems she might be the only female in about three generations of our family with a true passion for high heels. What a crazy, wonderful girl!

