Effortless 4-Ingredient Peanut Butter and Jelly Thumbprint Cookies (Gluten-Free & Delicious!)
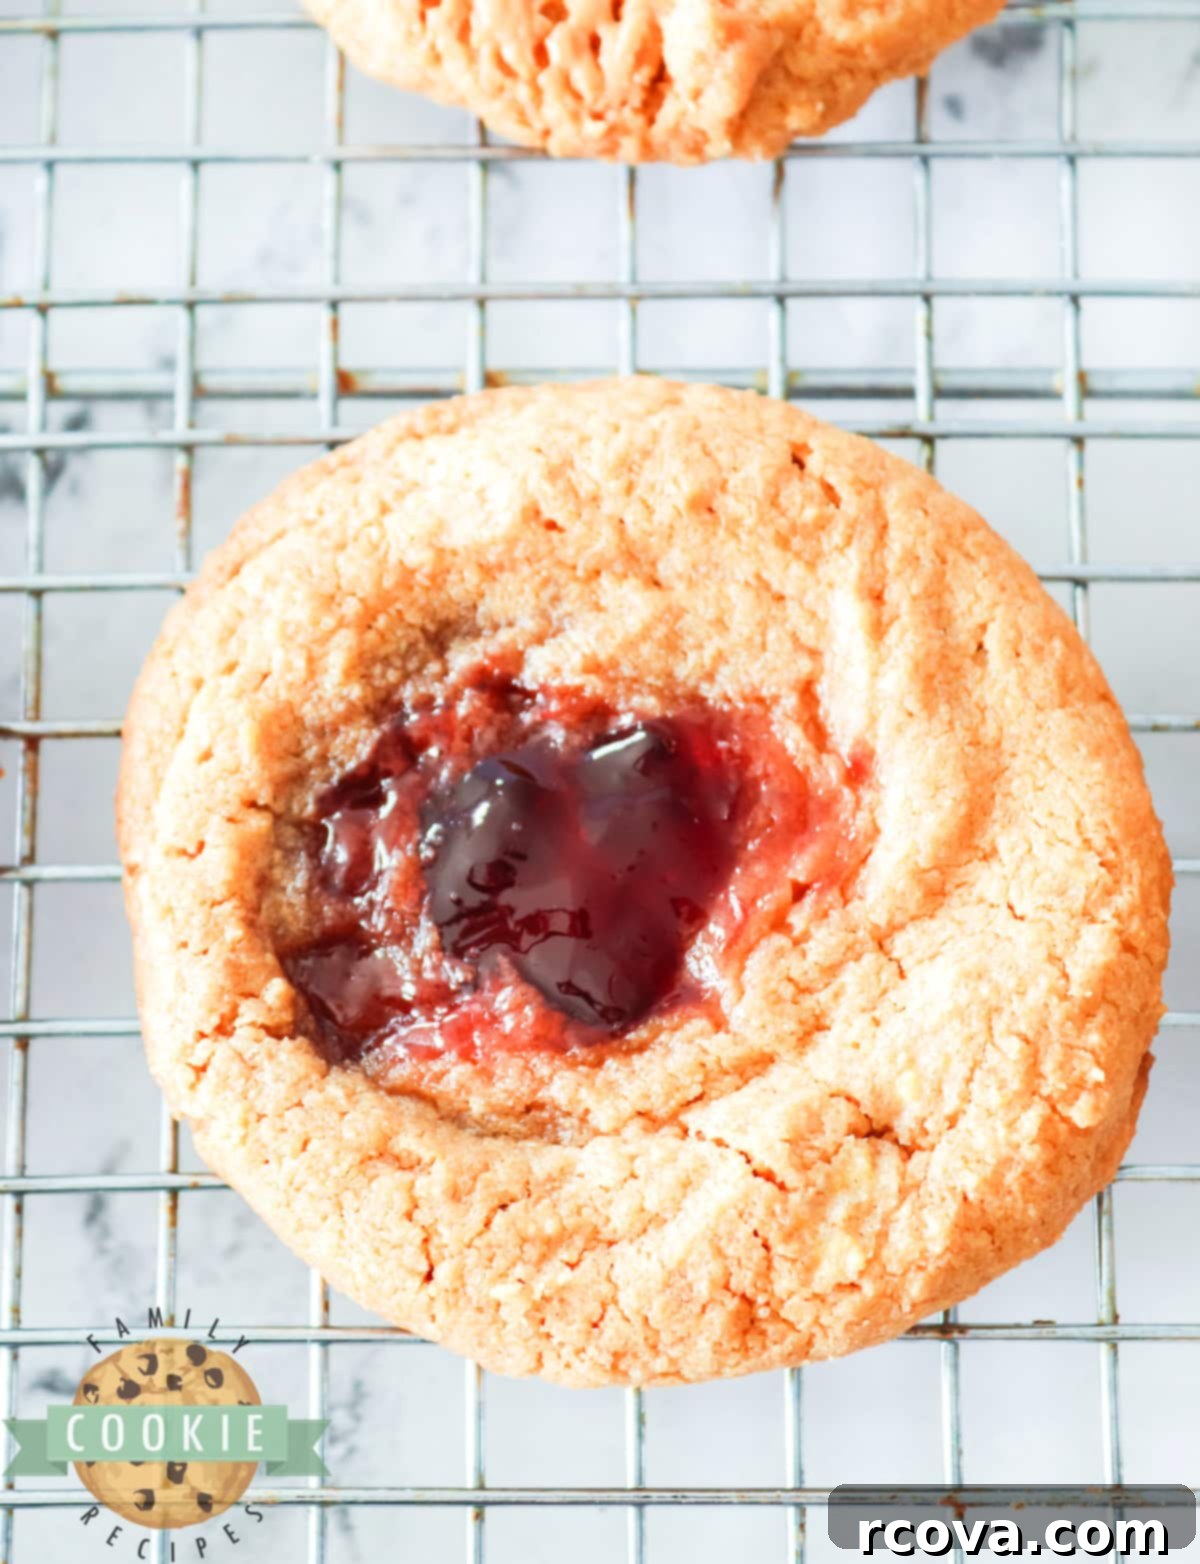
Get ready to bake a batch of pure nostalgia with these incredibly simple Peanut Butter and Jelly Cookies! Made with just 4 essential ingredients, these delightful thumbprint cookies are a dream come true for busy bakers and families alike. The soft, chewy peanut butter base, crafted from just peanut butter, sugar, and eggs, provides the perfect canvas for a sweet, fruity dollop of your favorite jelly, making every bite a burst of classic flavor.
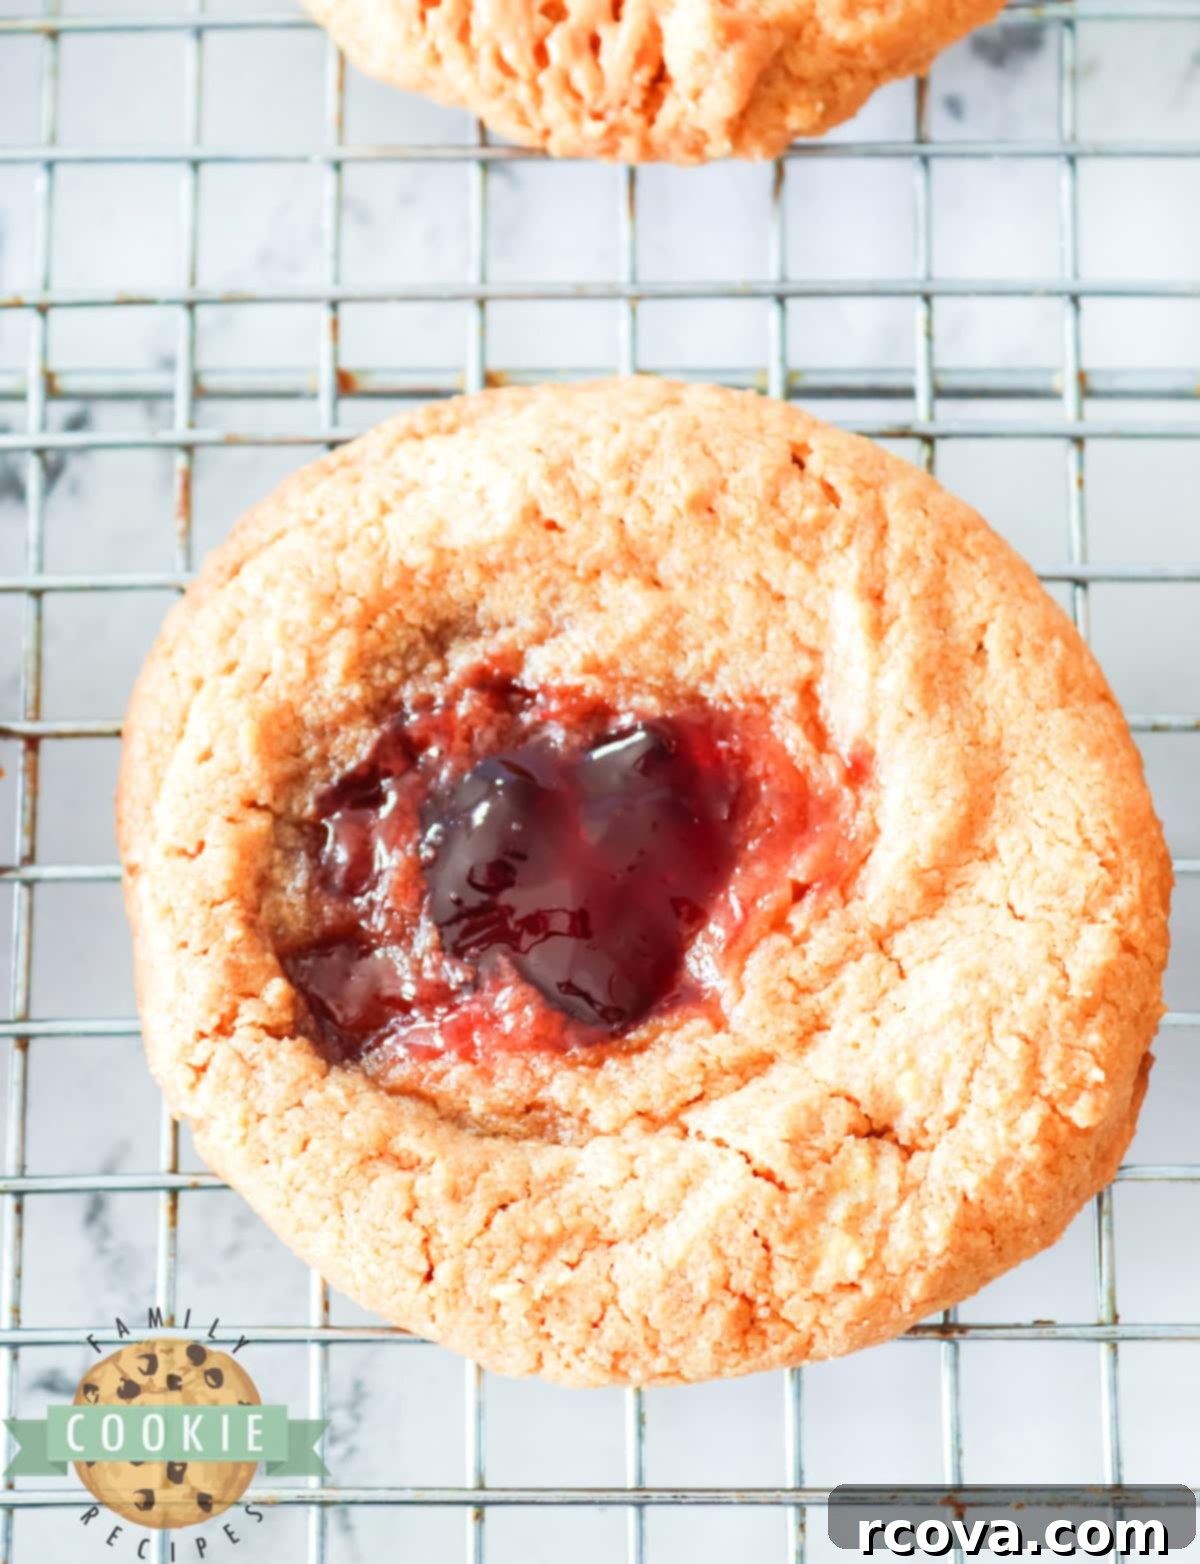
These cookies are not just easy to make; they’re a fantastic activity to share with kids. Little hands can help with mixing the dough, rolling the balls, and pressing the indentations, fostering a love for baking from an early age. The best part? You only need three core ingredients for the rich peanut butter cookie dough. After shaping the dough into perfect little spheres and creating a thumbprint in each, a spoonful of vibrant jelly transforms them into a treat that’s as fun to look at as it is to eat.
One of the many benefits of this recipe is its versatility. Since these cookies contain no flour, they are naturally gluten-free, making them a wonderful option for those with dietary restrictions or sensitivities. Furthermore, if you’re mindful of sugar intake, simply swap out regular granulated sugar for a sugar substitute and opt for a sugar-free jelly, and voilà – you have delicious sugar-free cookies ready to enjoy! This recipe truly caters to everyone, without compromising on taste or texture.
Why You’ll Adore These Peanut Butter and Jelly Cookies
There are countless reasons why these 4-ingredient Peanut Butter and Jelly Cookies will quickly become a staple in your recipe rotation. Beyond their incredible simplicity and classic flavor, they offer a delightful combination of convenience and customization:
- Unbelievably Easy: With only four ingredients and straightforward steps, even novice bakers can achieve perfect results. It’s a foolproof recipe for delicious homemade cookies.
- Kid-Friendly Fun: Involve your children in the baking process! They’ll love scooping, rolling, and filling the cookies, making it a memorable family activity.
- Gluten-Free by Nature: No special flour blends are needed! These cookies are naturally gluten-free, providing a safe and tasty option for those avoiding gluten.
- Dietary Adaptability: Easily adjust for sugar-free diets by using alternative sweeteners and sugar-free jelly, ensuring everyone can enjoy these treats.
- Nostalgic Flavor: The timeless combination of peanut butter and jelly evokes cherished childhood memories, bringing comfort and joy with every bite.
- Quick to Bake: From start to finish, you can have a fresh batch of these cookies ready in under 30 minutes, perfect for last-minute cravings or unexpected guests.
- Customizable: Experiment with different jelly flavors or even nut butters to create your own unique variations.
These cookies prove that you don’t need a long list of fancy ingredients to create something truly special and satisfying. Their irresistible taste and effortless preparation make them a guaranteed crowd-pleaser.
Essential Ingredients for Your Peanut Butter and Jelly Cookies
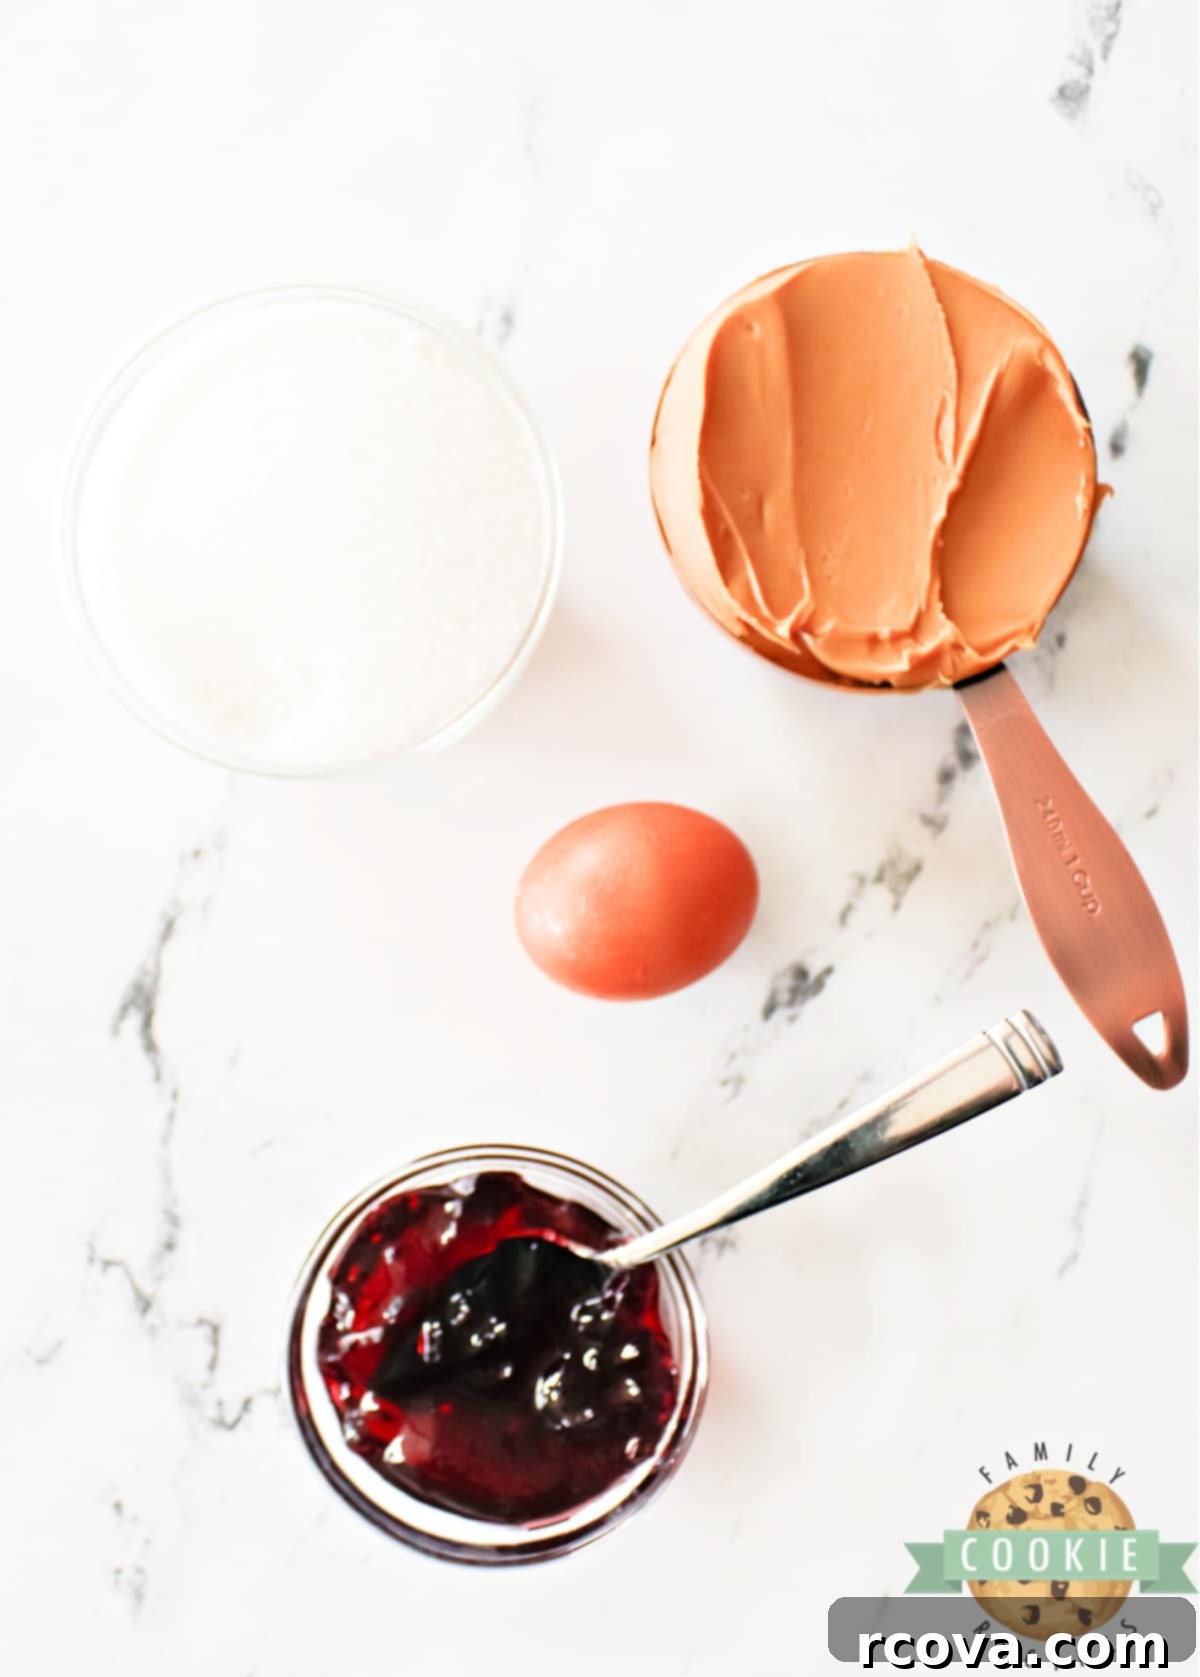
The beauty of this recipe lies in its minimal ingredient list, making it incredibly accessible. Here’s a closer look at the four simple components that come together to create these delectable cookies:
Peanut Butter – The star of the show! Creamy peanut butter is generally recommended for its smooth consistency, which blends seamlessly into the dough. However, if you enjoy a bit of textural contrast and a nuttier bite, feel free to use crunchy peanut butter. The key is to use a standard, shelf-stable peanut butter (like Jif or Skippy) for the best results, as natural peanut butter can alter the cookie’s texture slightly due to oil separation (more on this below!). Peanut butter provides the signature flavor, richness, and acts as a primary binder for the dough.
Sugar – A cup of granulated sugar sweetens the cookies to perfection, giving them that classic sweet edge. It also plays a crucial role in the cookie’s texture, contributing to a slight crispness on the outside and a tender interior. For those seeking a lower-sugar option, a 1:1 sugar substitute can be used without significantly impacting the overall outcome, though you might notice a very subtle difference in texture.
Egg – Just one large egg is all you need. The egg is vital for binding the peanut butter and sugar together, creating a cohesive dough that’s easy to handle and holds its shape during baking. It also contributes to the cookies’ structure and helps them bake up beautifully with a slightly soft, yet firm, texture.
Jelly – The delightful filling that completes the PB&J experience! While grape and strawberry are classic and always a hit, don’t hesitate to experiment with your favorite flavors. Raspberry, apricot, or even a mixed berry jelly can add a unique twist. Opt for a thicker jelly or jam, as thinner varieties might spread too much during baking. This ingredient adds a burst of fruity sweetness and a lovely visual appeal to each thumbprint cookie.
How to Make Perfect Peanut Butter and Jelly Cookies: A Step-by-Step Guide
Baking these cookies is a breeze! Follow these simple steps to create a batch of delightful peanut butter and jelly treats:
- Prepare Your Workspace: Begin by preheating your oven to 350°F (175°C). Line a standard baking sheet with parchment paper. This crucial step prevents sticking, ensures even baking, and makes for super easy cleanup! Set the prepared baking sheet aside.
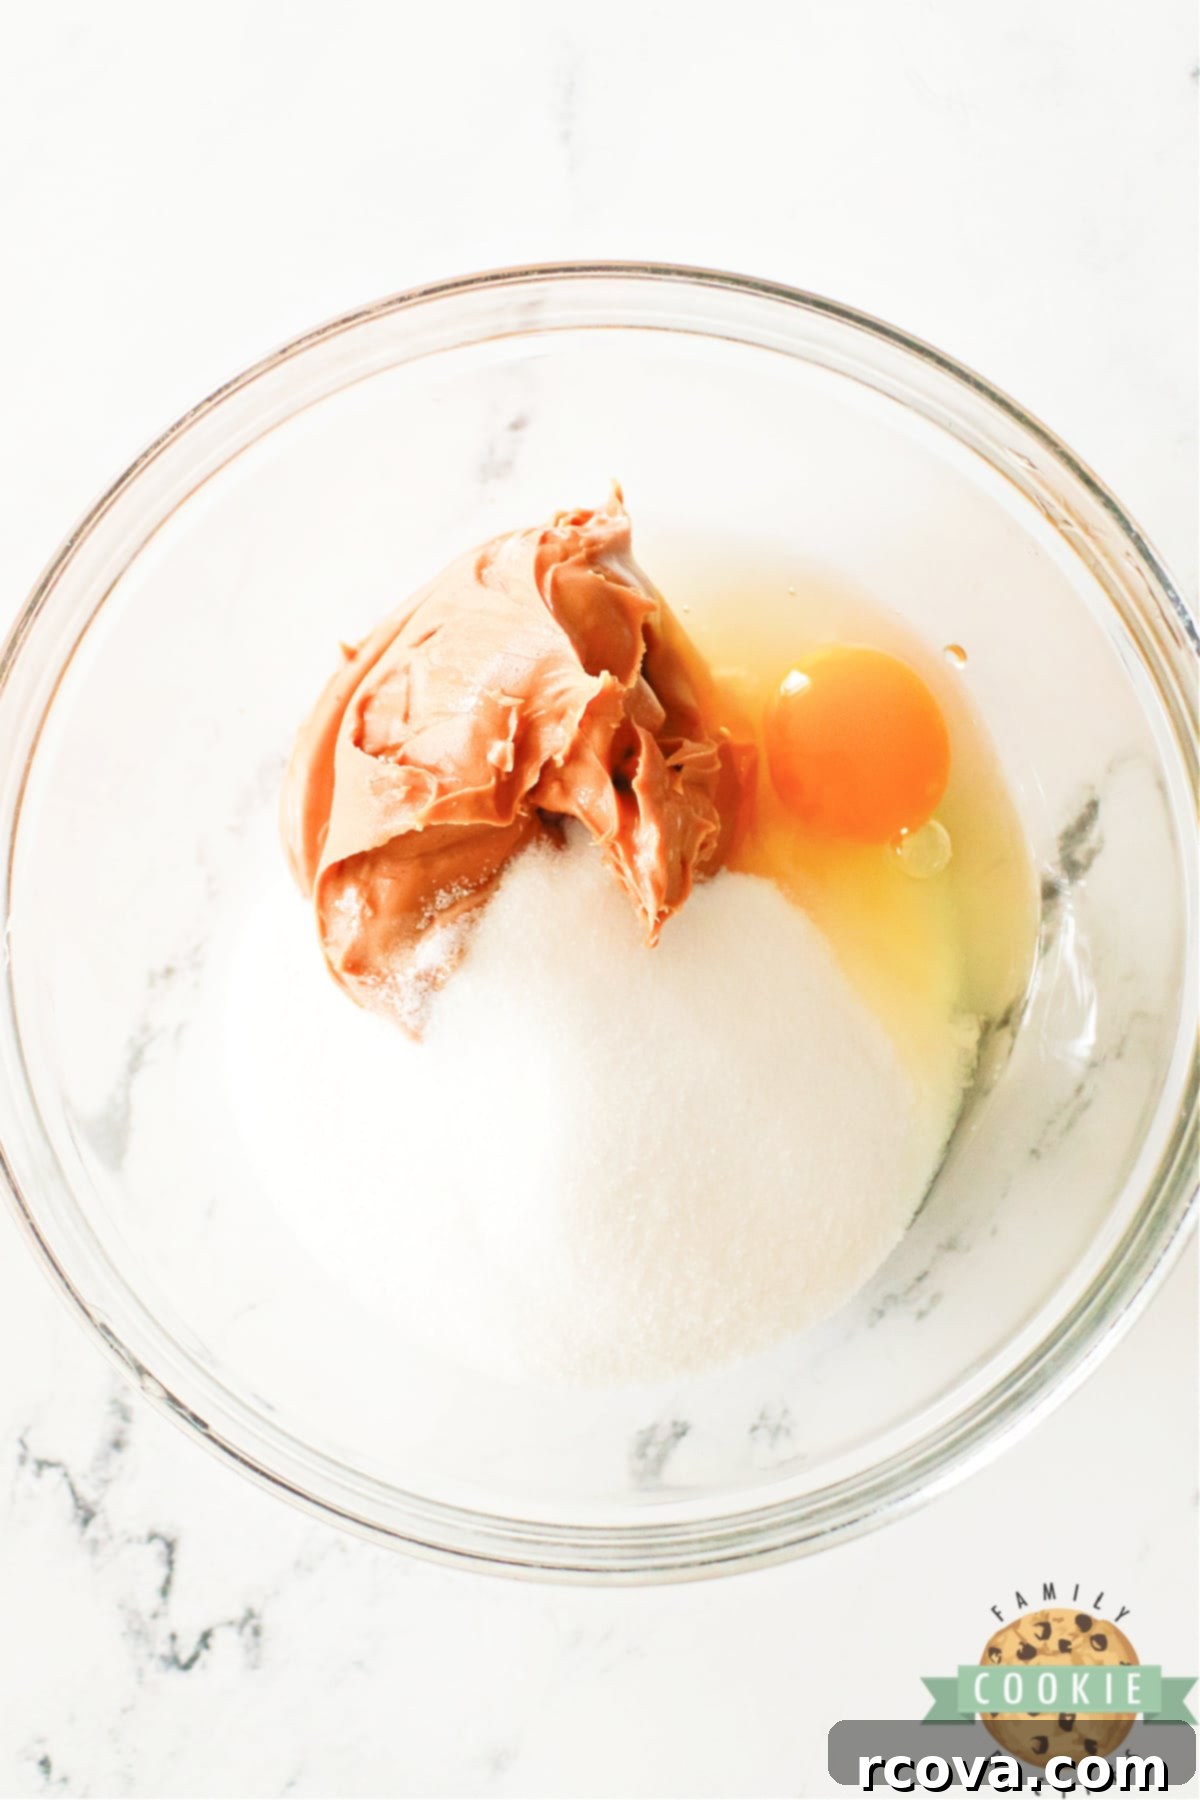
- Mix the Dough: In a medium-sized mixing bowl, combine the peanut butter, granulated sugar, and the large egg. Stir vigorously with a spoon or use an electric mixer on medium speed until all ingredients are thoroughly blended and form a cohesive dough. Make sure there are no streaks of unmixed ingredients.
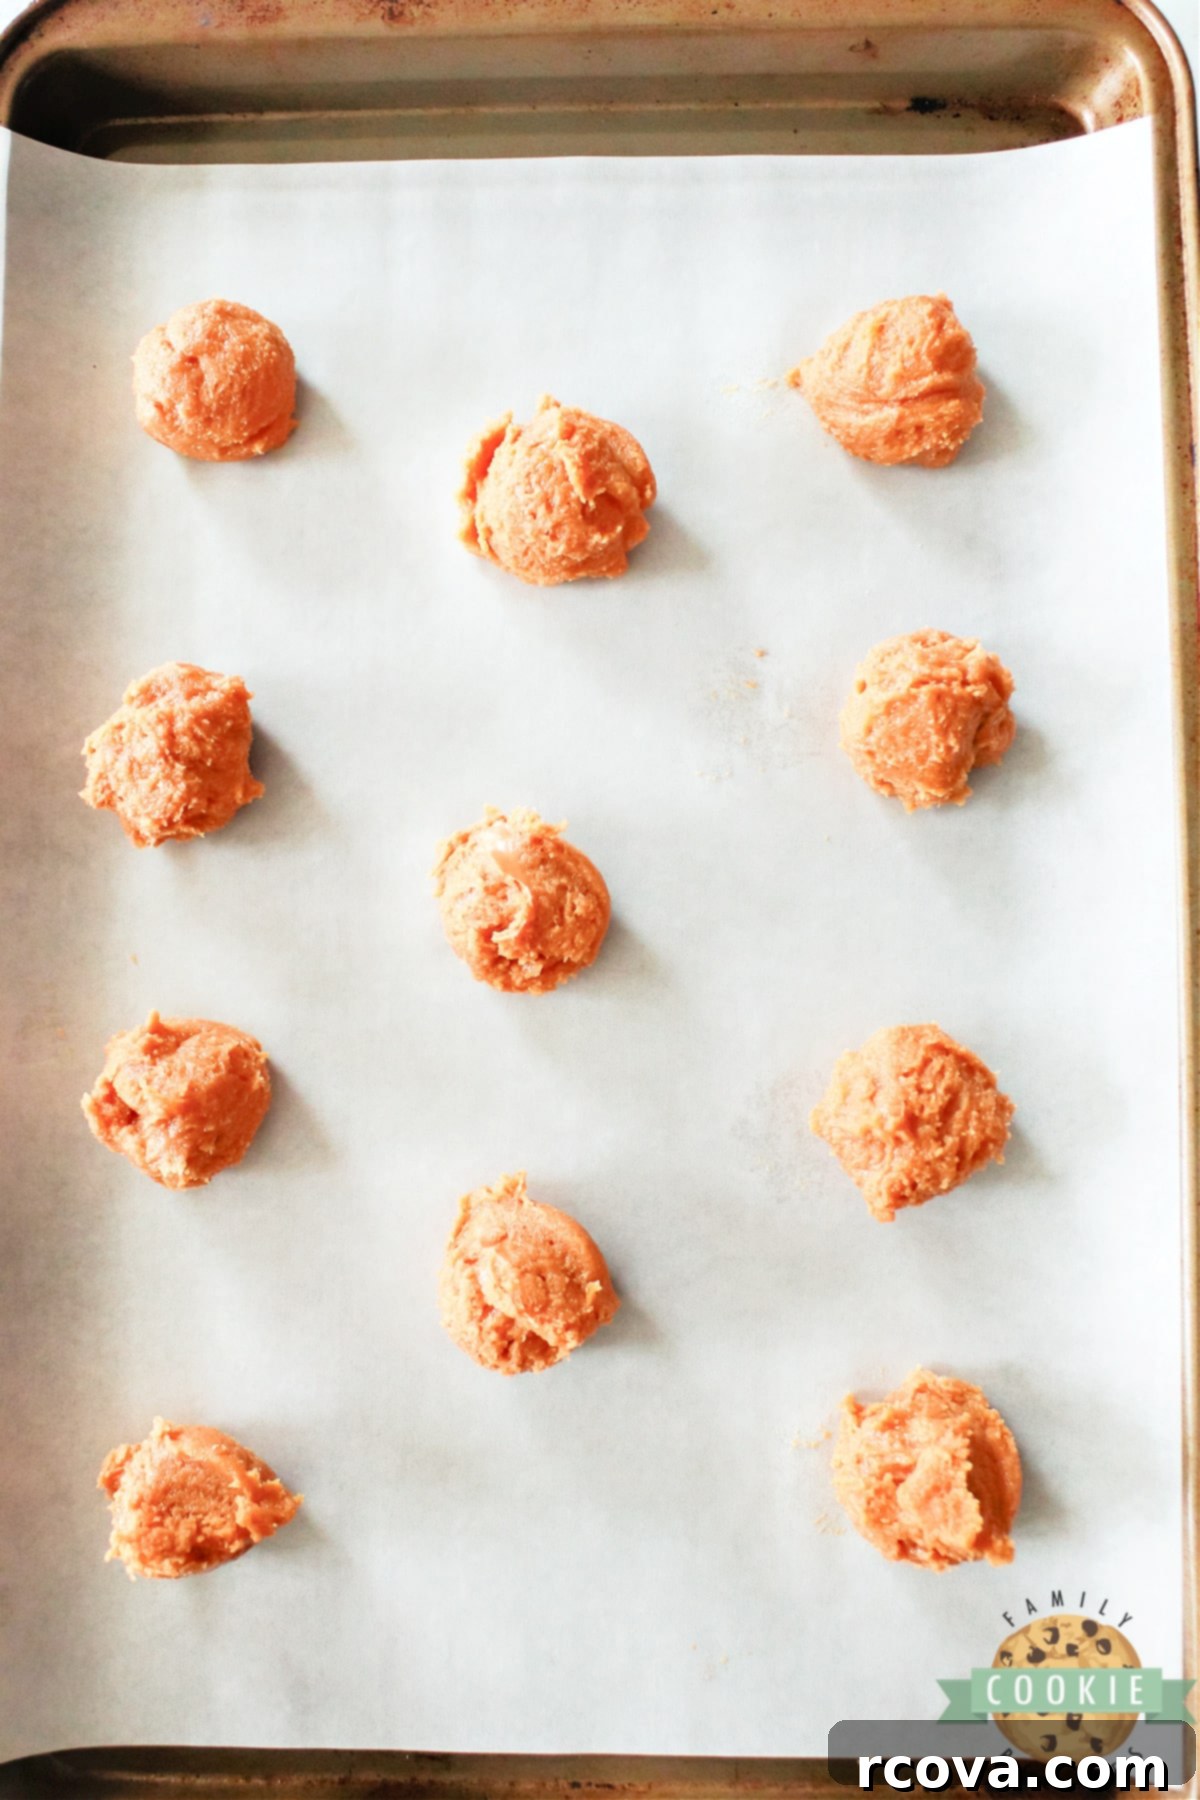
- Scoop the Dough: Using a 1.5-tablespoon cookie scoop (or about 2 tablespoons for a slightly larger cookie), portion out scoops of the peanut butter dough onto your parchment-lined baking sheet. Ensure you leave approximately 2 inches of space between each cookie to allow for slight spreading during baking.
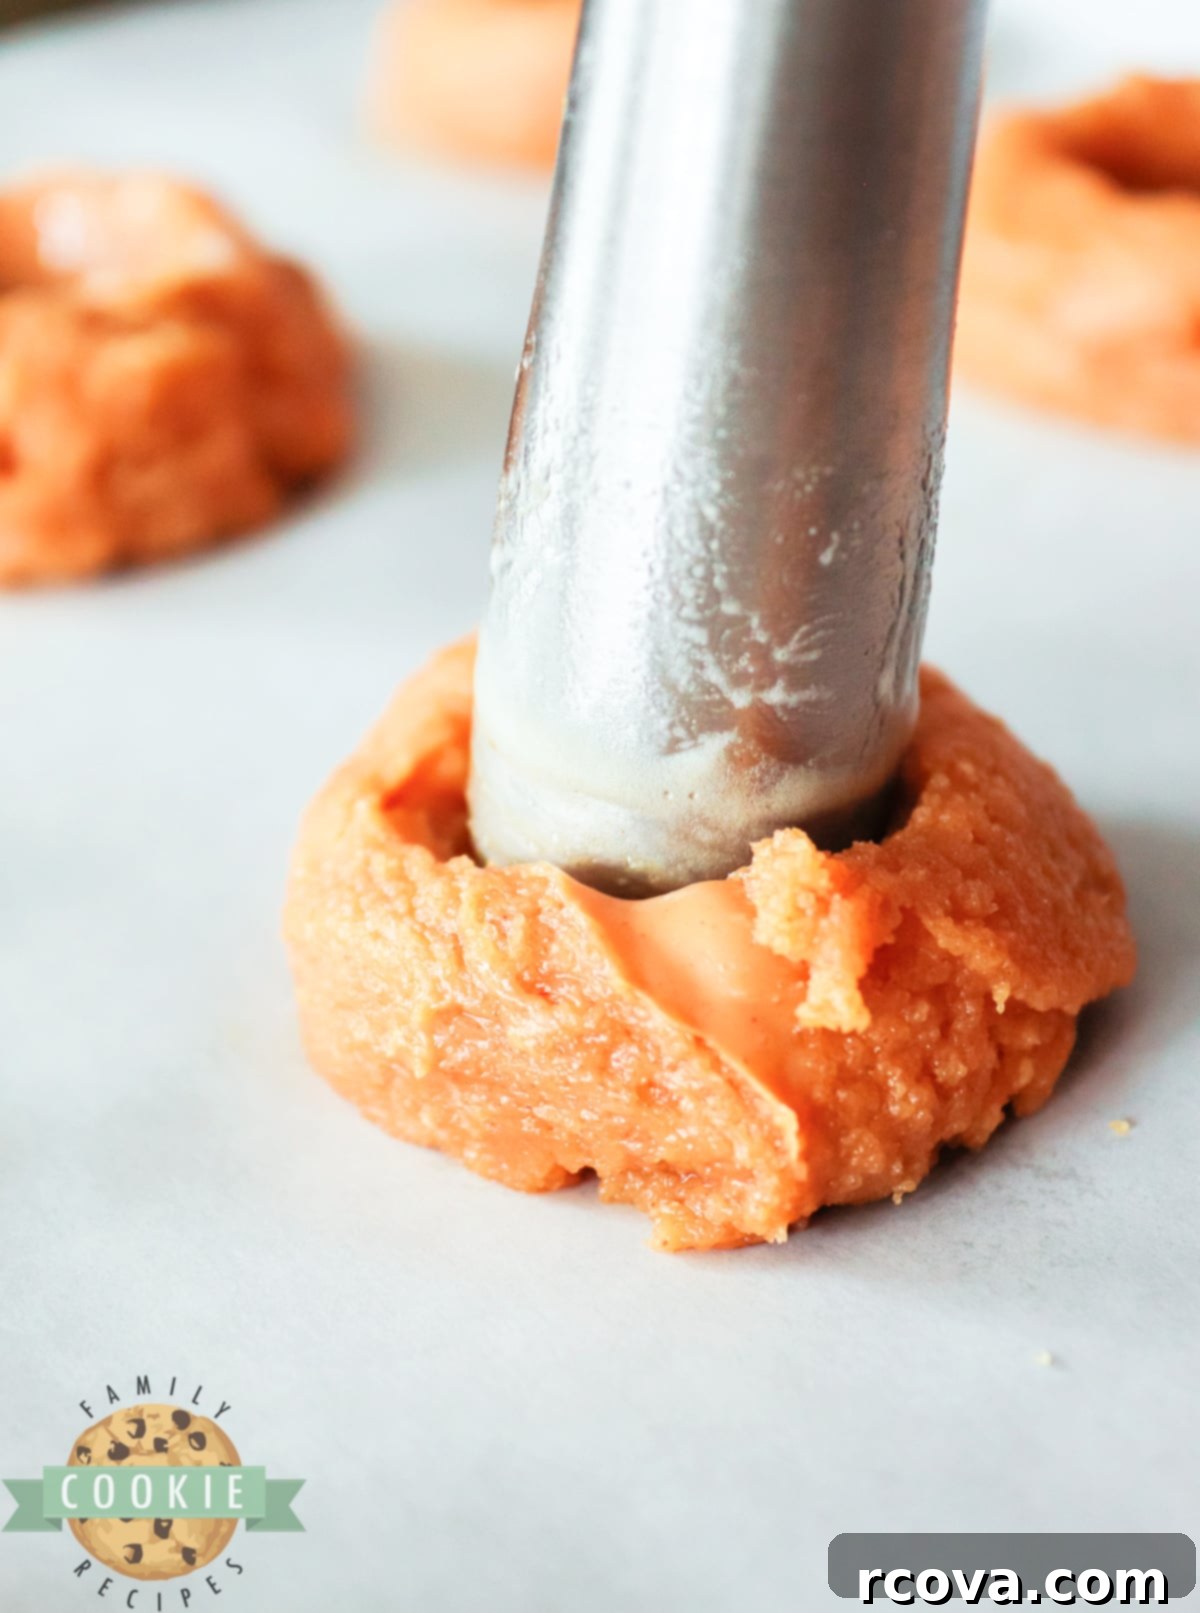
- Create the Indentations: Gently indent the center of each cookie dough ball. The back of a small measuring spoon (a teaspoon works perfectly) or even the handle of an ice cream scoop can be used. Aim for a noticeable depression that will hold the jelly, but don’t press so hard that you break through the bottom of the cookie.
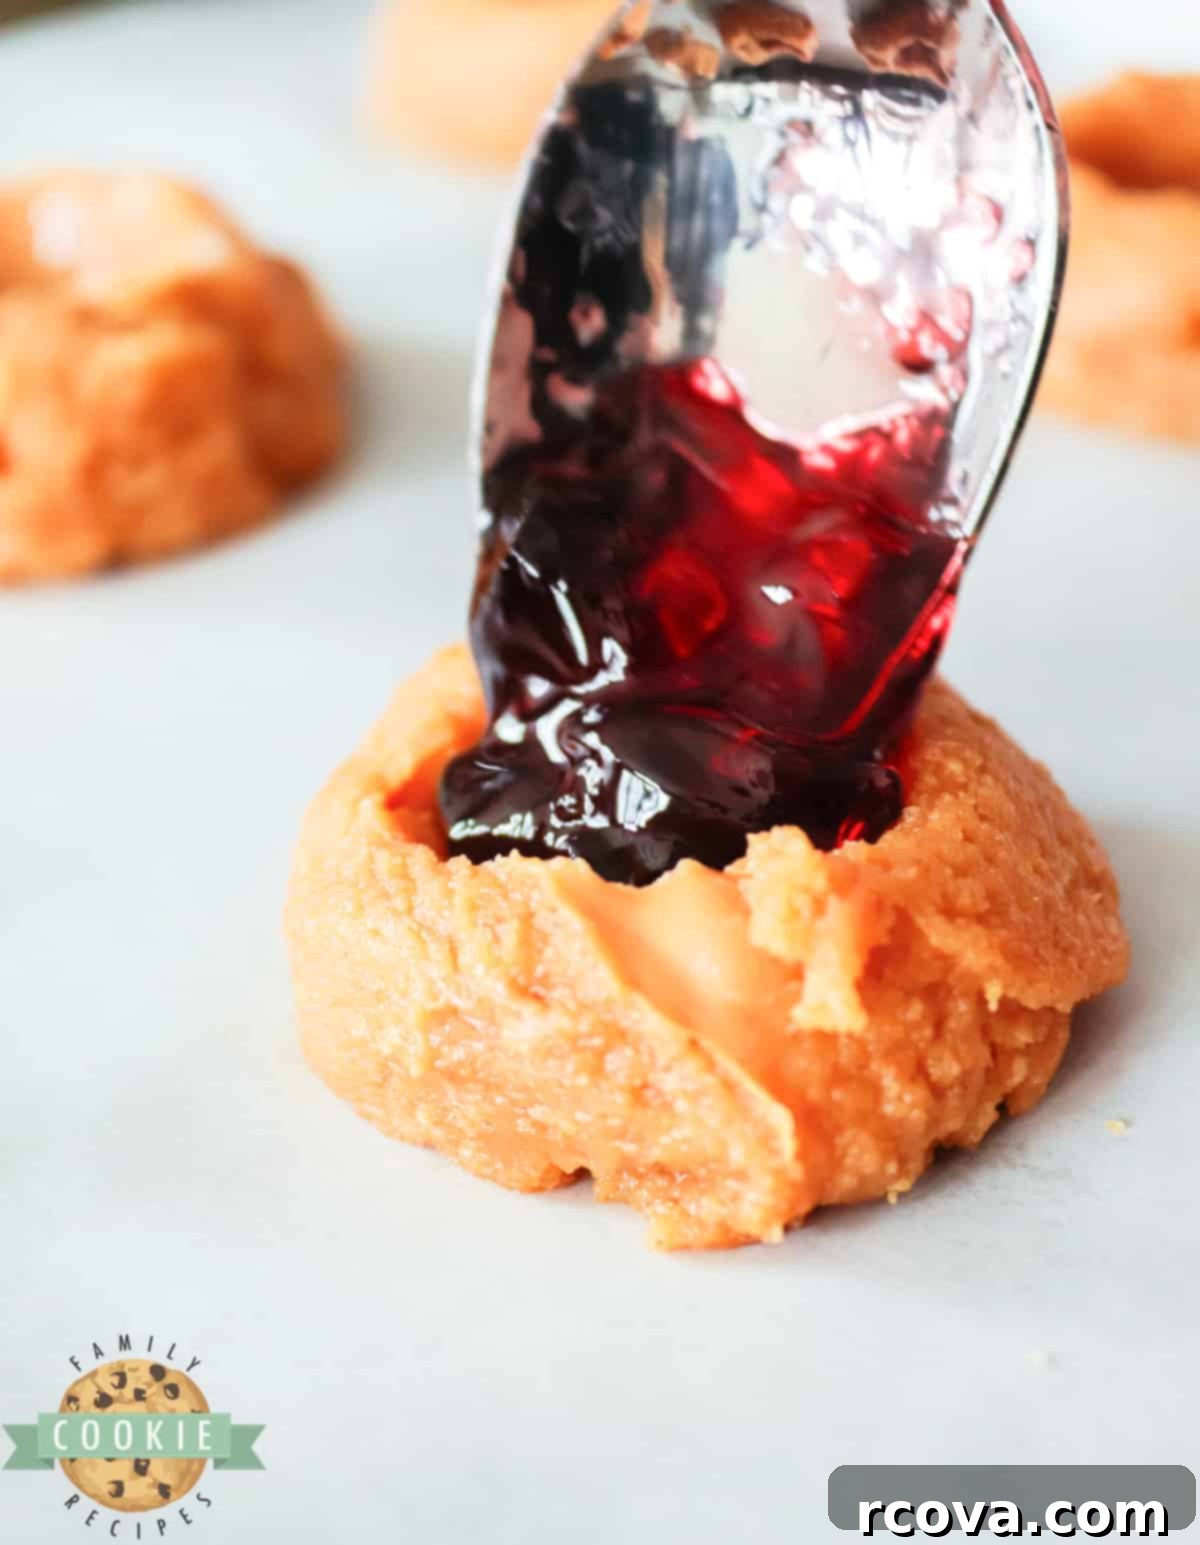
- Fill with Jelly: Using another teaspoon, carefully spoon your chosen jelly into each indentation. Be mindful not to overfill the indentations, as the jelly will slightly spread and bubble as the cookies bake. A good rule of thumb is to fill it just below the rim of the indentation.
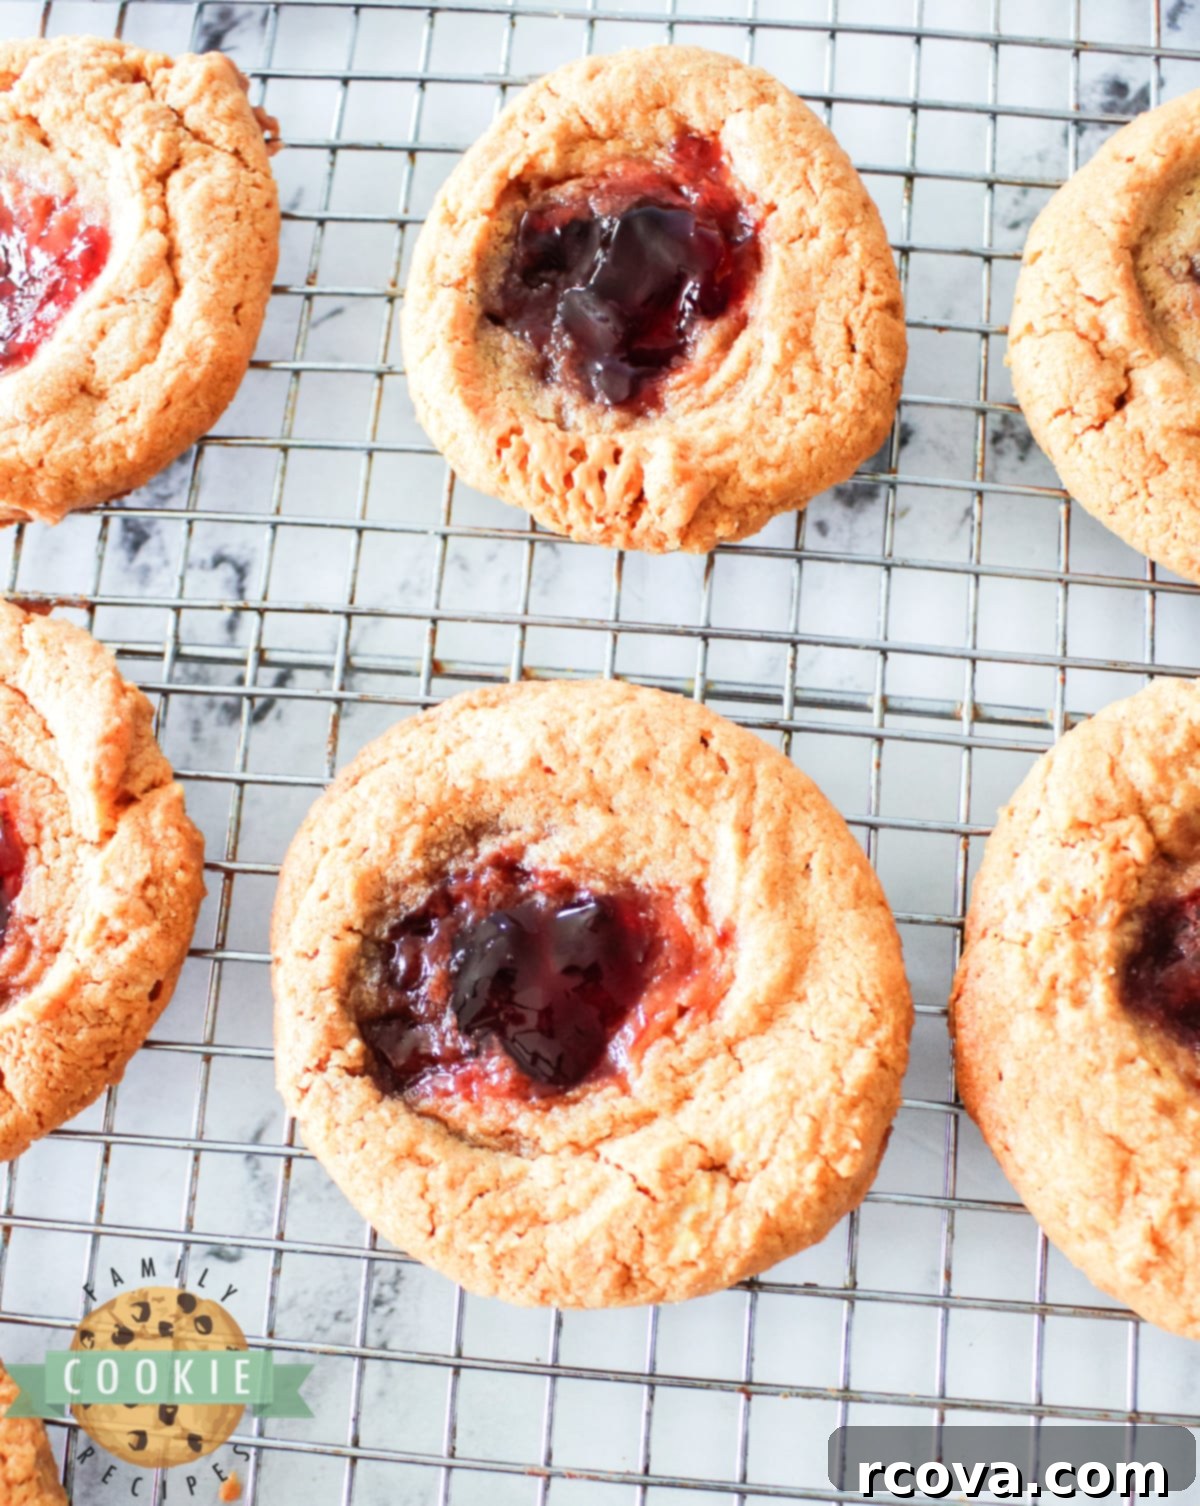
- Bake and Cool: Transfer the baking sheet to your preheated oven and bake for 8-10 minutes, or until the edges of the cookies are lightly golden and the cookie itself has just set. Avoid overbaking, as these cookies are meant to be soft and chewy. Once baked, remove the baking sheet from the oven and allow the cookies to cool completely on the sheet for at least 10-15 minutes. This dough is naturally soft, and trying to move them while warm could cause them to fall apart. Once cooled, they will firm up and be ready to enjoy!
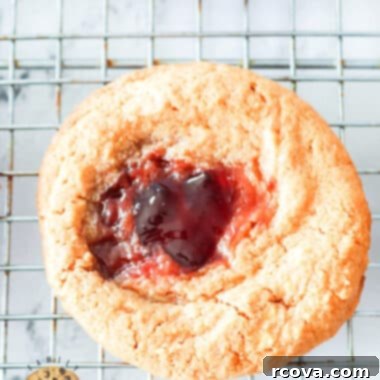
Peanut Butter and Jelly Cookies
Print
Pin
Rate
Ingredients
- 1 cup peanut butter creamy works best
- 1 cup sugar
- 1 egg
- 1/3 cup jelly any flavor you like!
Instructions
-
Preheat oven to 350°. Line a baking sheet with parchment paper and set aside.
-
In a medium bowl, mix the peanut butter, sugar, and egg until blended.
-
Next, using a cookie scoop, place a scoopful of batter onto the prepared baking sheet, leaving about 2” in between each cookie.
-
Indent each cookie dough with the back of a small measuring spoon (I use a teaspoon) or the handle of an ice cream scoop.
-
Using a teaspoon, drop the jam into the indentation, making sure not to overfill the jelly as it will spread as it bakes.
-
Bake for 8-10 minutes until the cookie has just set. Remove from the oven and allow the cookies to cool on the baking sheet. This dough is soft so you don’t want to move them when they are warm or they will fall apart.
-
Allow to cool for 10-15 minutes and enjoy!
Nutrition
Expert Tips for Achieving Perfect Peanut Butter and Jelly Cookies Every Time
While these cookies are incredibly easy, a few key tools and techniques can elevate your baking experience and ensure consistently perfect results. These items aren’t just for this recipe; they’re versatile kitchen staples I use for almost all my cookie baking!
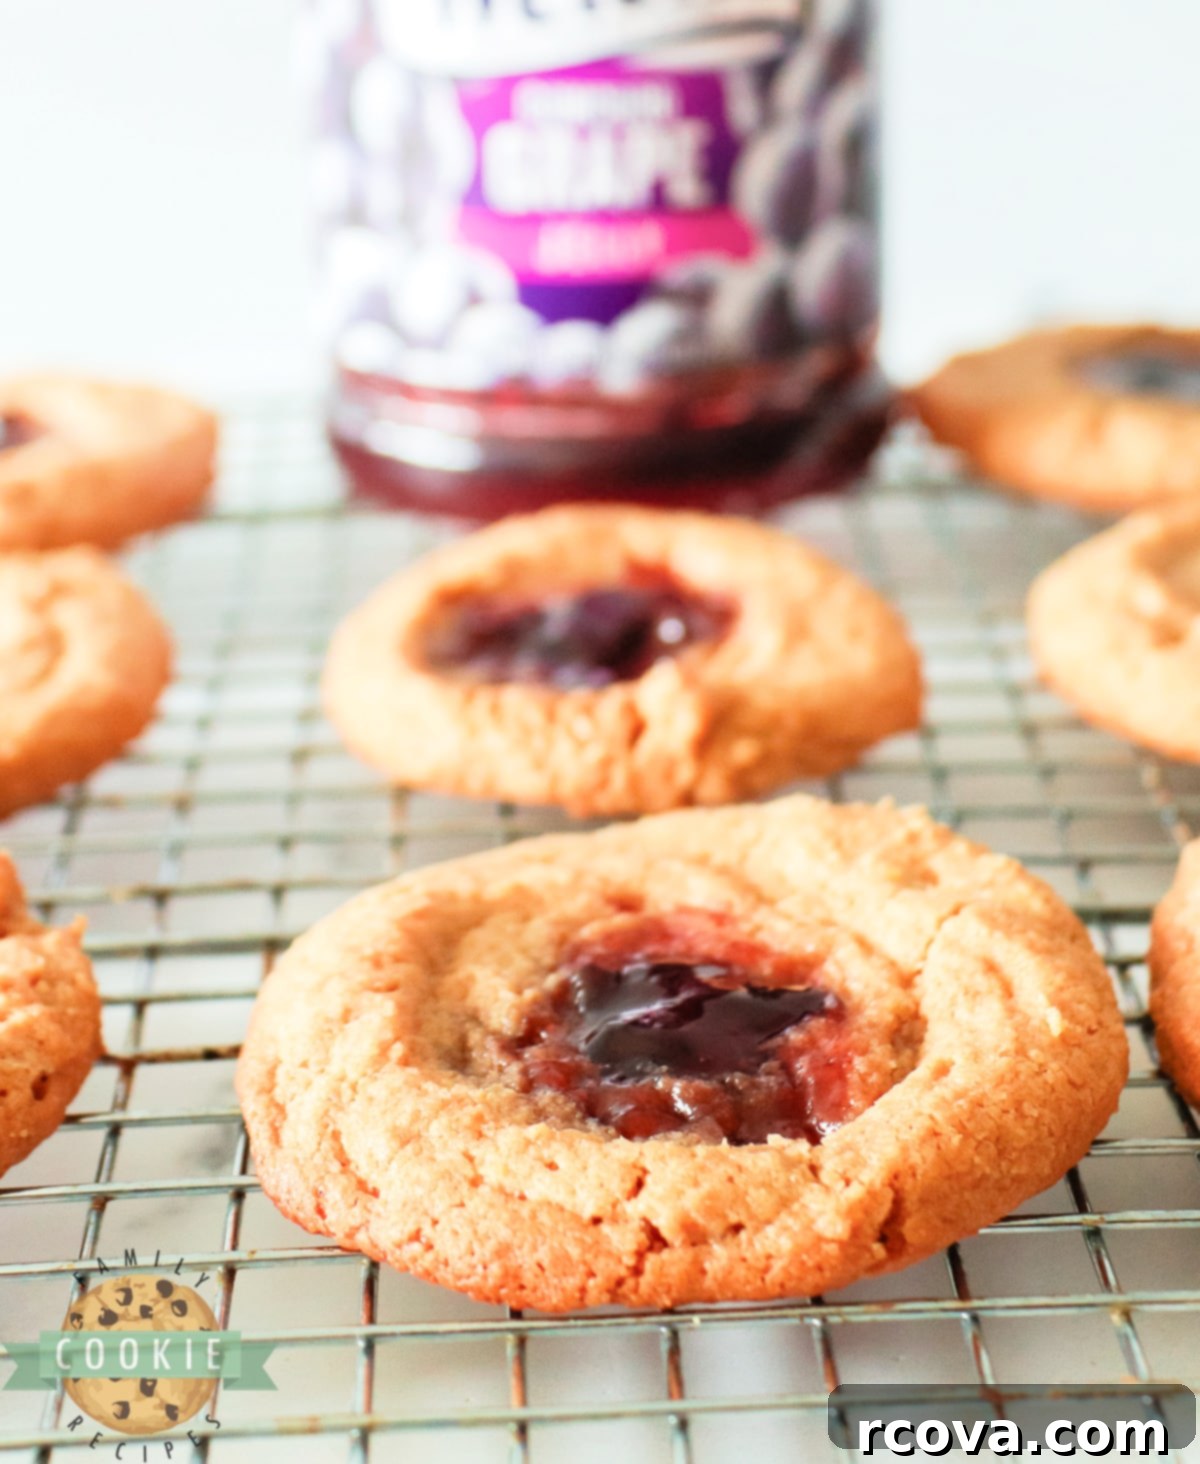
My Top 3 Kitchen Essentials for Cookie Baking:
- Parchment Paper is a Game Changer: My number one tip is always to line your cookie sheets with a piece of parchment paper. These are readily available in pre-cut sizes that fit a standard 12×16 inch baking sheet perfectly. Not only do they prevent your cookies from sticking, ensuring a flawless release every time, but they also promote more even baking by creating a consistent surface. Plus, cleanup is an absolute breeze – no more scrubbing stubborn baked-on bits!
- Invest in a Quality Stand Mixer: The second item I swear by is a KitchenAid mixer. While I own other mixers, my KitchenAid is my go-to for cookies. The paddle attachment, which comes standard with every mixer, is ideal for creaming together ingredients uniformly without overworking the dough. For softer doughs or when making frosting (not needed for this specific recipe, but generally useful!), the whisk attachment whips things up super fast. A stand mixer simplifies the mixing process, saving you time and effort. Add this to your kitchen wish list – it’s one of the most used small appliances in my home!
- A Cookie Scoop for Uniformity: Gone are the days of using two spoons to haphazardly drop cookie dough onto a baking sheet, resulting in oddly shaped and unevenly sized cookies. A cookie scoop is the secret to perfectly round, uniform cookies that bake consistently. They typically come in three sizes: 1/2 tablespoon, 1.5 tablespoon, and 3 tablespoon. For these Peanut Butter and Jelly cookies, and most other standard cookies, I recommend the middle size (1.5 tablespoon). This ensures each cookie bakes at the same rate and looks picture-perfect. If you’re baking for a large gathering or want smaller bites for a dessert buffet, the small scoop is also excellent.
General Baking Wisdom:
- Don’t Overmix: Once your ingredients are just blended, stop mixing. Overmixing can lead to tougher cookies.
- Room Temperature Ingredients: Ensure your egg is at room temperature. This helps it incorporate more smoothly into the dough, creating a more uniform batter.
- Proper Cooling is Key: As mentioned in the instructions, these cookies are soft when warm. Allowing them to cool completely on the baking sheet helps them firm up and prevents them from crumbling when transferred.
- Jelly Consistency: If your jelly is very runny, consider thickening it slightly by simmering it over low heat for a few minutes before use, then letting it cool. This will help prevent excessive spreading.
Can I Use Natural Peanut Butter Instead of Regular Peanut Butter?
Yes, you can certainly use natural peanut butter in these cookies, but it’s important to be aware of the potential differences in the final product. Natural peanut butter typically separates, with the oil rising to the top, and often contains less added sugar than conventional peanut butter varieties. Because of this:
- Texture: Cookies made with natural peanut butter may turn out a bit less sweet and slightly more crumbly or dry. The higher oil content and different emulsification can affect the dough’s consistency.
- Sweetness: Since natural peanut butters don’t usually have added sugar, your cookies will likely be less sweet overall. If you prefer a sweeter cookie, you might consider adding an extra tablespoon or two of sugar to the dough, or opting for a sweeter jelly.
- Mixing: If using natural peanut butter, make sure to stir it very thoroughly in its jar before measuring to ensure the oil is fully reincorporated. This will help maintain consistency in your dough.
For the classic soft and chewy texture of these 4-ingredient cookies, a commercial creamy peanut butter like Jif or Skippy is generally recommended, as its consistent composition leads to more predictable results. However, if you prefer the flavor and health benefits of natural peanut butter, don’t shy away from trying it – just be prepared for a slightly different, but still delicious, outcome!
How Should I Store These Cookies?
Proper storage is essential to keep your Peanut Butter and Jelly Cookies fresh and delicious for as long as possible:
- Room Temperature: Once completely cooled, store the cookies in an airtight container at room temperature. They will maintain their best quality for up to 5 days. Layering them between sheets of parchment paper can help prevent them from sticking together.
- Freezing: These cookies freeze exceptionally well, allowing you to enjoy them at a later date. You can freeze baked cookies for up to 3 months. When you’re ready to enjoy them, simply remove them from the freezer and let them thaw at room temperature for at least 20-30 minutes before serving. For more detailed freezing instructions, see the section below.
Whether you’re making them ahead for a party or just want to have a quick treat on hand, these storage tips will ensure your cookies are always ready when a craving strikes!
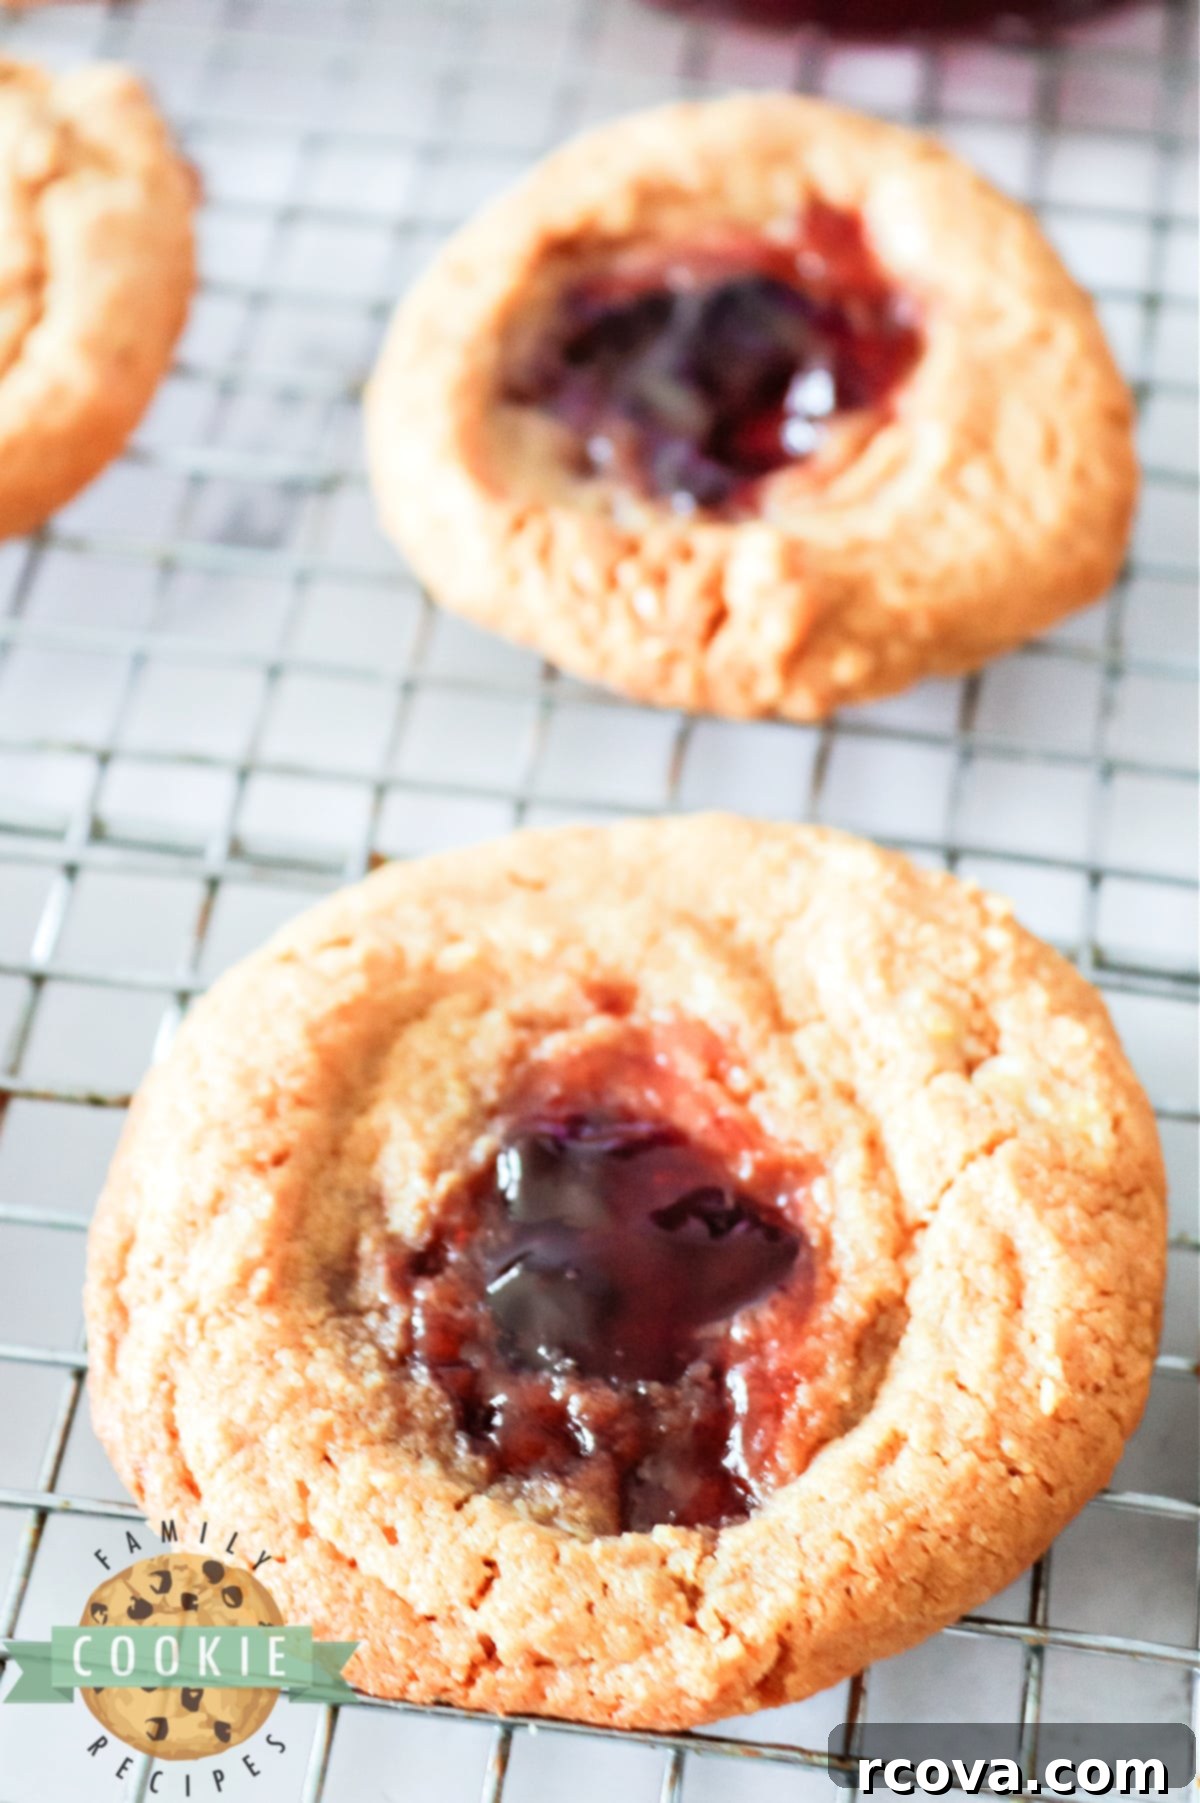
How to Freeze Peanut Butter Cookies for Long-Term Enjoyment
Freezing peanut butter and jelly cookies is an excellent way to prepare ahead for special occasions, manage portion control, or simply ensure you always have a delightful treat on hand for unexpected guests or sudden cravings. Here are comprehensive tips on how to freeze these cookies effectively:
- Cool Completely: This is the most crucial step. Before attempting to freeze your baked cookies, ensure they have cooled down to room temperature completely. Warm cookies will create condensation inside the freezer bag or container, leading to ice crystals and potentially soggy cookies.
- Pre-Freeze on a Baking Sheet: To prevent the cookies from sticking together in a large clump, arrange them in a single layer on a baking sheet lined with parchment paper. Place this baking sheet in the freezer for about 1-2 hours, or until the cookies are firm and frozen solid. This step is often called “flash freezing.”
- Transfer to an Airtight Container: Once the cookies are flash-frozen, carefully transfer them from the baking sheet into an airtight freezer-safe container or heavy-duty freezer bag. For added protection against freezer burn and to prevent sticking, you can place small pieces of parchment paper between layers of cookies.
- Label and Date: Always label your container or bag with the date and the type of cookie (e.g., “PB&J Cookies – Baked – 10/26/2024”). This helps you keep track of freshness and ensures you enjoy them at their best.
- Storage Duration: Peanut butter and jelly cookies can be stored in the freezer for up to 3 months without significant loss of quality. Beyond this, they are still safe to eat, but their texture and flavor might start to diminish.
How to Thaw and Enjoy Frozen Cookies:
When you’re ready to indulge in your frozen treats, simply remove the desired number of cookies from the freezer. Place them on a plate or wire rack and allow them to thaw at room temperature for approximately 20-30 minutes. There’s no need to reheat them unless you prefer them slightly warm; they taste wonderful at room temperature!
Exciting Variations and Customizations
While the classic 4-ingredient recipe is perfect as is, you can easily customize these Peanut Butter and Jelly cookies to suit your taste or occasion:
- Jelly & Jam Extravaganza: Don’t limit yourself to grape or strawberry! Try raspberry jam for a tart kick, apricot preserves for a delicate sweetness, or even a spicy pepper jelly for an adventurous twist. The possibilities are endless!
- Nut Butter Alternatives: While peanut butter is traditional, you can experiment with other nut butters. Almond butter or cashew butter can offer a different flavor profile. For a nut-free option, sunbutter (made from sunflower seeds) is a great substitute, though it might react with baking soda to give a greenish tint after baking (which is harmless!).
- Chocolatey Delight: For an extra layer of indulgence, fold 1/2 cup of mini chocolate chips into the peanut butter dough before forming the balls. The combination of peanut butter and chocolate is always a winner!
- Sweetener Swaps: Instead of granulated sugar, you can use light brown sugar for a slightly chewier cookie with a hint of caramel flavor. Remember, if using natural peanut butter, you might want to adjust the sugar content to your preference.
- A Pinch of Salt: A tiny sprinkle of sea salt flakes over the jelly after baking (while the cookies are still warm) can enhance the flavors and add a gourmet touch.
Frequently Asked Questions About PB&J Cookies
Q: Why are my peanut butter cookies crumbly?
A: Crumbly cookies can often be attributed to several factors. If you used natural peanut butter, its varying oil content can sometimes result in a drier, more crumbly cookie compared to commercial varieties. Additionally, over-baking can dry out the cookies, making them more prone to crumbling. Ensure you bake them just until the edges are set, and allow them to cool completely on the baking sheet before moving.
Q: My jelly spread too much during baking. What went wrong?
A: If your jelly spread excessively, it’s likely due to overfilling the indentation or using a jelly that’s too thin in consistency. Next time, try to fill the indentation just below the rim. If your jelly seems particularly runny, you can gently simmer it on the stovetop for a few minutes to thicken it slightly before using, then let it cool completely.
Q: Can I use jam instead of jelly?
A: Absolutely! Jam works beautifully in these cookies. The main difference between jam and jelly is that jam contains crushed fruit pulp, while jelly is made from fruit juice. Jam tends to be a bit thicker and can sometimes offer a more intense fruit flavor and better texture within the cookie indentation.
Q: Do I need to chill the cookie dough before baking?
A: No, chilling the dough is not required for this specific recipe. The dough is designed to be easy to work with right after mixing. However, if you find the dough too soft to handle on a particularly warm day, a quick 15-20 minute chill in the refrigerator can help firm it up, making it easier to roll and indent.
More Delicious Peanut Butter Cookie Recipes to Try:
- PEANUT BUTTER CHOCOLATE CHIP COOKIES
- PEANUT BUTTER BANANA COOKIES
- PEANUT BUTTER AND JELLY SANDWICH COOKIES
- PEANUT BUTTER COOKIE RECIPES
- NO-BAKE PEANUT BUTTER BLOSSOMS
- NUTTER BUTTER CHOCOLATE CHIP PEANUT BUTTER COOKIES
- FIVE-CHIP PEANUT BUTTER OATMEAL COOKIES
- CHOCOLATE PEANUT BUTTER CHIP COOKIES
- FUDGE PEANUT BUTTER COOKIE CUPS
- OREO PEANUT BUTTER COOKIES
- REESE’S PEANUT BUTTER BANANA COOKIES
- GRANDMA’S PEANUT BUTTER COOKIES
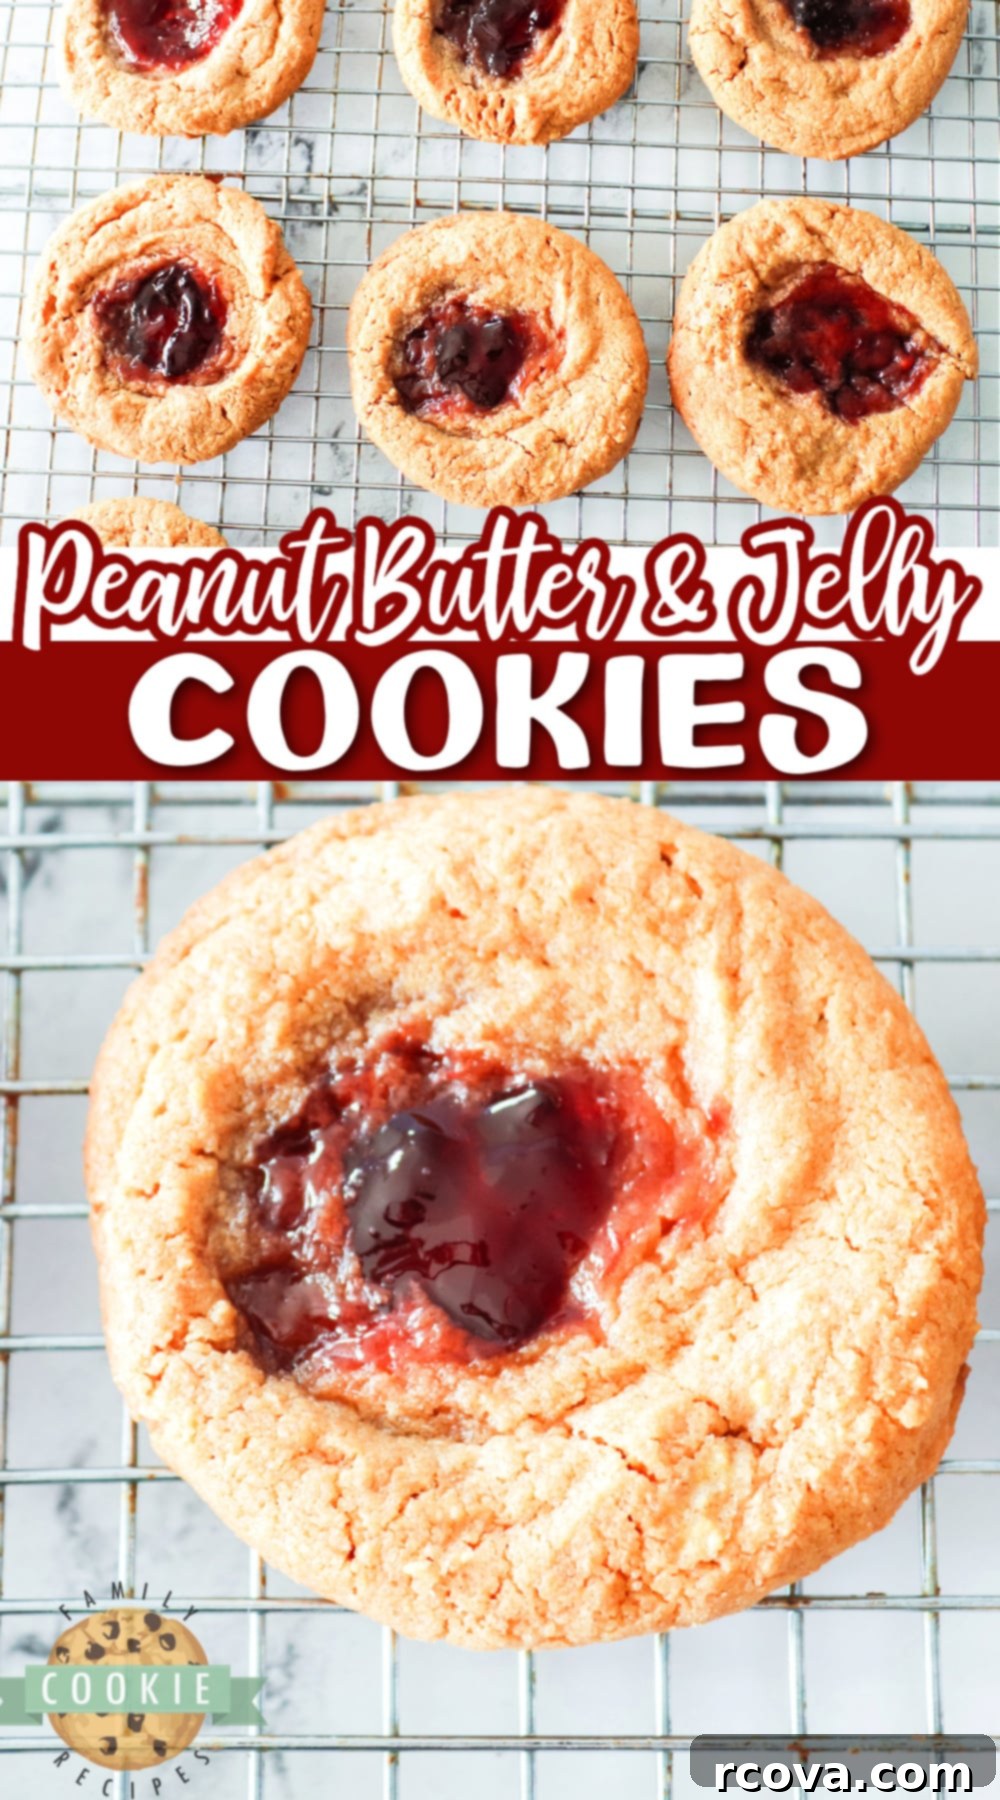
There you have it – a simple yet spectacular recipe for Peanut Butter and Jelly Cookies, requiring just 4 ingredients! These effortless thumbprint cookies, made with a wholesome base of peanut butter, sugar, and eggs, are lovingly filled with sweet jelly. They’re not only a breeze to whip up but also naturally gluten-free and easily adaptable for a sugar-free diet. Perfect for a quick snack, a family baking project, or a comforting treat, these cookies bring a taste of childhood joy to every bite. Enjoy the simplicity and deliciousness!
