Irresistible Peanut Butter Thumbprint Cookies: Your Ultimate Guide to Soft, Chewy Delights
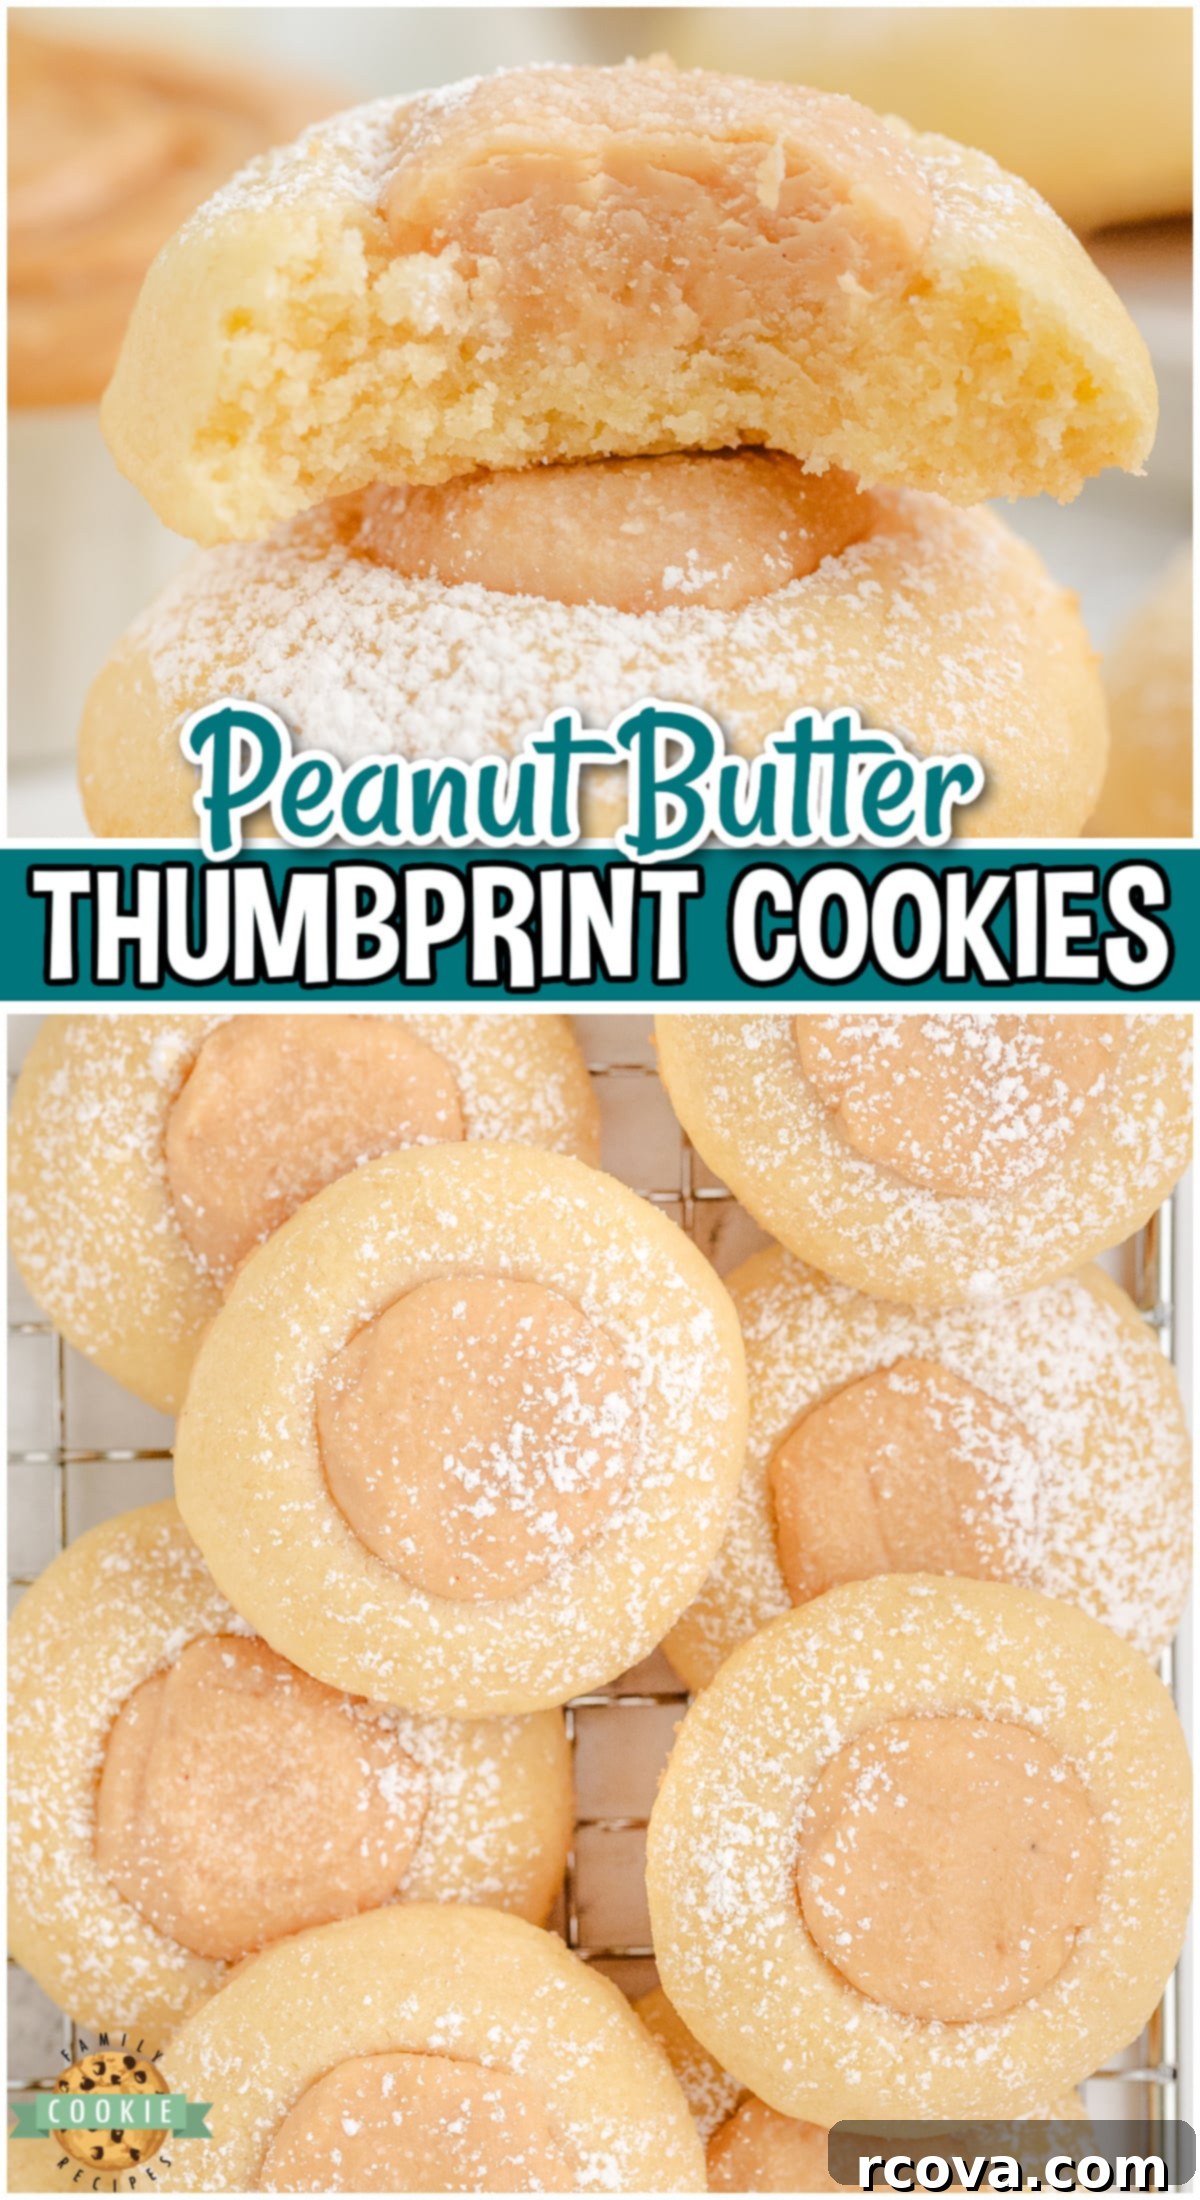
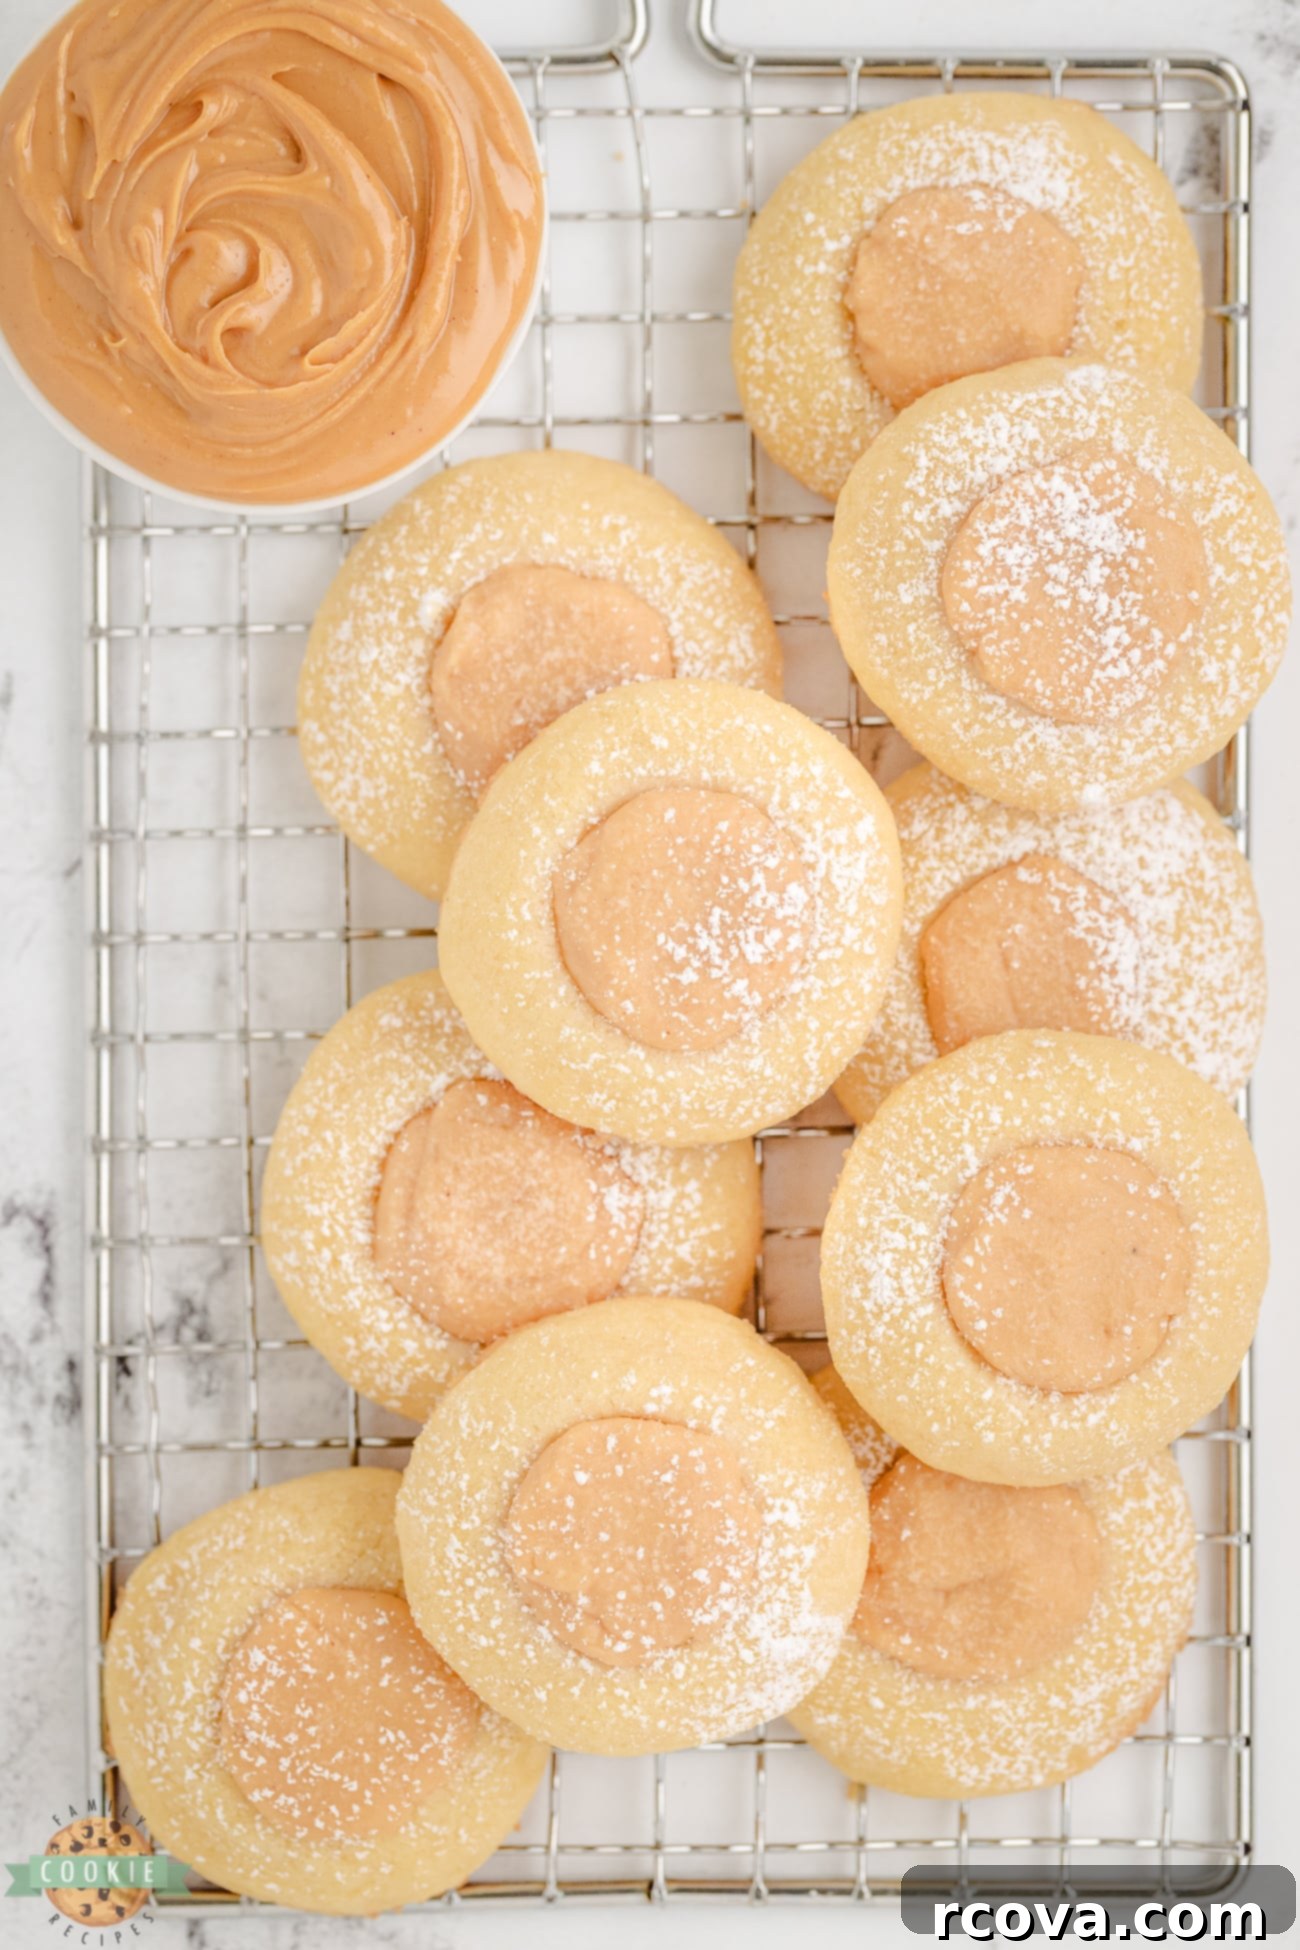
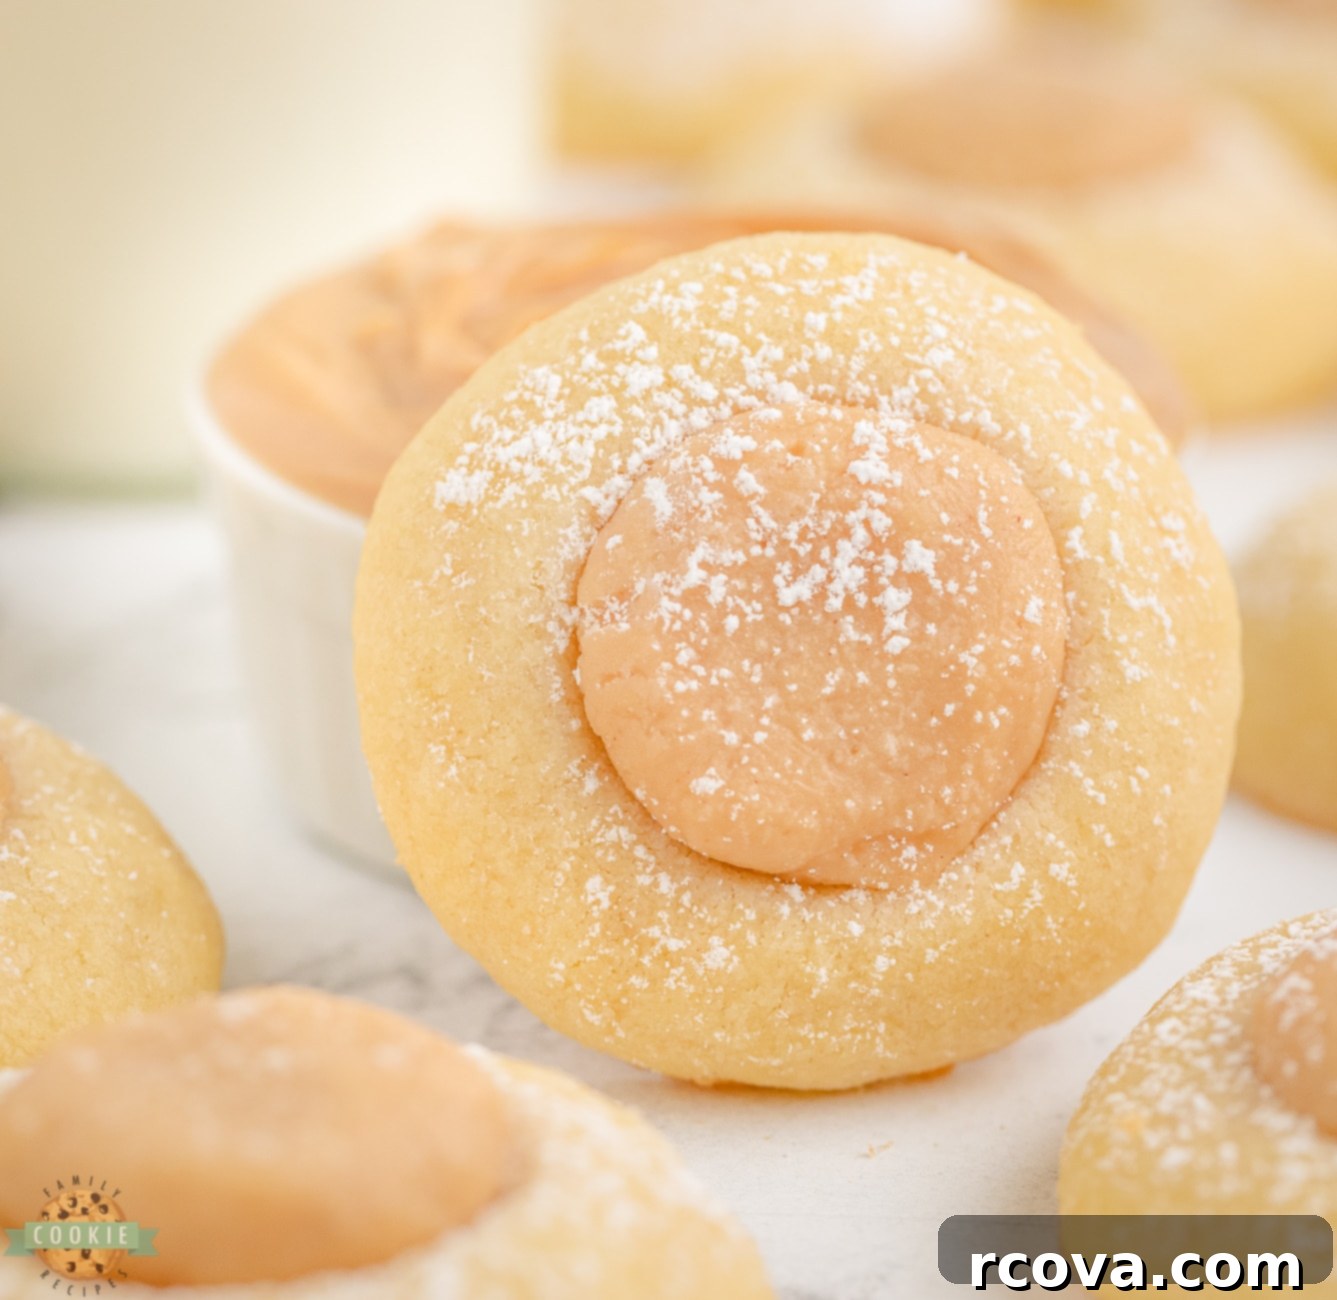
Prepare to fall in love with these Peanut Butter Thumbprint Cookies – a delightful and irresistible twist on a beloved classic. Each bite offers a harmonious blend of a soft, perfectly chewy cookie base crowned with a rich, sweet, and utterly delicious peanut butter fudge filling. These aren’t just any ordinary cookies; they are a celebration of textures and flavors that will leave you craving more.
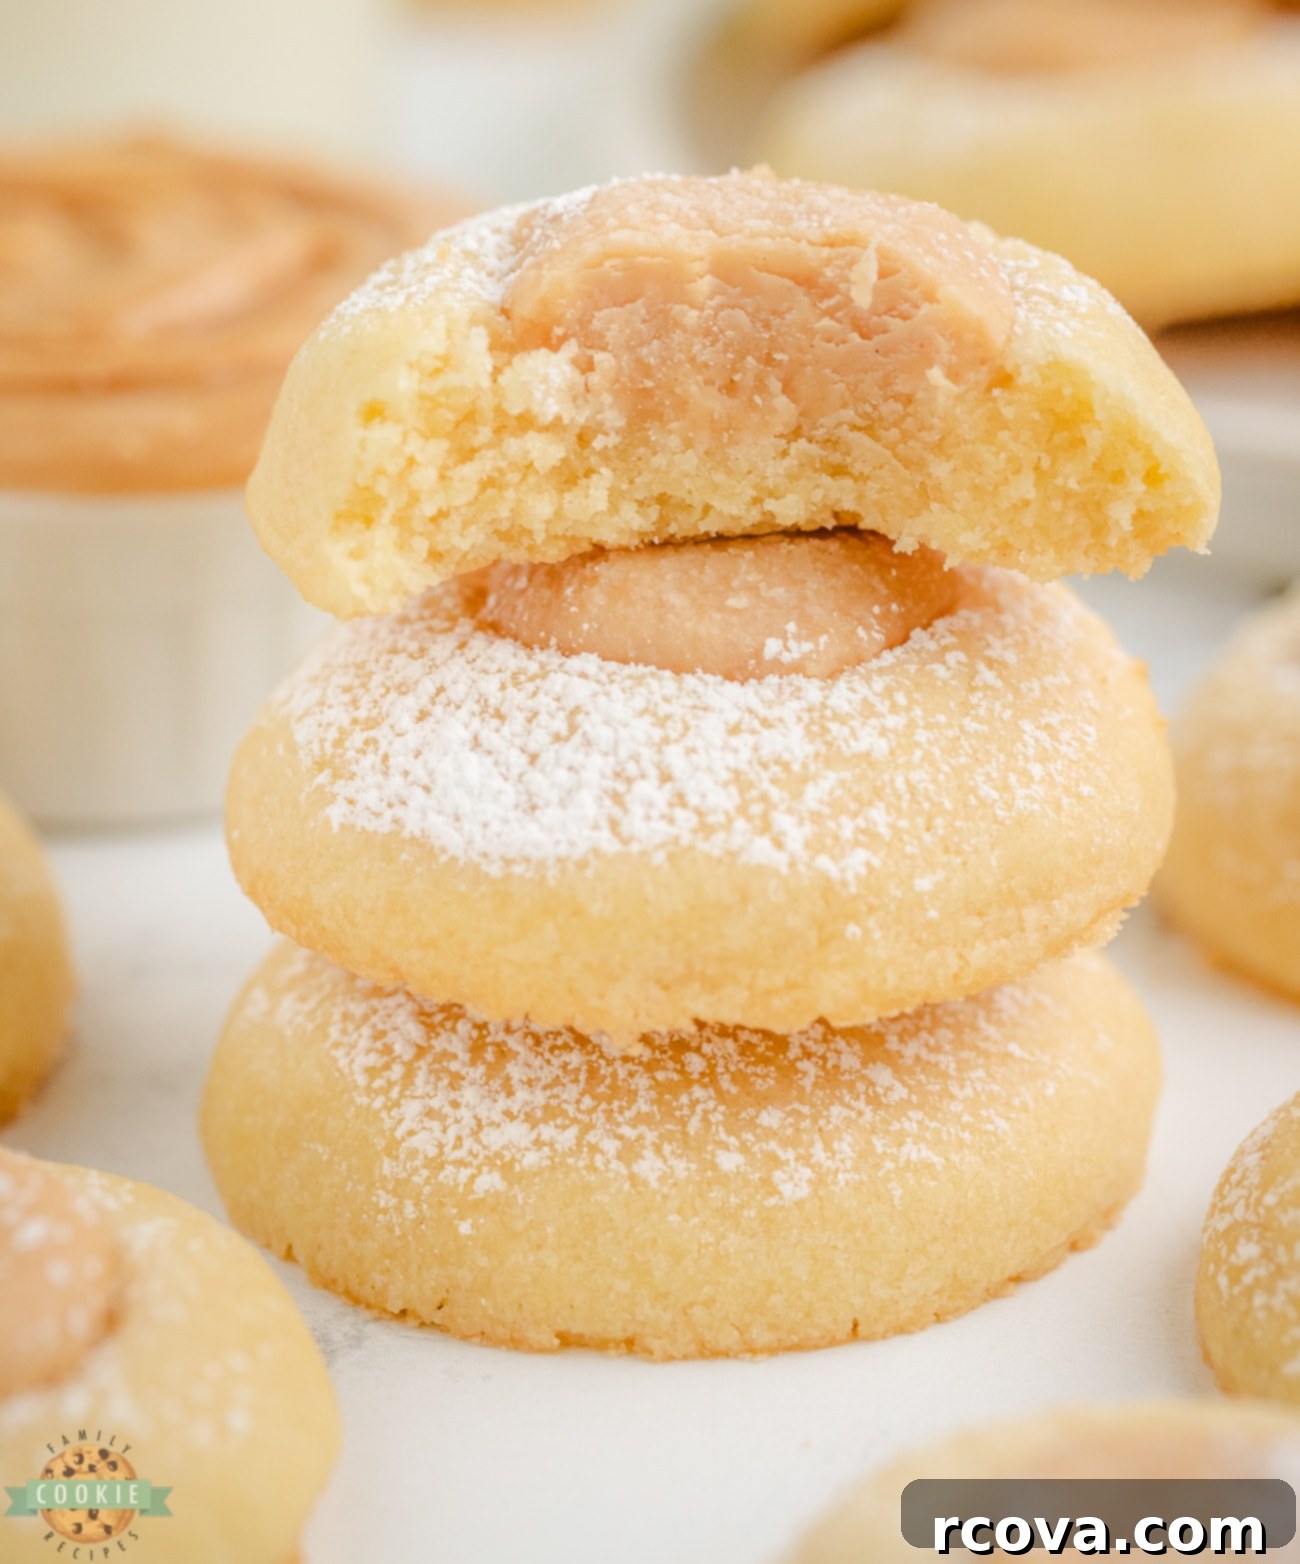
Crafting this incredible recipe for thumbprint cookies begins with a simple, buttery sugar cookie dough. This versatile dough is then carefully rolled into uniform balls, each gently pressed in the center to form a small well – the signature “thumbprint.” This indentation is then generously filled with a luscious, creamy homemade peanut butter fudge, creating a dessert that’s truly extraordinary. These easy thumbprint cookies are perfect for any occasion, from casual family gatherings and festive holiday parties to a comforting afternoon snack for yourself. They’re guaranteed to be a crowd-pleaser, embodying the warmth and joy of home baking.
Simple Peanut Butter Cookies with a Decadent Fudge Filling
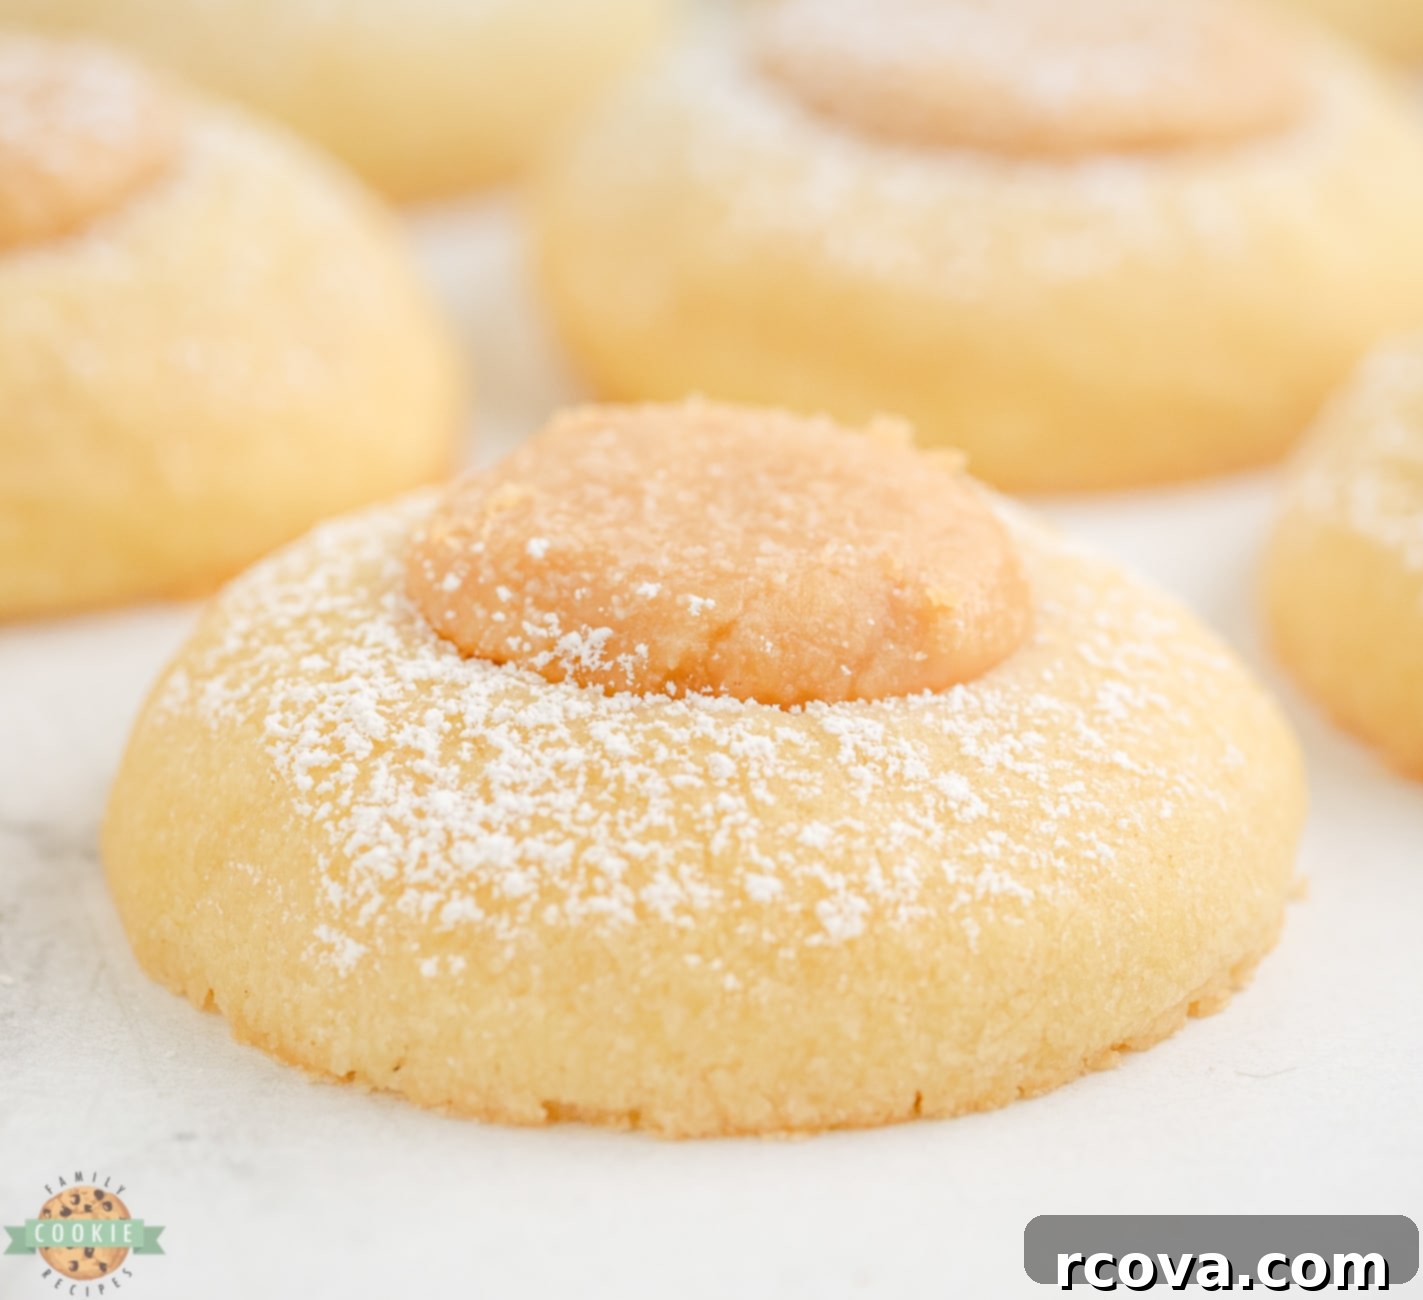
Our unique peanut butter thumbprint cookie recipe elevates the classic thumbprint cookie, which traditionally features a jam-filled center. By substituting jam with a rich peanut butter fudge filling, we introduce a deep, nutty flavor that complements the tender, sweet sugar cookie base beautifully. This fusion creates a more indulgent and satisfying treat that stands out from typical cookie varieties.
Whether you’re an experienced baker looking for a new favorite or a beginner eager to master a simple yet impressive dessert, these peanut butter thumbprint cookies are an excellent choice. Their straightforward preparation process and consistently delightful results make them a beloved classic that everyone enjoys. The combination of the melt-in-your-mouth cookie and the smooth, creamy fudge creates an unforgettable taste experience. So, the next time you’re in the mood for a truly special homemade treat, don’t hesitate to give this recipe a try and discover why these cookies earn rave reviews.
Why These Thumbprint Cookies Will Become Your Go-To Recipe
- Soft and Chewy Texture: Unlike some cookies that can be dry or crumbly, these thumbprint cookies boast a wonderfully soft and chewy interior with a delicate, slightly crispy edge. This delightful contrast in textures provides the perfect foundation for the thick, smooth, and intensely flavorful peanut butter fudge filling, ensuring a satisfying bite every time.
- Effortlessly Easy to Make: Don’t be intimidated by their gourmet appearance! This recipe is surprisingly simple to follow and requires only a handful of common pantry ingredients. It’s an ideal baking project for beginners who want to impress, or for experienced bakers looking for a quick and rewarding sweet treat that doesn’t demand hours in the kitchen.
- Incredibly Versatile: While the peanut butter fudge filling is undeniably delicious, this cookie recipe offers fantastic versatility. You can easily customize the filling to suit your personal taste or the occasion. Consider swapping the fudge for your favorite fruit jam or jelly (like strawberry, raspberry, or grape), a rich chocolate ganache, or even a tangy cream cheese mixture. The possibilities are endless, allowing you to create a unique cookie experience every time.
Essential Peanut Butter Thumbprint Cookie Ingredients
Crafting the perfect cookie requires quality ingredients. Here’s what you’ll need for both the tender cookie base and the rich fudge filling:
For the Cookie Dough:
Butter: You’ll need 1 cup (2 sticks) of unsalted butter, softened to room temperature. Butter is crucial for providing a rich flavor, a tender crumb, and helping the cookies achieve that desirable soft texture.
Granulated Sugar: Adding ⅔ cup of granulated sugar gives these cookies their characteristic sweetness and contributes to their wonderful chewy texture. It also helps in the creaming process, creating air pockets for a lighter cookie.
Eggs: Use 2 large egg yolks. Egg yolks are primarily responsible for the cookie’s rich flavor, moistness, and tender texture. They also act as an emulsifier, binding the ingredients together beautifully.
Vanilla Extract: A full 1 teaspoon of pure vanilla extract is essential for enhancing and deepening all the other flavors in the cookie dough, adding a warm, aromatic note that elevates the overall taste.
All-Purpose Flour: The structural backbone of this thumbprint cookie dough recipe is 2 cups of all-purpose flour. Make sure to measure it correctly (by weight if possible, or spooned into the measuring cup and leveled) to avoid a dense or dry cookie.
Salt: Just ½ teaspoon of salt is vital for balancing the sweetness and enhancing the flavors of the dough. It brings out the best in the butter and sugar, preventing the cookies from tasting bland.
For the Peanut Butter Fudge Filling:
Peanut Butter: For that irresistible, creamy flavor in the filling, you’ll need ⅓ cup of smooth peanut butter. Opt for a creamy, commercial brand for the best consistency and taste.
Butter: Add 5 tablespoons of unsalted butter to create a rich, smooth, and utterly delicious fudge filling. Butter provides the necessary fat and creaminess for a perfect fudge texture.
Powdered Sugar: You’ll need 1 cup of powdered sugar (confectioners’ sugar) to sweeten the filling perfectly and give it its characteristic smooth, melt-in-your-mouth texture.
How to Make Delicious Thumbprint Cookies with Peanut Butter Fudge
Preparation is Key
Begin by preheating your oven to 375°F (190°C). This ensures the oven is at the correct temperature when your cookies are ready to bake, promoting even cooking. While the oven preheats, prepare two standard cookie sheets by lining them with parchment paper. Parchment paper prevents sticking and makes cleanup a breeze, ensuring your cookies slide off easily.
Crafting the Perfect Cookie Dough
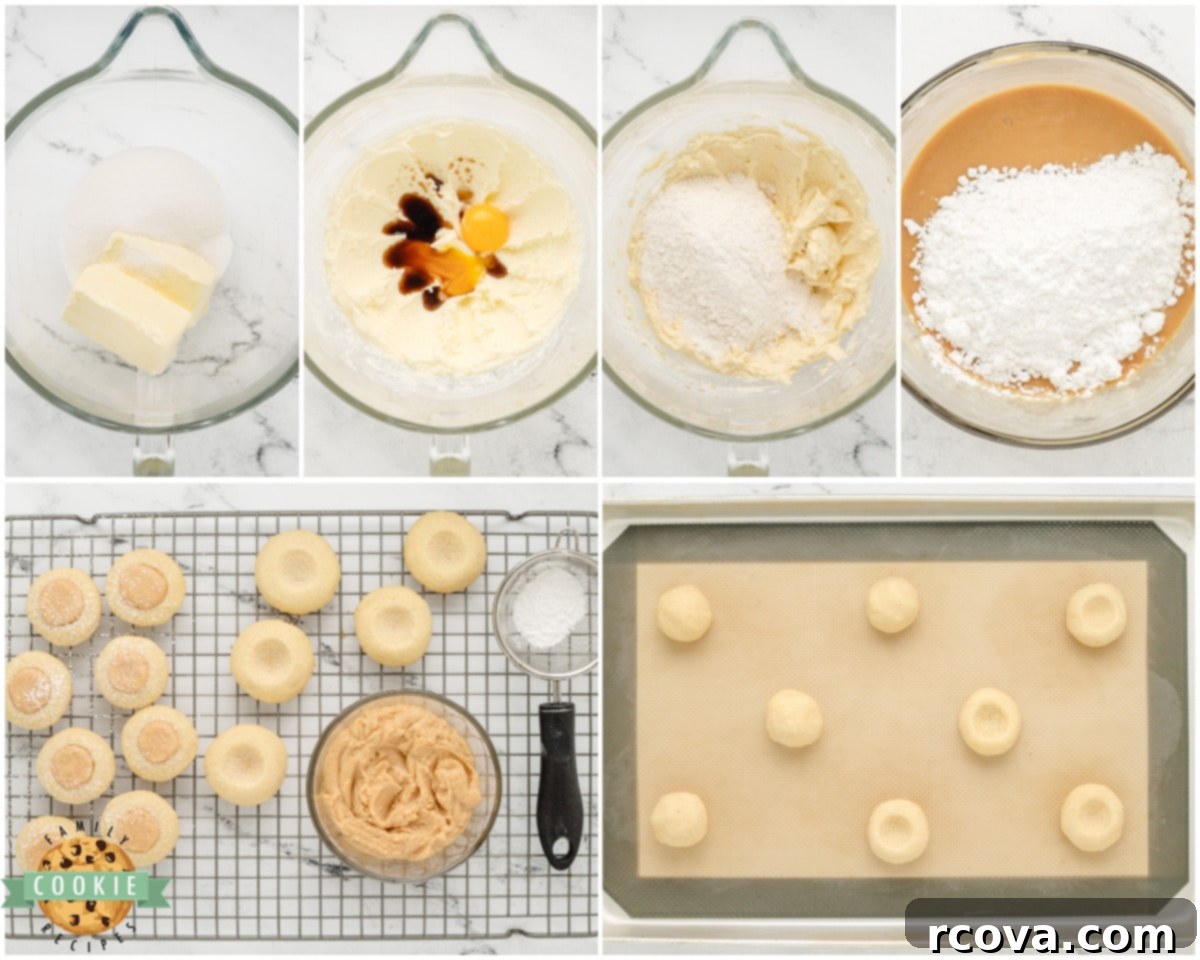
In a large mixing bowl, combine the softened butter and granulated sugar. Using an electric mixer, cream these two ingredients together on medium-high speed. Continue mixing until the mixture becomes visibly light, fluffy, and pale in color, typically taking about 2-3 minutes. This crucial step incorporates air, which contributes to the cookies’ light and tender texture.
Next, reduce the mixer speed to low and add in the two egg yolks and the vanilla extract. Beat until they are fully incorporated into the butter mixture, ensuring no streaks of egg yolk remain. The egg yolks add richness and moisture.
Finally, gradually add the all-purpose flour and salt to the wet ingredients. Mix on low speed until just combined and the dough comes together, forming a cohesive ball. Be careful not to overmix, as this can develop the gluten in the flour too much, resulting in tougher cookies. If desired, you can chill the dough in the refrigerator for 30 minutes; this optional step can make the dough easier to handle and helps prevent spreading during baking.
Baking to Golden Perfection
Once your dough is ready, roll it into small, uniform 1-inch round balls. Consistency in size ensures even baking. Place these dough balls onto your prepared baking sheets, leaving about 2 inches of space between each cookie to allow for slight spreading. Using the backside of a ½ teaspoon measuring spoon, gently but firmly press an indent into the center of each cookie dough ball to create a small “crater” or well for the filling. Be careful not to press all the way through the dough.
Carefully place the baking sheets into the preheated oven and bake for 8-10 minutes. The exact baking time may vary depending on your oven, so keep an eye on them. The cookies are done when their edges are lightly golden brown and the centers are set but still look slightly soft.
Remove the baking sheet from the oven. If any of the indents appear to have risen or become shallow during baking, gently press them in again with the ½ teaspoon measuring spoon while the cookies are still warm and pliable. Allow the cookies to cool on the baking sheet for about 10 minutes before transferring them. This brief cooling period helps them firm up and prevents them from breaking when moved. Use this cooling time to prepare your delicious peanut butter fudge filling!
Preparing the Creamy Peanut Butter Fudge Filling
To create the decadent fudge filling, combine the peanut butter and butter in a microwave-safe bowl. Microwave for approximately 30 seconds, or until the butter is melted and the mixture is warm and softened. Whisk the ingredients together thoroughly until they are smooth and well combined.
Next, gradually add the powdered sugar to the peanut butter mixture. Stir vigorously until all the powdered sugar is incorporated and the fudge is perfectly smooth and creamy, with no lumps. If the fudge seems too thick, you can add a tiny amount of milk (½ teaspoon at a time) to reach a piping consistency. If it’s too thin, a bit more powdered sugar can help.
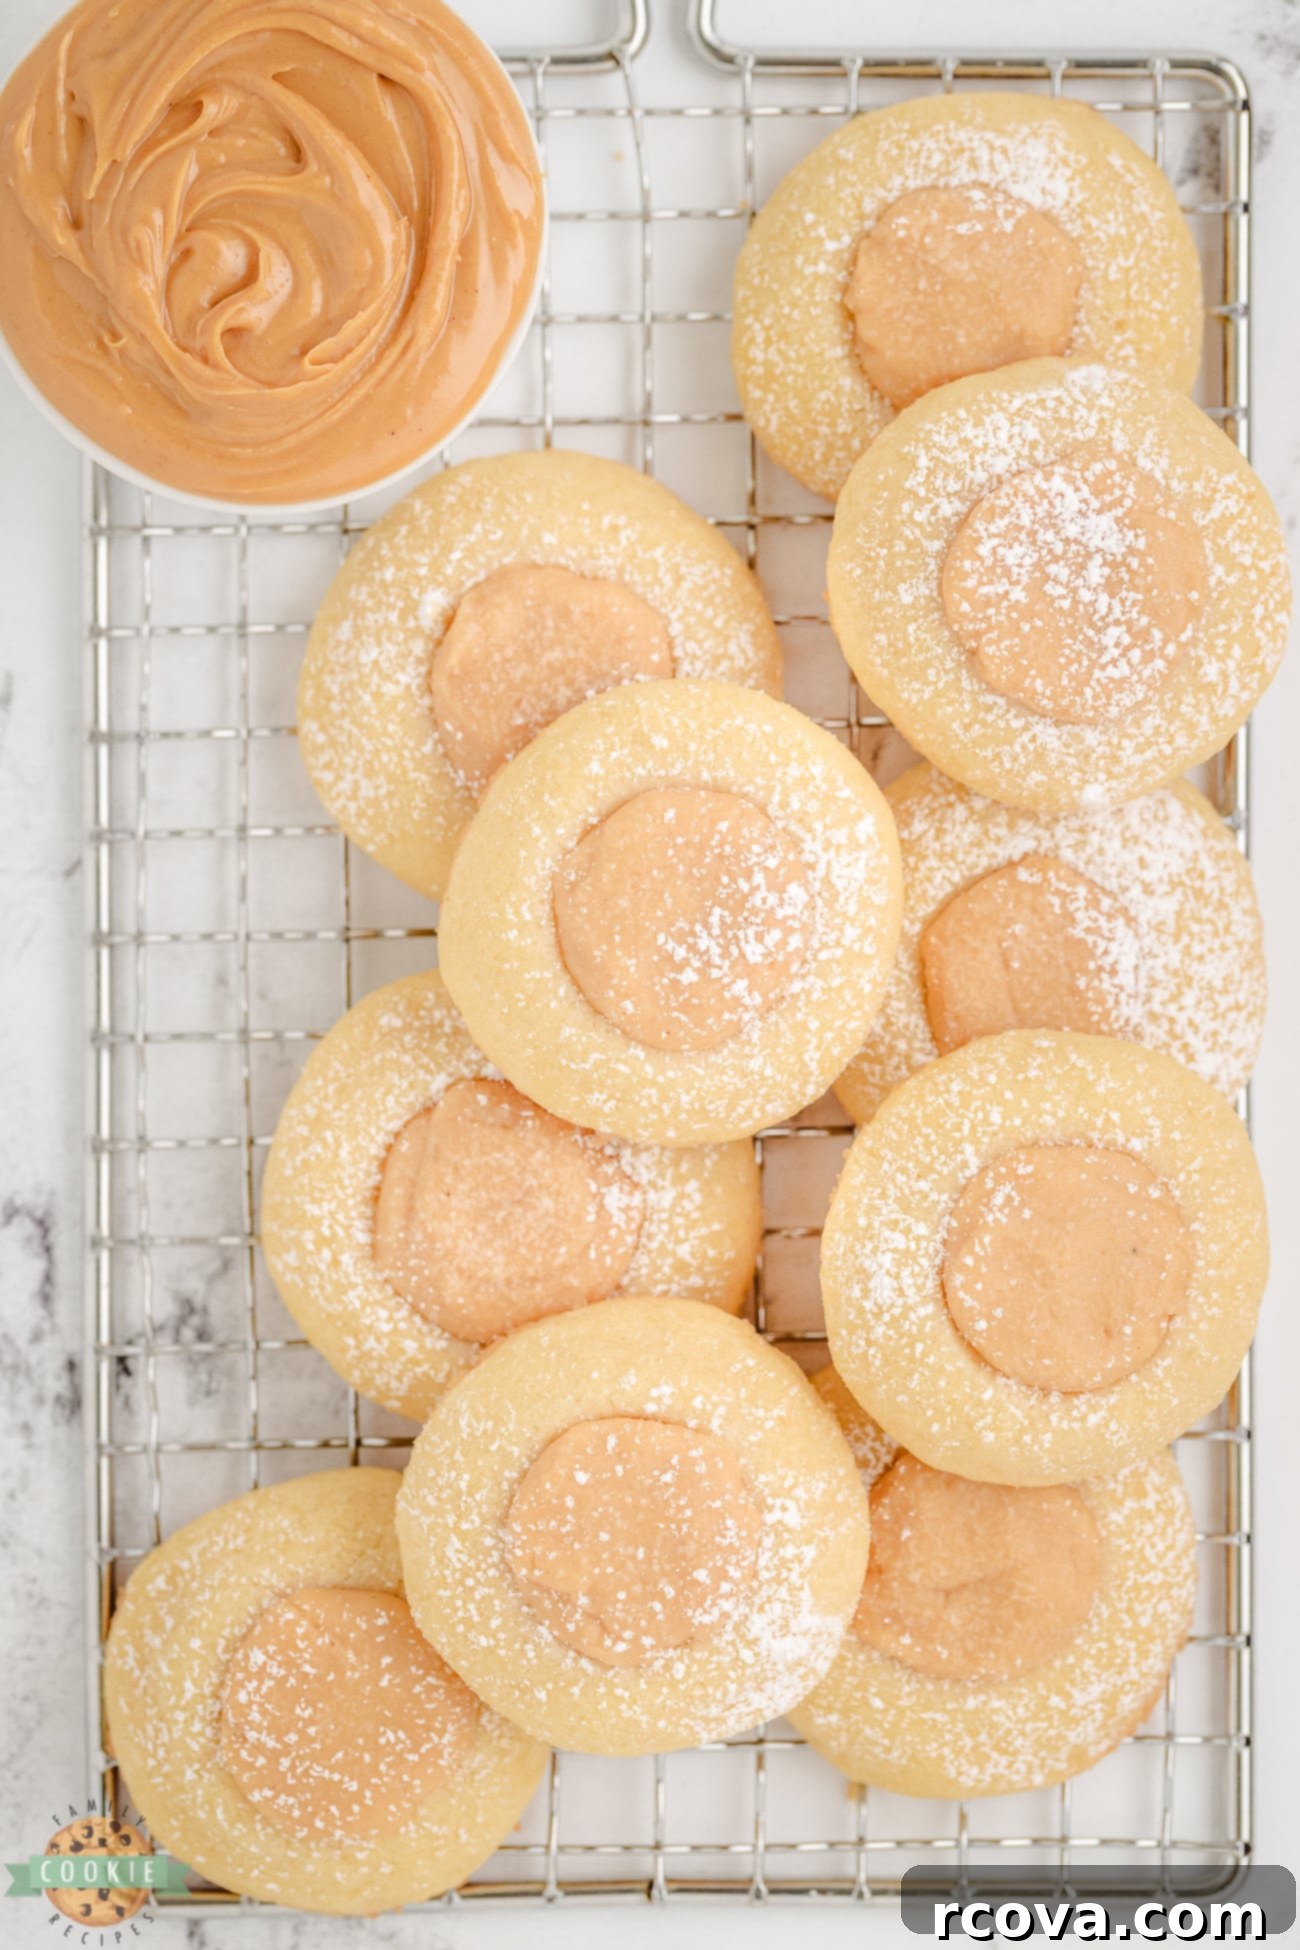
Once the cookies have cooled sufficiently (about 10 minutes) but are still slightly warm, pipe or spoon the prepared peanut butter fudge filling into the center of each thumbprint cookie. Allow the cookies to cool completely at room temperature. This final cooling step is crucial for the fudge to fully set and achieve its ideal texture. Serve these delightful cookies and enjoy the irresistible combination of soft cookie and creamy fudge!
Tasty Variations of Peanut Butter Thumbprint Cookies to Explore
One of the best things about thumbprint cookies is how easily they can be adapted. The filling is where you can truly let your creativity shine! Here are some suggestions for different fillings to try, along with ideas for altering the cookie dough itself, to help you discover your ultimate favorite variation!
- Jam or Jelly: The classic choice! Experiment with vibrant fruit flavors like strawberry, raspberry, apricot, or grape jelly for a timeless and fruity contrast.
- Chocolate: For the chocolate lovers, add a small piece of your favorite chocolate (milk, dark, or white chocolate chips work well) to the center of each cookie *before* baking. The chocolate will melt and create a gooey surprise. Alternatively, fill with chocolate ganache or Nutella after baking.
- Cream Cheese: For a tangy and sweet delight, mix softened cream cheese with powdered sugar and a touch of vanilla extract. This creates a rich, cheesecake-like filling that pairs wonderfully with the cookie base.
- Caramel: Drizzle homemade or store-bought caramel sauce into the cooled thumbprints for a chewy, buttery, and sweet addition. A sprinkle of sea salt on top would make them “salted caramel” thumbprints!
You can also experiment with the cookie dough itself to create different flavors and textures, making these homemade thumbprint cookies even more unique:
- Chocolate Cookie Base: Transform the cookie base by adding ⅓ cup of unsweetened cocoa powder to the dry ingredients for a rich, chocolatey twist on the classic recipe. These would pair beautifully with a cream cheese or raspberry filling.
- Crunchy Cookie Base: For added texture, incorporate ½ cup of finely chopped peanuts or crispy rice cereal into the cookie dough. This provides a satisfying crunch that complements the soft interior.
- Oatmeal Thumbprints: Replace ½ cup of the all-purpose flour with quick-cooking rolled oats for a heartier, chewier cookie with a subtle oaty flavor. This variation adds a wholesome touch.
- Spiced Dough: Add ½ teaspoon of ground cinnamon or a pinch of nutmeg to the cookie dough for a warm, spiced flavor, especially delightful during the autumn or winter months.
Peanut Butter Thumbprint Cookies
Print
Pin
Rate
Ingredients
- 1 cup butter 2 sticks, room temperature
- ⅔ cup granulated sugar
- 2 egg yolks
- 1 tsp vanilla extract
- 2 cups all-purpose flour
- ½ tsp salt
Peanut Butter Fudge filling
- ⅓ cup peanut butter
- 5 TBSP butter
- 1 cup powdered sugar
Instructions
-
Prep: Preheat oven to 375°F. Line a cookie sheet with parchment paper and set aside.
-
Cookie dough: In a large mixing bowl, cream together the butter and sugar on medium-high speed with an electric mixer until light and fluffy. This should take about 2-3 minutes. Then, add in and beat the egg yolks and the vanilla extract.
-
Next, add the flour and salt. Mix together until incorporated and the dough comes together into a ball. If desired, chill the dough in the refrigerator for 30 minutes (this is optional).
-
Bake: Form the dough into 1-inch-sized round balls then place them onto the prepared baking sheet. Using the backside of a ½ teaspoon measuring spoon, press an indent into the center of the cookies to create a crater.
-
Place the cookie sheet into the preheated oven and bake for 8-10 minutes.
-
Remove the baking sheet from the oven and if the indents look shallow, press them in again. Let the cookies cool 10 minutes before filling with the peanut butter fudge.
-
Fudge Filling: To make the fudge filling, microwave the peanut butter and butter for 30 seconds. Whisk, then add powdered sugar. Stir again until smooth.
-
Pipe or spoon the filling into each slightly warm thumbprint cookie. Let cookies cool fully to set. Serve and enjoy!
Notes
Place cookies in an airtight container or freezer bag and freeze for up to 3 months. Thaw at room temperature before enjoying.
Nutrition
Expert Tips for Perfect Peanut Butter Thumbprint Cookies
Preventing Crumbly Cookies: The Secret to Smooth Indentations
One of the most common challenges when baking thumbprint cookies is ensuring the dough holds its shape and doesn’t crumble when you create the indentation for the filling. The key to preventing this issue lies in the dough’s composition and temperature. A well-balanced recipe with sufficient fat and moisture is essential. Always ensure you follow the recipe precisely and measure your ingredients accurately. Over-mixing the flour can also lead to a tough, crumbly dough. Mix only until just combined. A crucial trick is to chill the cookie dough before you roll it into balls and make the indentations. Chilling allows the butter to firm up, making the dough more stable and less prone to cracking or falling apart when pressed.
Mastering Cookie Spreading: Keeping Your Thumbprints Intact
Thumbprint cookies can sometimes be prone to spreading excessively during baking, which can cause the delicious filling to overflow and the cookies to lose their beautiful shape. To effectively prevent this, ensure your cookie dough is adequately chilled before it goes into the oven. Cold dough will spread less rapidly, allowing the cookie structure to set before the butter fully melts. You can also consider using a higher protein flour, like bread flour, which has a stronger gluten structure and can help the cookies hold their shape better (though all-purpose works perfectly well if handled correctly). Additionally, always ensure you space your cookies generously on the baking sheet, typically about 2 inches apart. This allows for proper air circulation around each cookie, promoting even baking and minimizing the chances of them running into each other.
How Long Do Peanut Butter Thumbprint Cookies Stay Fresh?
These delectable cookies are best enjoyed fresh, but they also store very well. When stored in an airtight container at room temperature, your peanut butter thumbprint cookies will remain fresh and delicious for up to 5 days. To prevent the creamy fudge filling from sticking to the bottom of other cookies, it’s a good idea to place a piece of parchment paper or wax paper between layers of cookies when stacking them in the container. This simple trick helps maintain their perfect appearance and makes them easy to retrieve.
Can I Freeze Peanut Butter Fudge Cookies?
Absolutely! These peanut butter fudge cookies are excellent for freezing, allowing you to prepare them in advance or save some for later cravings. To freeze them effectively, first, allow the assembled and filled cookies to cool completely. Then, arrange them in a single layer on a baking sheet and place the sheet in the freezer for about 2-3 hours, or until the cookies are completely solid. This “flash freezing” step prevents them from sticking together. Once solid, transfer the frozen cookies to an airtight freezer-safe container or a heavy-duty freezer bag. Again, placing parchment paper or wax paper between layers is recommended to prevent sticking. They can be stored in the freezer for up to 3 months. When you’re ready to enjoy a frozen treat, simply remove the desired number of cookies and let them thaw at room temperature for an hour or two before serving. They’ll taste just as wonderful as freshly baked!
Troubleshooting Common Cookie Baking Issues
Even seasoned bakers encounter hiccups. Here’s how to tackle common problems when making your peanut butter thumbprint cookies:
Dough Consistency Challenges
One of the most frequent hurdles when making any type of cookie, including these peanut butter thumbprint cookies, is achieving the correct dough consistency. If your dough is too dry, it will be incredibly difficult to roll into smooth balls, and it will likely crack and crumble when you attempt to create the thumbprint indentation. Conversely, if the dough is too wet or soft, it will spread excessively during baking, losing its shape and potentially causing the filling to overflow.
To prevent a dry dough, always measure your ingredients precisely, especially the flour. Too much flour is a common culprit for dry cookies. Avoid overmixing the dough once the flour is added, as this can develop gluten and make the cookies tough. If you find your dough is still too dry after mixing, try adding a tablespoon of milk or water, one at a time, mixing gently after each addition until it reaches a soft, pliable, and easy-to-handle consistency.
If your dough is too wet or sticky, the best solution is refrigeration. Place the dough in the refrigerator for at least 30 minutes. This allows the butter to firm up and the flour to fully absorb the moisture, making the dough much easier to shape and less prone to spreading. If it’s still too wet after chilling, you can carefully mix in an additional tablespoon or two of flour until the desired consistency is achieved.

Addressing Baking Difficulties
Another common hurdle when baking peanut butter thumbprint cookies involves the actual baking process. Overbaked cookies will inevitably become dry, hard, and excessively crumbly, losing their delightful soft and chewy texture. On the other hand, underbaked cookies will be too soft, potentially gooey, and prone to falling apart when handled or filled.
To avoid the disappointment of overbaking, it is crucial to set a timer and begin checking your cookies frequently towards the end of the recommended baking time. Cookies can go from perfectly baked to overbaked very quickly. Look for visual cues: the edges should be lightly golden brown, and the centers should appear set but still look slightly soft. Remember that cookies continue to cook slightly on the hot baking sheet even after they are removed from the oven. It’s often better to err on the side of slightly underbaking and then letting them finish cooking on the sheet.
If you suspect your cookies are underbaked after the initial cooling period, you can return them to the oven for an additional 1-2 minutes. Keep a close watch during this extra baking time. It’s always easier to bake them a little longer than to try and salvage an overbaked cookie. Trust your senses – sight and touch are your best guides for perfectly baked thumbprint cookies.
Craving More Thumbprint Cookie Inspiration? Try These Recipes!
- CHEESECAKE COOKIES
- VALENTINE’S THUMBPRINT COOKIES
- DOUBLE CHOCOLATE THUMBPRINT COOKIES
- SWEETHEART VALENTINE THUMBPRINT COOKIES
- LEMON THUMBPRINT COOKIES
- GRINCH THUMBPRINT COOKIES
- CARAMEL THUMBPRINT COOKIES
- CHOCOLATE RASPBERRY THUMBPRINT COOKIES
- STRAWBERRY THUMBPRINT COOKIES
- VALENTINE HEART THUMBPRINT COOKIES
- CARAMEL BROWNIE THUMBPRINT COOKIES
- CHOCOLATE STRAWBERRY THUMBPRINT COOKIES
These Peanut Butter Thumbprint Cookies are truly a joy to bake and an even greater joy to eat! Featuring a simple, buttery cookie dough base filled with an irresistibly rich peanut butter fudge, they offer a delightful combination of textures and flavors. These incredibly delicious thumbprint cookies are the perfect sweet treat to share with family and friends, guaranteed to bring smiles and satisfy any sweet tooth. Enjoy the process of creating these charming and flavorful cookies!
