Irresistible Peppermint Cutout Sugar Cookies: The Ultimate Festive Treat
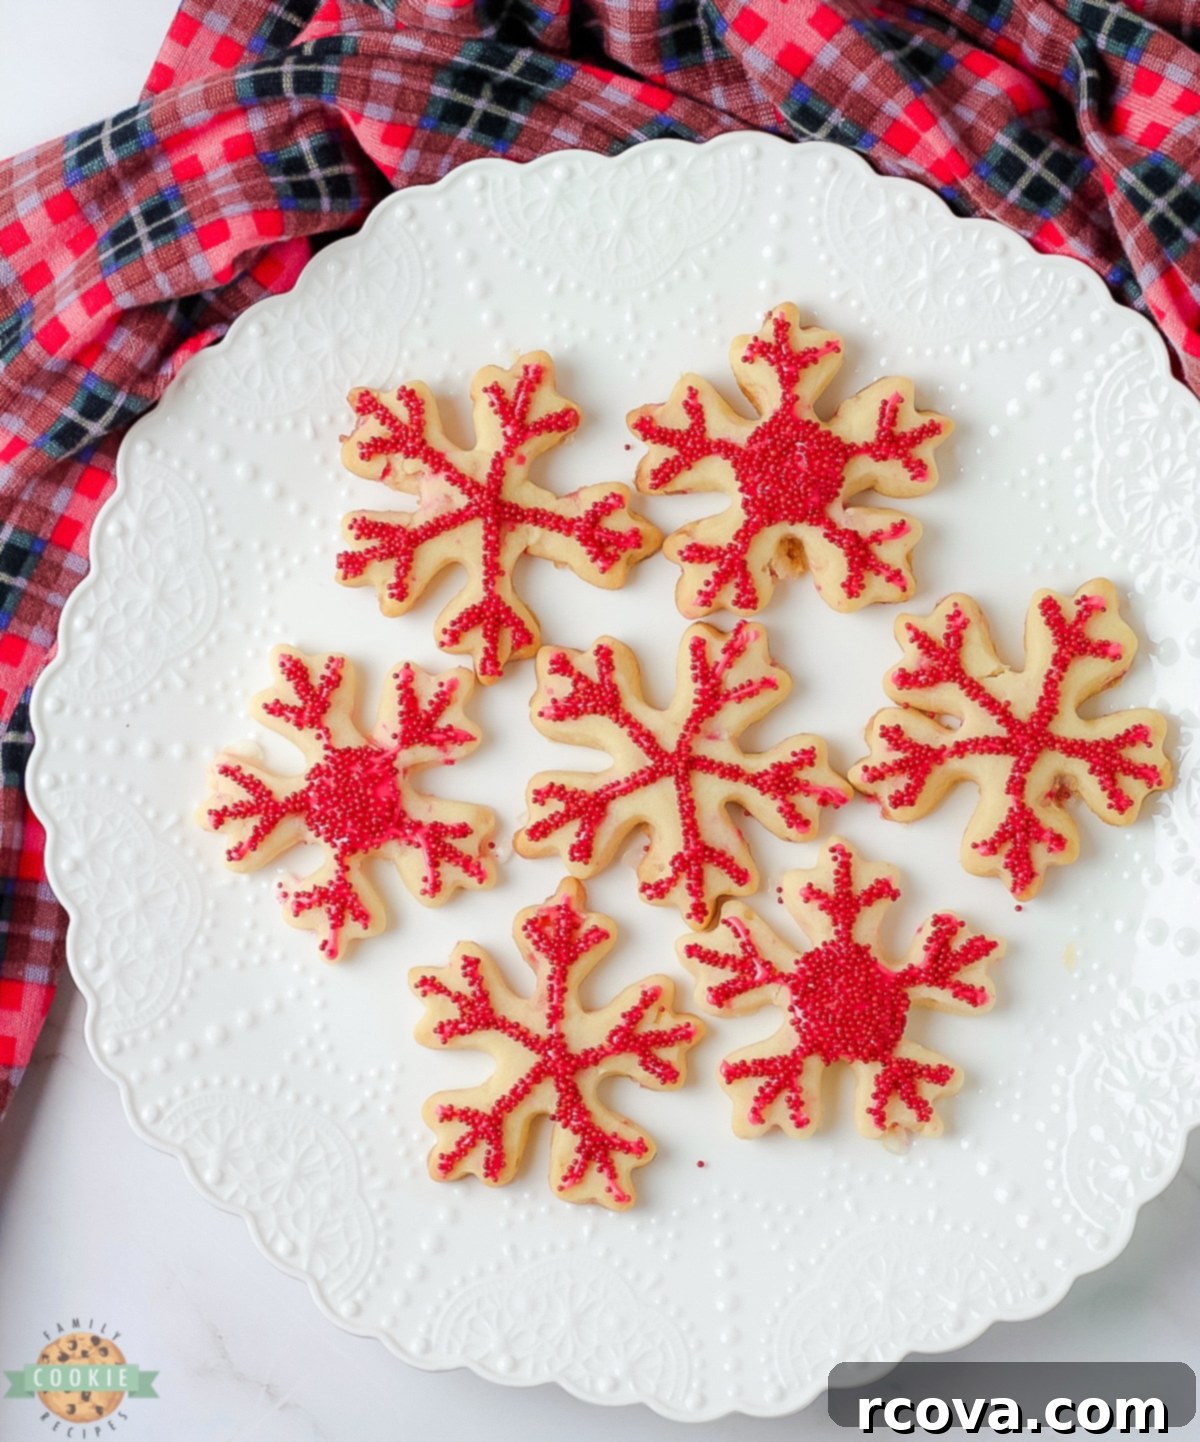
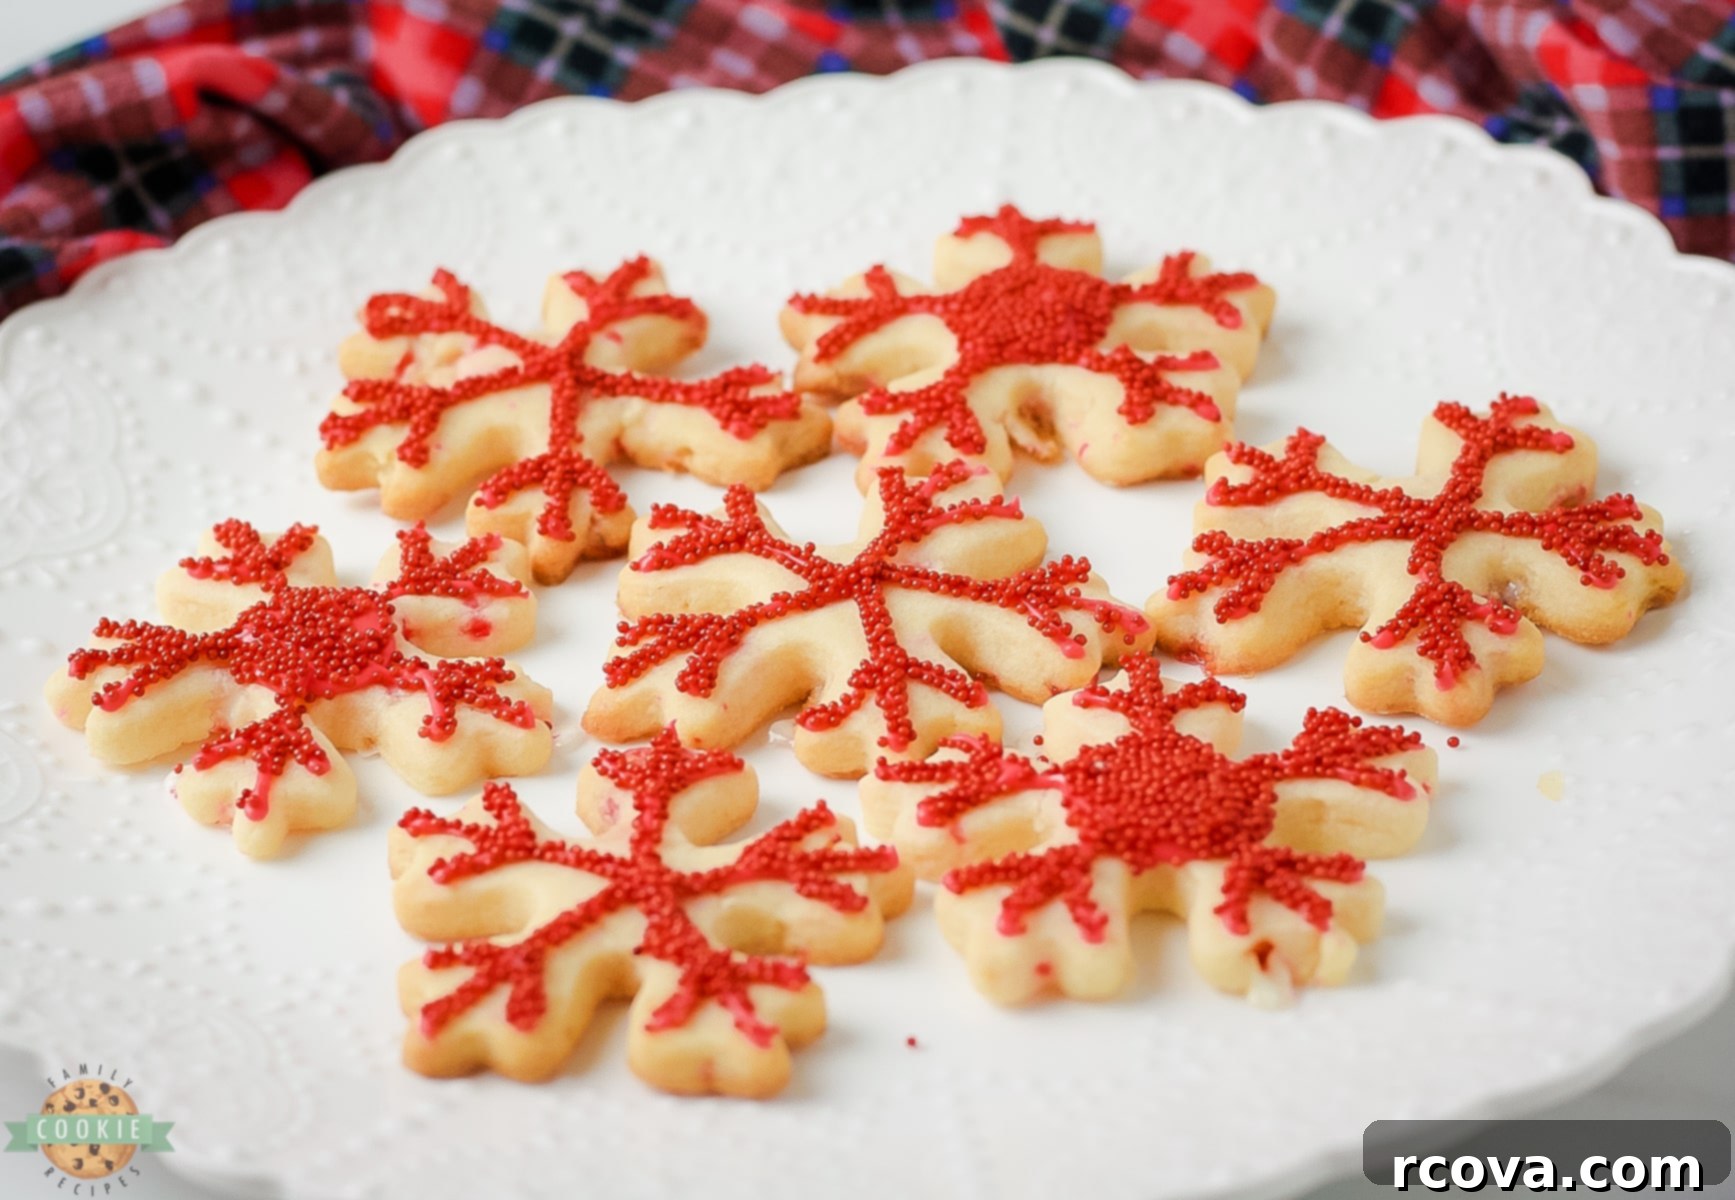
Embrace the holiday spirit with these delightful Peppermint Cutout Sugar Cookies! Crafted with classic ingredients, generously studded with crushed candy canes, and finished with a silky smooth vanilla glaze, these buttery, festive treats are absolutely perfect for Christmas. They offer a wonderfully soft and sweet texture that simply melts in your mouth, making them an instant holiday favorite for all ages.

Making easy cut-out cookies is a beloved tradition in many homes, and this recipe elevates the experience with a festive peppermint twist. These cookies aren’t just delicious; they provide a fantastic opportunity for the entire family to gather, get creative, and enjoy decorating together. Imagine the joy of seeing everyone, from the youngest children to adults, personalizing their own edible masterpieces. Once you try this fun and stress-free Christmas cookie recipe, we’re confident it will become a cherished part of your holiday baking traditions too!
Effortless Holiday Baking: Simple Cut-Out Sugar Cookies
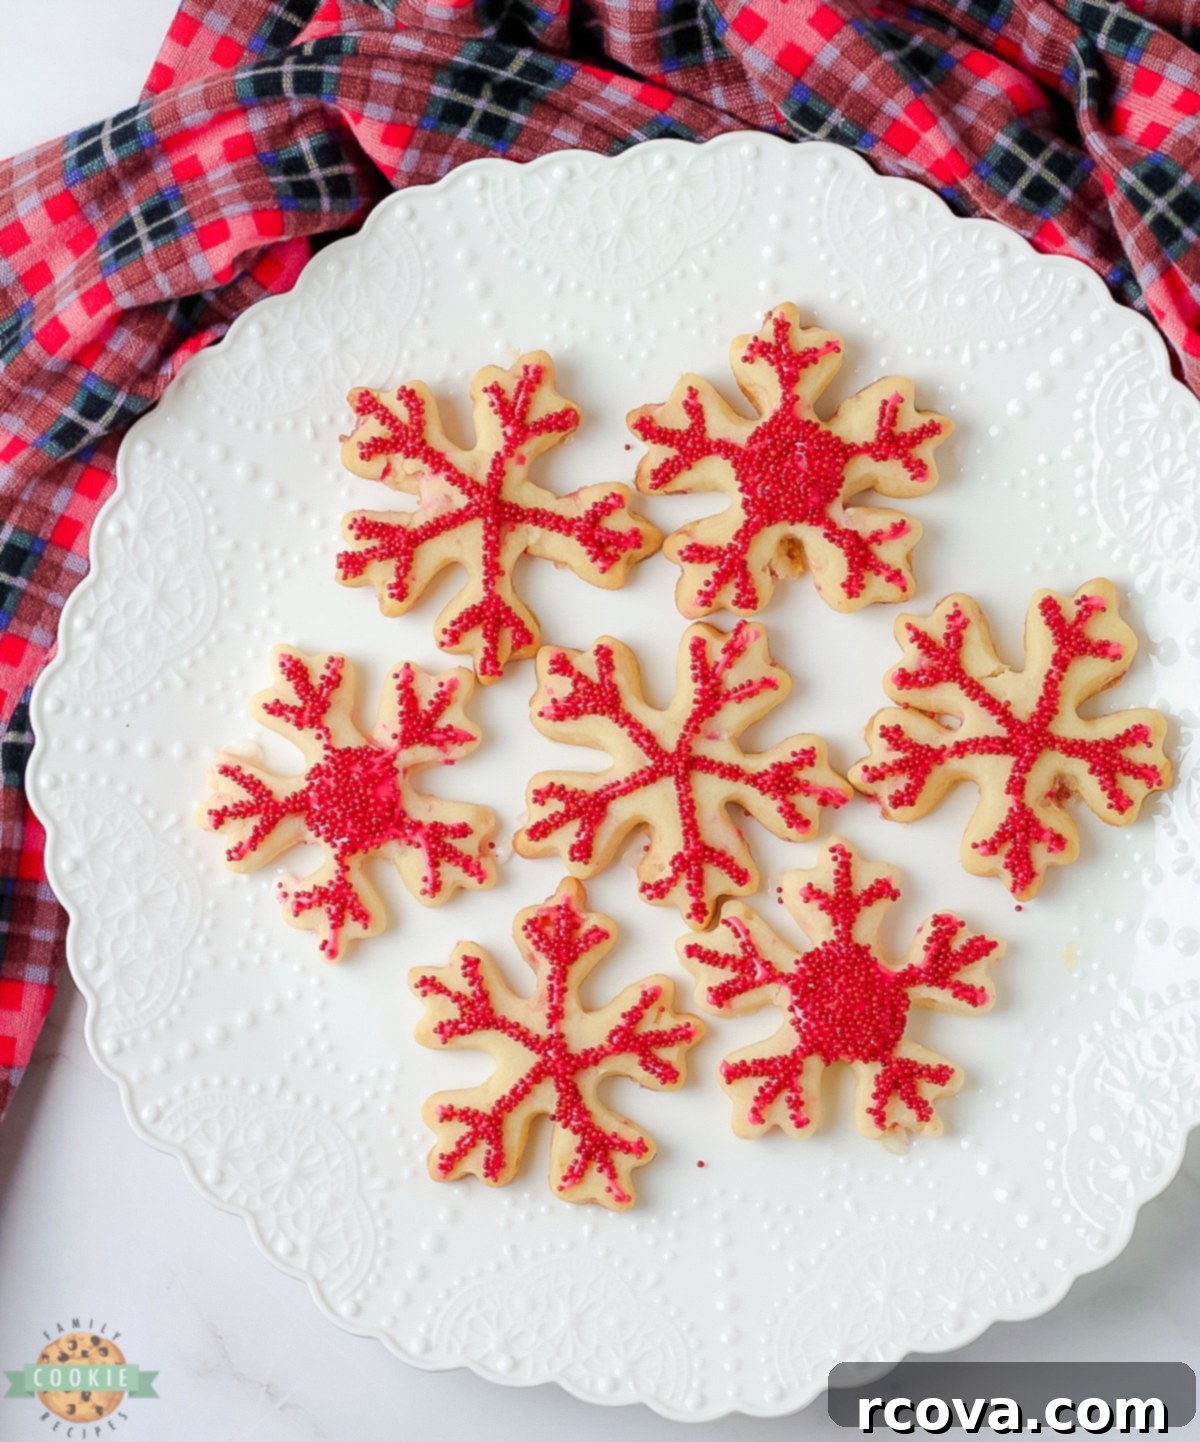
These incredibly impressive peppermint sugar cookies are designed to hold their intricate shapes beautifully, making them ideal for all your favorite holiday-themed cookie cutters. Whether you’re crafting elegant snowflakes, jolly Santa hats, or playful gingerbread men, your creations will look picture-perfect. Adorn them with colorful sprinkles, sparkling edible glitter, or vibrant icing to match any festive theme. While they are undoubtedly a Christmas star, this versatile recipe allows you to easily adapt the sprinkles and cutter shapes, making these delicious cookies a delightful treat to enjoy year-round.

Why You’ll Adore These Peppermint Sugar Cookies
- Unforgettable Festive Flavors & Look! Peppermint is the quintessential flavor of the holiday season, and these cookies deliver that refreshing burst of mint in every bite. We’ve incorporated crushed peppermint pieces directly into the cookie dough, ensuring a vibrant flavor and an appealing speckled appearance. For an extra festive touch, you can even swap out some of the sprinkles in your decoration for additional peppermint bits, enhancing both the taste and visual appeal.
- Cut-Out Sugar Cookies That Maintain Their Shape! Achieving perfectly defined edges on your cut-out cookies can be tricky, but this recipe is specifically formulated for minimal spread. Notice how beautifully those corners and intricate details hold up! This is due to a carefully balanced ratio of ingredients, which ensures your cookies remain true to their cutter shapes during baking, resulting in professional-looking results every time. An egg in the dough also contributes to a wonderfully soft and tender texture without compromising shape.
- No Chilling Necessary – Bake Sooner! One of the biggest advantages of this recipe is that it requires absolutely no chilling time for the dough. This means you can mix your ingredients, roll out the dough, cut your shapes, and start decorating your beautiful cookies all within about an hour of starting. It’s a huge time-saver, especially during the busy holiday season, allowing you to enjoy fresh-baked cookies much faster!
Essential Ingredients for Peppermint Cut Out Cookies
Creating these delightful peppermint Christmas cookies requires a few simple, common baking ingredients, ensuring they are accessible for any home baker.
— DRY INGREDIENTS: You’ll need 3.25 cups of all-purpose flour, which forms the structural base of our cookies. For a touch of lift and tenderness without excessive spreading, we add 2 teaspoons of baking powder, and 0.5 teaspoon of salt to balance the sweetness and enhance all the flavors.
— BUTTER: We use 1 cup of softened butter. Softened butter is crucial for incorporating air into the dough, resulting in a light and tender cookie. While salted butter can be used to balance the flavors, unsalted butter is also perfectly fine; just ensure it’s at the proper room temperature (around 65°F).
— SUGAR: For the cookie dough itself, you’ll incorporate 1 cup of granulated sugar. This provides the essential sweetness and contributes to the cookie’s desirable texture.
— EGG: Just 1 large egg is needed to help bind all the ingredients together, adding richness and contributing to a softer, more cohesive dough that’s easy to work with.
— FLAVOR: To infuse our cookies with classic holiday notes, we add 1/2 teaspoon of pure vanilla extract for warmth and depth, along with 1/2 cup of crushed candy canes. The candy canes provide that irresistible peppermint crunch and a beautiful festive appearance within the cookie itself.

Perfect Vanilla Glaze Icing Ingredients:
The simple vanilla glaze is what truly brings these peppermint cutout cookies to life, adding a smooth finish and a touch more sweetness.
— We recommend adding 1 tablespoon of meringue powder to your icing. While optional, it contributes significantly to volume, creates a beautiful silky-smooth texture, and helps the icing set more stably, preventing it from cracking. It’s a fantastic ingredient to keep on hand for various baking projects and can typically be found in the cake baking aisle of larger grocery stores like Walmart, or conveniently purchased online on Amazon.
— SUGAR: You’ll need 1 pound of powdered sugar (also known as confectioners’ sugar), which equates to approximately 3 1/2 cups. This ultrafine sugar is essential for achieving a smooth, lump-free icing consistency.
— MILK: We use 1/4 cup of whole milk for the icing. The fat content in whole milk helps create a richer, creamier glaze, but any milk variety will work if that’s what you have on hand.
— VANILLA: Just 1 teaspoon of vanilla extract is needed to impart that classic, comforting vanilla flavor to your glaze, perfectly complementing the peppermint in the cookies.
— SPRINKLES & DECORATIONS: To personalize your peppermint holiday cookies, feel free to top them with a variety of festive sprinkles. Don’t hesitate to get creative with food coloring; you can easily tint your icing red or blue to enhance the holiday theme, or any color you desire to match your celebration!
Step-by-Step Guide: How to Make Peppermint Cut Out Cookies
Making these delightful Christmas peppermint cookies is a straightforward and rewarding process. Follow these detailed steps for perfect results every time.
Begin by preheating your oven to 375°F (190°C). This ensures the oven is at the correct temperature for even baking, preventing cookies from spreading too much or baking unevenly. Line a baking sheet with parchment paper; this prevents sticking and makes cleanup a breeze. Set it aside.
Crafting the Irresistible Peppermint Cookie Dough
In a medium mixing bowl, whisk together the dry ingredients: flour, baking powder, and salt. Whisking ensures they are thoroughly combined and evenly distributed throughout the dough. Set this bowl aside for a moment.
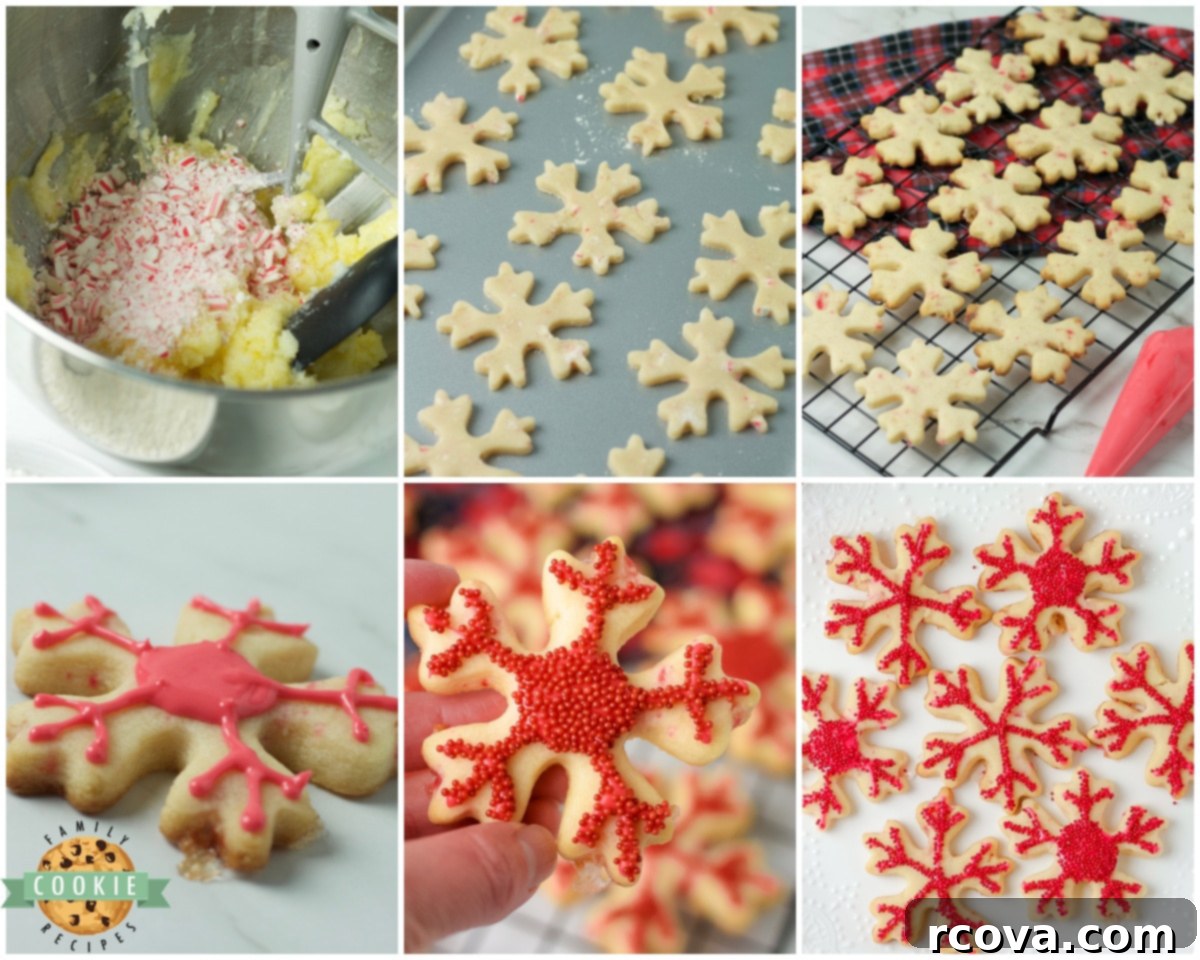
In a separate medium mixing bowl, using either a stand mixer fitted with the paddle attachment or a hand mixer, cream together the softened butter and granulated sugar. Mix on medium speed until the mixture is light, fluffy, and smooth, usually about 2-3 minutes. This creaming process incorporates air, which contributes to the cookies’ tender texture.
Next, add the egg and vanilla extract to the butter and sugar mixture. Continue mixing until these wet ingredients are fully combined, scraping down the sides of the bowl as needed to ensure everything is incorporated.
Gradually add the reserved dry ingredients and the crushed candy canes to the wet mixture. Mix on low speed, just until the dough comes together and starts pulling away from the sides of the bowl. Be careful not to overmix, as overworking the dough can result in tough cookies. Stop mixing as soon as the flour streaks disappear.

Rolling Out Your Perfect Holiday Shapes
Lightly flour a clean countertop or a large piece of parchment paper. Turn the dough out onto the floured surface. Using a rolling pin, roll the dough out evenly to about 1/4-inch thickness. A light dusting of flour on your rolling pin will prevent sticking. For consistent thickness, you can use a rolling pin with thickness guides or two wooden dowels placed on either side of your dough.
Now comes the fun part! Use your favorite holiday cookie cutters to cut out shapes from the rolled dough. Carefully transfer the cut cookies to your prepared baking sheet using a thin metal spatula. Once you’ve cut as many cookies as possible from the first batch of dough, gather the scraps, gently knead them back into a ball, and re-roll the dough. Continue cutting out cookies until all the dough is used. Try not to re-roll the dough more than twice to prevent the cookies from becoming tough.
Baking Your Festive Cut-Outs to Perfection
Place the baking sheet with your cut-out cookies into the preheated oven. Bake for approximately 6-8 minutes. The exact baking time may vary slightly depending on your oven and the size of your cookies. You’ll know they’re done when the tops are no longer shiny and the edges appear very lightly golden brown. Be careful not to overbake, as this can make the cookies dry.

Once baked, remove the baking sheet from the oven. Allow the cookies to cool on the sheet for about 2 minutes. This brief cooling period helps them firm up, making them easier to transfer without breaking. Then, carefully move the cookies to a wire cooling rack to cool completely before frosting. While your cookies are cooling, it’s the perfect time to prepare your delicious frosting.
Whipping Up the Icing and Adding Sparkle
In a mixing bowl or a stand mixer, combine the meringue powder and whole milk. Mix on medium speed until the mixture becomes frothy, indicating the meringue powder has dissolved and is starting to activate. This typically takes a minute or two.
Reduce the speed to low and gradually add the powdered sugar and vanilla extract. Once all the powdered sugar is incorporated, increase the speed to medium-high and beat until the icing is smooth, glossy, and reaches your desired consistency. If the icing is too thick, add a tiny bit more milk (1/2 teaspoon at a time). If it’s too thin, add a bit more powdered sugar.
If you wish to add food coloring, hand mix in your desired color and amount until evenly distributed. Gel food colorings work best for vibrant hues without thinning the icing too much.
Transfer the frosting to a piping bag fitted with a small round tip, or simply use a ziplock bag with a tiny corner snipped off. Frost your cooled cookies with elegant designs or a simple flood coat. Immediately after frosting, add your festive sprinkles, crushed candy canes, or other edible decorations before the icing sets. Serve your beautifully decorated peppermint cut-out sugar cookies and enjoy the smiles they bring!
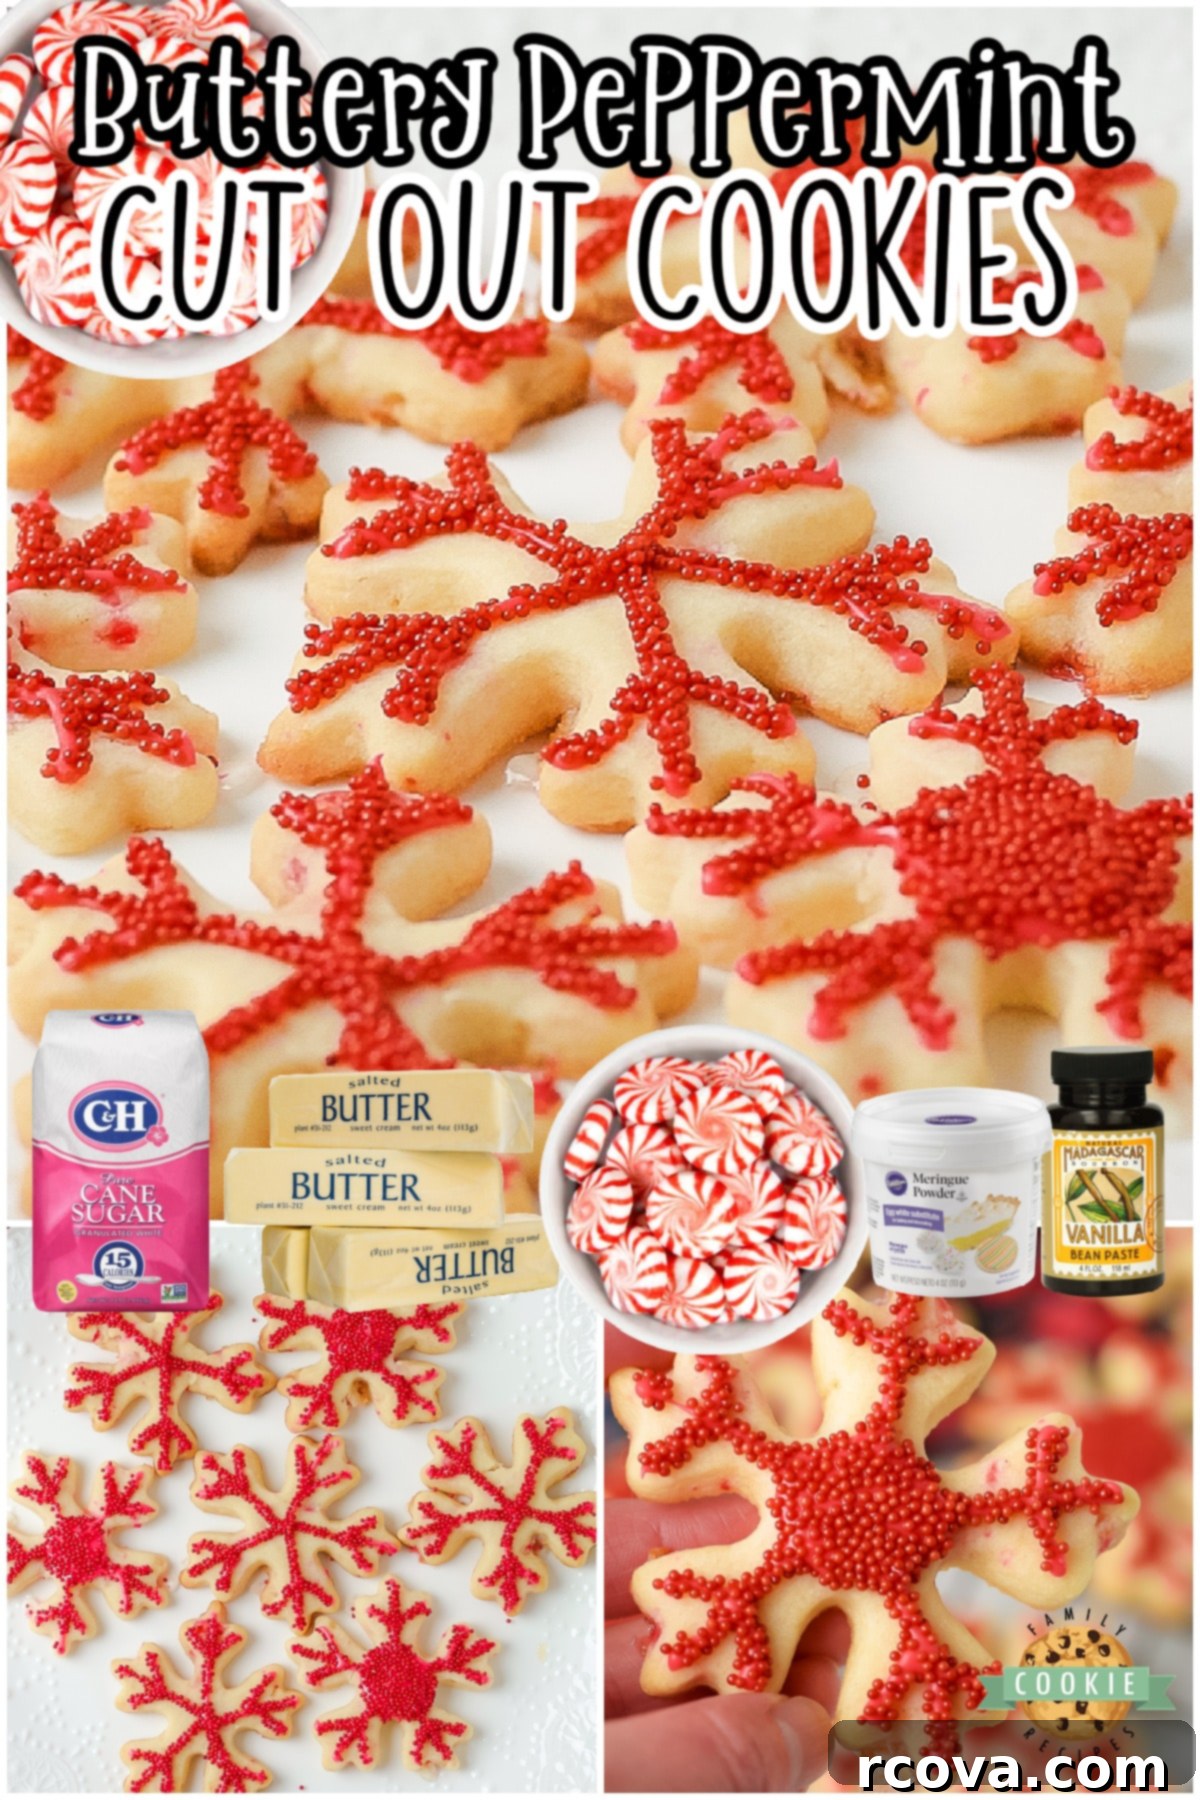

Peppermint Cut Out Cookies
Print
Pin
Rate
Ingredients
Peppermint Sugar Cookies
- 3 ¼ cups all purpose flour
- 2 tsp baking powder
- ½ tsp salt
- 1 cup softened unsalted butter
- 1 cup granulated sugar
- 1 egg
- ½ tsp vanilla extract
- ½ cup crushed candy canes
Easy Cookie Icing
- 1 TBSP meringue powder
- 1 lb powdered sugar 3 1/2 cups
- ¼ cup milk
- 1 tsp vanilla extract
- food coloring & sprinkles optional
Instructions
-
Preheat the oven to 375°F. Line a baking sheet with parchment and set aside.
-
In a medium mixing bowl, whisk together flour, baking powder, and salt. Set aside.
-
In a medium mixing bowl or with a stand mixer, mix the butter and sugar until smooth and combined. Add the egg and vanilla extract to the butter mixture until fully combined.
-
Add in the dry ingredients and crushed candy canes slowly into the butter mixture. Combine until the dough starts pulling away from the bowl.
-
Flour a spot on your countertop, and roll the dough out to about 1/4 “ thickness. Be sure to use a light dusting of flour on your rolling pin to prevent sticking.
-
Cut out your cookies and use a metal spatula to help lift them off the counter onto the baking sheet. Once you have cut as many cookies as you can out of your dough, roll the dough back into a ball and roll out again, repeat cutting cookies.
-
Bake in your preheated oven for 6-8 minutes, the cookies should not be shiny on top anymore and maybe a little brown on the edges. Remove the baking sheet from the oven and let the cookies cool for 2 minutes on the sheet before transferring to a cooling rack to finish cooling.
-
While the cookies are cooling, mix up your frosting. In a mixing bowl or stand mixer, mix together the meringue powder and whole milk on medium speed. Once frothy, add in the powdered sugar and vanilla extract. Mix until combined. Add food coloring, if desired.
-
Place the frosting in a frosting bag or ziplock and cut off a tiny bit of the tip. Frost your cookies & add sprinkles. Enjoy!
Nutrition
Expert Tips for Rolling Out Sugar Cookie Dough
Achieving perfectly uniform and non-sticky cookie dough is key to beautiful cut-out cookies. Here are a couple of trusted methods to master your rolling technique:
Traditionally, bakers sprinkle the countertop with all-purpose flour or powdered sugar before rolling out cookie dough. This method is effective in preventing sticking. When using this technique, be mindful of how many times you re-roll the dough. It’s best to re-roll dough scraps only once or twice. Excessive re-rolling incorporates too much additional flour, which can alter the dough’s moisture ratio, leading to cookies that are hard, dry, and crumbly rather than tender and soft. Always use a light hand with the extra flour.
A preferred, less messy alternative is to roll the dough out between two pieces of parchment paper. This method eliminates the need for extra flour, keeping your countertop clean and ensuring the dough’s consistency remains perfect. Additionally, rolling between parchment paper makes it incredibly easy to chill the sheets of dough briefly before cutting out cookies. A quick chill can further firm up the dough, resulting in even sharper, more defined cookie edges and making them easier to transfer to the baking sheet.
Can You Freeze These Festive Peppermint Cookies?
Absolutely! Freezing cookies is a fantastic way to prepare ahead for holiday gatherings or to enjoy fresh-baked treats anytime. I have two favorite methods for freezing cookies:
The first method involves freezing unbaked cookie dough balls. After preparing your dough, scoop and roll it into individual balls with your hands. Arrange these dough balls in a single layer on a cookie sheet, ensuring they are close together but not touching. Place the cookie sheet in the freezer until the dough balls are solid, typically 1-2 hours. Once frozen, transfer them to a freezer-safe ziplock bag or airtight container. This allows you to pull out and bake as many cookies as you desire, whenever a craving strikes! When you’re ready to bake, you can either let the frozen dough balls thaw on a baking sheet while your oven preheats, or you can bake them directly from frozen, adding an extra couple of minutes to the usual bake time to compensate.
The second method is to freeze the baked cookies. Many avid bakers, including my mother-in-law, use this technique all the time. The cookies generally turn out quite well, though they might be a tiny bit drier or more crumbly once thawed compared to freshly baked ones. The most important thing to remember is to ensure they are fully thawed before eating. Frozen cookies are, understandably, quite hard to bite into! Fortunately, they usually only take about 20-30 minutes to thaw at room temperature, making them a convenient treat for last-minute needs.
How Long Do These Frosted Peppermint Cookies Stay Fresh?
Once baked and frosted, these delicious peppermint sugar cookies can be kept fresh for up to 3-5 days when stored properly. To maintain their wonderful chewy texture and prevent them from drying out, I highly recommend storing them in an airtight container in the refrigerator. The cool environment helps preserve the freshness of both the cookies and the icing, ensuring they remain delightful for several days.

What is the Best Way to Soften Butter for Baking?
Softened butter, typically at around 65°F (18°C) or room temperature, is a non-negotiable ingredient for many baking recipes, especially for cookies like these peppermint cut-outs. It’s crucial because it creams properly with sugar, incorporating air that leads to a light, tender crumb. If your butter is too cold, it won’t cream correctly, resulting in dense cookies. If it’s melted, it will make the dough greasy and difficult to handle. Here are several effective ways to quickly bring your butter to the perfect softened consistency without melting it:
- The Patient Method: The simplest way is to plan ahead! Take your butter out of the refrigerator at least 1 hour before you intend to start your cookie recipe. On a warm day, 30-45 minutes might suffice.
- Warm Glass Technique: Slice your cold stick of butter into tablespoon-sized pieces. Place these pieces into a glass that has been warmed. You can warm a glass by rinsing it with hot water, or by heating a measuring cup of water in the microwave (then pouring out the water). Cover the butter with the warm glass and let it sit for about 10-15 minutes. The residual heat from the glass will gently soften the butter.
- Warm Towel Method: Dampen a clean kitchen towel with warm water, then wring out the excess. Wrap your sticks of butter (still in their wrappers) in the warm towel for a few minutes. Check periodically to avoid melting.
- The Upside-Down Glass Trick: This is a favorite quick method! Take a tall drinking glass and warm it as described above (hot water or microwave). Place the wrapped sticks of butter on the counter, then invert the warmed glass over them, trapping the warmth around the butter. Let it sit for several minutes. This creates a miniature warming chamber that quickly brings the butter to temperature.
Selecting the Best Vanilla Extract for Your Cookies
The quality of your vanilla extract can significantly impact the overall flavor of your baked goods. A few years ago, I conducted a taste test of 10 different vanilla extracts, and I discovered some true gems that have become my go-to choices for all my baking, including these peppermint sugar cookies!
For everyday baking, I absolutely love using TOTONAC’s Mexican Vanilla. It’s a pure vanilla extract and, importantly, it contains no alcohol. I personally find that alcohol-based extracts can sometimes impart a slightly bitter aftertaste, which I prefer to avoid. Every time I experiment with another brand, I quickly find myself returning to Totonac’s – the flavor is simply superior and incredibly rich! I also highly recommend Nielsen Massey Vanilla Bean Paste. This one, by far, offers the most exquisite and nuanced vanilla flavor, with visible specks of vanilla bean that add an elegant touch to any recipe.

Sometimes, the best baking memories are made on spontaneous family adventures! My kids and I once joined my husband on a business trip in August to Las Vegas. It was absolutely scorching, but we still managed to have a blast. My youngest, pictured here behind me, was clearly ready for some cooling gelato, but the others were kind enough to humor me for a quick photo op before we continued our hot, but memorable, desert adventure.

More Delicious Peppermint Cookie Recipes to Explore:
- PEPPERMINT SNOWMAN COOKIES
- PEPPERMINT SHORTBREAD COOKIES
- PEPPERMINT BARK COOKIES
- PEPPERMINT VANILLA SHORTBREAD COOKIES
- PEPPERMINT MELTAWAYS
- PEPPERMINT CHOCOLATE CHIP COOKIES
- PEPPERMINT BUTTER COOKIES
- CHOCOLATE PEPPERMINT COOKIES
- CHOCOLATE PEPPERMINT BLOSSOMS
- PEPPERMINT COOKIES & CREAM COOKIES
- PEPPERMINT FUDGE SUGAR COOKIES
