Easy Pumpkin Meringues: Crisp, Airy, & Festive Fall Cookies for Any Occasion
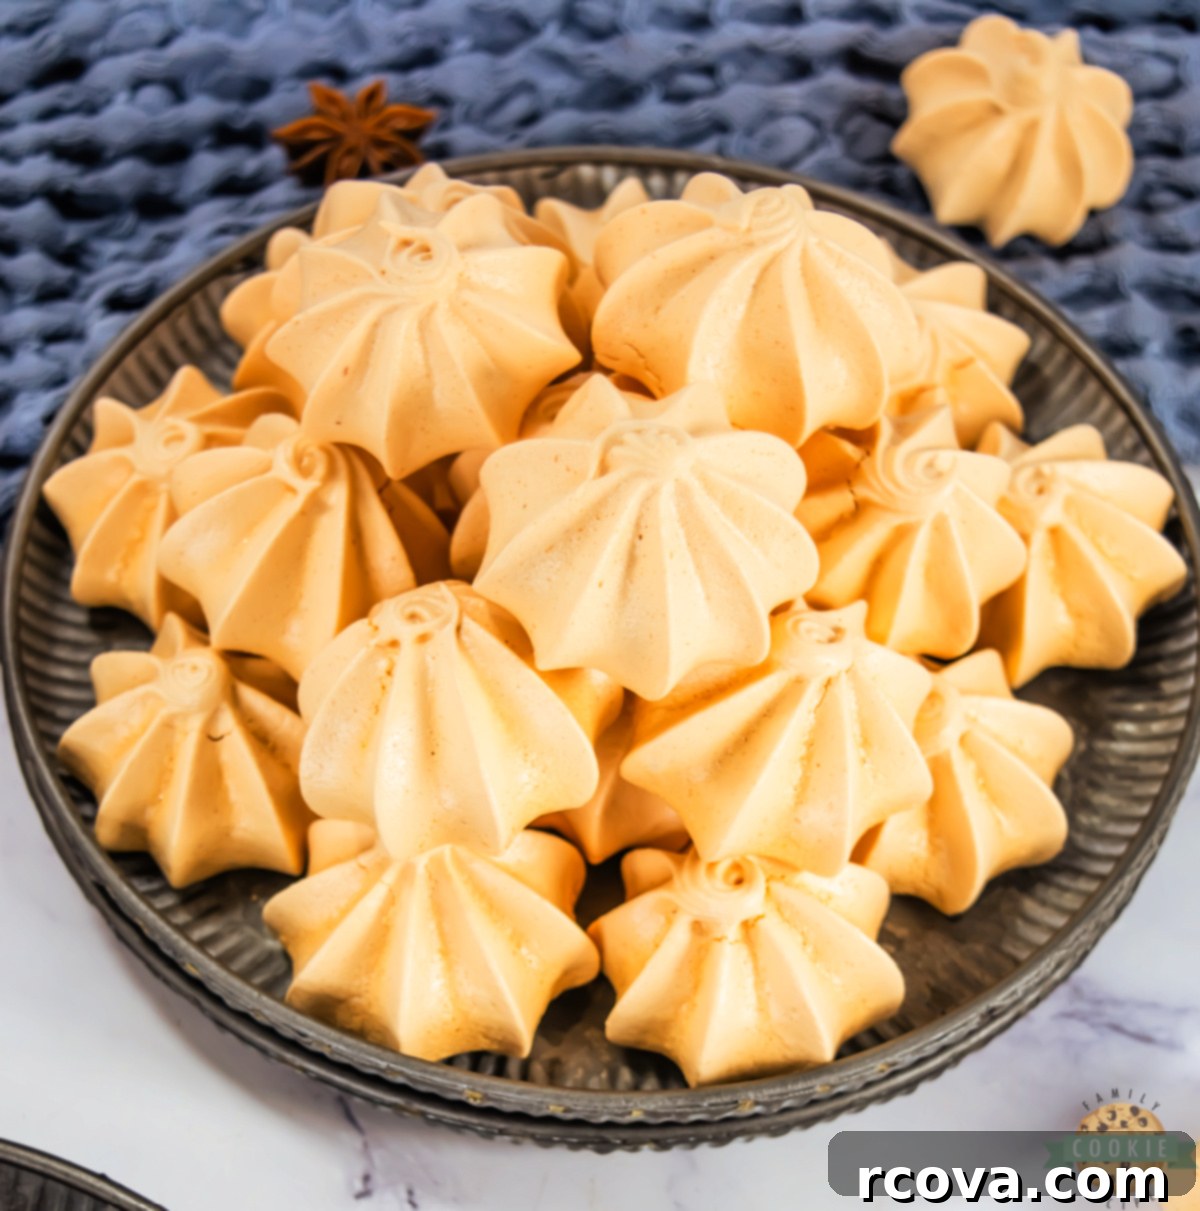
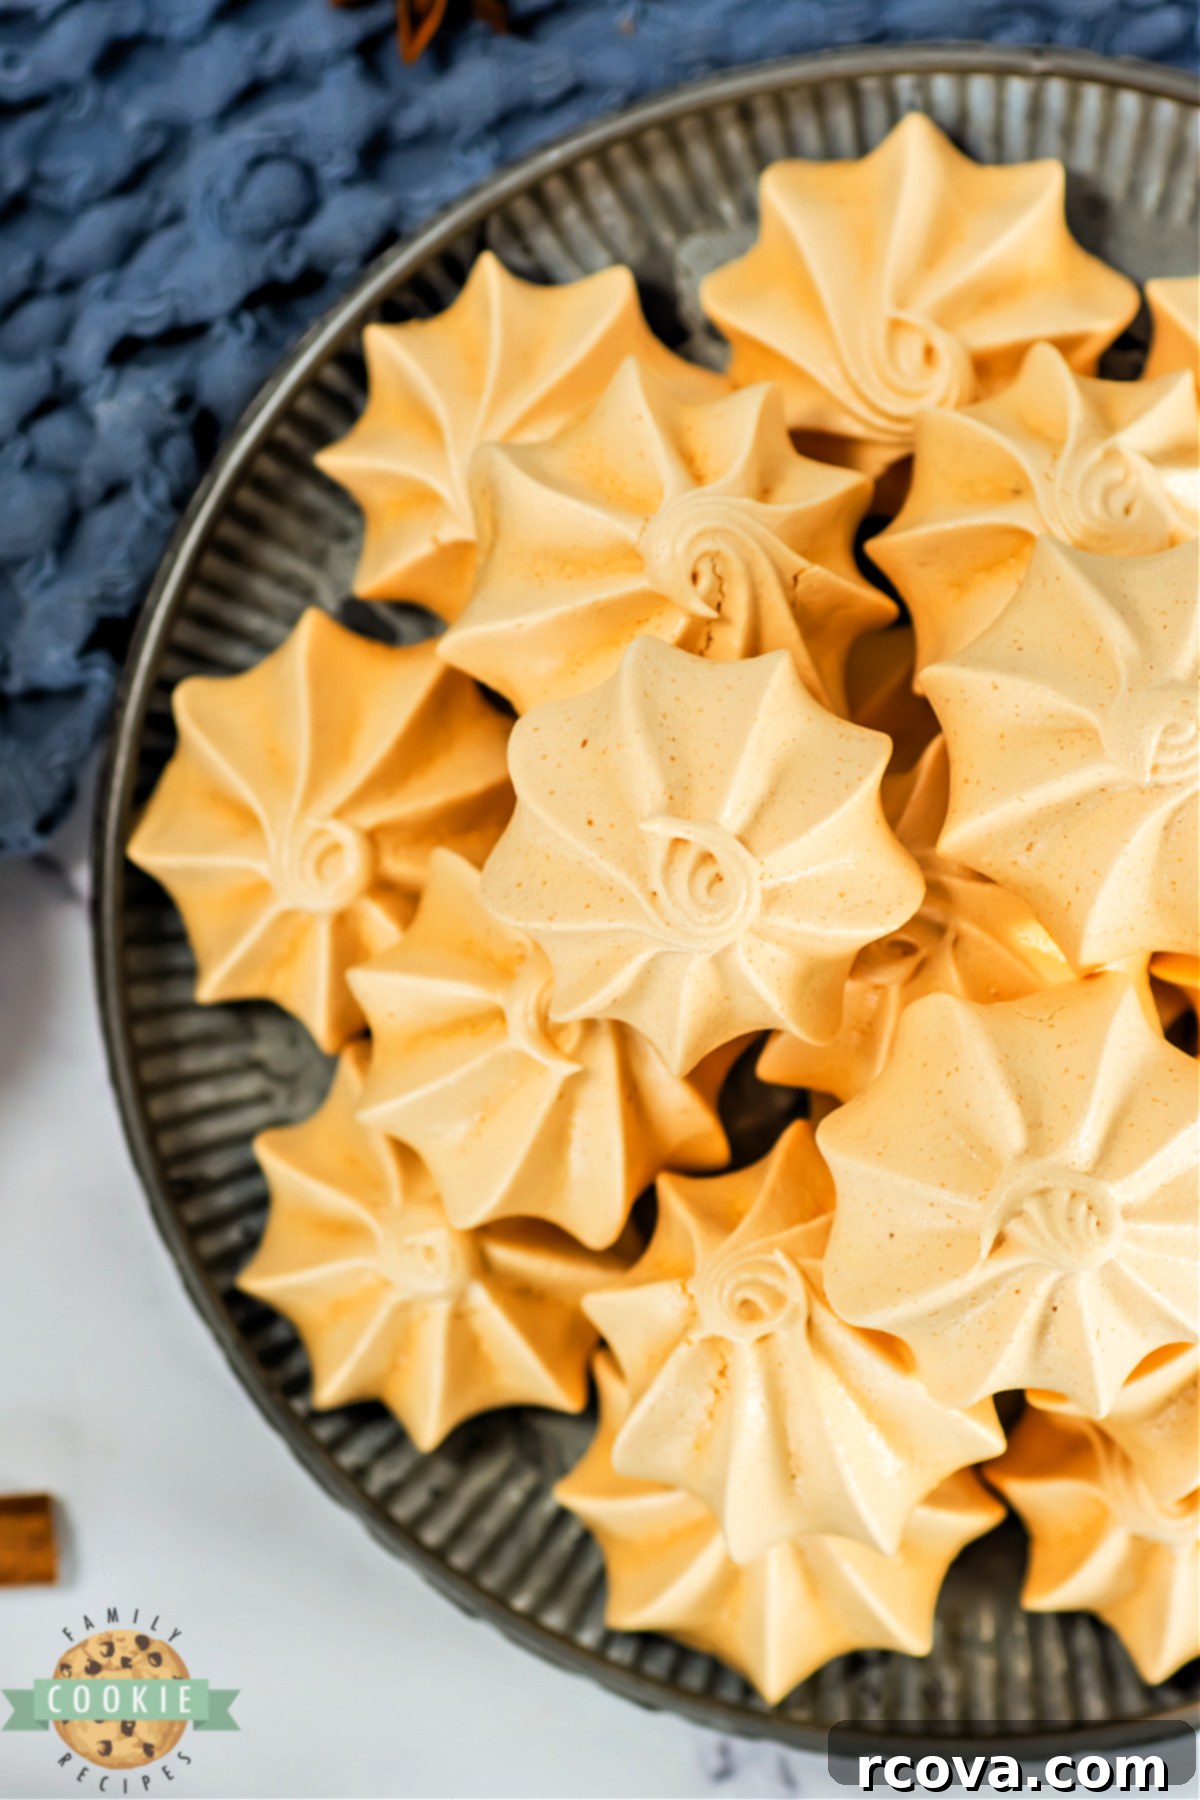
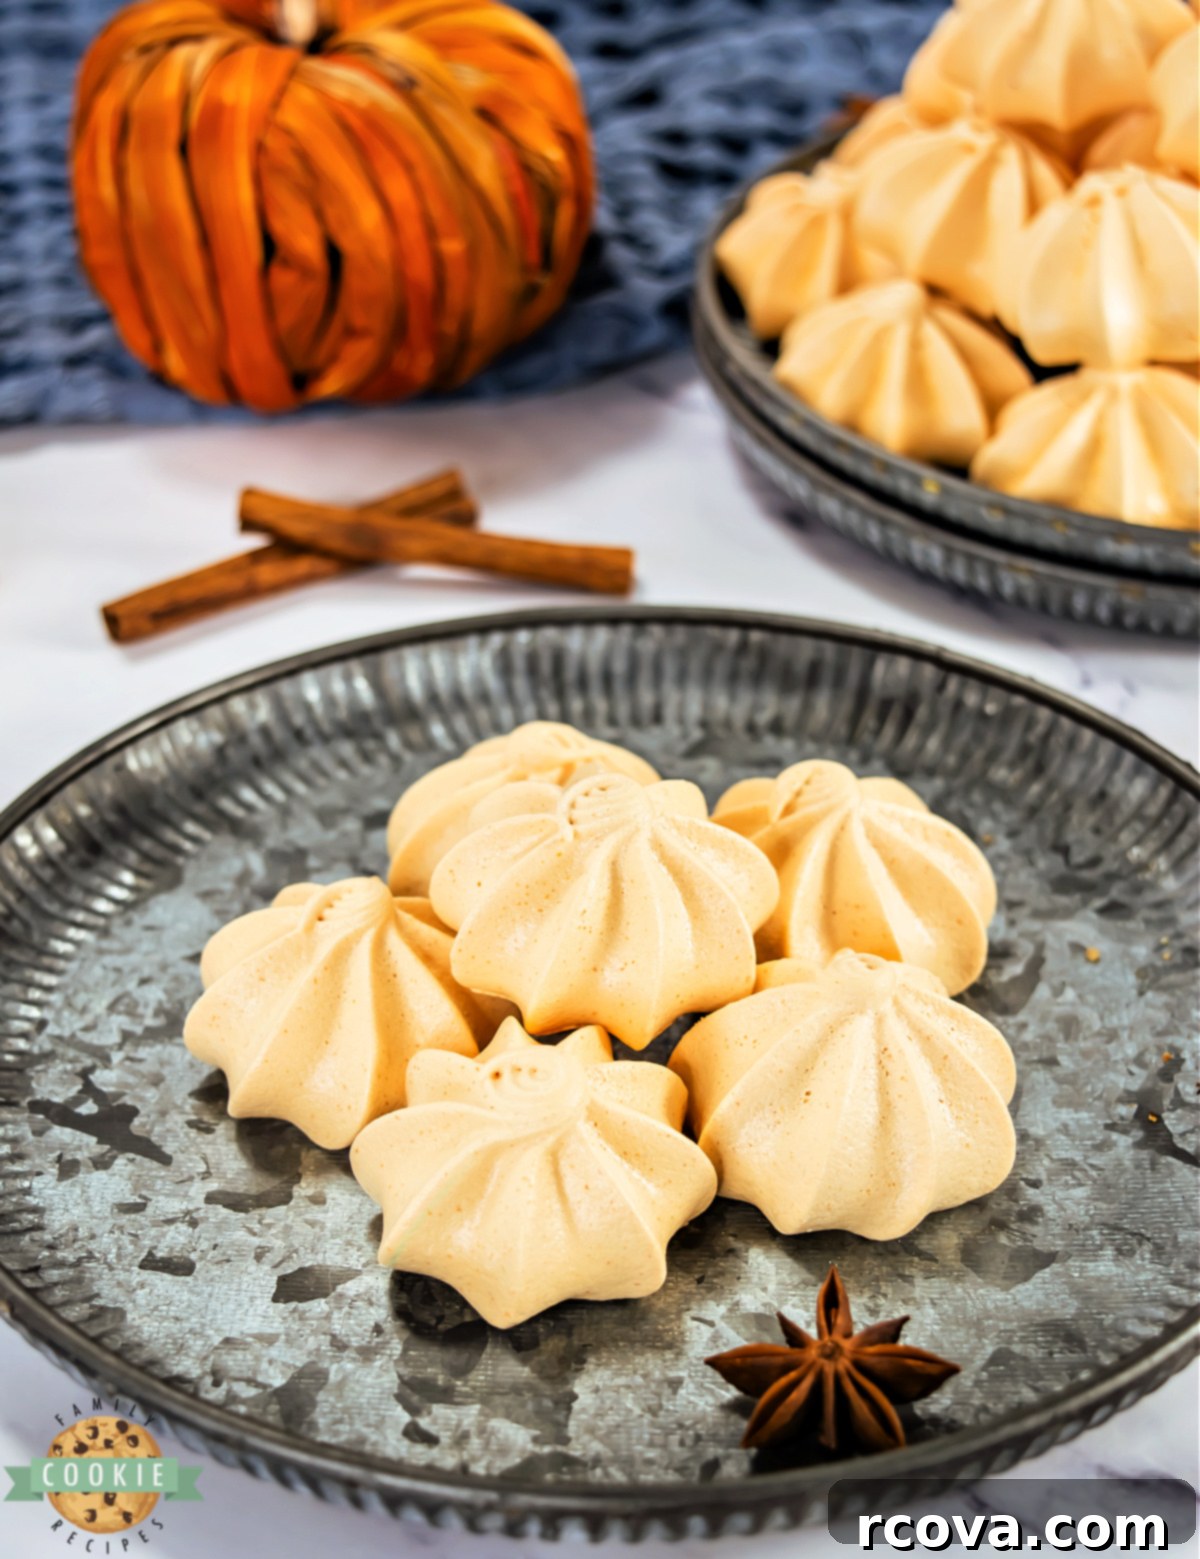
Prepare to fall in love with these delightful Pumpkin Meringues! They are the epitome of a perfect autumn treat: light as air, wonderfully crisp, and boasting a delicate, sweet pumpkin flavor that melts in your mouth. Their vibrant orange hue and charming, miniature pumpkin shape make them an irresistible addition to any fall gathering, whether it’s a cozy family dinner, an elegant dessert party, or the centerpiece of your Thanksgiving dessert spread. These naturally gluten-free cookies offer a guilt-free indulgence, combining simplicity with impressive results, making them a must-try for home bakers.
Why You’ll Love These Pumpkin Meringue Cookies: Recipe Highlights
These easy pumpkin meringues are more than just a pretty face; they are a truly rewarding baking project with several standout features:
- Light & Airy Texture: Each bite delivers a satisfying crispness on the outside, giving way to a delicate, almost cloud-like interior that dissolves effortlessly on your tongue. This signature meringue texture is what makes them so unique and addictive.
- Perfectly Pumpkin Flavor: Infused with a subtle yet distinct pumpkin essence, these meringues capture the cozy warmth of fall without being overwhelming. It’s a gentle whisper of pumpkin pie that complements the sweetness perfectly. We’ll show you how to achieve this balance with either extract or a delicate touch of spice.
- Surprisingly Easy to Make: Don’t be intimidated by meringues! This recipe requires only a handful of common ingredients and the magic of a stand mixer. With clear instructions and a few simple tricks, even novice bakers can achieve impressive, bakery-quality results.
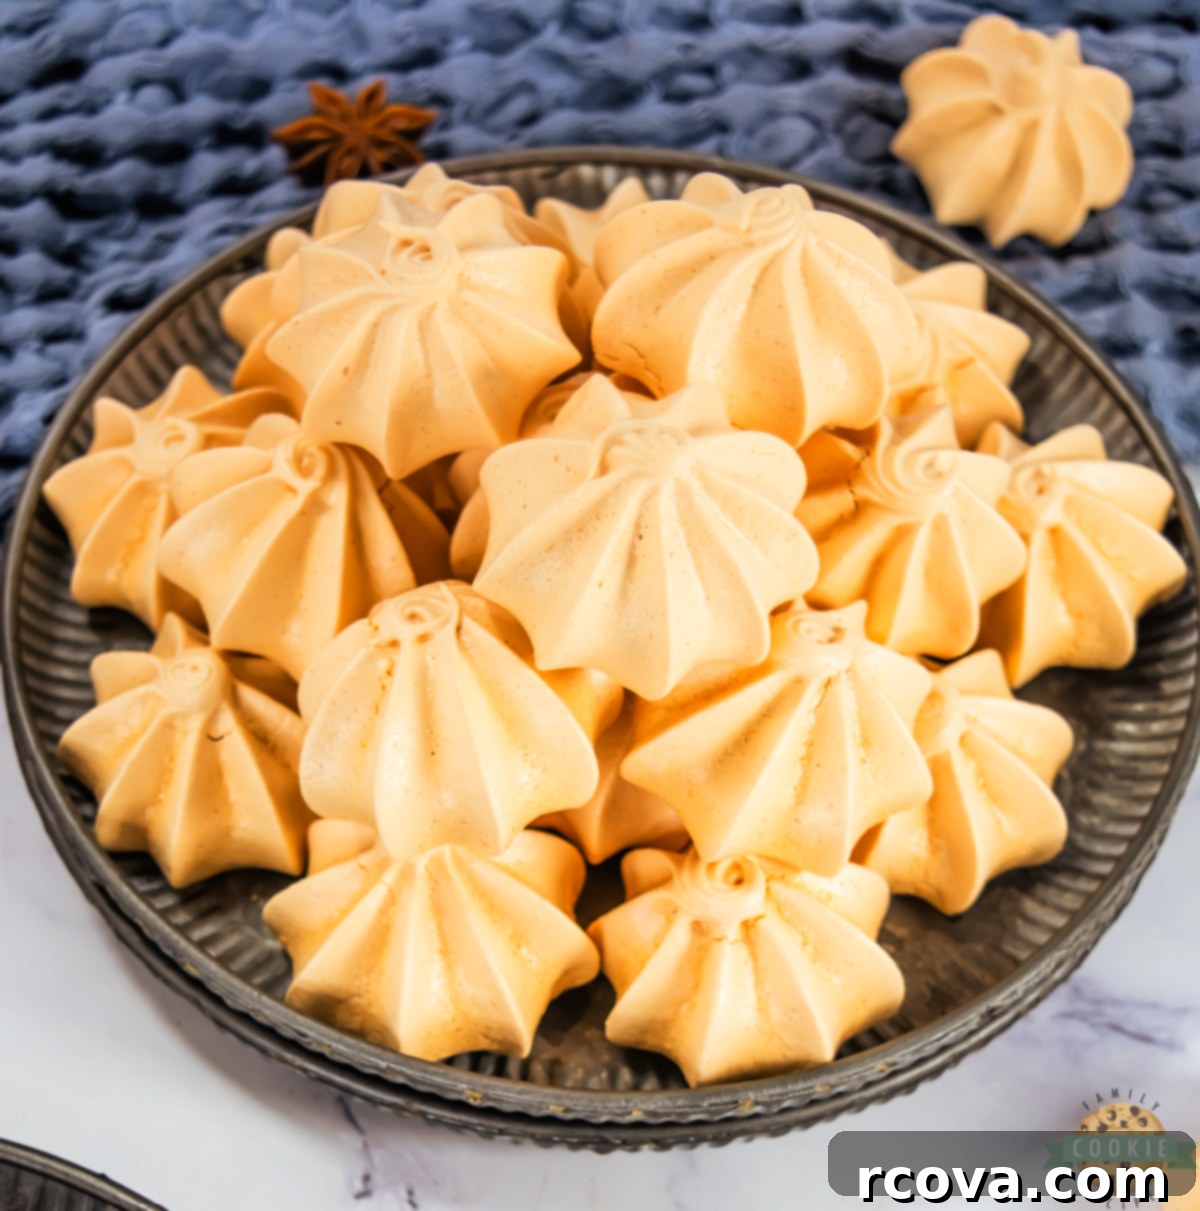
- Festive & Fun Appearance: The bright orange color and adorable mini-pumpkin shape instantly elevate these cookies, making them ideal for holiday celebrations, autumnal gift boxes, or simply brightening up your kitchen countertop. They’re a true visual treat!
- Naturally Gluten-Free: Made without any flour, these meringues are a fantastic option for those with gluten sensitivities or dietary preferences. They offer a light, sweet, and satisfying dessert that everyone can enjoy without compromise.
- Excellent Make-Ahead Option: Meringues are surprisingly robust when stored correctly, making them an ideal dessert to prepare in advance for parties or holiday gatherings, reducing stress on the big day.
What Are Pumpkin Meringues? The Science of Sweet Clouds
If you’re new to the wonderful world of meringues, imagine them as ethereal, crisp cookies crafted from just a few fundamental ingredients: whipped egg whites and sugar. The magic happens when air is incorporated into the egg whites, creating a stable foam that, when slowly baked at a low temperature, dries out rather than browns. This process results in a cookie that is incredibly crisp, delightfully sweet, and almost weightless – truly like eating sweet air.
Our Pumpkin Meringues take this classic concept and infuse it with the spirit of the fall season. We achieve a delicate pumpkin flavor through a choice of vanilla or specialized pumpkin extract, and a festive, vibrant orange tint from food coloring. The final touch? Piping them into a charming, squat shape reminiscent of tiny pumpkins. They are so enchanting and taste so wonderfully like a sweet pumpkin cloud that you’ll want to whip up batches all season long. They are a celebration of autumn in every light, airy bite!
Meringues are a fantastic example of culinary chemistry at work. The proteins in egg whites denature and form a network when whipped, trapping air bubbles. Adding sugar gradually not only sweetens the mixture but also stabilizes this protein network, making it strong and glossy. Cream of tartar further assists in this stabilization, ensuring your meringues hold their shape beautifully during baking. The slow baking process then gently evaporates moisture, solidifying the airy structure into a crisp, delicate cookie.
Essential Ingredients for Perfect Pumpkin Meringues
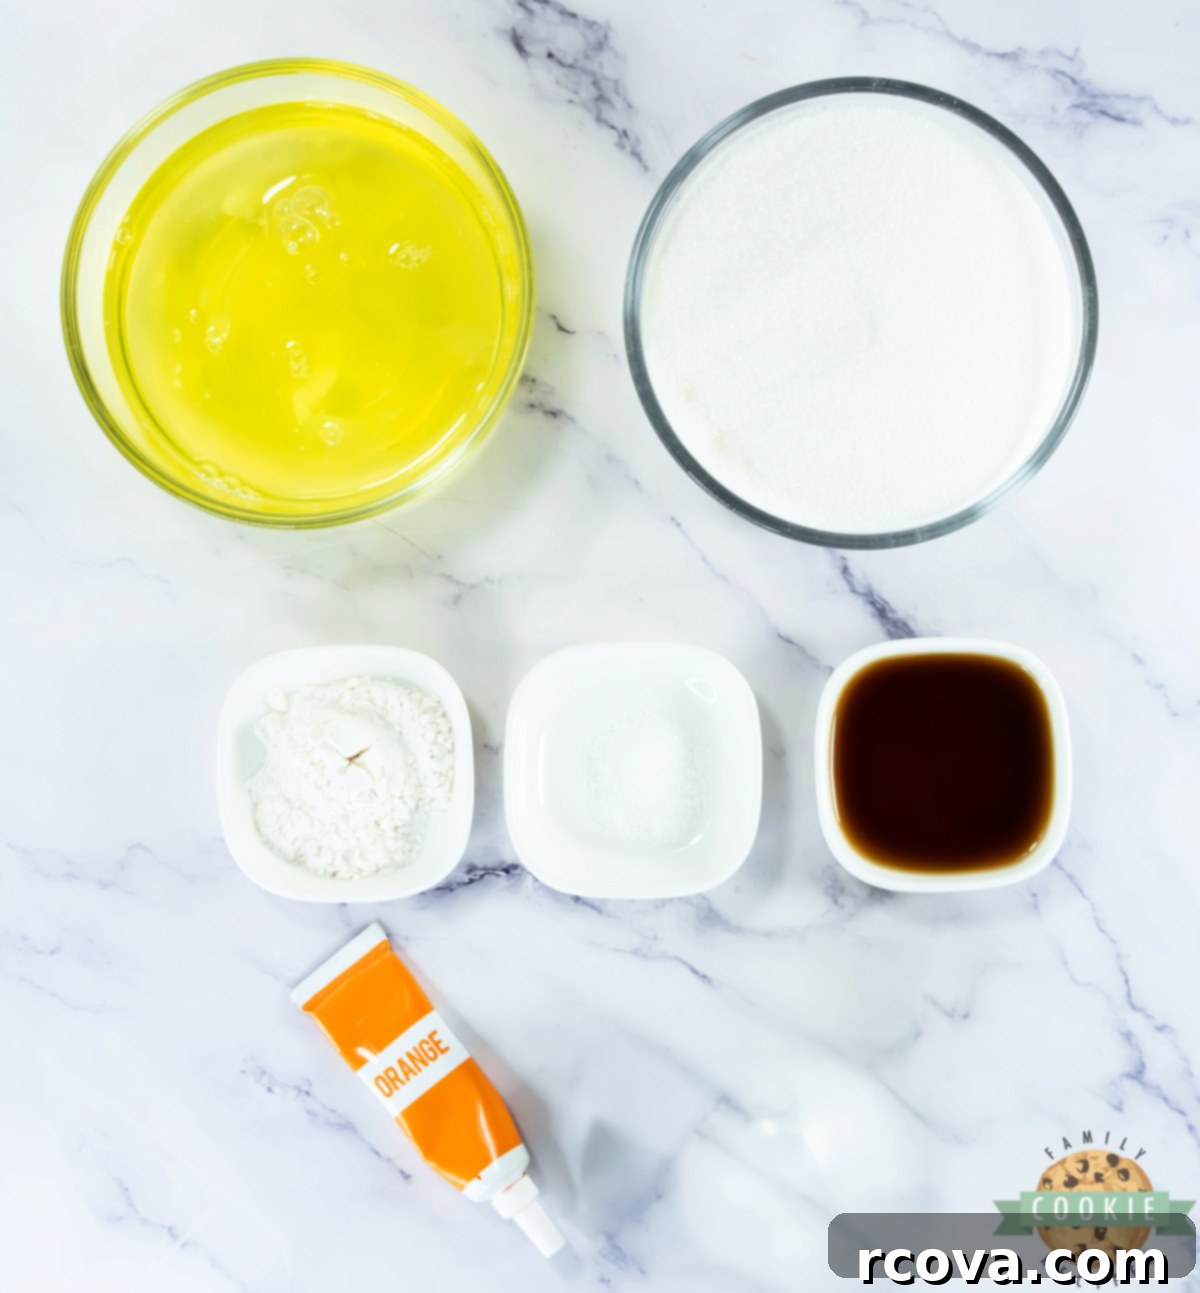
Crafting these exquisite pumpkin meringues requires just a few basic ingredients. Each plays a crucial role in achieving that signature crisp, airy texture and delightful flavor:
- Egg Whites: These are the undeniable foundation of any meringue. For optimal volume and stability, ensure your egg whites are at room temperature. Even a tiny trace of egg yolk or grease can prevent them from whipping up properly, so be meticulous when separating eggs. Using slightly aged egg whites (a few days old in the fridge) can sometimes result in even better volume, though fresh will work too.
- Cream of Tartar: This acidic powder is a meringue’s best friend. It acts as a stabilizer, helping the egg whites whip faster and achieve a stronger, more stable foam. It also prevents over-whipping and ensures your meringues hold their intricate piped shapes without deflating. If you don’t have cream of tartar, a tiny pinch of lemon juice or white vinegar can be a substitute, but cream of tartar is highly recommended for consistency.
- Salt: A small amount of salt isn’t just for seasoning; it subtly enhances the overall sweetness of the meringues and balances the flavors, preventing them from tasting flat. Don’t skip this tiny but mighty ingredient!
- Vanilla Extract or Pumpkin Flavoring: This is where the cozy fall essence comes in. While vanilla extract provides a classic warmth, a high-quality pumpkin flavoring (often an oil-based extract) will truly deliver that authentic seasonal taste. Be sure to use an extract, not a liquid pumpkin puree, as any added moisture will compromise the meringue’s structure.
- Granulated Sugar: Gradually added to the whipped egg whites, sugar is essential for both sweetness and structure. It dissolves into the egg whites, creating a glossy, stable meringue that holds its peaks. Fine granulated sugar works best as it dissolves more easily, preventing a gritty texture. Do not attempt to reduce the sugar significantly, as it’s crucial for the meringue’s stability.
- Orange Gel Food Coloring: To achieve that iconic, festive pumpkin hue, gel food coloring is indispensable. Unlike liquid food coloring, which can add too much moisture and cause your meringue to deflate, gel coloring provides vibrant, concentrated color without affecting the delicate texture. A few drops are usually all you need to transform your white meringue into a cheerful orange.
Expert Tips & Tricks for Perfect Meringues Every Time
While the full step-by-step instructions are conveniently located on the recipe card below, mastering meringues benefits from a few expert insights. These tips will ensure your pumpkin meringues are consistently light, crisp, and picture-perfect:
- Achieve Utmost Cleanliness: This is paramount! Any trace of grease, oil, or even a tiny speck of egg yolk in your mixing bowl or on your beaters will prevent the egg whites from whipping into stiff peaks. Before you begin, thoroughly wipe your bowl and beaters with a paper towel dampened with white vinegar or lemon juice. This simple step removes any unseen residue and ensures optimal whipping.
- Add the Sugar Gradually and Patiently: Resist the urge to dump all the sugar in at once. Adding it slowly, one tablespoon at a time (allowing 30-60 seconds between additions for the mixer to incorporate and dissolve the sugar), is critical. This gentle incorporation allows the sugar to fully dissolve, creating a stable, glossy, and smooth meringue. If added too quickly, the sugar can weigh down the egg whites, deflate the mixture, or result in a gritty texture.
- Stick to Gel Food Coloring: As mentioned, liquid food coloring introduces excess moisture, which can destabilize your delicate meringue and lead to flat or sticky results. Gel or powdered food coloring provides intense, vibrant color with just a small amount, preserving the meringue’s integrity. To ensure even color, add it once the stiff peaks have formed and mix just until incorporated.
- Keep the Oven Door Closed: Meringues “bake” by drying out, not by browning. They require a consistent, low temperature to slowly dehydrate. Opening the oven door releases heat and introduces humidity, which can cause your meringues to collapse, become sticky, or develop unsightly cracks. Once they’re in, leave them undisturbed until the specified cooling period.
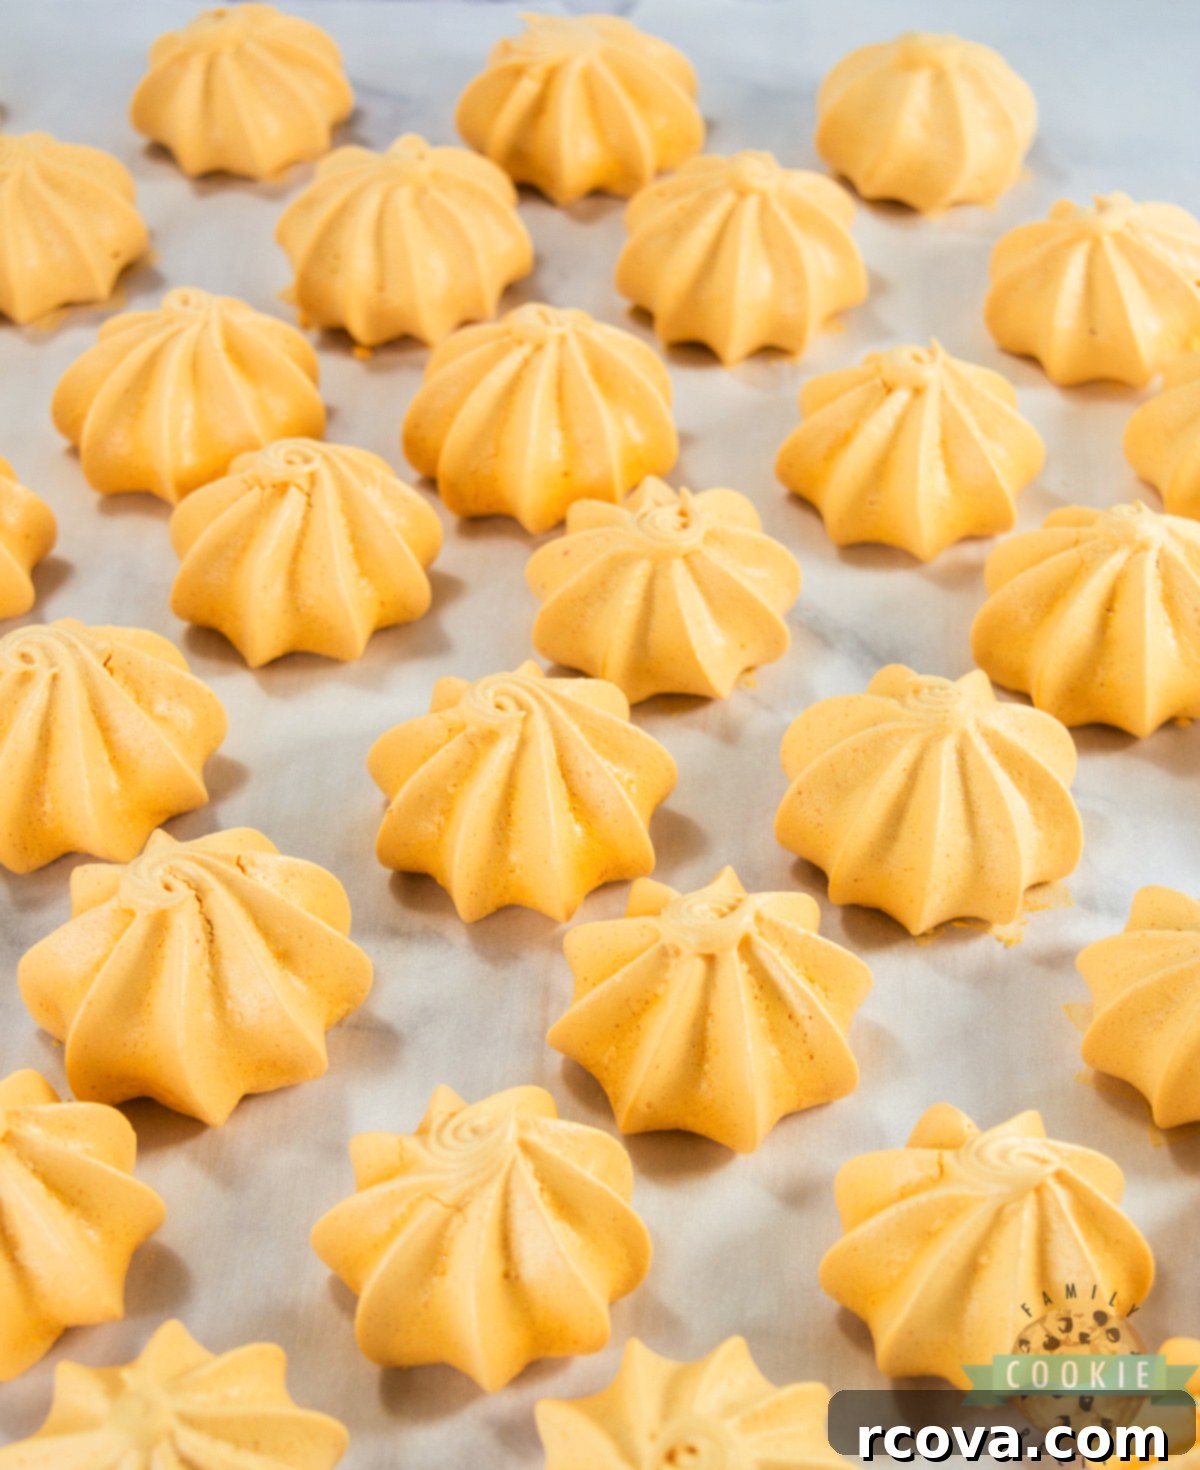
- Pipe Evenly for Uniform Baking: For the best results, aim for meringues that are consistent in size. This ensures they all bake and dry out uniformly. To achieve the cute pumpkin shape, use a large closed star tip (like an Ateco 846 or Wilton 2D). Pipe small, squat mounds, rather than tall peaks. Once completely cooled, you can add a tiny green sprinkle or a dab of melted chocolate for a “stem” to enhance their pumpkin appearance.
- Cool Completely Inside the Oven: After baking, turn off your oven and leave the meringues inside to cool slowly for at least an hour, or even overnight. This gradual cooling process is crucial for preventing cracks and achieving that characteristic light, crisp, and dry texture. Rapid temperature changes are the enemy of perfect meringues.
- Consider Atmospheric Conditions: Meringues are highly sensitive to humidity. On a very humid day, they might take longer to dry out and can sometimes remain slightly sticky. If you live in a humid climate, consider baking on a less humid day or increasing the drying time in the oven slightly.
- Check for Dissolved Sugar: Before you stop whipping, rub a tiny bit of meringue between your fingers. If it feels gritty, continue whipping for another minute or two until the sugar is completely dissolved and the mixture feels smooth.
Storage Instructions for Maintaining Meringue Perfection
Proper storage is key to keeping your pumpkin meringues delightfully crisp and fresh. Meringues are sensitive to moisture, so keeping them in a dry environment is crucial:
- Room Temperature: Store your cooled pumpkin meringues in an airtight container at room temperature for up to 1 week. A cookie tin or a plastic container with a tight-fitting lid works perfectly. Crucially, keep them in a cool, dry place away from any sources of humidity, like the kitchen sink or a steamy stovetop. Moisture is the primary enemy of crisp meringues, causing them to soften and become sticky.
- Freezer: For longer storage, meringues can be frozen for up to 2 months. Arrange them in a single layer in an airtight freezer-safe container. For multiple layers, place a sheet of parchment paper between each layer to prevent sticking. To thaw, simply remove them from the freezer and let them come to room temperature. Do not refrigerate meringues, as the high humidity in a refrigerator will cause them to soften and lose their crispness almost immediately.
Pumpkin Meringues Recipe
Print
Pin
Rate
Ingredients
- ½ cup egg whites no trace of yolk, at room temperature
- 1 tsp cream of tartar
- ¼ tsp salt
- 1 tsp pumpkin flavoring or vanilla extract for a more subtle taste
- 1 ½ cup granulated sugar
- Orange gel food coloring essential for vibrant pumpkin hue without added moisture
Instructions
-
Preheat the oven: Adjust oven rack to the middle position and preheat to a low 250°F (120°C). Line two large baking sheets with parchment paper, which prevents sticking and makes cleanup easier.
-
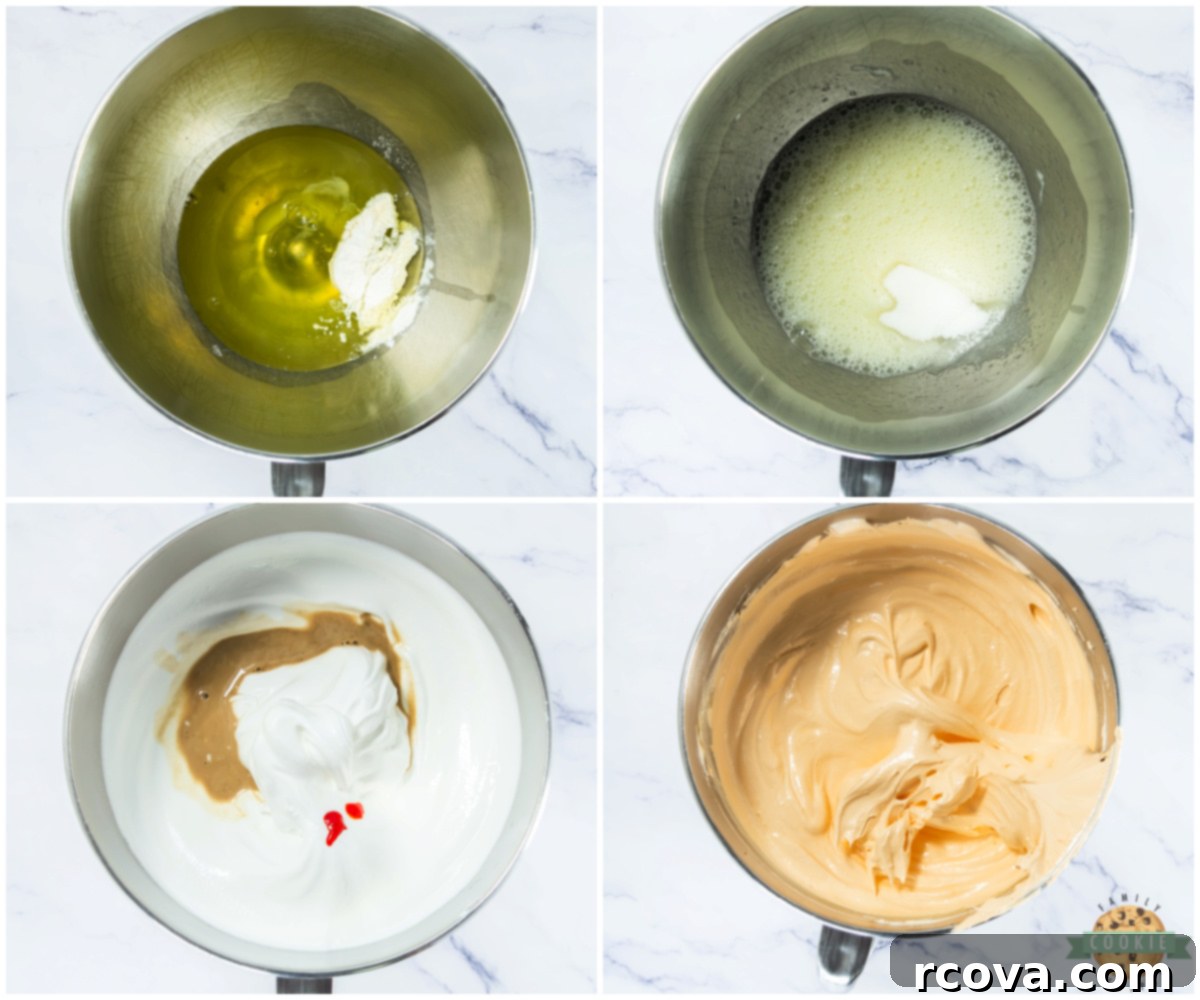
Start the meringue base: In the impeccably clean bowl of a stand mixer fitted with the whisk attachment, combine the room-temperature egg whites and cream of tartar. Begin mixing on medium-low speed for about a minute until the mixture becomes frothy and bubbly, like a light foam.
-
Add sugar slowly: Increase the mixer speed to medium-high. Begin adding the granulated sugar, one tablespoon at a time, allowing 30–60 seconds of mixing between each addition. This slow and steady process is crucial for dissolving the sugar completely and building a stable, glossy meringue. Do not rush this step, as it prevents a gritty texture.
-
Whip to stiff peaks: Continue mixing for approximately 10-12 minutes on medium-high speed. The mixture should become incredibly thick, shiny, and form stiff peaks that hold their shape firmly when the whisk is lifted. When you rub a small amount between your fingers, it should feel perfectly smooth with no discernible sugar crystals.
-
Incorporate color & flavor: Reduce the mixer speed to low. Add the pumpkin flavoring (or vanilla extract) and a few drops of orange gel food coloring. Mix just until the color is evenly distributed and the flavor is incorporated, being careful not to overmix. Scrape down the sides of the bowl to ensure everything is combined.
-
Pipe the meringues: Carefully transfer the vibrant orange meringue mixture to a piping bag fitted with a large closed star tip (such as Wilton 2D or Ateco 846). Pipe round, squat mound-shaped cookies onto the prepared baking sheets, aiming for consistency in size (about the size of a ping pong ball) to ensure even drying. Leave about an inch of space between each meringue.
-
Bake & cool: Place the baking sheets in the preheated oven and bake for 1 hour. After 1 hour, turn off the oven completely. Do not open the oven door. Leave the meringues inside for at least another hour, or ideally overnight, to cool slowly and completely. This gentle, prolonged cooling process is essential for them to dry out thoroughly and become wonderfully crisp without cracking. Once fully cooled, transfer to an airtight container.
Nutrition
Frequently Asked Questions About Pumpkin Meringues
Even with the best instructions, questions can arise. Here are answers to some common queries about making perfect meringues:
- Why did my meringues crack or flatten? This is a common issue and usually points to one of a few culprits: overmixing the egg whites past stiff peaks, baking at too high a temperature, or experiencing a sudden temperature change during baking or cooling. Always bake low and slow, and crucially, allow them to cool very gradually inside the turned-off oven. High humidity can also contribute to cracks.
- Can I use liquid food coloring for the orange hue? It’s highly advisable to avoid liquid food coloring. Liquid coloring adds unnecessary moisture to the meringue mixture, which can cause it to become unstable, deflate, or turn sticky. Gel or powdered food coloring offers concentrated color without the added liquid, ensuring vibrant results and maintaining the delicate texture.
- What’s the best way to ensure I get stiff peaks? Several factors contribute to achieving perfect stiff peaks:
- Spotless Equipment: Absolutely no grease or yolk in your bowl or on your beaters.
- Room Temperature Egg Whites: They whip up with more volume and stability when not cold.
- Additives: Cream of tartar (or a touch of lemon juice/vinegar) helps stabilize the egg whites.
- Gradual Sugar Addition: As detailed in the tips, adding sugar slowly is crucial.
- Patience: Whipping takes time; don’t rush the process.
- Can I flavor these meringues with something else? Absolutely! Meringues are incredibly versatile. Beyond pumpkin, you can experiment with other fall-inspired flavors like maple extract, almond extract, or a blend of warm spices such as a hint of cinnamon, nutmeg, or allspice (use powdered spices very sparingly to avoid weighing down the meringue). You could even swirl in a tiny bit of cocoa powder for a marble effect.
- Are these good to make ahead of time for a party? Yes, pumpkin meringues are an excellent make-ahead dessert! They actually hold up beautifully, staying crisp and delicious for up to a week when stored properly at room temperature in an airtight container. This makes them perfect for holiday entertaining, as you can prepare them days in advance and free up time for other dishes.
- How do I know when my meringues are fully cooked? They should feel completely dry and lightweight when gently lifted from the parchment paper. They won’t be browned, but rather a uniform light orange color. If they stick or feel soft in the center, they need more drying time in the turned-off oven.
- What if my meringues are sticky? Stickiness is almost always a sign of too much moisture. This could be due to high humidity on the day they were baked, not enough baking/drying time in the oven, or improper storage allowing moisture to seep in. Ensure they cool completely in the oven and are stored in an airtight, dry environment.
More Delicious Pumpkin Cookie Recipes to Savor This Fall:
If you’re loving the pumpkin theme, you’re in luck! Here are some other fantastic fall cookie recipes that highlight the beloved pumpkin flavor:
- Rolled in a delightful blend of cinnamon and sugar, Pumpkin Snickerdoodles are wonderfully soft, chewy cookies bursting with rich pumpkin flavor—truly one of the best fall desserts you can make!
- Packed with wholesome pumpkin and oats, these incredibly easy No-Bake Pumpkin Cookies come together in mere minutes, requiring no oven time at all. Perfect for a quick, fuss-free treat.
- Soft, irresistibly chewy, and generously topped with a sweet cinnamon sugar icing, Glazed Pumpkin Oatmeal Cookies are the quintessential fall treat, offering comfort in every bite.
- Bursting with the warmth of pumpkin and zesty ginger spice, these Soft Pumpkin Gingersnap Cookies are simple to prepare and cherished for their delightful chewy texture and aromatic flavor.
- Pumpkin Oatmeal Chocolate Chip Cookies are moist, deeply flavorful cookies loaded with the goodness of pumpkin, hearty oats, and irresistible melty chocolate chips, making them a comforting classic.
These beautiful Pumpkin Meringues are more than just cookies; they are a crisp, light, and perfectly pumpkin-flavored celebration of autumn. Their ease of preparation combined with their elegant and festive appearance makes them a unique and delightful addition to any fall dessert table or a charming gift for loved ones. Enjoy the simple pleasure of these sweet, airy treats!
