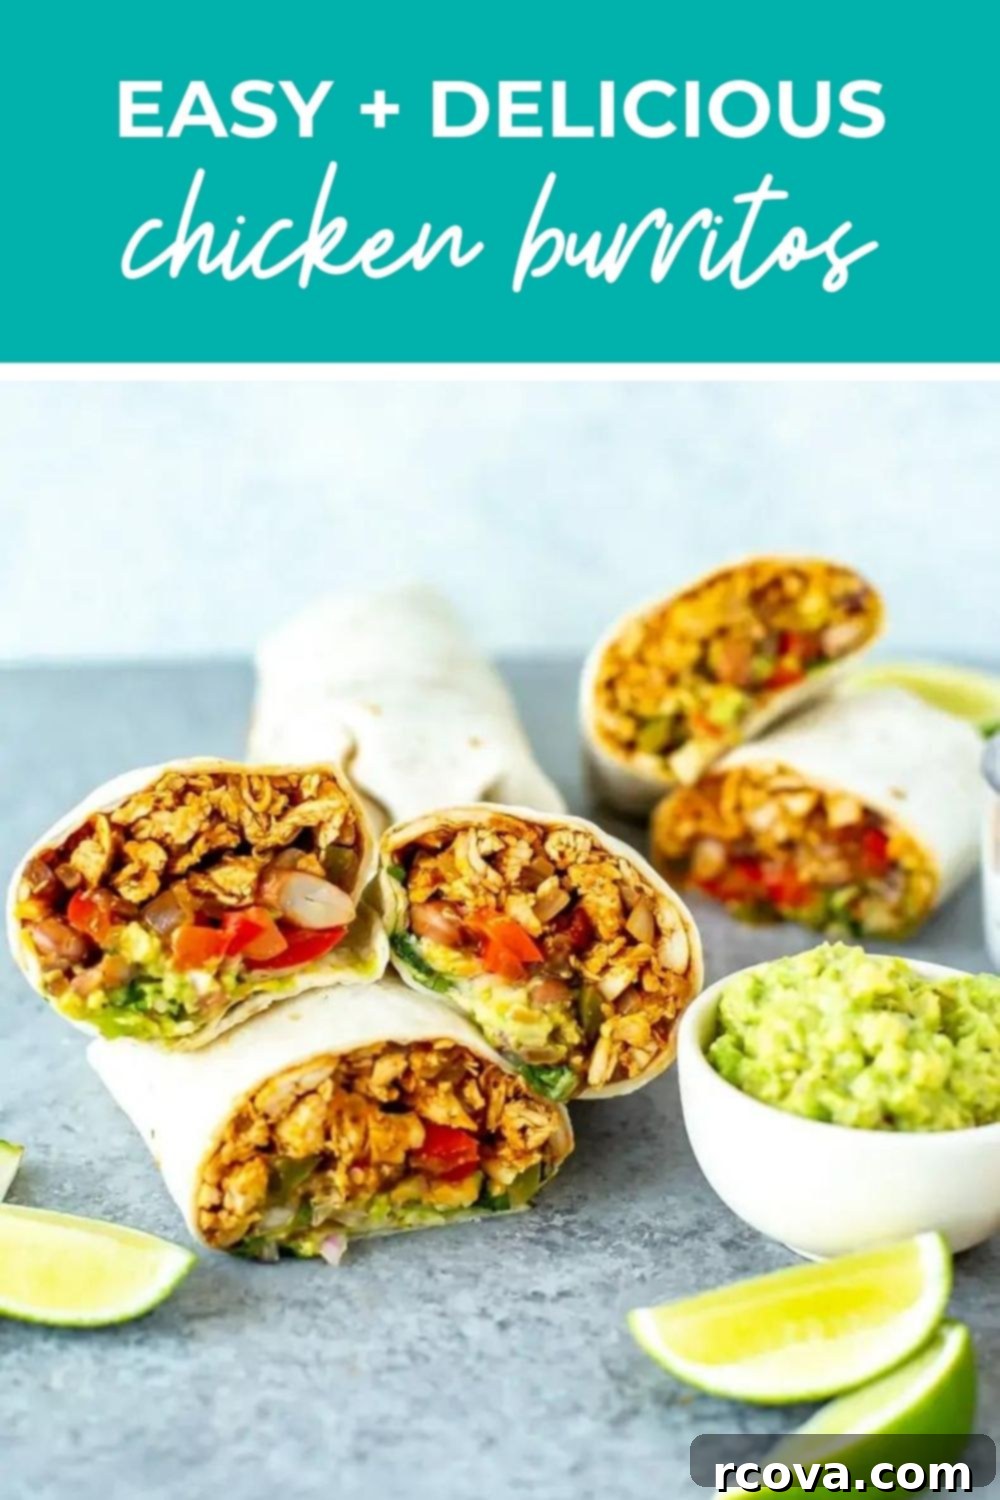
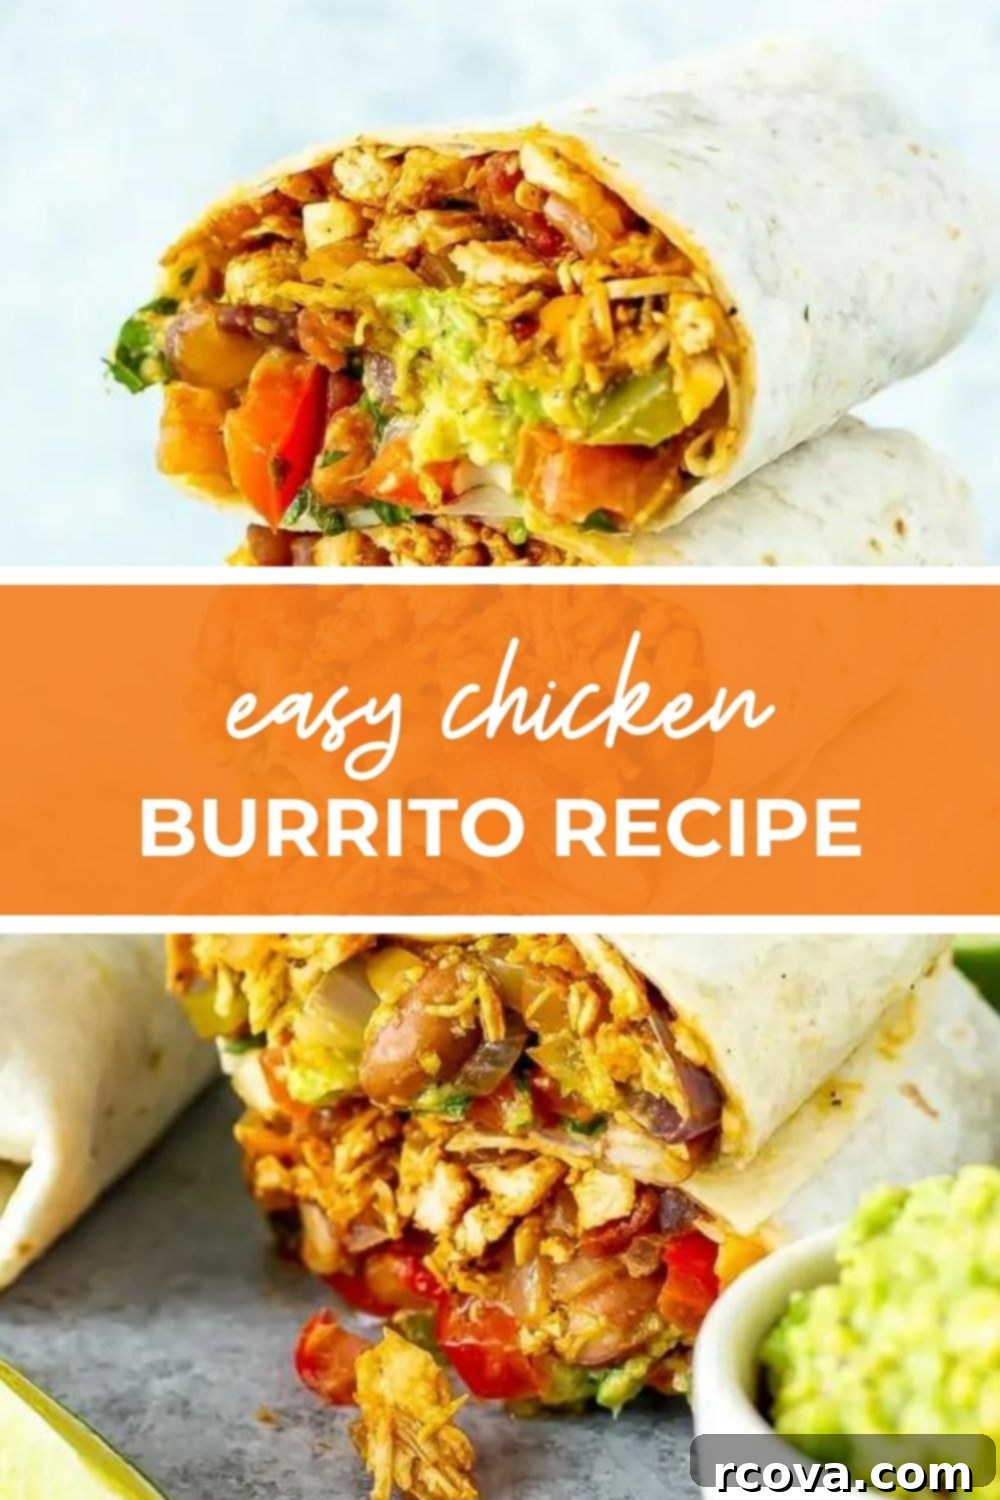
Flavorful Shredded Chicken Burritos: Your Ultimate Easy, Customizable, and Freezer-Friendly Meal Prep Solution
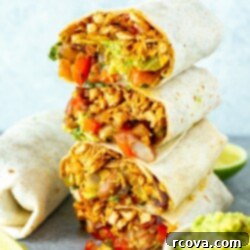
Welcome to your new favorite make-ahead meal: these incredible Easy Chicken Burritos! Crafted with tender, juicy shredded chicken and packed with all your go-to burrito toppings, this recipe is a game-changer for busy weeknights and meal prep. Not only are they bursting with flavor, but they’re also designed to be freezer-friendly, allowing you to enjoy delicious, homemade burritos weeks or even months down the line with minimal effort. Imagine pulling a restaurant-quality burrito from your freezer that tastes as fresh as the day it was made – that’s what this recipe delivers!
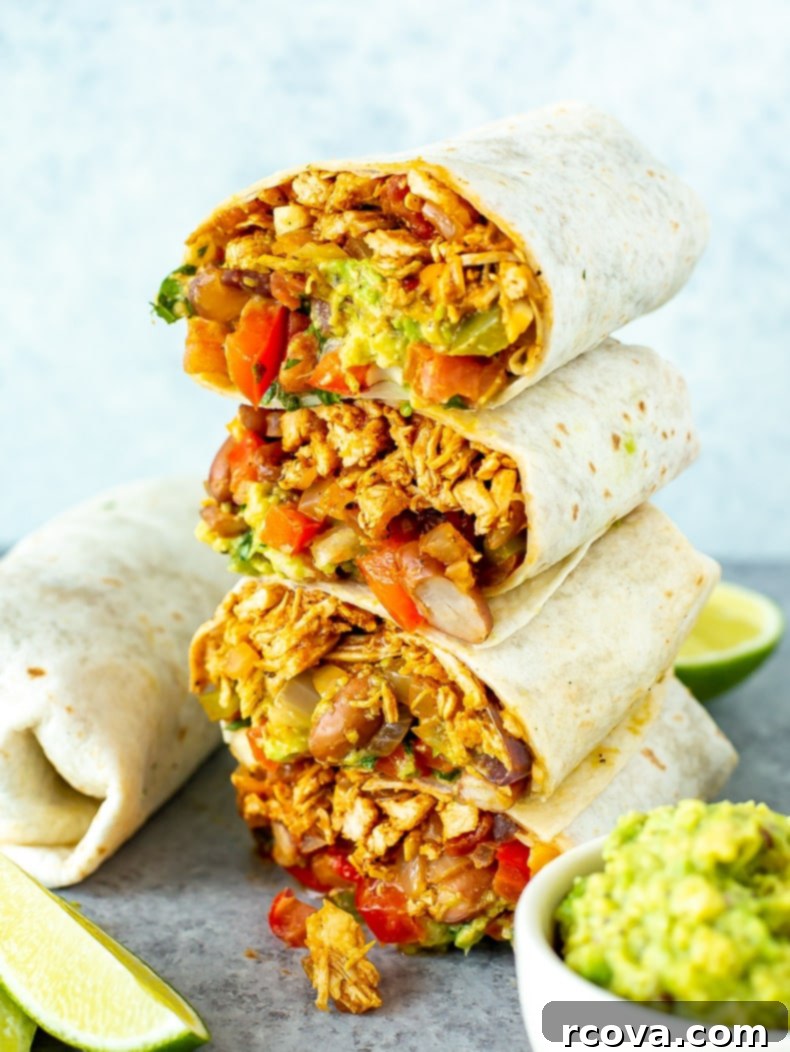
Burritos are a universally loved comfort food, and this recipe takes them to the next level of convenience and taste. We’ve meticulously refined the classic chicken burrito to ensure it not only stands up to freezing but truly shines after reheating. By incorporating a few clever tips and tricks, you can transform a simple meal into a future feast, making these burritos an essential part of your kitchen repertoire. Say goodbye to soggy reheated meals and hello to perfectly warm, flavorful burritos anytime you crave them!
Why You’ll Absolutely Love This Easy Chicken Burrito Recipe
These chicken burritos aren’t just another meal; they’re a culinary revelation that simplifies your life and delights your taste buds. Here’s why this recipe will quickly become a household favorite:
- Endless Customization Options: One of the best aspects of burritos is their incredible versatility. This recipe serves as the perfect canvas for all your favorite flavors and textures. Whether you’re craving extra spice, a creamy texture, or a bounty of fresh vegetables, you can tailor each burrito to your exact preferences. Load them up with a generous dollop of homemade guacamole (our 4-ingredient guacamole recipe is unbelievably easy and fresh!), extra cheese, or a double serving of salsa – all without any additional cost, unlike your favorite takeout spot.
- Perfect for Busy Weeknights: Life gets hectic, but dinner doesn’t have to be a chore. This chicken burrito recipe is designed with efficiency in mind, making it an ideal candidate for those busy weeknights. You can easily prep the savory shredded chicken and sauté the vibrant vegetables in advance. This means when dinnertime rolls around, all that’s left to do is quickly assemble your burritos, cutting down cooking time significantly and allowing for more quality time with family or simply a moment to relax.
- Mastering Meal Prep: If you’re a fan of meal prepping, these burritos will revolutionize your routine. The components can be cooked and prepared ahead of time, then assembled and either refrigerated for a few days or frozen for long-term enjoyment. This foresight ensures you always have a wholesome, homemade meal ready to go, saving you from last-minute cooking stress or resorting to less healthy options.
- Budget-Friendly and Flavorful: Using chicken breasts and common pantry staples, this recipe offers a delicious meal that won’t break the bank. Making your own burritos at home is significantly more cost-effective than buying them pre-made or from a restaurant, and you have complete control over the quality of ingredients.
- Freezer-Friendly Convenience: As highlighted, the ability to freeze these burritos is a major perk. With a few simple adjustments (omitting certain fresh toppings until serving), you can stock your freezer with ready-to-reheat meals that taste fantastic, providing a comforting solution for those days when cooking isn’t an option.
FREE Budget-Friendly Meal Plan!
Transform your grocery budget and save thousands of dollars on food every year with my exclusive free budget-friendly meal plan ebook. It’s packed with delicious, economical recipes and smart shopping strategies!
Key Ingredients and Smart Substitutions
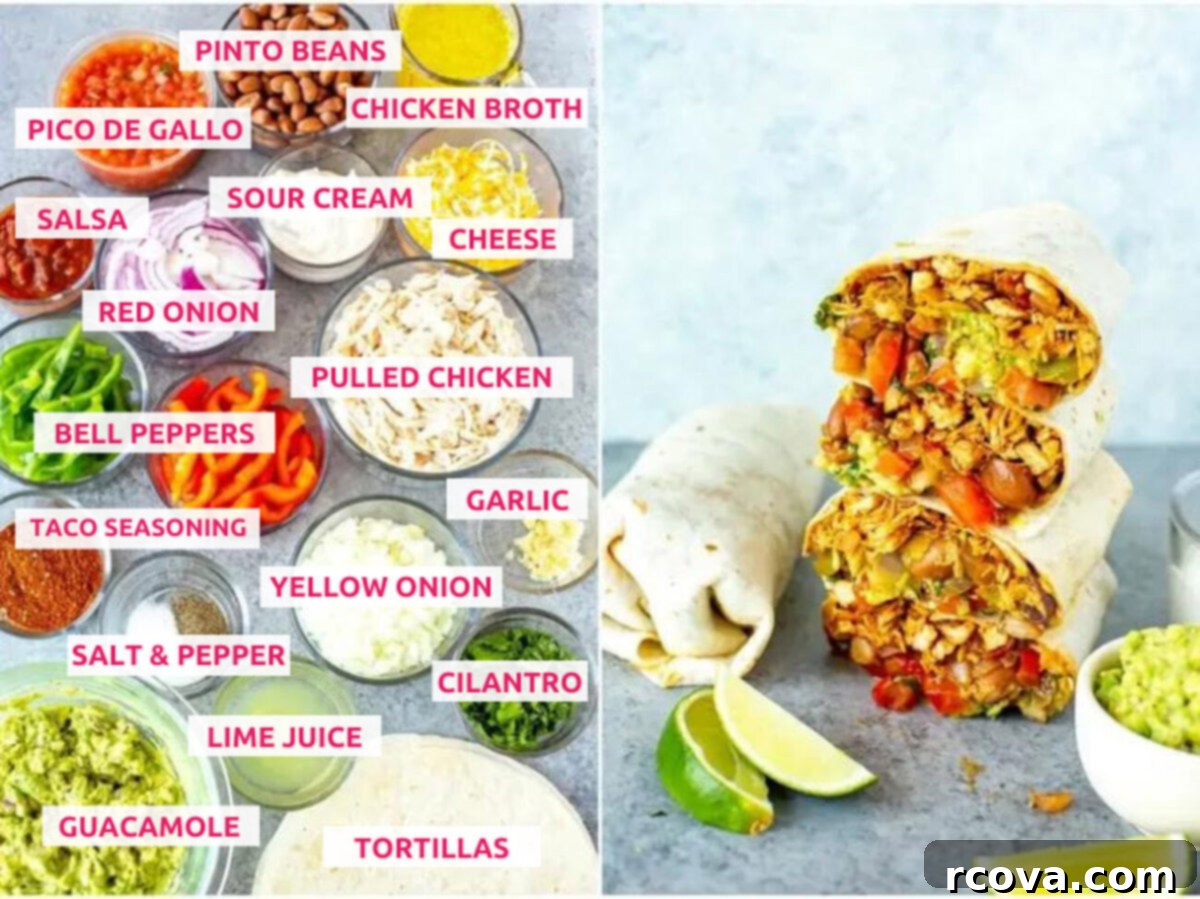
Creating the perfect chicken burrito starts with quality ingredients. Here’s a breakdown of what you’ll need and how you can adapt the recipe to suit your pantry or dietary preferences:
For the Flavorful Pulled Chicken
- Chicken Breasts: We recommend using boneless, skinless chicken breasts for this recipe as they shred beautifully and absorb flavors effectively. While chicken thighs could work, breasts provide the ideal texture for pulled chicken.
- Olive Oil: A foundational ingredient for sautéing. If olive oil isn’t on hand, any neutral cooking oil like avocado oil, canola oil, or even vegetable oil will do the trick without altering the flavor profile significantly.
- Yellow Onion: Adds a sweet and savory base to the chicken. White onion can be used as a direct substitute, or for a milder, more delicate flavor, consider using finely diced shallots.
- Garlic: Freshly minced garlic offers the most pungent and aromatic flavor, which is highly recommended. However, for convenience, pre-minced jarred garlic is an acceptable alternative in a pinch.
- Chicken Broth: Essential for tenderizing the chicken and creating a rich, saucy texture. Vegetable broth is an excellent vegetarian-friendly substitute that won’t compromise on moisture or flavor.
- Salsa: Use your favorite variety – whether it’s store-bought for convenience or a fresh homemade salsa for an extra burst of flavor. The quality and spice level of your salsa will directly impact the final taste of your chicken, so choose wisely!
- Taco Seasoning: This is where much of the Tex-Mex flavor comes from. You can use a store-bought packet or elevate your burritos with a homemade taco seasoning blend, which often offers a fresher, more customized spice profile.
- Lime Juice: Freshly squeezed lime juice brightens all the flavors and adds a zesty tang. Bottled lime juice is a convenient option, and lemon juice can also be used if you prefer.
For the Creamy Guacamole
- Avocados: The star of the show for a rich, creamy guacamole. To save time, don’t hesitate to use your favorite store-bought guacamole.
- Red Onion: Provides a sharp, fresh bite to the guacamole. White onion can be used for a slightly milder flavor, or green onions for a lighter touch.
- Lime Juice: Crucial for both flavor and preventing the avocados from browning. Lemon juice is a good alternative if lime isn’t available.
- Garlic: Freshly minced garlic is preferred, but for a quicker option, garlic powder can be incorporated. Adjust to your taste.
For the Perfectly Sautéed Veggies
- Olive Oil: Again, a good neutral cooking oil like avocado or canola oil can be swapped in here.
- Red and Green Bell Peppers: These add vibrant color, a slight sweetness, and a pleasant crunch. Feel free to substitute with other veggies like corn, zucchini, or even mushrooms for a different texture.
- Red Onion: Brings a beautiful color and sharp flavor when sautéed. White or yellow onion are perfectly fine substitutes.
For Assembling Your Burritos
- Flour Tortillas: Large, soft flour tortillas are ideal for wrapping. For a healthier or gluten-free option, consider whole-wheat tortillas or even large lettuce wraps for a low-carb alternative.
- Pinto Beans: These creamy beans are a staple in burritos. Black beans or refried beans (homemade or canned) make excellent substitutes, each offering a slightly different texture and flavor.
- Shredded Cheese: Choose your favorite! Cheddar, Monterey Jack, or a Tex-Mex blend are all excellent choices that melt beautifully and add a rich, gooey texture.
- Pico de Gallo: Adds a fresh, vibrant, and chunky tomato-based element. If you don’t have pico de gallo, a good quality salsa can be used in its place.
- Fresh Cilantro: Offers a burst of fresh, herbaceous flavor. If you’re not a fan of cilantro, simply omit it.
- Sour Cream: Provides a cool, creamy contrast to the warm, savory fillings. For a lighter option, use low-fat sour cream, Greek yogurt, or even a dairy-free alternative.
How to Craft Your Delicious Chicken Burritos: Step-by-Step Guide
Follow these simple steps to create perfectly assembled, incredibly delicious chicken burritos that you’ll want to make again and again!
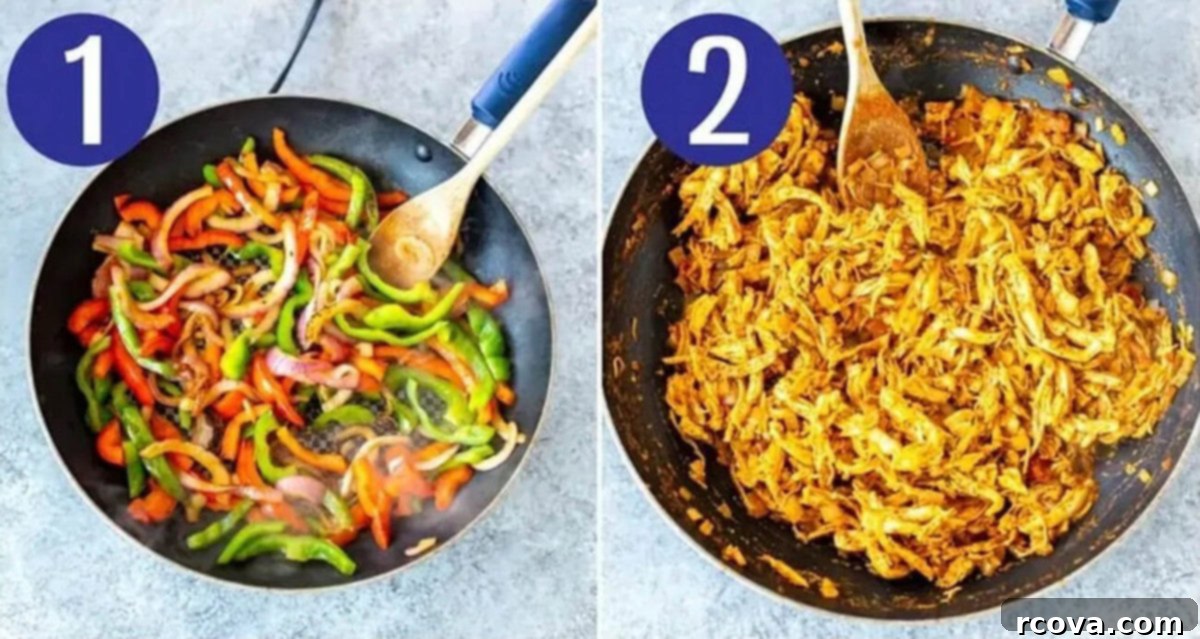
Step 1: Sauté the Flavorful Veggies
Begin by heating a tablespoon of olive oil in a large skillet or frying pan over medium-high heat. Once the oil is shimmering, add your sliced red and green bell peppers, along with the sliced red onion. Season generously with a pinch of salt and freshly ground black pepper. Sauté the vegetables for about 2-3 minutes, stirring frequently, until they become slightly tender-crisp and have a beautiful sizzle. You want them to retain a little bite, not become mushy. Remove from the heat and set aside.
Step 2: Prepare the Irresistible Shredded Chicken
To prepare the shredded chicken, start by boiling the chicken breasts in hot water for approximately 15 minutes, or until they are cooked through and easily shreddable with a fork. Once cooked, remove the chicken from the water and allow it to cool slightly before shredding. In the same skillet (after removing the sautéed veggies, or in a separate pan if preferred), heat another tablespoon of olive oil over medium heat. Add the diced yellow onion and minced garlic, sautéing for about 2 minutes until they become fragrant and translucent. Incorporate the shredded chicken into the pan, along with the chicken broth, salsa, and taco seasoning. Bring the mixture to a gentle boil, then reduce the heat to a slow simmer. Cook for about 5-7 minutes, stirring occasionally, until most of the liquid has been absorbed by the chicken, resulting in a rich, saucy, and incredibly flavorful filling.
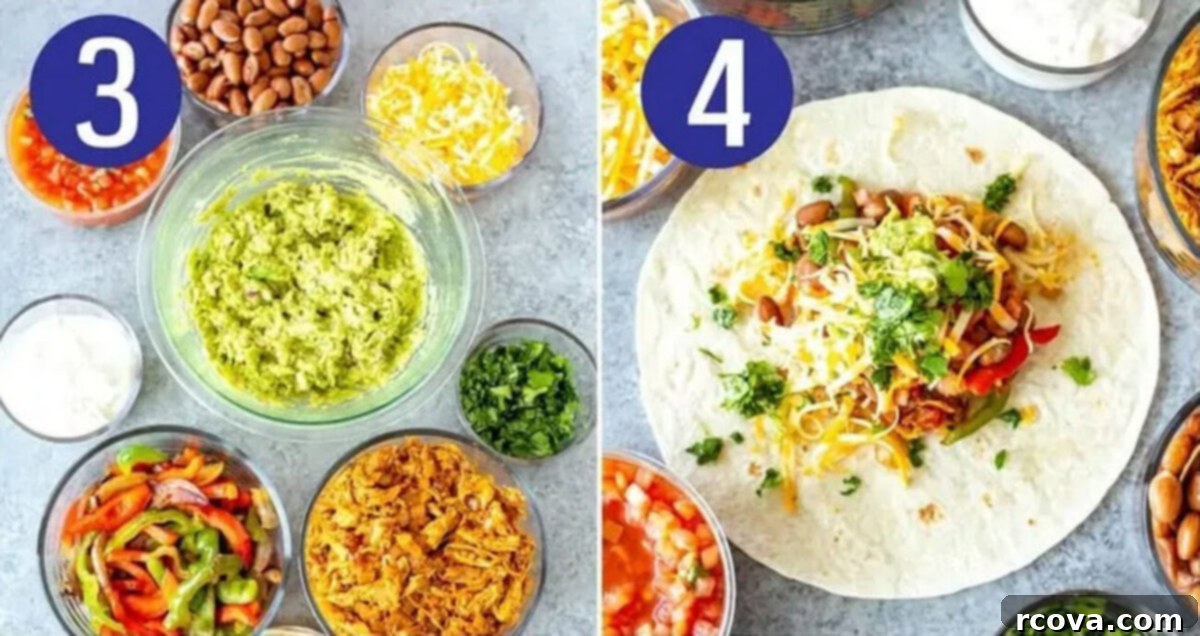
Step 3: Organize Your Delicious Toppings
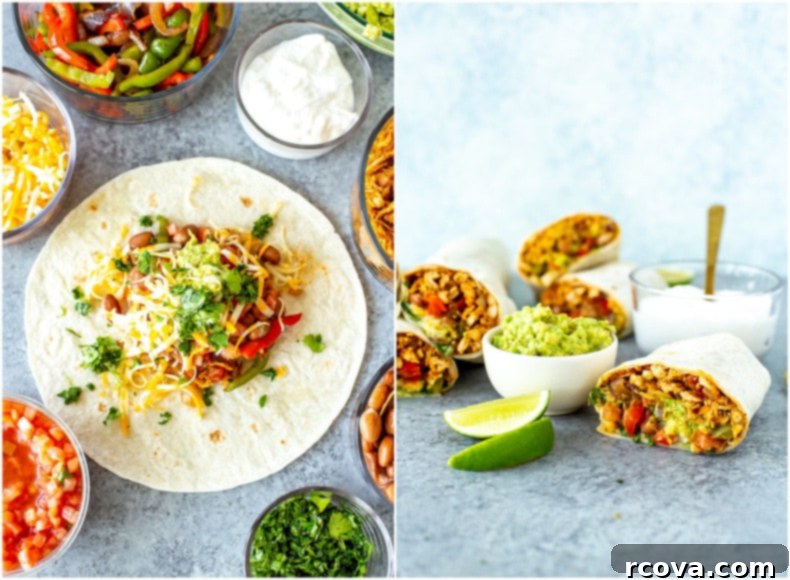
While the chicken is simmering, it’s the perfect time to get all your delicious toppings ready. Heat the rinsed and drained pinto beans in a small saucepan or microwave them briefly to warm them through (though they can also be added cold if preferred). Prepare your homemade guacamole by mashing the avocados and mixing them with finely chopped red onion, lime juice, minced garlic, and a dash of salt and pepper. Chop your fresh cilantro and grate your chosen cheese. Having all your components neatly arranged in a “burrito bar” makes assembly a breeze and allows everyone to customize their meal.
Step 4: Artfully Assemble Your Burritos
Lay out your warmed flour tortillas on a clean surface. Begin by adding a spoonful of the savory shredded chicken filling to the center of each tortilla, making sure not to overfill. Next, layer in a portion of the sautéed bell peppers and onions, followed by the warm pinto beans, shredded cheese, pico de gallo (or salsa), and a sprinkle of fresh cilantro. Remember to leave room at the edges for easy rolling.
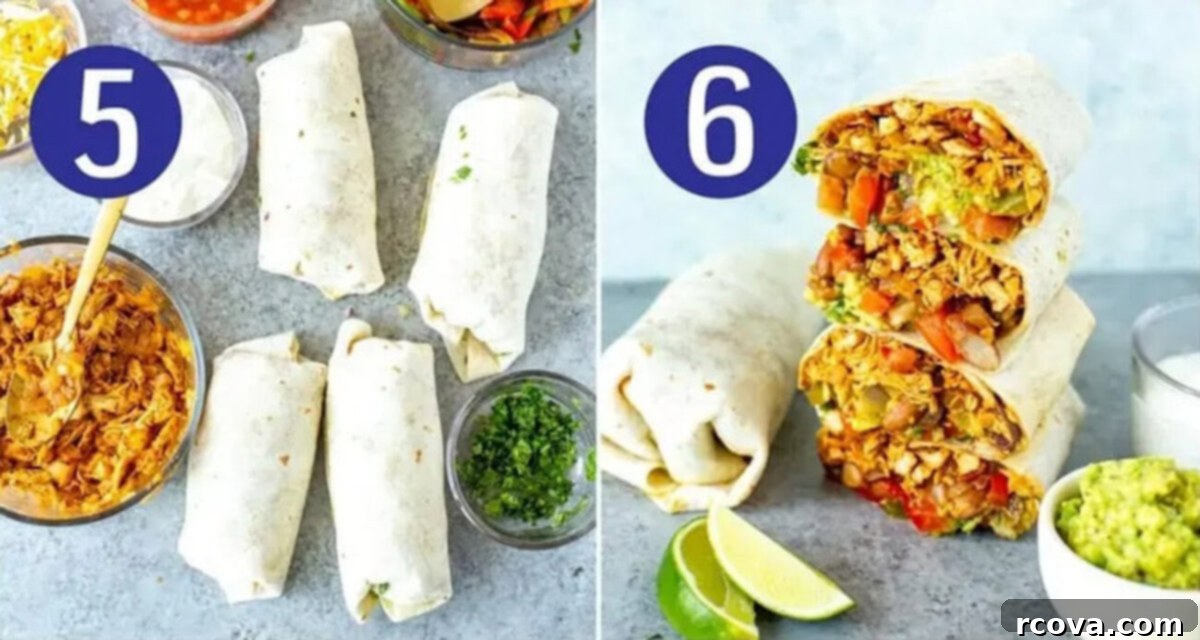
Step 5: Master the Burrito Roll
To roll a perfect burrito, start by folding in the opposite sides of the tortilla over the filling. Then, tightly fold the bottom edge up and over the filling, tucking it in firmly. Continue to roll the burrito upwards, keeping the sides tucked in, until you have a neat, compact wrap. A well-rolled burrito holds its shape and keeps all the delicious fillings secure.
Step 6: Optional – Fry for a Perfect Finish, Then Serve
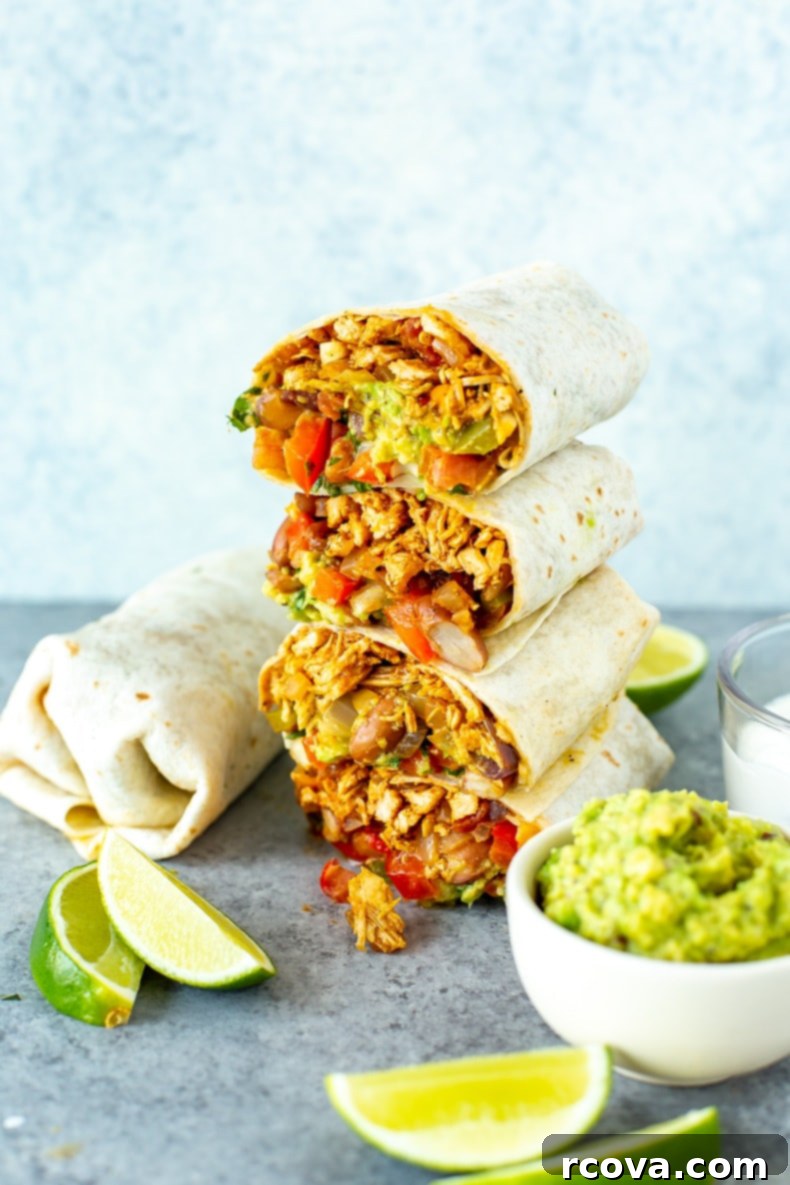
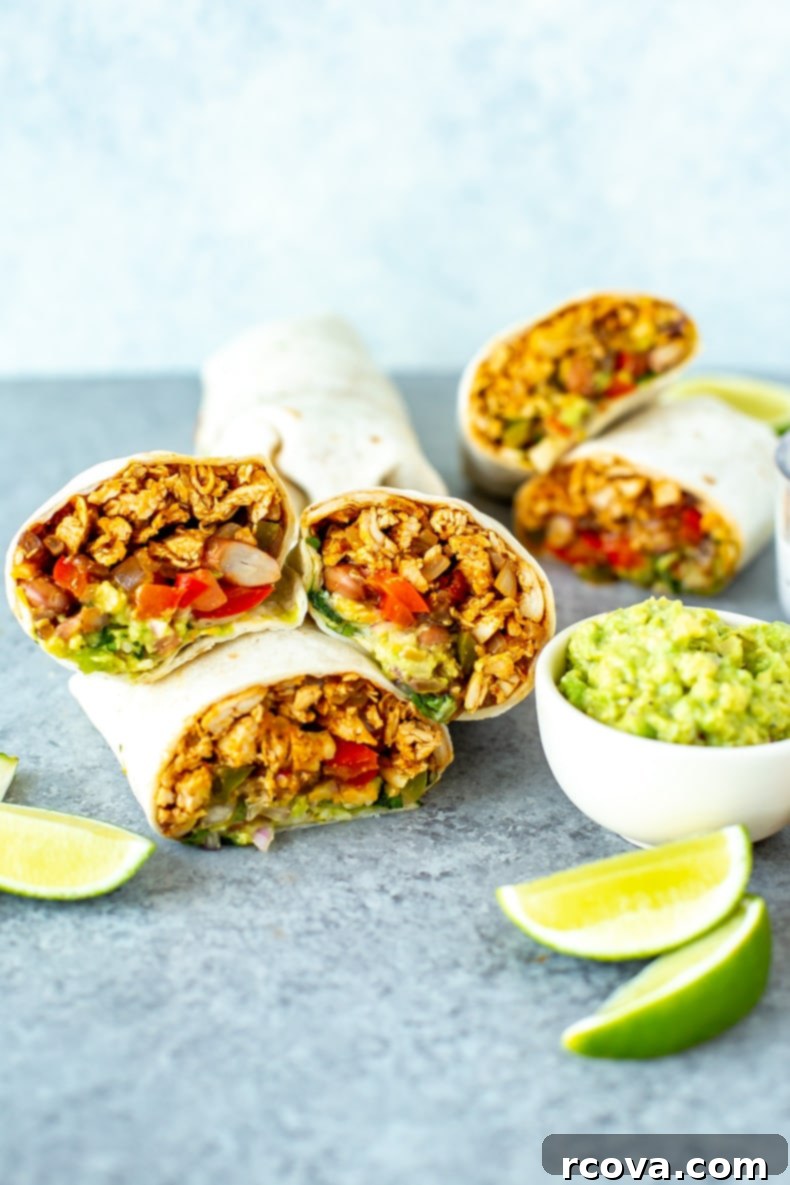
For an extra layer of flavor and to prevent your burritos from getting soggy, we highly recommend this optional step: fry the assembled burritos! Heat a clean skillet over medium-high heat (no additional oil needed if your pan is non-stick, or a tiny bit of cooking spray). Place each rolled burrito seam-side down in the hot pan and fry for 1-2 minutes per side, until the tortilla is golden brown and slightly crispy. This creates a beautifully toasted exterior and helps seal the burrito. Once fried, slice the burritos in half diagonally with a very sharp knife and serve immediately. Enjoy your homemade masterpiece!
Essential Recipe Tips for the Best Chicken Burritos
To elevate your chicken burrito experience and ensure every bite is perfect, keep these expert tips in mind:
- Always Warm Your Tortillas: This seemingly small step makes a huge difference! Warm tortillas are much more pliable and less likely to tear, making them significantly easier to wrap tightly around your delicious fillings. You can quickly microwave them for 15-30 seconds, or gently heat them in a dry skillet for a few seconds per side, or even wrap them in foil and warm them in the oven.
- Pre-Cook Your Fillings for Efficiency: To truly maximize your time, consider preparing the chicken filling ahead of schedule. Using an Instant Pot or a slow cooker for the shredded chicken can save you active cooking time, allowing the flavors to meld beautifully while you focus on other tasks. You can even prepare the sautéed veggies a day or two in advance.
- Strategic Freezing for Future Feasts: These burritos are built for freezing! For optimal results when freezing, remember to omit any fresh, water-heavy toppings that might become mushy or alter in texture when thawed, such as guacamole, pico de gallo, and sour cream. Add these fresh components just before serving after reheating. Properly wrapped, your frozen burritos will taste incredible for up to 3 months.
- Experiment with Exciting New Toppings: Don’t limit yourself to the suggested toppings! Burritos are all about personalization. Get creative and try incorporating different ingredients like fluffy Mexican rice, thinly sliced jalapeños for a kick, crisp shredded lettuce for added texture, or even creamy refried beans.
- Spice it Up (or Down!): Adjust the amount of taco seasoning and salsa to match your preferred spice level. For more heat, add a dash of cayenne pepper or a few drops of hot sauce to the chicken mixture. For milder burritos, use a mild salsa and reduce the seasoning.
Frequently Asked Questions About Chicken Burritos
Here are answers to some common questions to help you perfect your chicken burrito making:
What are the essential components of a traditional burrito?
A traditional burrito typically features a hearty meat filling, often seasoned beef or chicken, along with staple ingredients like beans, rice, cheese, and a flavorful sauce or guacamole, all tightly wrapped in a large flour tortilla. The beauty of burritos, however, lies in their adaptability. While I’ve chosen to omit rice in this recipe to help manage calorie count, you are absolutely encouraged to add it if you desire a more classic, filling experience. Other popular additions include corn, shredded lettuce, diced tomatoes, sour cream, and various salsas. Feel free to mix and match to create your perfect combination!
Can I use alternative proteins in this burrito recipe?
Absolutely! While this recipe highlights the deliciousness of pulled chicken, its versatile flavor profile makes it suitable for a wide range of proteins. You can easily substitute the chicken with savory ground beef, tender steak, or succulent pulled pork. When using these alternatives, ensure they are cooked and seasoned appropriately to maintain the delicious Tex-Mex flavor. If you’re looking to create vegetarian burritos, simply omit the pulled chicken entirely and boost the bean content with extra black beans or pinto beans, or consider adding seasoned tofu or tempeh for a plant-based protein punch.
What’s the most efficient way to shred chicken for burritos?
For me, the simplest and most effective method for shredding chicken is using a good old-fashioned fork and knife. Once the chicken is cooked through and slightly cooled, place it on a cutting board. Hold the chicken firmly with a fork and use another fork (or a knife) to pull and separate the meat into desired shreds. For a quicker, hands-off approach, you can also use a hand mixer or stand mixer. Place the cooked chicken breasts (while still warm) in a large bowl and use the mixer on low speed. The paddles will quickly shred the chicken to perfection in seconds!
How do you recommend serving these delightful burritos?
These chicken burritos are fantastic on their own, but serving them with a few accompaniments can truly elevate the meal. I personally love to offer extra guacamole or salsa on the side for dipping, adding an interactive and fresh element to each bite. You could also serve them alongside a crisp side salad, a bowl of tortilla chips with an array of dips, or even a side of cilantro-lime rice. For additional creamy indulgence, consider a homemade nacho cheese sauce or a zesty burrito sauce. Don’t forget a refreshing beverage to complete your meal!
Make Ahead and Storing Instructions
One of the greatest advantages of this chicken burrito recipe is its fantastic make-ahead and freezer-friendly capabilities. Here’s how to ensure your burritos are always ready when you are:
Make Ahead Prep: To save significant time on the day you plan to eat, you can prepare several components in advance. The veggies can be fried and the chicken cooked up to 5 days beforehand. Similarly, any other toppings that don’t spoil quickly, like grated cheese or chopped cilantro (stored separately), can be prepped. Store all these components in airtight containers in the refrigerator.
Storing Assembled Burritos (Short-Term): If you plan to enjoy your burritos within a few days, assemble them as normal but intentionally leave out fresh, high-moisture ingredients like guacamole, pico de gallo, and sour cream. These are best added fresh just before serving. Wrap the assembled burritos tightly in aluminum foil or plastic wrap to prevent air exposure and store them in the refrigerator for 2-3 days. This method keeps the fillings fresh and the tortillas from getting soggy.
Reheating Refrigerated Burritos: To reheat refrigerated burritos, you have a couple of options. For the chicken and veggies (if stored separately), simply warm them in a skillet over medium heat for 1-2 minutes, or microwave them. If using a skillet, a sprinkle of water can help prevent the chicken from drying out. For pre-assembled burritos, heat them in a skillet over medium heat for 1-2 minutes per side until warmed through and the tortilla is lightly toasted. Alternatively, microwave wrapped in a damp paper towel for 60-90 seconds.
Freezing Instructions (Long-Term Meal Prep): This is where the recipe truly shines for meal prep!
- Assemble Strategically: Assemble your burritos as usual, but – and this is crucial for freezing success – completely omit the guacamole, pico de gallo, and sour cream. These toppings tend to not freeze and thaw well, impacting texture and flavor.
- Wrap Tightly: Once assembled, individually wrap each burrito tightly. You can use aluminum foil, plastic wrap, or a combination of both for maximum protection against freezer burn. Ensure there are no exposed areas.
- Freeze Properly: Place the individually wrapped burritos in a large, freezer-safe Ziploc bag or an airtight container. This provides an additional layer of protection and helps organize your freezer. They can be safely frozen for up to 3 months.
- Reheat from Frozen: To reheat a frozen burrito, remove it from the Ziploc bag but keep it wrapped in foil or plastic wrap (if plastic wrap is microwave-safe, otherwise remove it and re-wrap in damp paper towel). Microwave it for 5-7 minutes, flipping halfway through, until heated through. For a deliciously crispy exterior, after microwaving, remove the wrapping and toast the burrito in a skillet with a little cooking spray for 2 minutes per side. This step will bring back that fresh-made texture and prevent any sogginess.
More Irresistible Burrito and Wrap Recipes
Craving more wrap-based delights? Explore these other fantastic recipes that are perfect for quick meals, lunches, and meal prep!
-
Meal Prep Breakfast Burritos
-
Southwest Chicken Wrap
-
Chicken Quesadilla Recipe {Best Ever!!!}
Essential Meal Prep Tools for Burrito Perfection
- Ensure your leftovers stay fresh and organized with durable square glass meal prep bowls. They’re perfect for separating ingredients or storing individual burritos.
- For the highest quality protein, I always source my free-range chicken breasts from Butcher Box. Their commitment to ethical sourcing and exceptional taste makes all the difference in recipes like this one!
Easy Chicken Burrito Recipe
Print
Pin
SEND ME MY PLAN
Ingredients
Pulled Chicken
- 1 lb chicken breasts
- 1 tbsp olive oil
- 1 yellow onion diced
- 2 cloves garlic minced
- 1 cup chicken broth
- 1/3 cup salsa
- 2 tbsp taco seasoning
- 1 tbsp lime juice
- salt & pepper, to taste
Guacamole: Mash avocado & mix all ingredients together
- 2 avocados mashed
- 1 small red onion finely chopped
- 1 tbsp lime juice
- 1 clove garlic, minced
- 1/2 tsp each salt & pepper
Sauteed veggies
- 1 tbsp olive oil
- 1 red pepper sliced
- 1 green pepper sliced
- 1 red onion sliced
- Salt & pepper, to taste
Burritos
- 6 flour tortillas
- 1 can pinto beans, rinsed and drained
- 1 cup shredded cheese of your choice
- pico de gallo or salsa
- cilantro chopped
- sour cream
Instructions
Pulled chicken
-
Boil chicken breasts in hot water for approximately 15 minutes, or until they are fully cooked through and easily shreddable. Once cooked, remove the chicken and let it cool slightly before shredding it using forks or a hand mixer.
-
In a large pan, heat olive oil over medium heat. Add the diced yellow onion and minced garlic, sautéing for about 2 minutes until fragrant. Stir in the shredded chicken, chicken broth, salsa, taco seasoning, and lime juice. Bring the mixture to a boil, then reduce heat to a slow simmer and cook for 5-7 minutes until most of the liquid has been absorbed into the chicken, creating a rich and flavorful filling. Season with salt and pepper to taste.
Sauteed veggies
-
Heat olive oil in a large pan over high heat until it begins to shimmer or lightly smoke. Add the sliced red and green bell peppers and red onion. Season with salt and pepper. Sauté for about 2 minutes, stirring frequently, until the vegetables are sizzling and tender-crisp. Remove from heat and set aside.
Assembling the burritos
-
While your chicken and veggies are cooking, heat the rinsed and drained pinto beans in a saucepan (or serve them cold if preferred). Prepare the guacamole by mashing avocados and mixing with finely chopped red onion, lime juice, minced garlic, salt, and pepper. Chop fresh cilantro and grate the cheese.
-
Once all components are ready, set up an assembly line with your warm flour tortillas. Place a small amount of the shredded chicken, sautéed veggies, pinto beans, shredded cheese, pico de gallo (or salsa), and chopped cilantro in the middle of each tortilla. Be careful not to overfill.
-
To roll, fold the two opposite sides of the tortilla inward over the filling, then tightly fold the bottom edge up and over, tucking it snugly under the ingredients. Continue to roll upwards to form a compact, secure wrap.
-
(Optional) For a golden, non-soggy burrito, fry it on all sides in a dry pan over medium-high heat for 1-2 minutes per side until lightly toasted. Serve immediately, cut in half diagonally with a sharp knife, and enjoy with a dollop of sour cream.
Freezing and reheating instructions
-
To freeze, prepare burritos as usual but omit fresh toppings like guacamole, pico de gallo/salsa, and sour cream. Wrap each tightly in aluminum foil or plastic wrap and store in a large freezer bag for up to 4 months. To reheat from frozen, wrap the burrito in a damp paper towel and microwave for 5-7 minutes. For a crispy finish, unwrap and toast in a skillet with a little cooking spray for 2 minutes per side.
Video
Notes
To make meal prep even faster, consider preparing your chicken filling in an Instant Pot or a slow cooker. This method allows you to cook a large batch of flavorful shredded chicken with minimal effort.
All individual burrito components can be stored in airtight containers in the fridge for up to 5 days, making assembly incredibly quick on demand. Simply reheat the chicken and sautéed veggies in a skillet before building your fresh burrito.
For freezer-friendly burritos, assemble without guacamole, pico de gallo, or sour cream. Wrap each burrito tightly in foil or plastic wrap, then place in a large freezer bag. Freeze for up to 3 months.
Nutrition
