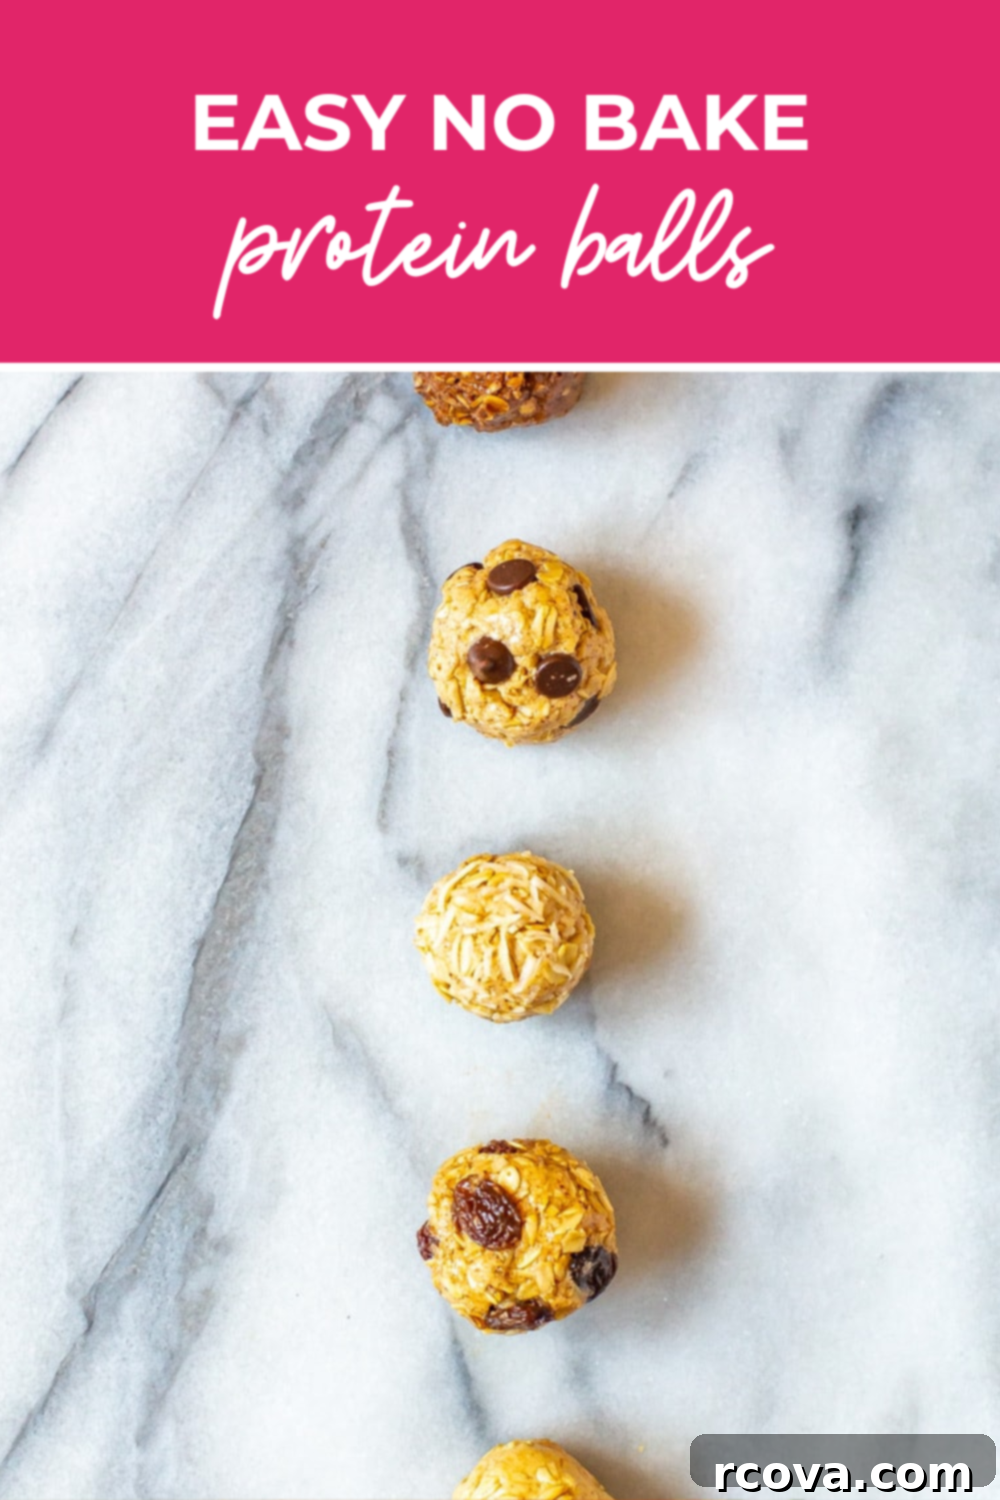
Easy No-Bake Protein Balls: Your Ultimate Guide to Healthy, Customizable Energy Bites
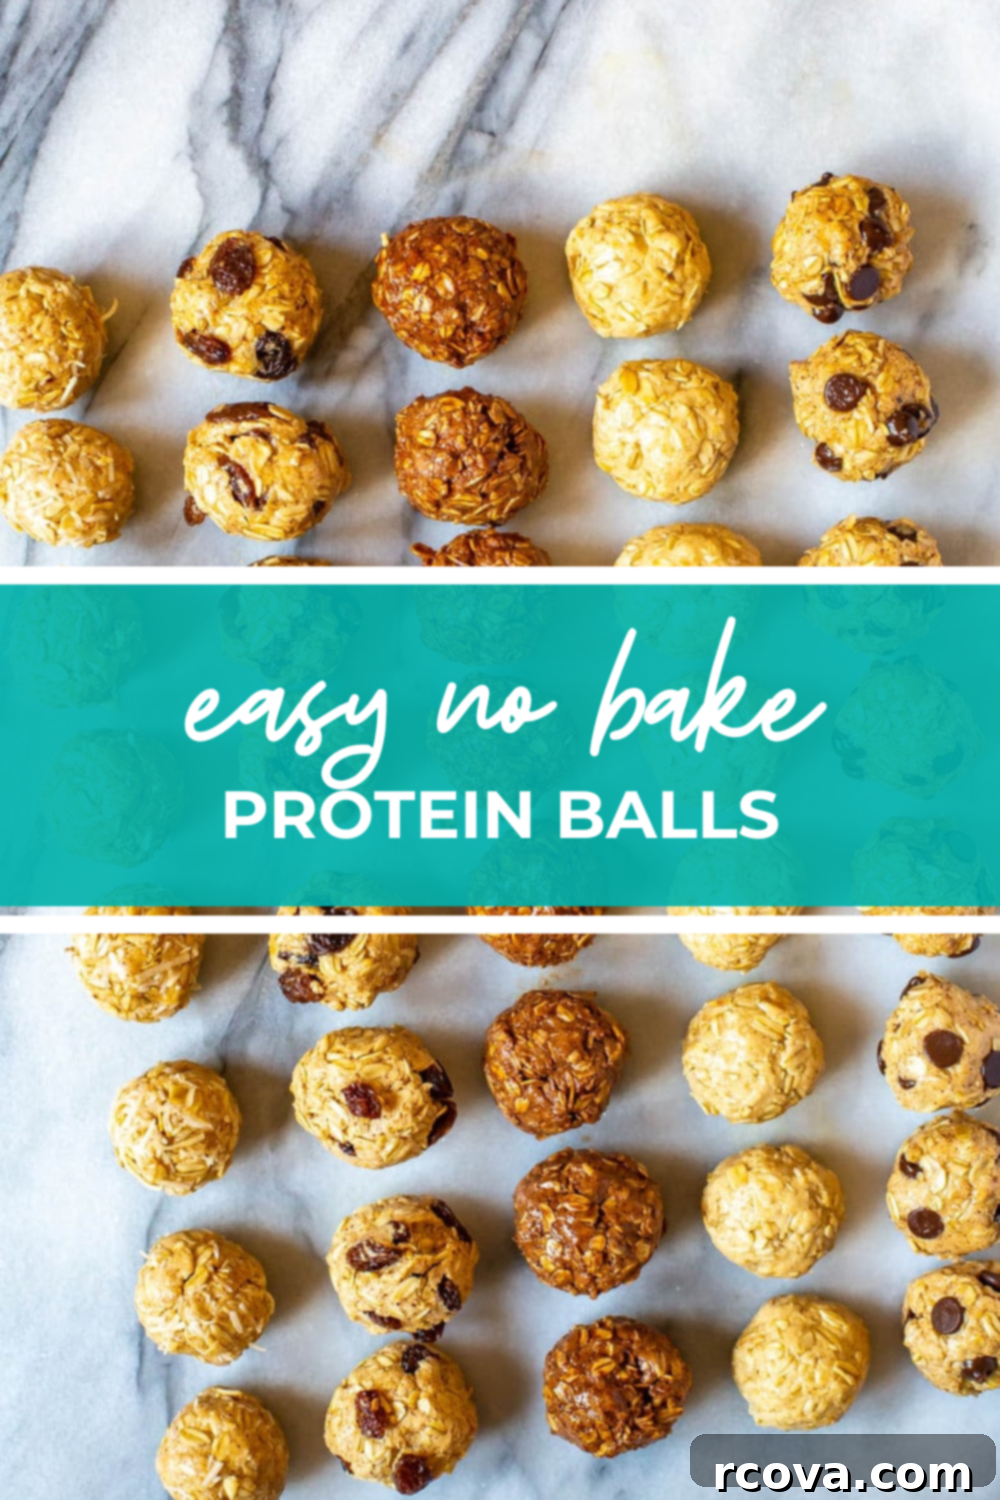
These are the absolute easiest No Bake Protein Balls you can make! These versatile energy bites are perfect for meal prepping, offering a nutritious and satisfying snack that’s also incredibly freezer-friendly. Whether you need a quick boost on the go or a wholesome post-workout treat, these protein balls are your ideal solution.
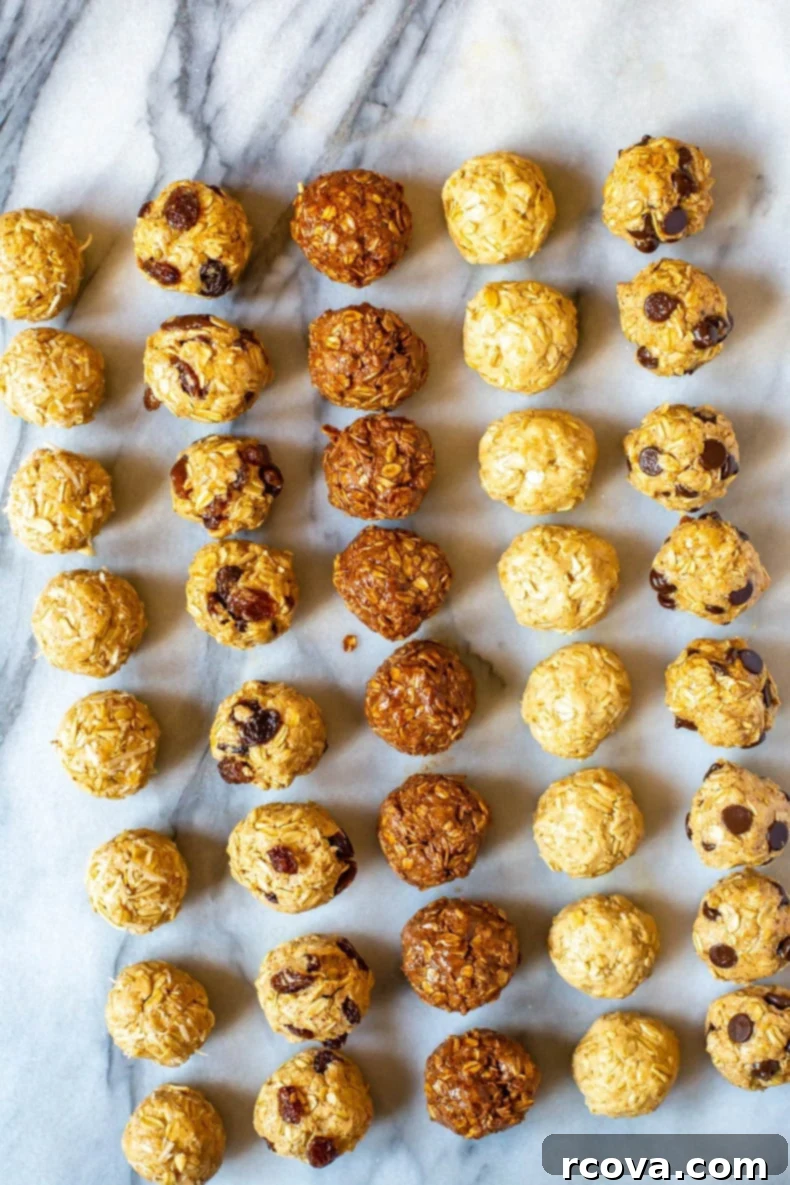
I absolutely love preparing a large batch of these delicious protein balls to have readily available. They are a game-changer for busy days when you need a nutritious snack to grab as you head out the door or to refuel after an intense workout. Crafted with wholesome, real food ingredients, I feel much better about eating these homemade treats compared to many of the highly processed, store-bought protein bars. Plus, making them at home gives you complete control over the ingredients, ensuring you avoid unwanted additives and artificial sweeteners.
Why You’ll Fall in Love with These No-Bake Protein Balls
- Healthy and Wholesome Snack: Bid farewell to those mid-day hunger pangs! These protein balls are designed to be a high-protein, fiber-rich snack that keeps you feeling full and satisfied. Packed with essential nutrients, they help stabilize blood sugar levels, preventing energy crashes and curbing unhealthy cravings.
- Effortless to Make (No Baking Required!): Forget about heating up your kitchen! This recipe is incredibly simple, requiring no oven whatsoever. Just mix, roll, and chill. They’re perfect for beginner cooks or anyone looking for a quick and easy snack solution. The no-bake aspect also makes them a fantastic option for warmer months or when you just don’t have time for complex cooking.
- Infinitely Customizable: The beauty of these protein balls lies in their versatility. The base recipe provides a perfect canvas for your creativity. You can effortlessly adapt them to suit your taste preferences, dietary needs, or whatever ingredients you have on hand. Whether you’re a fan of classic chocolate chips, crave the sweetness of raisins, or want to experiment with different nuts and seeds, the possibilities are endless!
- Freezer-Friendly for Ultimate Convenience: Preparing a large batch means you’ll always have a healthy snack ready to go. These protein balls freeze beautifully, making them an ideal choice for meal prepping. Simply pull them out of the freezer, let them thaw slightly, and enjoy. This makes healthy eating effortless, even on your busiest days.
FREE Budget-Friendly Meal Plan!
Save thousands of dollars on food every year with my free budget-friendly meal plan ebook.
Essential Ingredients and Smart Substitutions
The beauty of these protein balls lies in their simplicity and the ease with which you can adapt them. Here’s a breakdown of the core ingredients and how you can customize them:
-
Rolled Oats: These provide the primary bulk and a good source of fiber, helping with satiety.
- Substitution: Quick oats or large flake oats can also be used. Quick oats will result in a slightly smoother texture, while large flake oats will add a bit more chewiness.
-
Vanilla Whey Protein Powder: The key protein source, adding flavor and structure.
- Substitution: Unflavored whey protein powder works wonderfully if you prefer to control the flavor profile entirely. Important Note: It’s crucial to use whey protein for this recipe. Plant-based protein powders tend to absorb liquids differently and often result in a dry, crumbly texture that won’t hold together properly.
-
Honey: A natural sweetener that also acts as a binding agent, helping the balls hold their shape.
- Substitution: Maple syrup, agave nectar, or even a stevia-based liquid sweetener (adjusting quantity carefully) are all excellent alternatives for varying sweetness or for a vegan option.
-
Coconut Oil: Contributes to the texture and helps bind the ingredients, while also adding healthy fats.
- Substitution: Any neutral-flavored cooking oil, such as avocado oil or melted butter, can be used. Ensure it’s in liquid form when mixing.
-
Nut Butter: Adds creaminess, flavor, healthy fats, and acts as a binder.
- Substitution: Almond butter is a popular choice for its mild flavor, but cashew butter offers a very neutral taste that lets other flavors shine. Peanut butter is a classic and makes a delicious, more pronounced flavor. For nut-free options, use sunflower seed butter.
-
Creative Add-ins: This is where the magic of customization truly comes in!
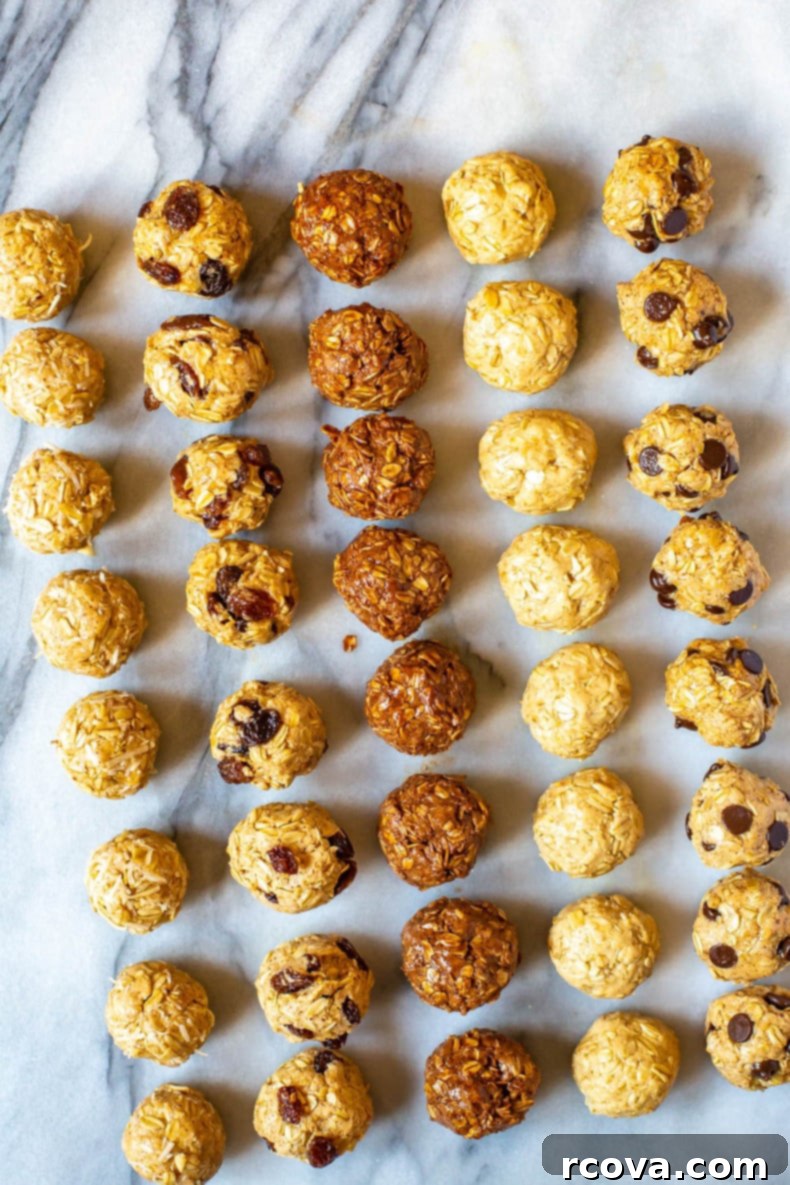
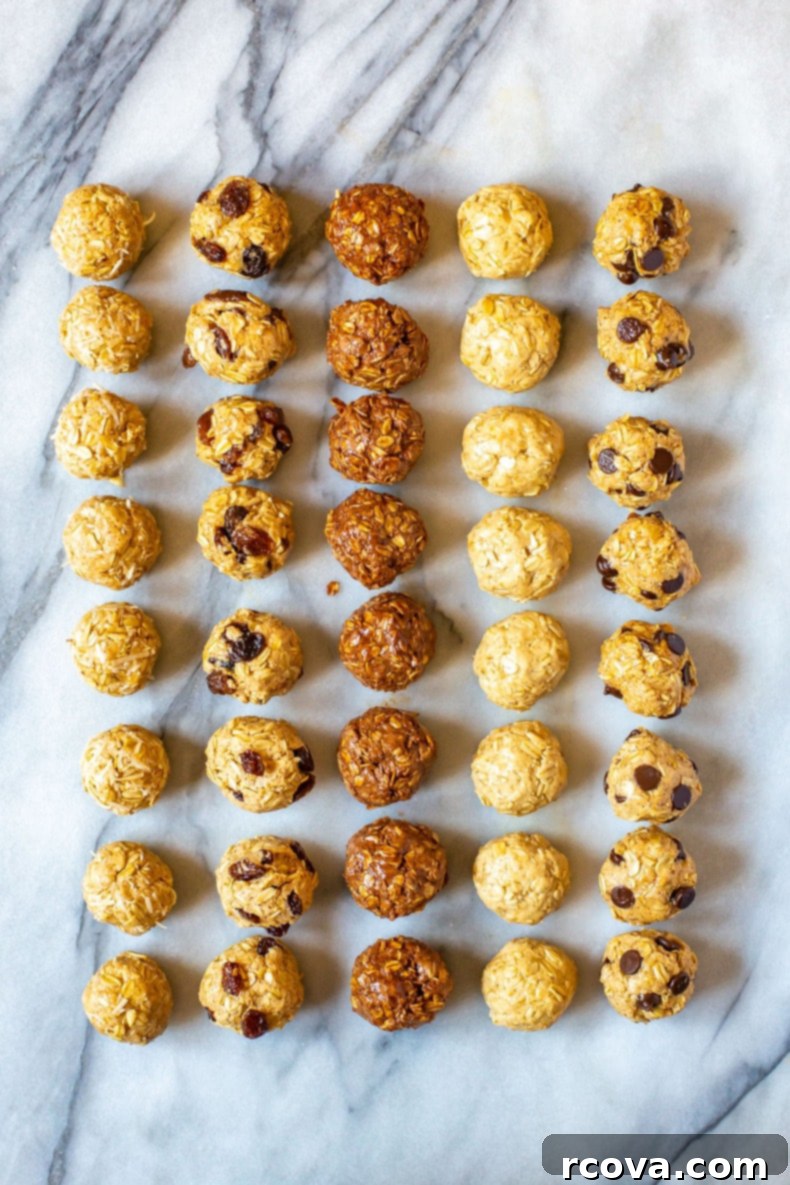
- Ideas: Shredded coconut for a tropical twist, mini chocolate chips for a sweet indulgence, raisins for chewy sweetness (especially in an “oatmeal raisin” variation), dried cranberries, chopped nuts, seeds (chia, flax, hemp) for an extra nutritional boost, or even a sprinkle of cocoa powder for a rich, chocolatey flavor.
Step-by-Step Guide: How to Craft Your Own Protein Balls
Making these no-bake protein balls is incredibly straightforward. Follow these simple steps for perfect results every time:
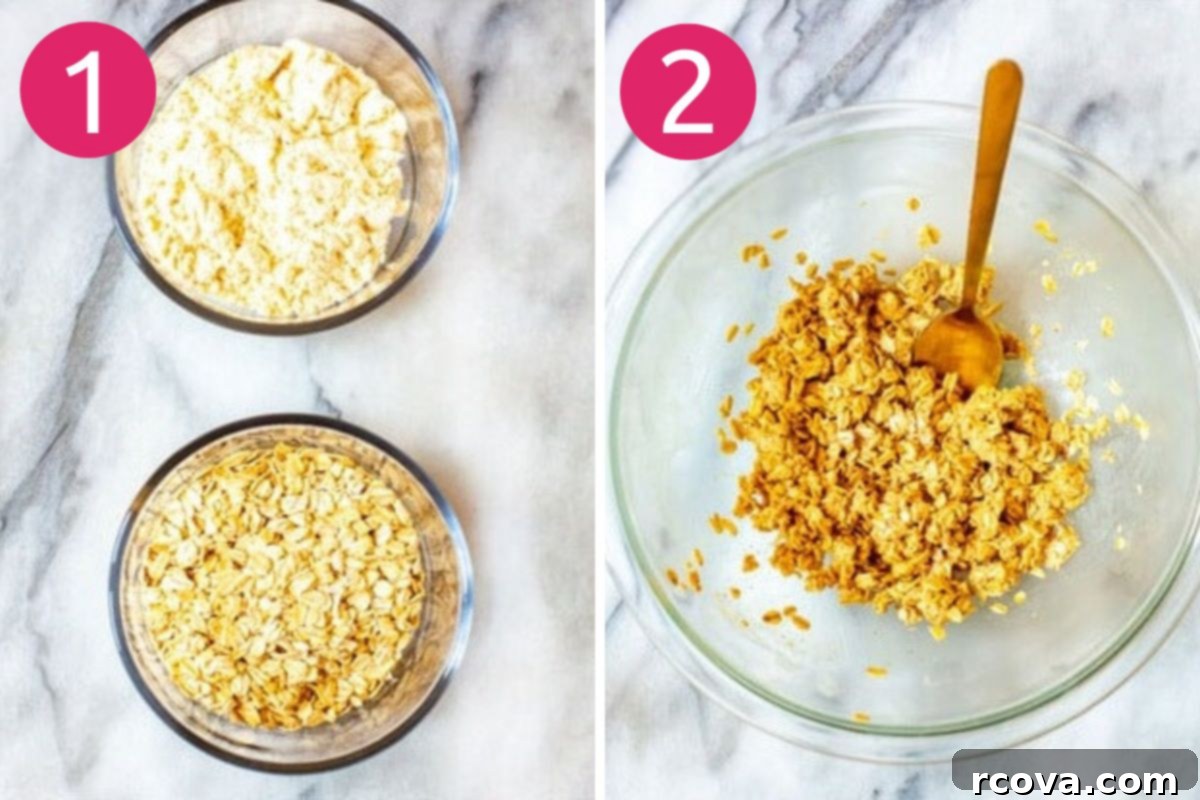
Step 1: Combine the Dry Ingredients.
In a large mixing bowl, thoroughly combine your rolled oats and vanilla whey protein powder. Whisk them together until evenly distributed. This ensures that the protein powder doesn’t clump when the wet ingredients are added, leading to a consistent texture throughout your protein balls.
Step 2: Add the Wet Ingredients.
In a separate, microwave-safe bowl, combine the honey, coconut oil, and your chosen nut butter. Microwave this mixture for approximately 30-40 seconds, or until it’s just melted and easily stirrable. This creates a warm, pliable base that will effectively bind the dry ingredients. Once melted, pour the wet mixture into the bowl with the dry ingredients and fold until everything is well combined and a sticky, uniform dough forms.
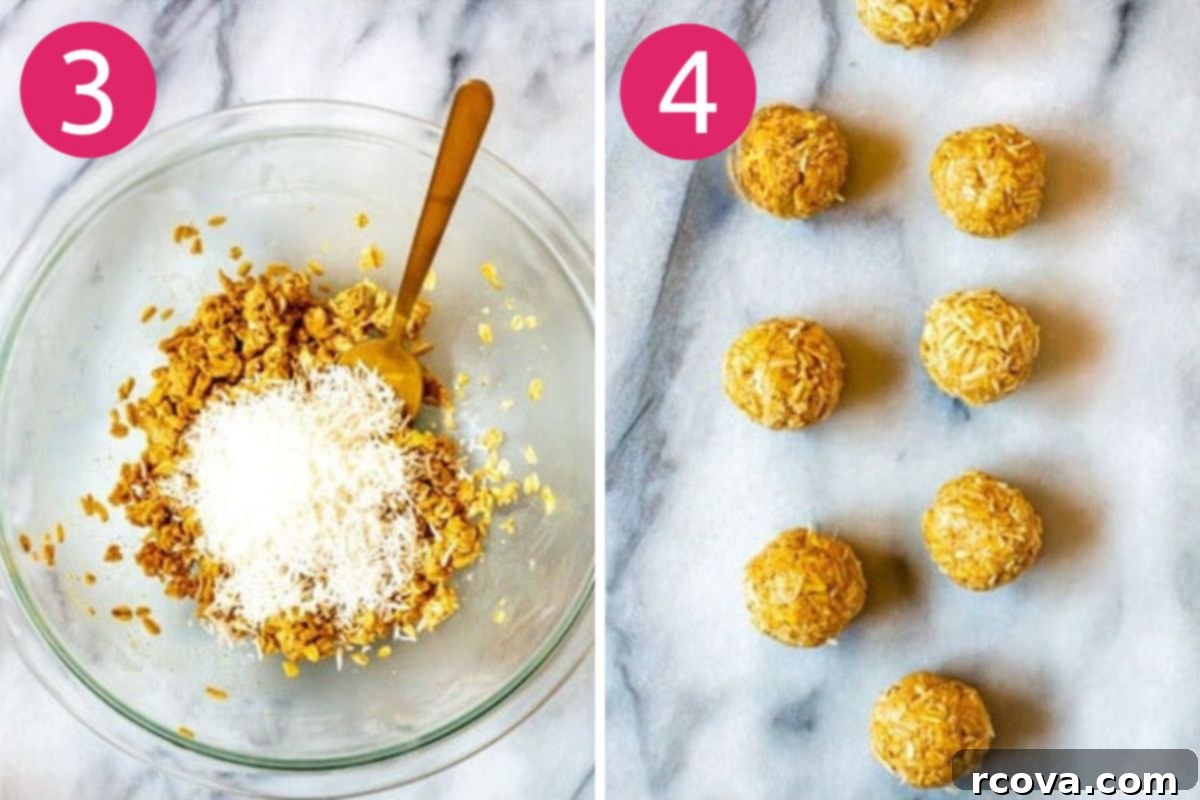
Step 3: Integrate Any Mix-Ins.
Now comes the fun part! Gently fold in your preferred add-ins. This could be shredded coconut, mini chocolate chips, raisins, dried fruit, or any other flavor enhancer you desire. Mix until the add-ins are evenly distributed throughout the dough, ensuring every protein ball gets a burst of flavor.
Step 4: Roll into Balls and Chill.
Take small portions of the mixture and roll them between your palms to form uniform, 1-inch balls. Place the rolled balls onto a baking tray or a large dish lined with parchment paper. Once all balls are formed, transfer the tray to the refrigerator and chill for a minimum of 30 minutes. This chilling period is crucial as it helps the coconut oil and nut butter solidify, setting the shape and firming up the protein balls for the perfect grab-and-go texture.
Recipe Tips & Tricks for the Best Protein Balls
To ensure your protein balls are consistently perfect and packed with flavor, here are some of my top tips and tricks:
- Utilize a Cookie Scoop: For perfectly uniform protein balls, a small cookie scoop is your best friend. It not only ensures consistent sizing, which is great for even portions and appearance, but also makes the rolling process much quicker and less messy.
- Dampen Your Hands: If you find the dough too sticky and difficult to handle, lightly dampen your hands with a little water before rolling. This simple trick will prevent the mixture from adhering to your palms and make the process smoother.
- Experiment with Spices: Don’t limit yourself to just the base flavors. Add a pinch of warming spices like pumpkin pie spice, cinnamon, or even a touch of ginger for an exciting flavor dimension, especially during colder months. A tiny bit of salt can also enhance sweetness!
- Transform into Bars: If rolling individual balls seems like too much work, you can easily turn this recipe into protein bars. Simply press the mixture evenly into a parchment-lined square baking pan. Chill until firm, then slice into convenient bars.
- Adjust Consistency as Needed: The ideal consistency is sticky enough to hold together but not overly greasy or crumbly. If your mixture is too dry, add a tiny bit more honey or melted coconut oil. If it’s too wet, a tablespoon of extra oats or protein powder can help.
Frequently Asked Questions About Protein Balls
How many protein balls can I safely eat in a day?
As with any snack, moderation is key. While these protein balls are packed with nutrients, they also contain calories. One or two per day is generally a good guideline to enjoy them as part of a balanced diet without overdoing it. Adjust based on your individual caloric and protein needs.
Why are my protein balls falling apart or too crumbly?
If your protein balls are dry, crumbly, and not holding their shape, it usually means there isn’t enough moisture or binder. The most common solution is to add a little more wet ingredients. Try incorporating an extra tablespoon of honey, melted coconut oil, or your chosen nut butter until the mixture reaches a sticky consistency that can be easily rolled.
What’s the best type of protein powder to use for this recipe?
I highly recommend using vanilla or unflavored whey protein powder for these no-bake protein balls. Whey protein provides excellent binding properties and a smooth texture. This is the one I personally use if you’re looking for a clean and effective option. Please note, you really do need to use whey protein for this recipe. Plant-based protein powders, while healthy, often have different absorption rates and can make the mixture too dry and crumbly, preventing the balls from holding their form. They simply don’t offer the same binding qualities in a no-bake context.
Storage and Freezing Tips for Maximum Freshness
Proper storage is essential to keep your protein balls fresh and delicious for longer. These tips will help you maximize their shelf life:
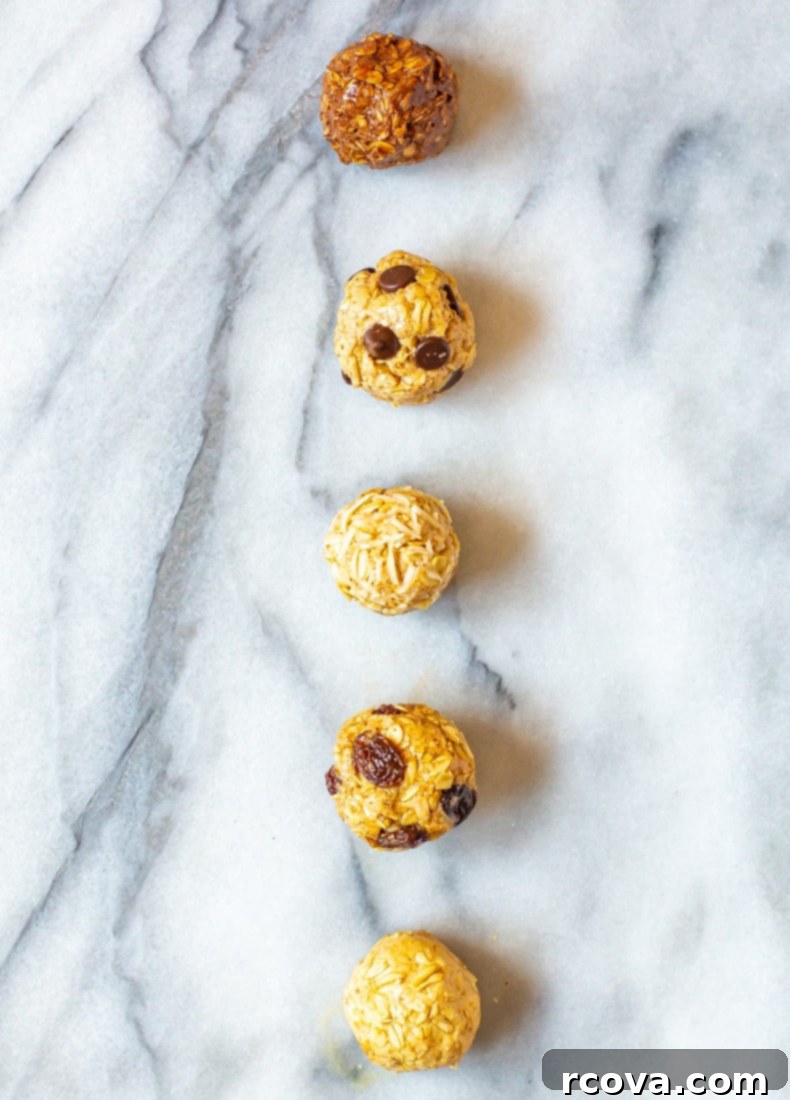
Storing in the Refrigerator: Once chilled and firm, transfer your protein balls to an airtight container. They will stay fresh and delicious in the fridge for up to 2 weeks. You can enjoy them straight from the refrigerator for a firm texture or allow them to come to room temperature on the counter for a few minutes if you prefer a slightly softer bite.
Freezing for Long-Term Storage: For the longest shelf life, these protein balls are excellent for freezing. Place them in a single layer on a parchment-lined baking sheet and freeze for about an hour, or until firm. Then, transfer the frozen balls to reusable freezer bags or an airtight container. They can be stored in the freezer for up to 3 months. To enjoy, simply defrost them in the refrigerator overnight or for a few hours at room temperature. This is truly the best way to ensure you always have a healthy snack on hand!
More High-Protein Snacks You’ll Love
Looking for more healthy ways to boost your protein intake? Explore these other delicious and easy recipes:
-
3-Ingredient Peanut Butter Protein Balls
-
Best Protein Shake Recipes {5 Flavors}
Recommended Meal Prep Tools
Having the right tools can make your meal prepping experience even smoother. Here are a few items I recommend for making and storing your protein balls:
- Grab some durable glass meal prep bowls to store these delicious protein balls in your fridge. They’re great for keeping snacks fresh and are environmentally friendly.
- For freezing, these protein balls can be stored efficiently in reusable freezer bags for up to 3 months, making them perfect for long-term meal prep.
- If you’re looking for a reliable and clean whey protein powder that works perfectly in this recipe, this is the brand I use and highly recommend.
Easy No Bake Protein Balls {5 Flavors}
Print
Pin
Rate
SEND ME MY PLAN
Ingredients
Base Ingredients (for all 5 variations):
- 2 cups rolled oats
- 1 1/3 cup vanilla whey protein powder
- 1/4 cup honey
- 1/4 cup coconut oil (melted)
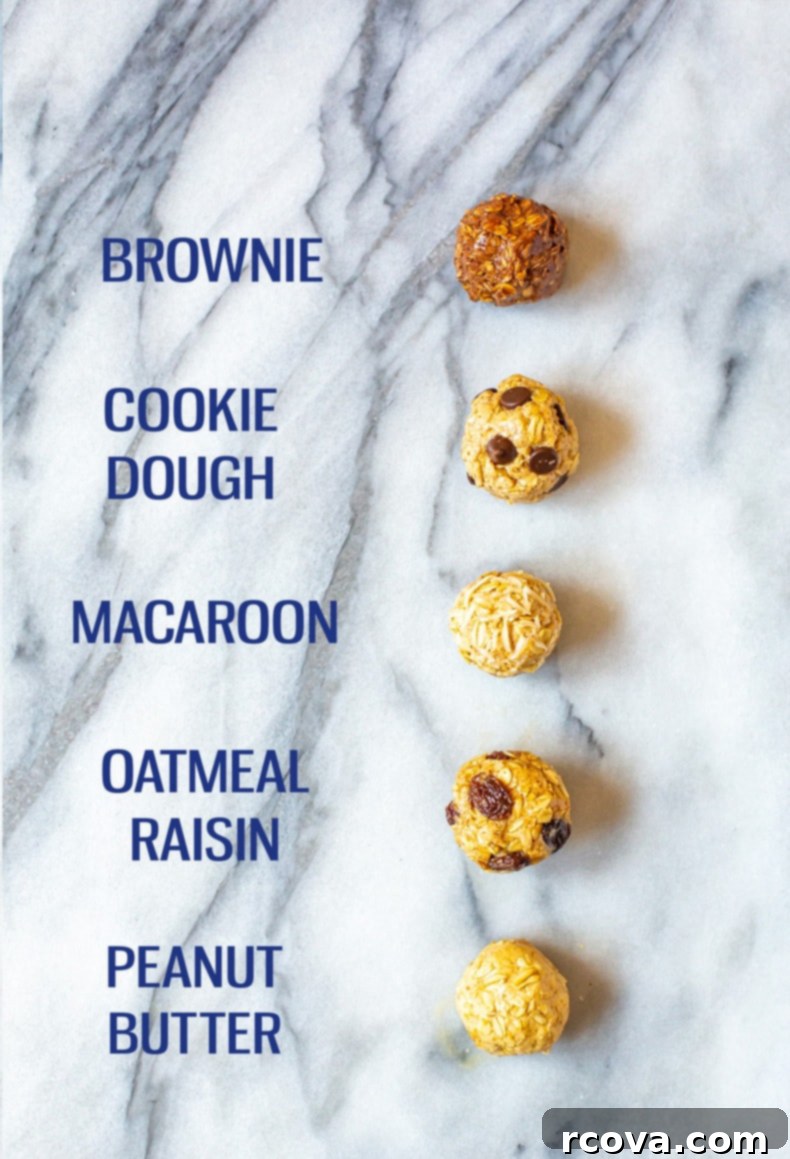
Macaroon Protein Balls (add to base ingredients):
- 1/4 cup almond butter
- 1/2 cup unsweetened shredded coconut
Cookie Dough Protein Balls (add to base ingredients):
- 1/4 cup cashew or almond butter (cashew gives a more neutral flavour)
- 1/3 cup chocolate chips (mini are great!)
Peanut Butter Protein Balls (add to base ingredients):
- 1/4 cup peanut butter
Brownie Protein Balls (add to base ingredients):
- 1/4 cup almond butter
- 2 tbsp unsweetened cocoa powder
Oatmeal Raisin Protein Balls (add to base ingredients):
- 1/4 cup almond butter
- 1/2 cup raisins
Instructions
-
First, decide which amazing protein ball flavor you’re going to create! In one large bowl, combine the dry base ingredients: rolled oats and protein powder, mixing them thoroughly. In a separate, microwave-safe bowl, mix together the honey, coconut oil, and your chosen nut butter for the wet base ingredients. Microwave these wet ingredients for 30-40 seconds until they are warm and easily blended. Once melted, carefully fold the wet mixture into the dry ingredients until a cohesive, sticky dough forms.
-
Next, it’s time to add your chosen flavor mix-ins, according to the specific protein ball recipe you’ve selected. For example, if you’re making the Macaroon Protein Balls, gently stir in the shredded coconut now. If you’re opting for the Brownie flavor, fold in the cocoa powder. Ensure your chosen add-ins are evenly distributed throughout the dough.
-
Once your mixture is complete, roll the dough into uniform 1-inch balls. For best results and consistent sizing, use a cookie scoop and dampen your hands slightly if the dough feels too sticky. Place the rolled balls onto a baking tray or large baking dish lined with parchment paper. Chill in the fridge for at least 30 minutes to 1 hour to allow them to firm up. Store your finished protein balls in an airtight container in the fridge for up to 14 days, or freeze them for up to 3 months for longer enjoyment.
Video
Notes
Feel free to get creative with your add-ins! Beyond the suggested flavors, consider options like dried cranberries, chopped nuts, seeds (chia, flax), or even a dash of spices like cinnamon.
For optimal freshness and taste, store these delicious protein balls in an airtight container in the fridge for a maximum of 2 weeks.
To extend their shelf life, you can freeze them for up to 3 months. Simply defrost them in the fridge overnight before enjoying your convenient, healthy snack.
Nutrition
