Easy No-Bake Easter Chick Cookies: A Fun & Simple Springtime Treat
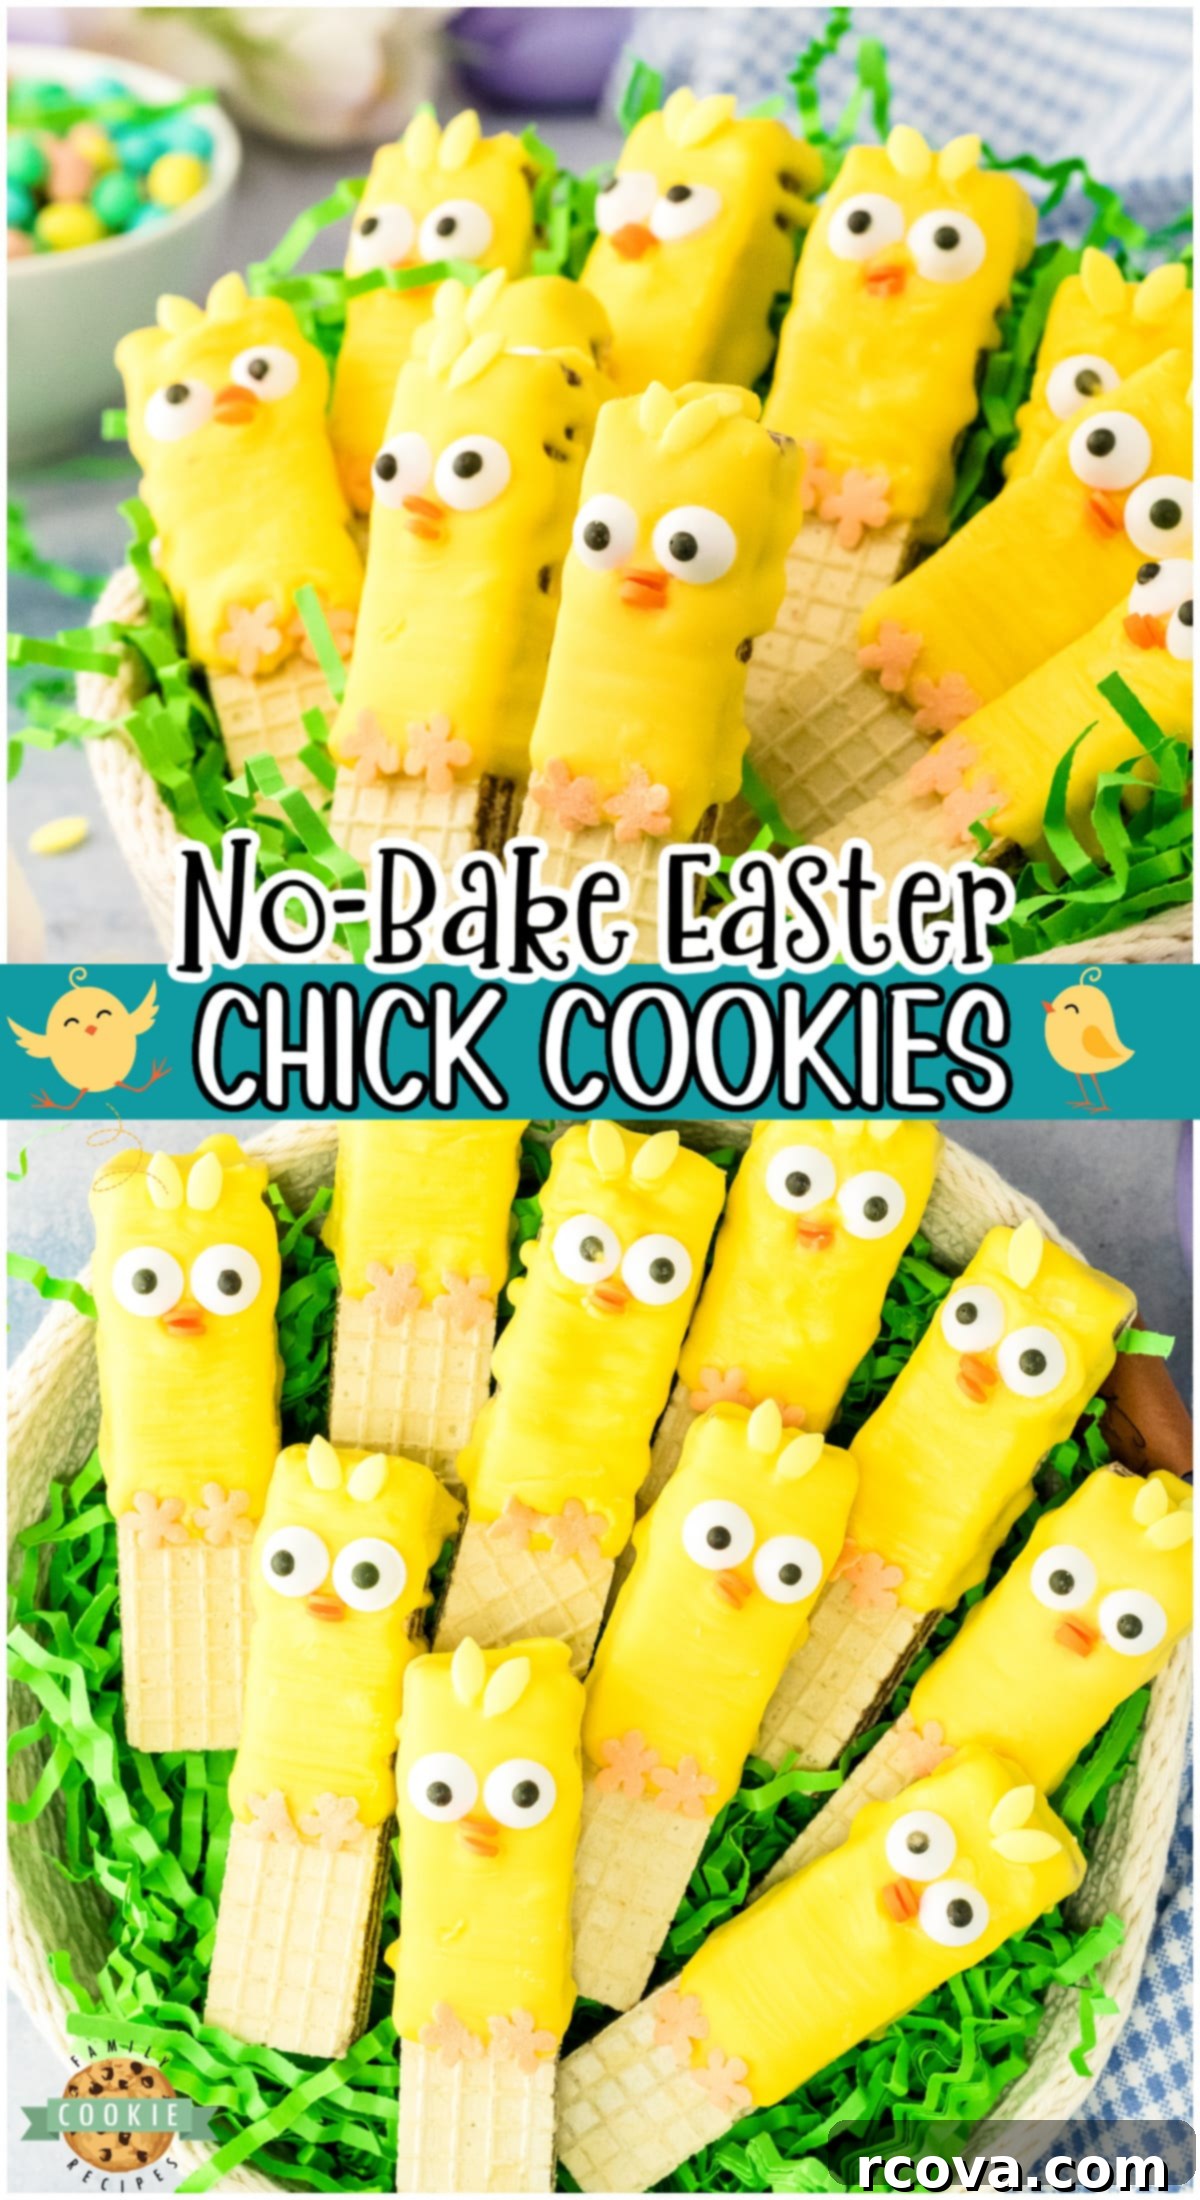
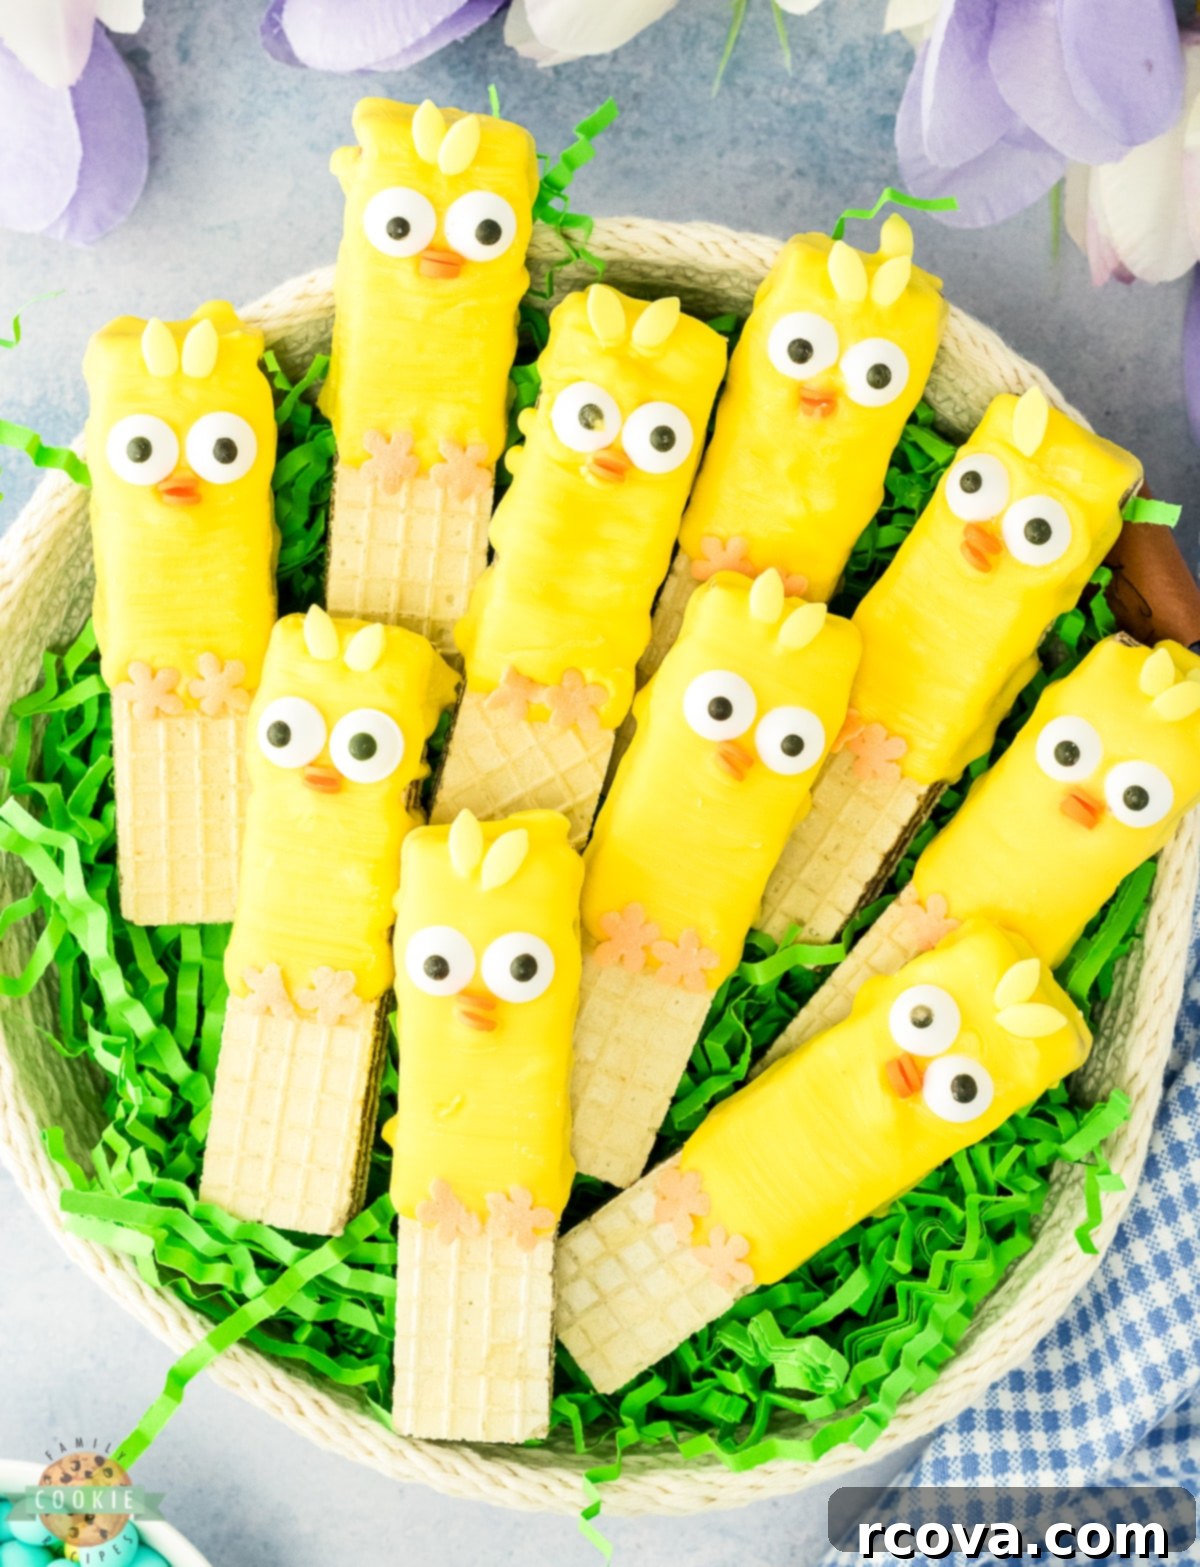
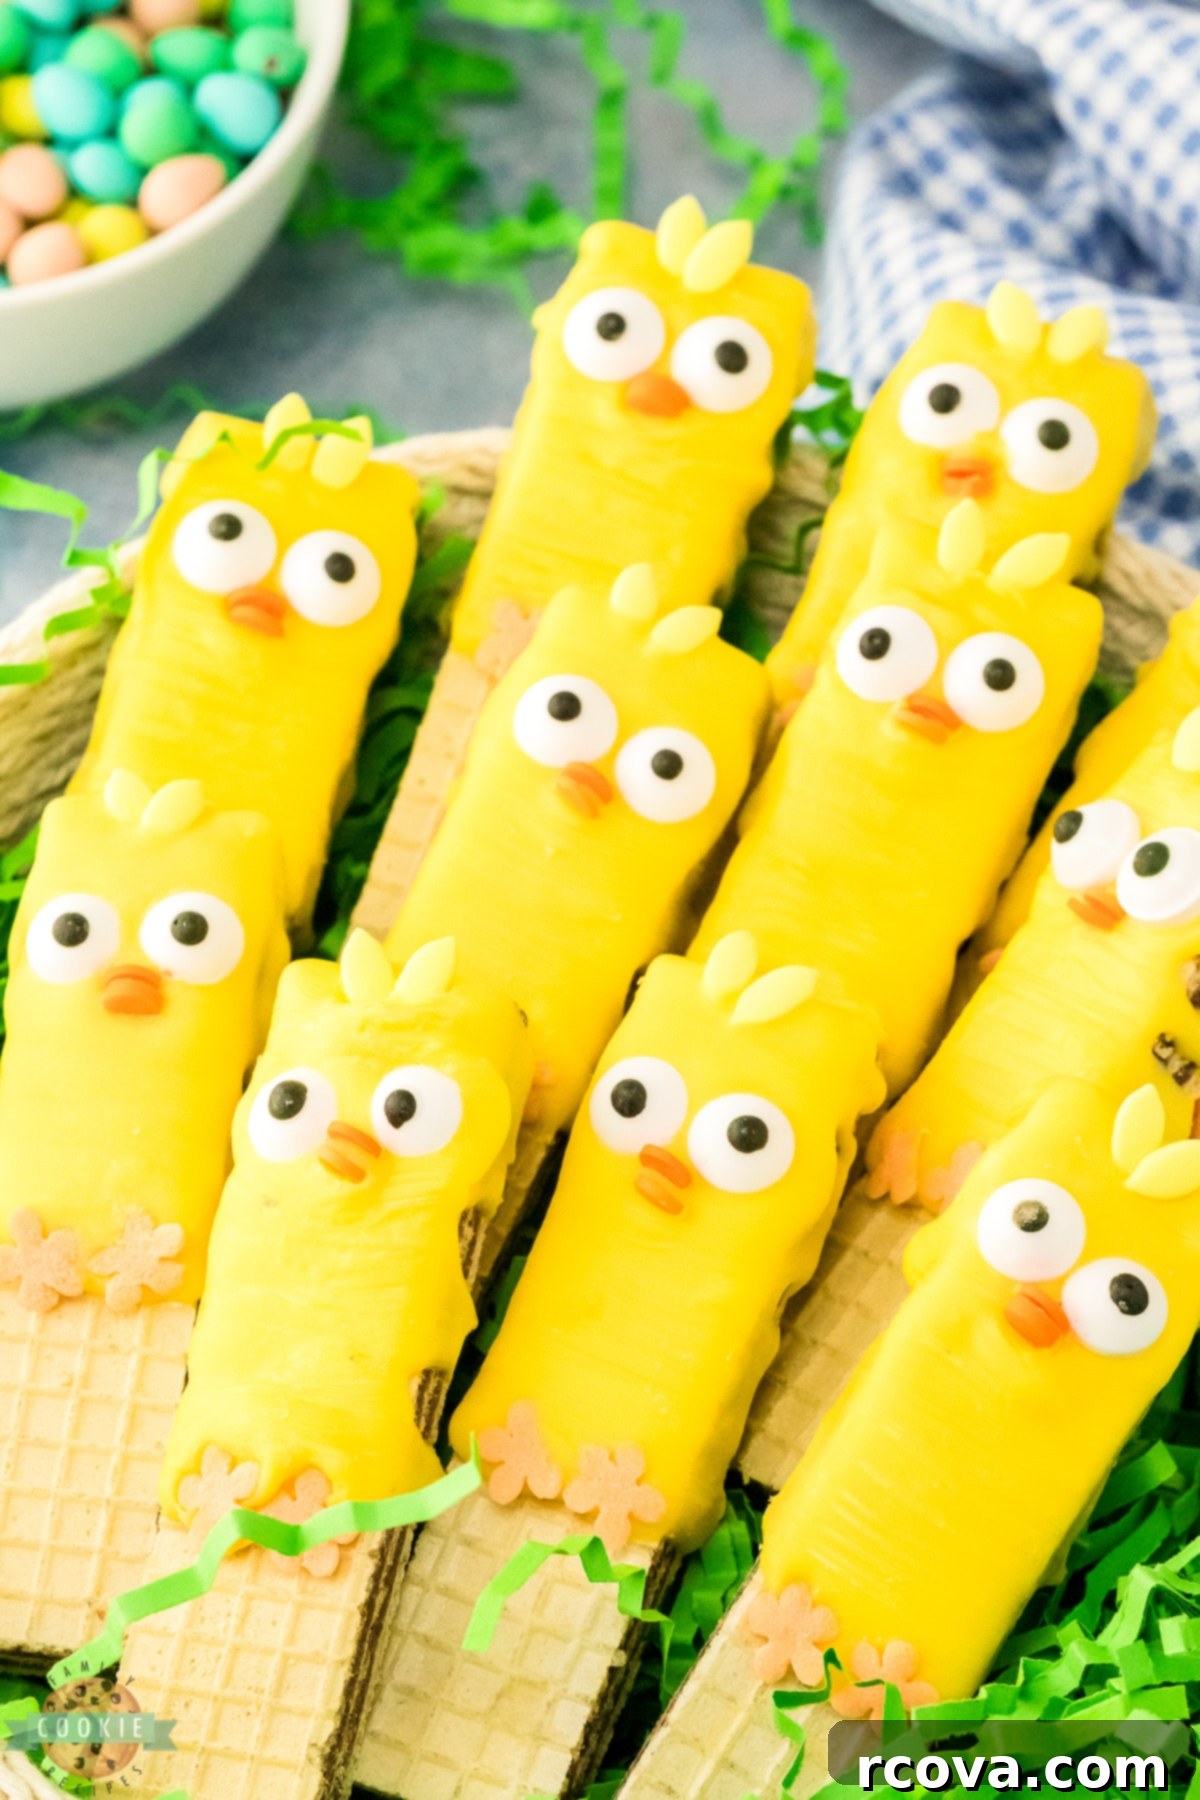
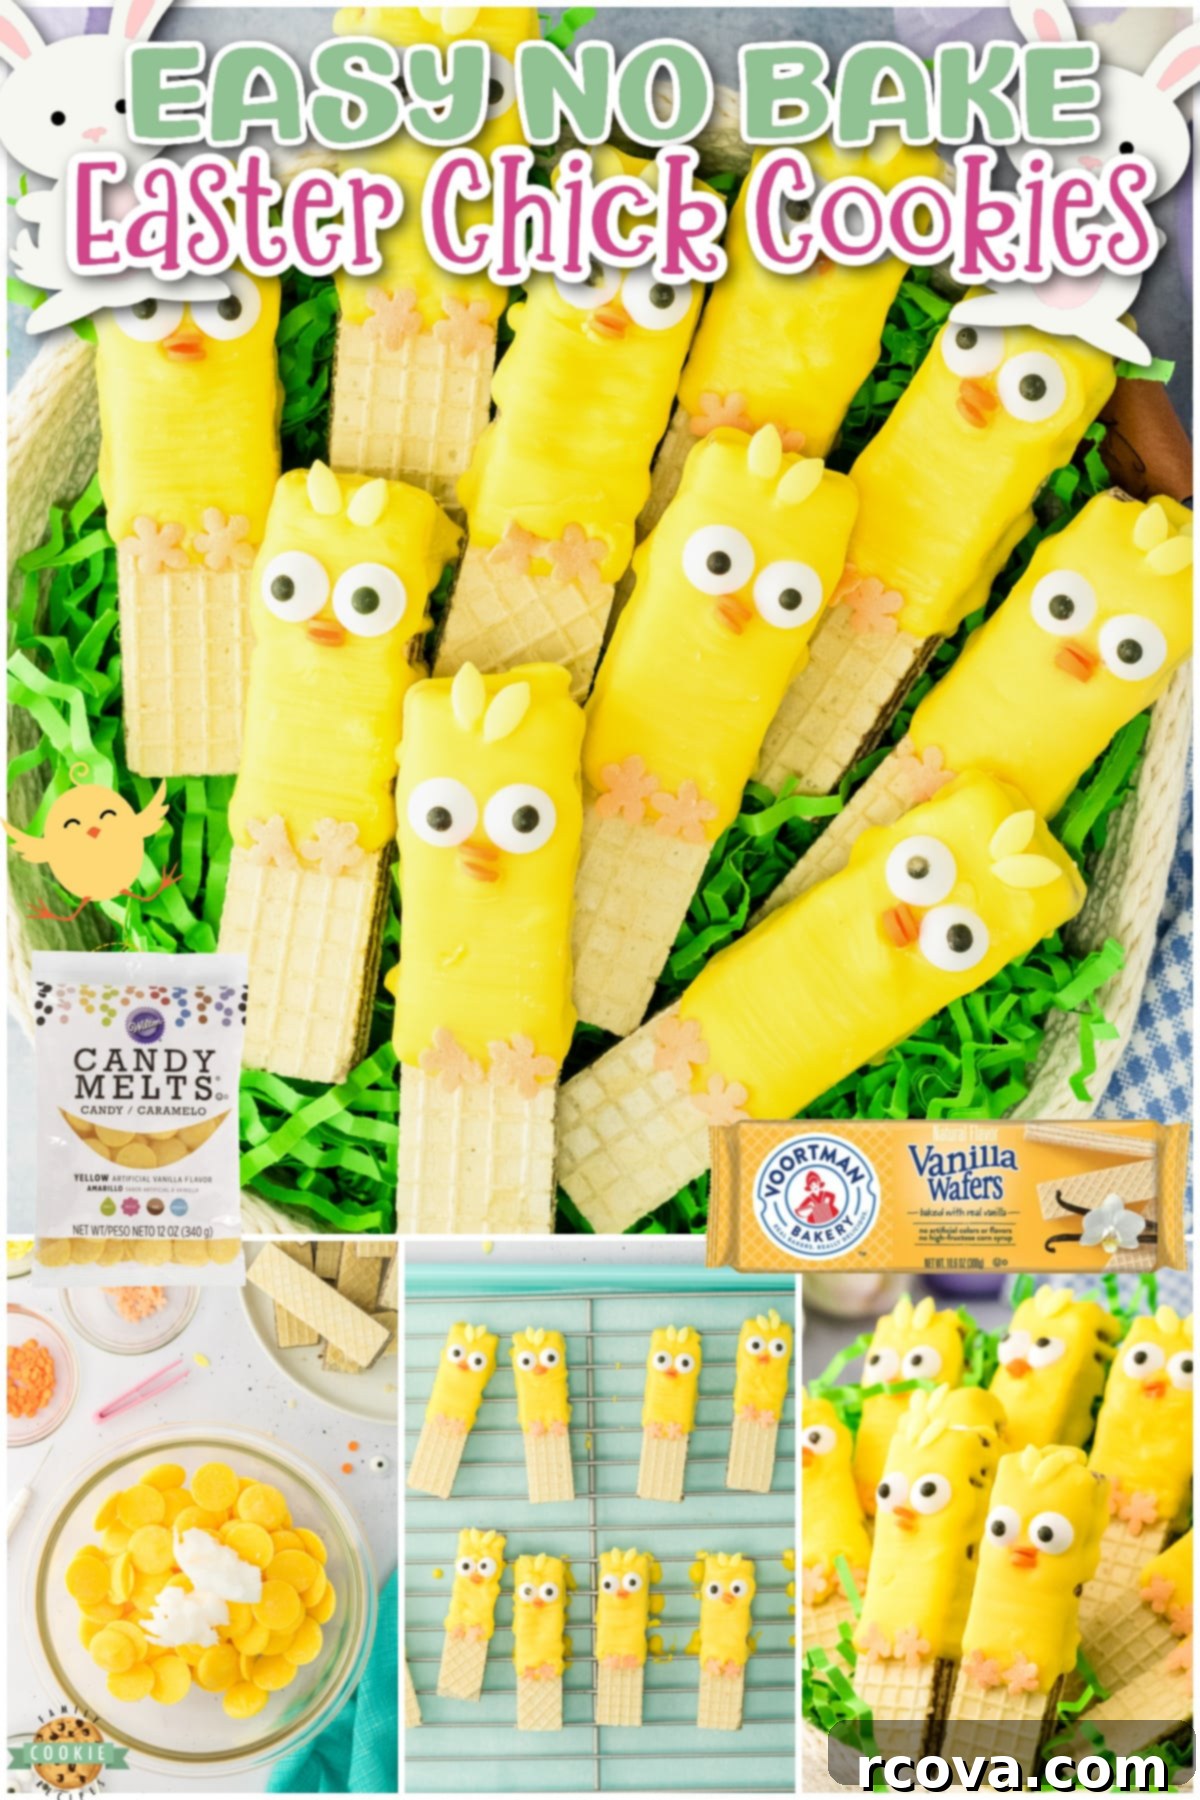
Welcome spring with these adorable Easy No-Bake Easter Chick Cookies! Crafted from delightful wafer cookies, generously dipped in vibrant yellow candy coating, and artfully decorated to resemble charming baby chicks, these treats are a true highlight for any Easter celebration. This incredibly simple, quick, and immensely fun Easter cookie recipe can be brought to life in under an hour, making it perfect for busy families looking to add a touch of handmade charm to their holiday table without the fuss of baking. Get ready to create lasting memories and delicious desserts!
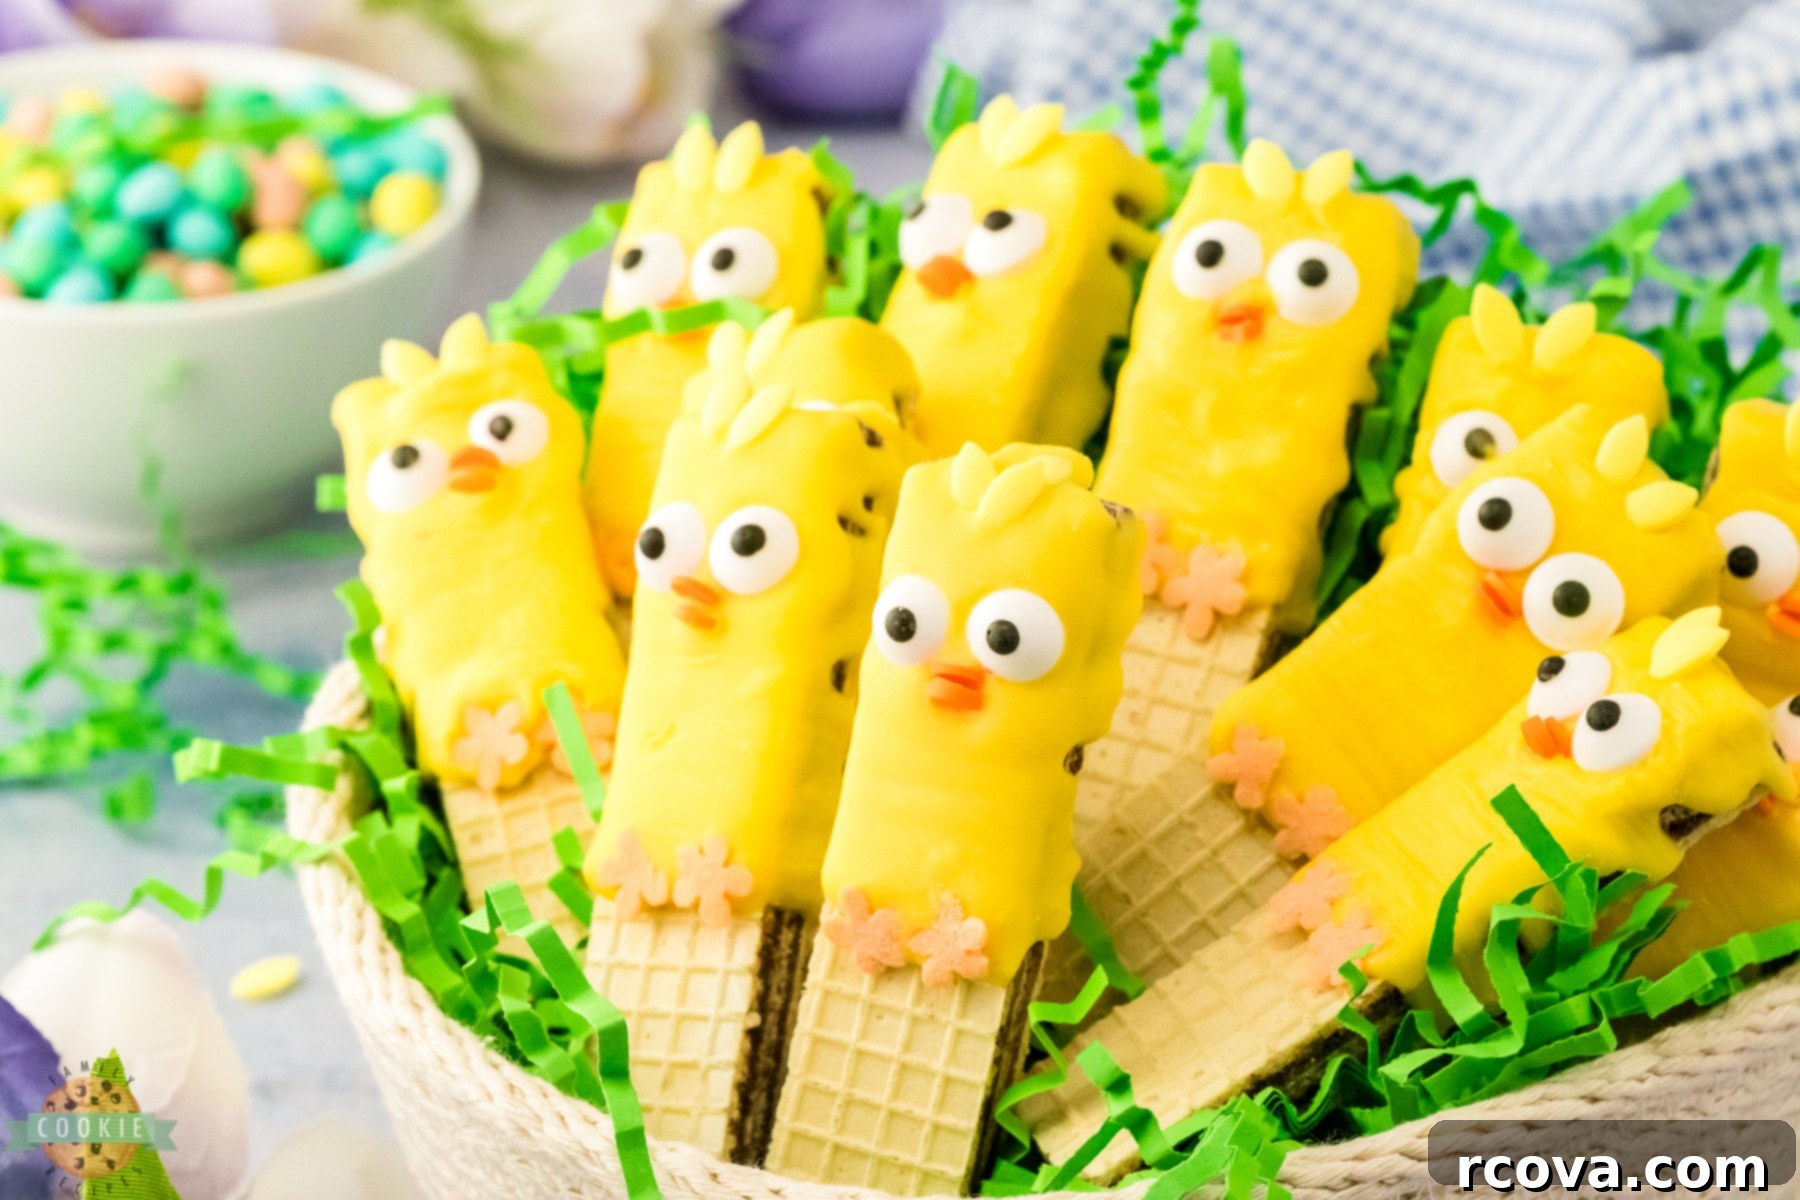
These beautifully decorated Easter cookies offer an effortless yet incredibly festive dessert option that will undoubtedly bring smiles to everyone’s faces. They’re a fantastic way to immerse yourself in the holiday spirit, whether you’re preparing for a big family gathering, a school party, or simply enjoying a quiet afternoon with loved ones. Sharing these adorable Easter cookies becomes an experience in itself, spreading joy and creating cherished moments that celebrate the season of renewal. Their vibrant appearance and sweet taste make them irresistible to both children and adults alike.
What Exactly are No-Bake Easter Chick Cookies?
Our delightful No-Bake Easter Chick Cookies are a clever and charming Easter dessert designed to simplify your holiday preparations without sacrificing any of the festive fun. The concept is wonderfully straightforward: we take readily available, store-bought wafer cookies – offering a delightful crisp base – and transform them into irresistibly cute baby chicks. The magic happens when these wafers are enveloped in a smooth, sunny yellow candy coating, providing both flavor and the perfect canvas for decoration. The finishing touches, such as edible candy eyeballs and playful sprinkles, bring these little chicks to life.
The entire process is remarkably simple, primarily involving melting the candy coating and then letting your creativity shine with sprinkles. This ease of preparation makes it an ideal activity for involving children. Kids absolutely love dipping, drizzling, and meticulously placing each tiny decoration, making it a fantastic opportunity for family bonding and hands-on fun in the kitchen. When I first introduced these charming treats at a family dinner, they were an instant sensation. Everyone, from the youngest to the oldest, couldn’t get enough of their adorable appearance and delicious taste. They’re not just cookies; they’re tiny edible works of art that capture the whimsical spirit of Easter. Give them a try, and you’ll quickly understand why they’re such a beloved addition to any Easter celebration!
Why You’ll Absolutely Adore These Festive Easter Treats
These No-Bake Easter Chick Cookies are more than just a dessert; they’re a delightful experience that comes with a host of advantages. Here’s why they’re destined to become your new favorite Easter tradition:
- No Baking Required! This is arguably the biggest perk of this recipe, and it’s why it’s a favorite in our kitchen. By utilizing store-bought wafer cookies as the foundation, we completely bypass the oven, saving you significant time and effort. This means less heat in the kitchen, no preheating, and no worrying about uneven baking. It’s perfect for those who might not consider themselves expert bakers, or simply for anyone looking for a stress-free dessert option. From this convenient base, we move straight to the fun part: decorating and creating an undeniably adorable and delicious treat that looks far more intricate than it truly is.
- Simple, Accessible Ingredients. Creating these charming Easter cookies demands only a handful of readily available and affordable ingredients. You won’t need to hunt down obscure items; most, if not all, can be found at your local grocery store. This translates to a quick and inexpensive shopping trip, allowing you to focus more on the joy of creating rather than the hassle of preparation. The simplicity of the ingredient list also makes this recipe forgiving and easy to follow, even for beginner cooks or young helpers.
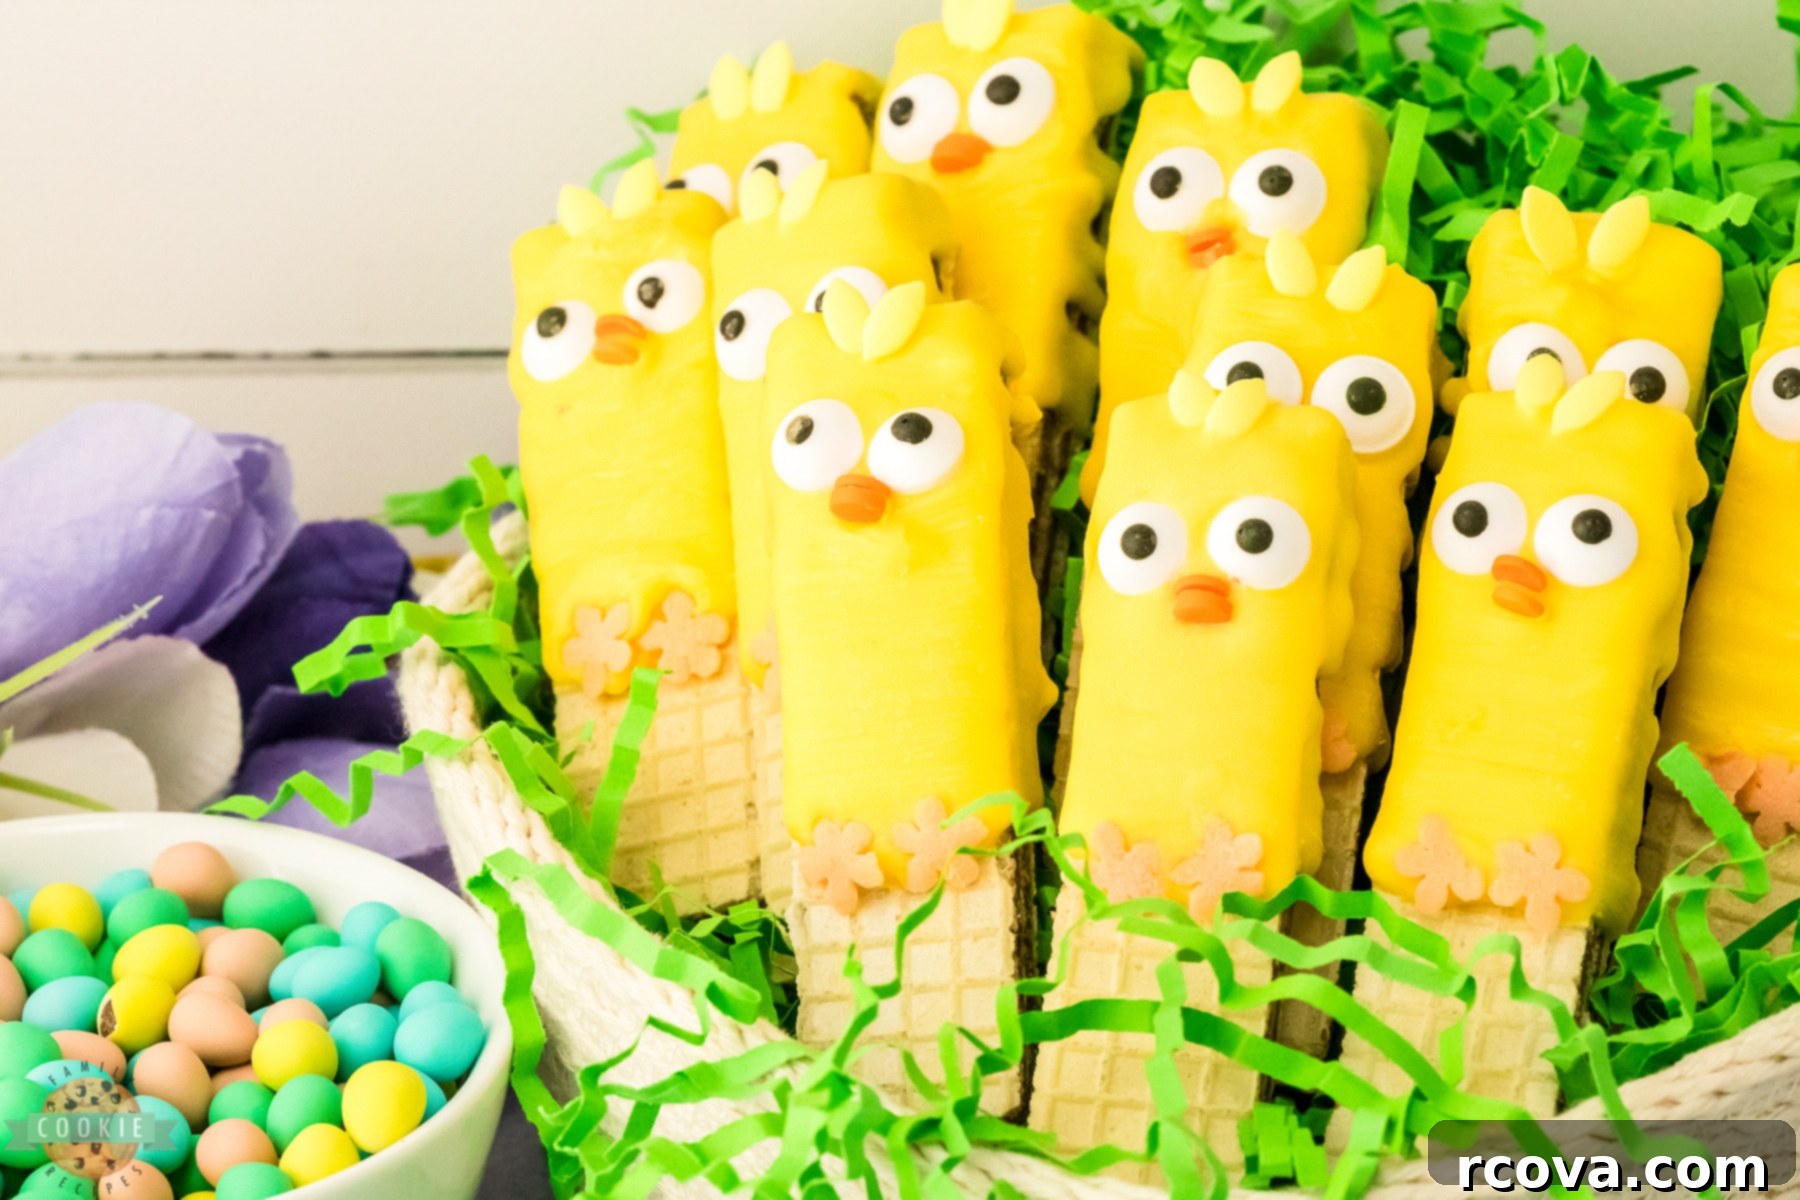
- Festive, Visually Stunning, and Utterly Fun. These little chick treats are truly a captivating way to embrace and celebrate the Easter holiday. They don’t just taste wonderful; their vibrant yellow color and cute chick design instantly brighten any dessert table. But beyond their deliciousness and aesthetic appeal, the process of making them is incredibly enjoyable. It’s a fantastic opportunity to gather your family, especially the kids, and spend quality time together, decorating each unique chick. This hands-on activity fosters creativity, sparks laughter, and creates beautiful memories, making these cookies a cherished part of your holiday festivities. They are truly a delightful addition that embodies the spirit of spring and celebration.
Essential Equipment Needed for Crafting Your Chick Cookies
While this recipe is wonderfully simple, having the right tools on hand can make the process even smoother and more enjoyable. Here’s a breakdown of the essential equipment you’ll need:
Microwave-Safe Bowl: You’ll require a small, microwave-safe mixing bowl specifically for melting your candy coating. Opt for a bowl that’s deep enough to allow for easy dipping or pouring without overflow, and ensure it can withstand microwave heat without issue.
Piping Bag: While not strictly mandatory, having a piping bag significantly streamlines the coating process. It allows for a more controlled, even application of the melted candy, minimizing mess and reducing waste. If you don’t have a dedicated piping bag, a sturdy Ziploc bag with a tiny corner snipped off makes an excellent substitute.
Cooling Rack: This is a crucial tool for ensuring your cookies set perfectly. A cooling rack elevates the cookies, allowing any excess melted candy coating to drip off cleanly. This prevents a thick, uneven base and helps the coating dry uniformly.
Parchment Paper and/or Baking Sheet: To simplify cleanup and protect your countertops, always place a sheet of parchment paper or a silicone baking mat directly underneath your cooling rack. This acts as a catch-all for any drips of melted candy coating, making disposal quick and easy once the coating has hardened.
Small Tweezers (Optional, but Recommended): For those who appreciate precision and want to achieve perfectly placed decorations, a set of small, clean tweezers can be incredibly helpful. They provide the dexterity needed to delicately position the tiny candy eyeballs and sprinkles, especially when creating the intricate details of the chick’s face and feet.
Key Ingredients for No-Bake Easter Chick Cookies
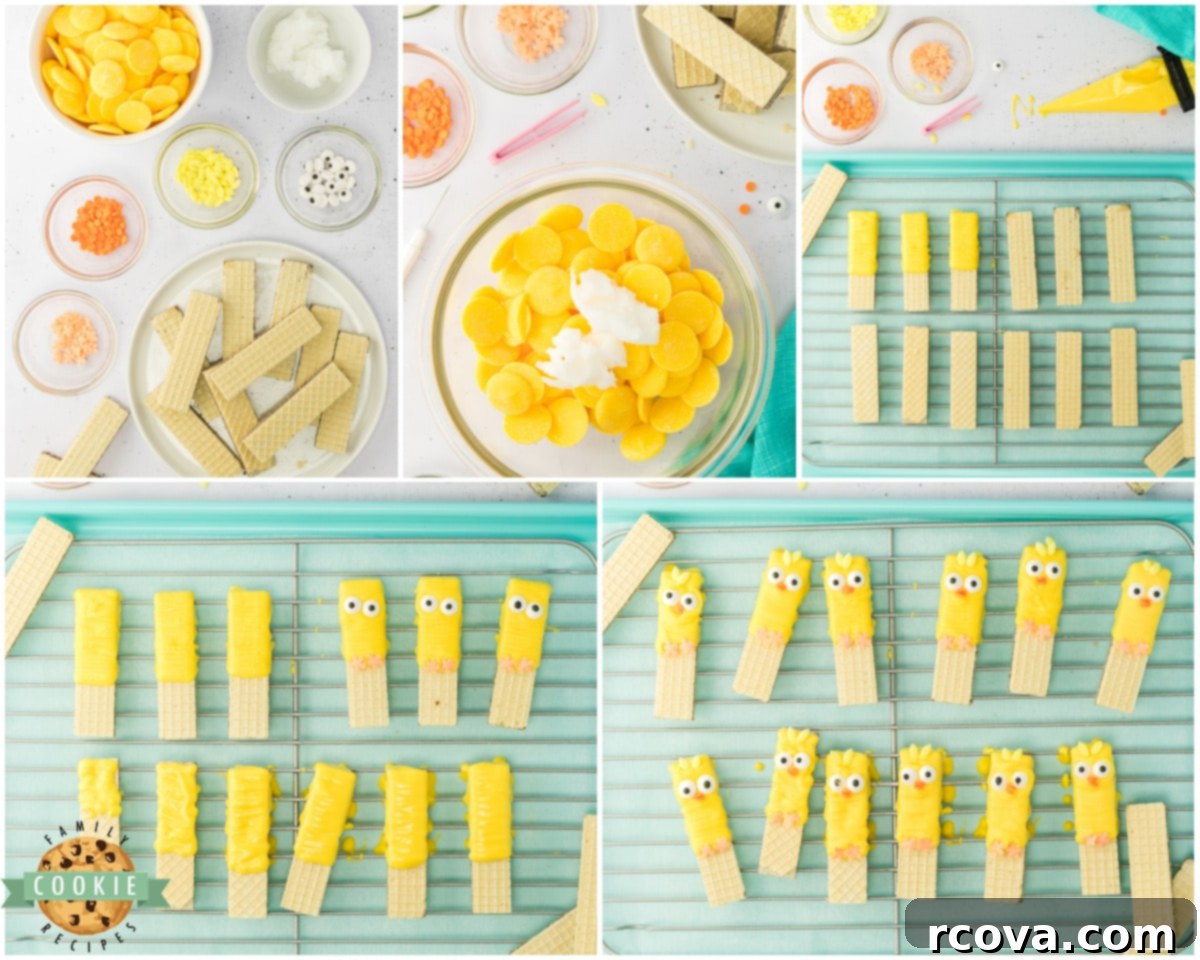
Gathering your ingredients is the first step towards creating these charming Easter treats. Here’s what you’ll need to make approximately 30 delightful chick cookies:
- Wafer Cookies: You’ll need one standard package of your favorite wafer cookies. Any flavor will work beautifully as the base for these Easter Chick cookies, so feel free to choose vanilla, chocolate, or even strawberry wafers for a subtle flavor variation.
- Yellow Melting Wafers: One cup of high-quality yellow melting wafers will provide the vibrant, smooth coating for your chicks. These wafers are specifically designed to melt easily and set quickly, giving your cookies that professional, glossy finish.
- Coconut Oil: Just one tablespoon of coconut oil is added to the melting wafers. This crucial ingredient helps thin out the mixture, ensuring a smooth, dippable consistency that coats the cookies evenly and prevents the coating from becoming clumpy or setting too fast. It also imparts a subtle, delicious flavor.
- Candy Eyeballs: To give your chicks their endearing expressions, you’ll need 60 candy eyeballs. These edible decorations are a quick and easy way to add character to your treats.
- Orange Round Sprinkles: For the adorable little beaks, gather 60 small, round orange sprinkles. Their size and color are perfect for mimicking a chick’s beak.
- Orange Flower-Shaped Sprinkles: To create the cute little feet, you’ll need 60 orange, flower-shaped sprinkles. The flower shape adds a whimsical touch and perfectly resembles tiny chick feet.
- Yellow Leaf-Shaped Sprinkles: Finally, for a touch of feathery “hair” on top of your chicks’ heads, 60 yellow, leaf-shaped sprinkles are ideal. Their shape adds a playful flourish and completes the chick’s appearance.
Step-by-Step Guide: How to Make Easy No-Bake Easter Chick Cookies
Making these charming chick cookies is a straightforward and enjoyable process. Follow these steps for perfect results:
Preparing the Cookie Coating
First, begin by melting your candy coating. In a small, microwave-safe bowl, combine the yellow melting wafers and the coconut oil. It’s crucial to melt them slowly to prevent seizing. Start by microwaving for one minute at 50% power. After this initial interval, remove the bowl and stir the wafers and coconut oil thoroughly with a spoon or spatula. The mixture might not look fully melted yet, and that’s perfectly normal.
Continue to microwave the mixture in 30-second increments, still at 50% power, stirring well after each interval. This gradual melting process ensures the candy coating heats evenly and remains smooth. Keep microwaving and stirring until the wafers are fully melted and the mixture is silky smooth with no lumps. This typically takes between 3 and 5 minutes in total, depending on your microwave’s wattage.
Next, carefully pour the melted wafers into a piping bag. While you can certainly attempt to spoon or pour the coating directly onto the cookies, using a piping bag offers significant advantages. It allows for a much more consistent and controlled flow, resulting in cleaner lines and less mess. This precision also helps reduce waste of the precious melting wafers. If you don’t have a piping bag, a sturdy freezer bag with a tiny corner snipped off will serve as an excellent makeshift alternative.
Prepare your workspace by placing a cooling rack over a parchment-lined baking sheet. The parchment paper is key here, as it will efficiently catch any drips from the melted wafers, saving you a substantial amount of cleanup time later. Arrange your wafer cookies neatly on the cooling rack, ensuring they have enough space between them.
Now, it’s time to coat your cookies. Starting at the top of each wafer cookie, gently pour or pipe the melted wafers onto the cookie. Use a steady, back-and-forth motion, aiming to cover approximately two-thirds of the cookie. The remaining bottom third will be left uncoated, creating a neat base for your chick.
Once coated, allow the melting wafers to drip off for just about a minute. This short window is important: you want to remove excess coating but ensure the surface of the candy coating remains wet and tacky enough for the sprinkles to adhere securely. Don’t let the cookie coating fully set before moving to the decorating phase, or your sprinkles won’t stick!
The Fun Part: Decorating Your Chick Cookies
With the cookies coated and still slightly wet, it’s time to bring your little chicks to life! This is where the creativity truly shines.
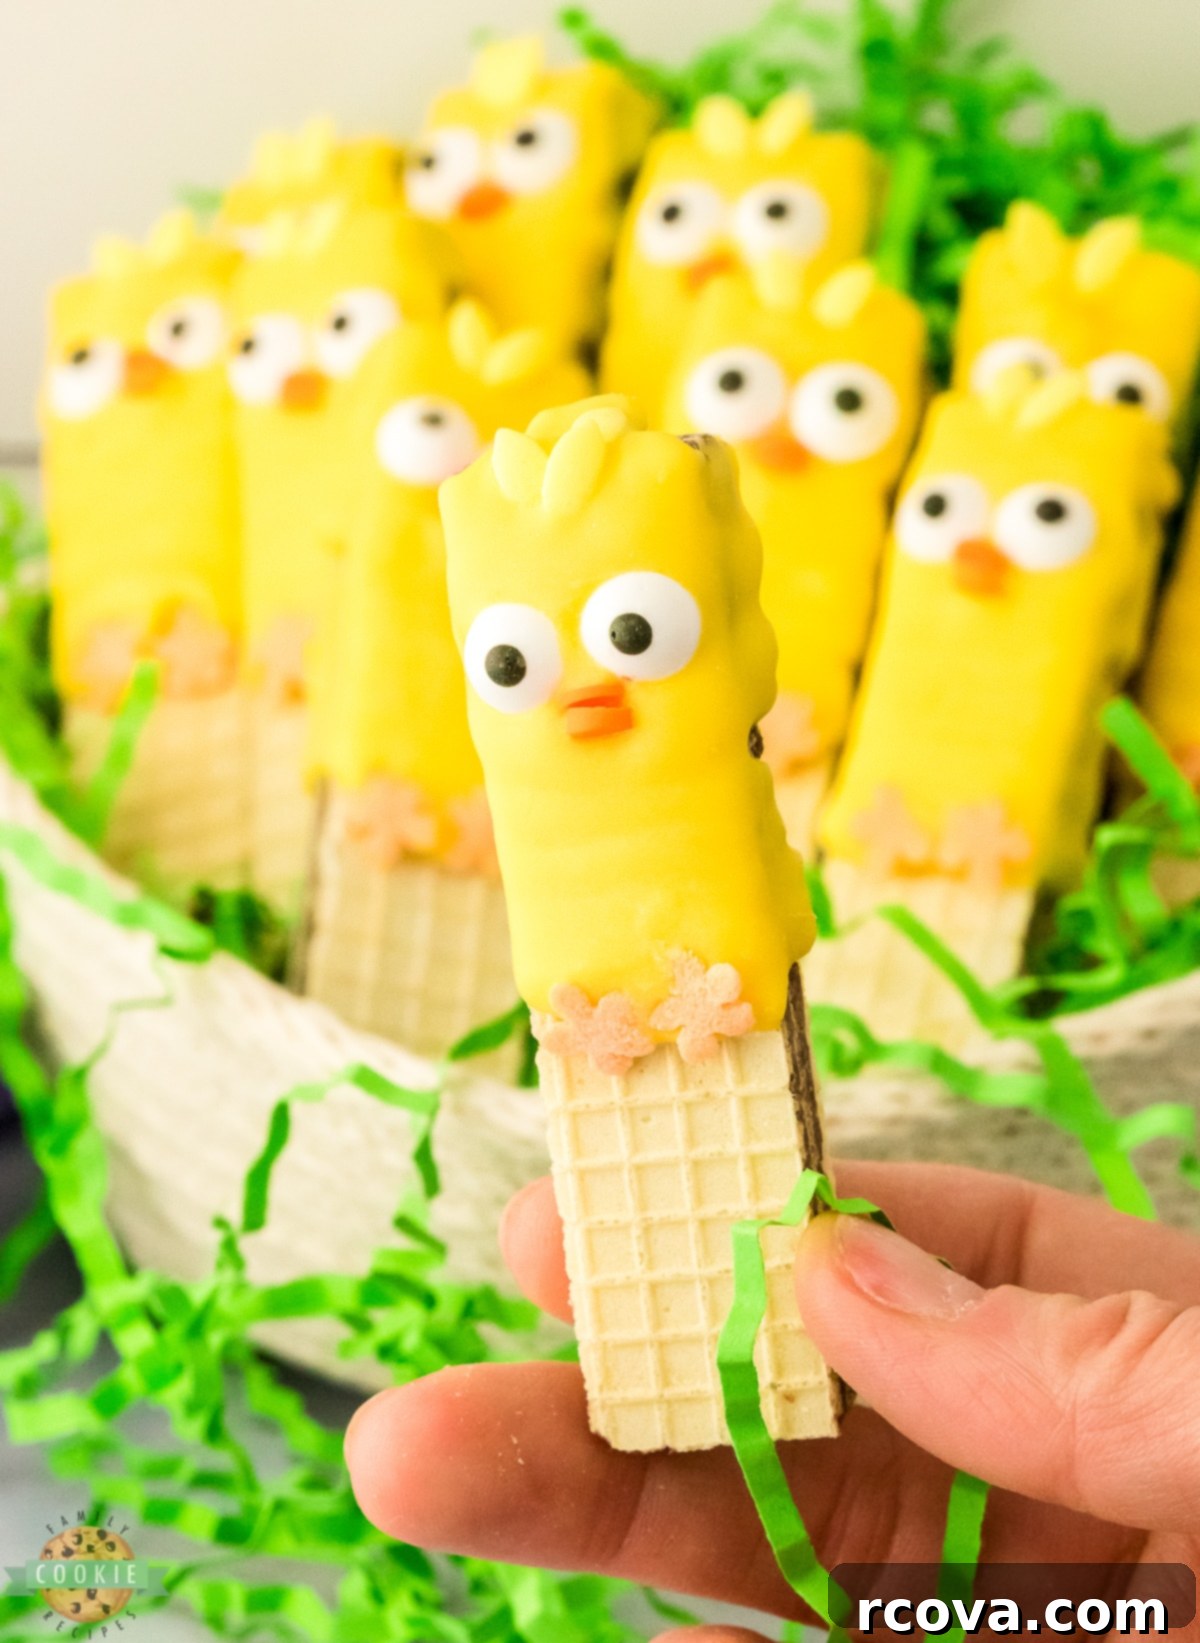
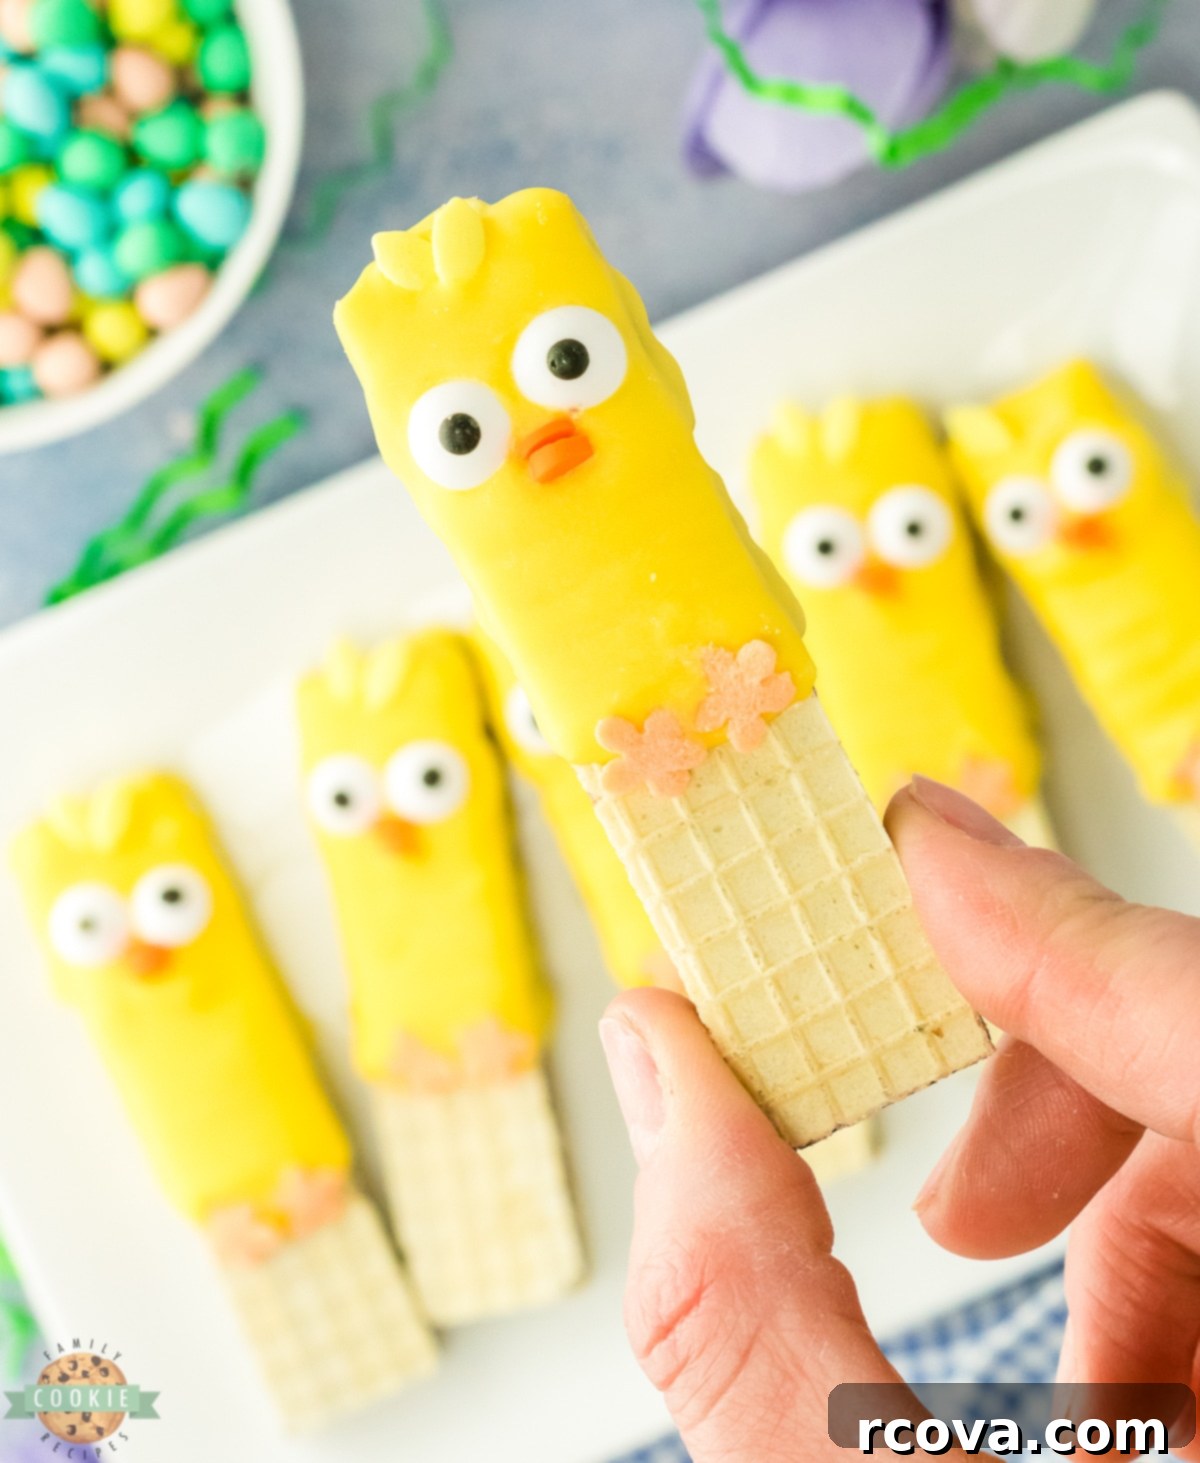
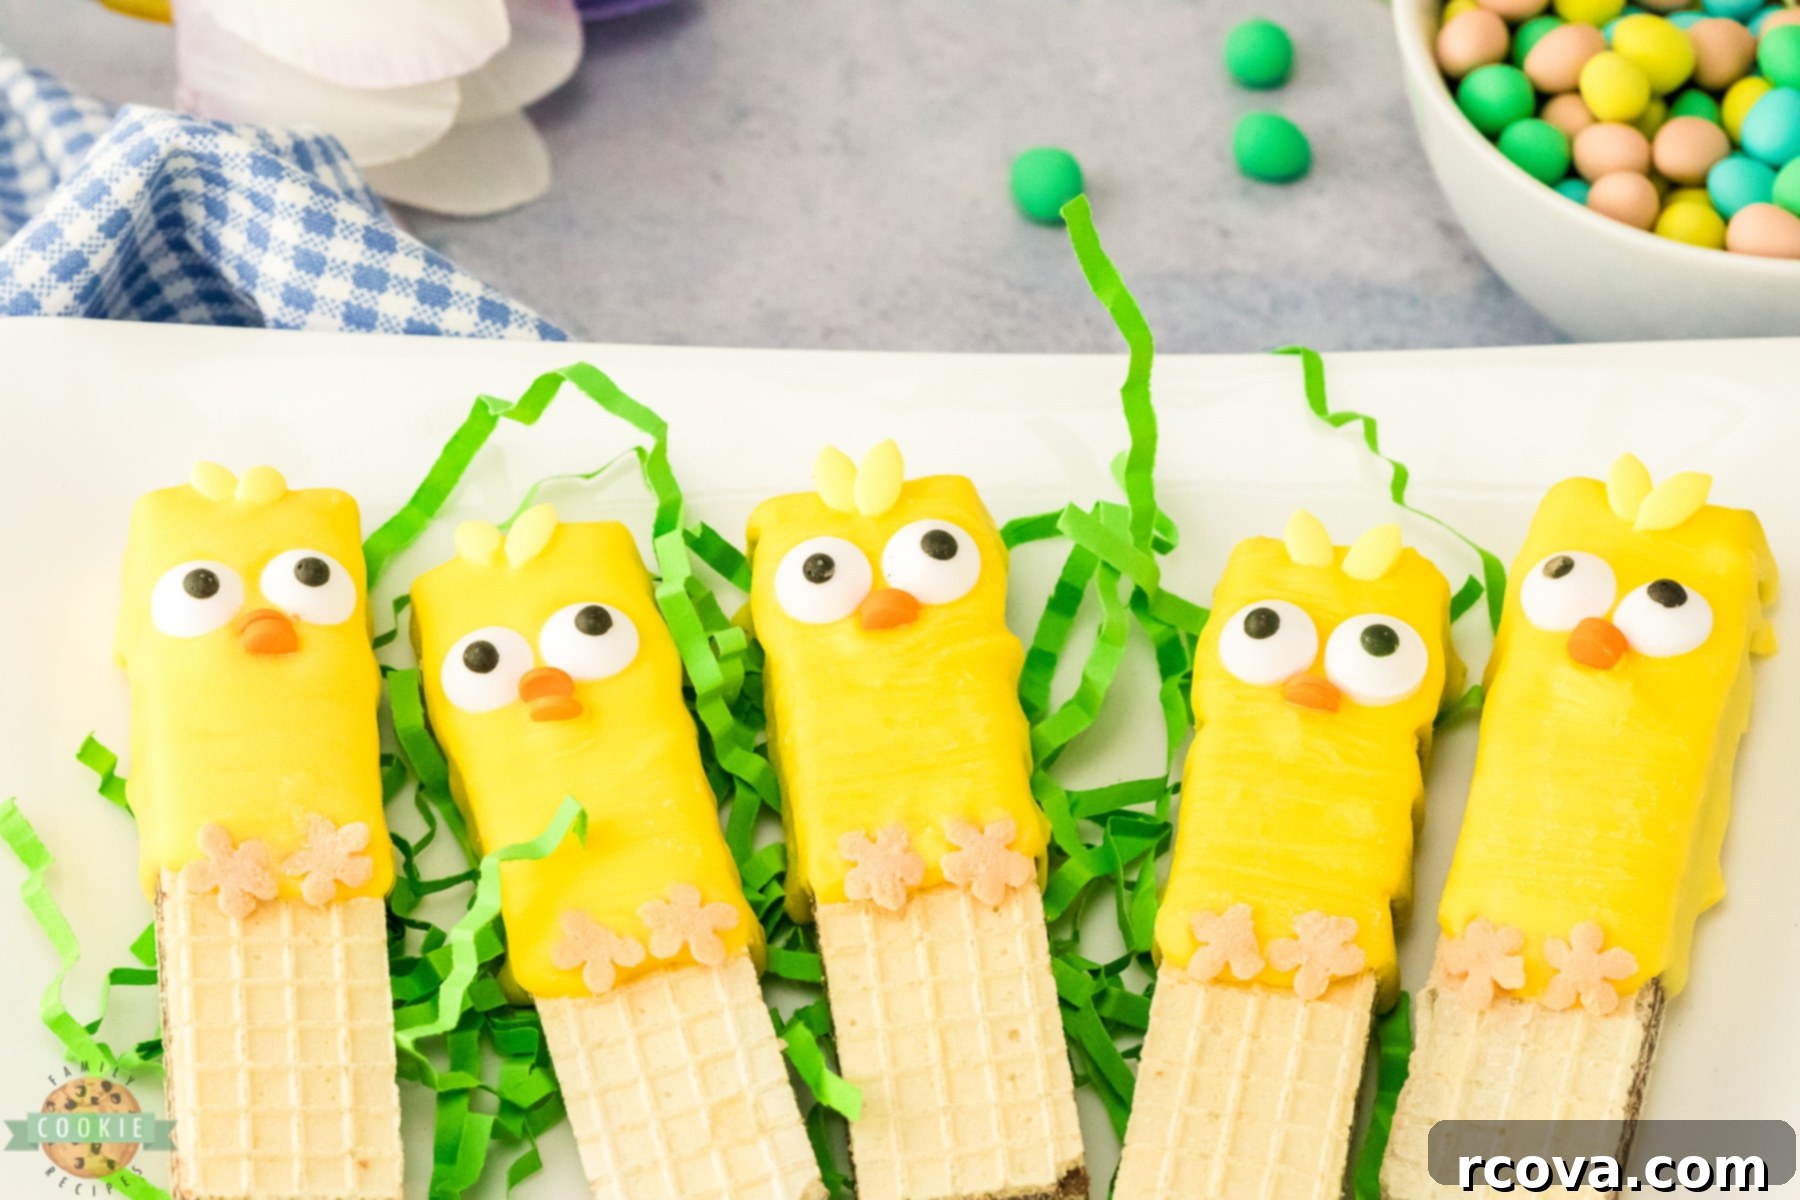
First, using your small tweezers (or simply your fingertips if you have a steady hand), carefully push two candy eyeballs into the melted chocolate coating near the top-center of the coated section. These will form the expressive eyes of your chick. Immediately below the eyes, place two of the orange flower-shaped sprinkles. Position them slightly apart to resemble adorable little chick feet peeking out from beneath the yellow coating.
Next, add two of the yellow leaf-shaped sprinkles above the eyes, near the very top edge of the coated area. These will serve as the playful tuft of “hair” or feathers on your chick’s head, adding to its whimsical charm. Finally, delicately place two small, round orange sprinkles just under the candy eyeballs. These will cleverly form the chick’s beak, completing its cute little face.
Once all your sprinkles are in place, allow the decorated cookies to rest and dry. This setting time is crucial for the candy coating to harden completely and for all the sprinkles to adhere firmly. Give them at least 10 minutes, or longer if your kitchen is particularly warm. You’ll know they’re ready when the candy coating is firm to the touch. Then, it’s time to serve these delightful No-Bake Easter Chick Cookies and enjoy the fruits of your fun labor!
Tips & Tricks for Creating Truly Amazing Easter Chick Cookies
Achieving perfectly adorable and delicious Easter Chick Cookies is easy, especially with a few insider tips and tricks. Here are some key considerations to ensure your no-bake Easter treats turn out wonderfully:
- Coconut Oil vs. Vegetable Shortening: While vegetable shortening can be used as a substitute for coconut oil to thin out the melting wafers, I strongly recommend sticking with coconut oil if possible. Coconut oil not only performs excellently in achieving the desired consistency but also subtly enhances the flavor of the candy coating. However, if shortening is all you have on hand, it will still work effectively to achieve a smooth, dippable texture.
- The Importance of Thinning the Wafers: This step cannot be emphasized enough! The melting wafers absolutely *must* be thinned out with either coconut oil or shortening. If this vital step is skipped, the wafers will likely become clumpy, thick, and difficult to work with. They will also set too quickly, making it nearly impossible to coat the cookies smoothly or apply decorations effectively. A properly thinned coating ensures an even, glossy finish and gives you ample time to decorate.
- Unleash Your Creativity with Sprinkles: While we suggest specific sprinkles for beaks, feet, and hair, feel free to use your imagination! The goal is to create charming chick designs, so any sprinkles that resemble a beak or feathers can be used. Consider small triangular sprinkles for beaks, or tiny candy pearls for a different eye effect. Don’t be afraid to experiment with different shapes and colors to make each chick unique and showcase your personal flair. This is a fantastic opportunity to have fun and personalize your Easter treats!
- Piping Bag for Precision and Less Mess: As mentioned in the instructions, a piping bag (or a makeshift Ziploc bag) is your best friend for coating these cookies. It offers unparalleled precision, allowing for a neat, consistent layer of candy coating on each wafer. This leads to a tidier process, significantly less wasted coating, and ultimately, more uniform and professional-looking cookies. If using a Ziploc bag, ensure it’s a sturdy one, fill it with the melted candy, seal it well, and snip off just a tiny corner (about 1/8 to 1/4 inch) to create a fine stream.
- Engaging the Kids: This recipe is a perfect family activity. Let children take charge of placing the candy eyeballs and sprinkles. For younger children, pre-sort the sprinkles into small bowls to make it easier for them to pick up. Encourage them to be creative and celebrate their unique chick designs!
- Working in Batches: If you’re making a large quantity of cookies, consider melting and coating in smaller batches. This prevents the candy coating from hardening in the bowl before you’ve had a chance to use it all. Reheat gently if needed, stirring thoroughly.
- Proper Drying: Ensure the cookies have enough time to dry completely before stacking or storing them. This prevents sticking and smudging of your beautiful decorations.
Easy No-Bake Easter Chick Cookies
Print
Pin
Rate
Ingredients
- 30 wafer cookies any flavor
- 1 cup yellow melting wafers
- 1 TBSP coconut oil
- 60 candy eyeballs
- 60 round orange sprinkles (for the beaks)
- 60 orange flower-shaped sprinkles (for the feet)
- 60 yellow leaf-shaped sprinkles (for the hair)
Instructions
-
Cookie Coating: In a small, microwave-safe bowl, melt the yellow wafers and coconut oil together. Microwave for one minute at 50% power, then stir thoroughly. Continue microwaving in 30-second increments at 50% power, stirring after each, until the mixture is fully melted and smooth (3-5 minutes total).
-
Carefully pour the melted wafers into a piping bag. While optional, a piping bag allows for a more consistent pour and reduces waste.
-
Place wafer cookies on a cooling rack set over a parchment-lined baking sheet to catch drips. Starting from the top, pour or pipe the melted wafers onto each cookie in a back-and-forth motion, covering approximately two-thirds of the cookie.
-
Allow the excess melting wafers to drip off for about one minute. It’s important that the coating remains wet enough for sprinkles to adhere before it sets.
-
Decorate: Using tweezers (or your fingers), gently push two candy eyeballs into the melted chocolate. Then, place two flower-shaped orange sprinkles below the eyes to resemble feet.
-
Add two yellow leaf-shaped sprinkles above the eyes for “hair.” Finally, place two round orange sprinkles under the eyes to form the beak. Allow the cookies to set and dry completely for at least 10 minutes before serving. Enjoy your adorable Easter chick cookies!
Notes
Nutrition
How Long Do These Easter Chick Cookies Stay Fresh?
One of the many advantages of these no-bake treats is their decent shelf life, allowing you to prepare them a few days in advance for your Easter festivities. When stored correctly, these delightful cookies will maintain their freshness and deliciousness for up to 5-7 days. To ensure optimal preservation and prevent them from sticking together, always store your Easter Chick Cookies in an airtight container at room temperature. For multi-layered storage, place a sheet of parchment paper or wax paper between each layer of cookies. This simple step acts as a barrier, safeguarding the candy coating and delicate sprinkle decorations from getting damaged or adhering to one another, ensuring they look as charming as the day you made them when it’s time to serve.
Understanding and Rescuing Seized Chocolate
Working with candy melts and chocolate coating can sometimes be tricky, and one common issue encountered is “seized” chocolate. So, what exactly does seized chocolate look like, and how can you fix it?
When chocolate seizes, it means the smooth, fluid consistency has suddenly transformed into a thick, clumpy, and gritty mess. Instead of melting into a luscious liquid, it appears to refuse to melt further, becoming stiff and unworkable. The most common culprit for seized chocolate is exposure to even a tiny amount of moisture – a single drop of water or steam can trigger this reaction. Overcooking can also cause it, leading to a burnt smell in severe cases, but chocolate can seize without any burning aroma.
If you find your candy coating has seized, don’t despair! There’s a good chance you can rescue it. The key is to add a small amount of fat to help re-emulsify the mixture. Gently stir in about 1 teaspoon of vegetable shortening or coconut oil (my preference for flavor). Don’t just stir it in haphazardly; first, fold the fat into the seized chocolate, ensuring it’s completely covered. Then, let it sit for a few moments to soften the chocolate around it. After about a minute, try to slowly and steadily stir the oil into the seized chocolate. Continue stirring, and within a minute or two, you should be able to tell if the chocolate is recovering. It might regain some of its smooth, flowing texture. The success of this rescue mission often depends on how badly the chocolate seized initially – severely seized chocolate can be more challenging to revive, but it’s always worth a try before discarding it.

Creating these delightful No-Bake Easter Chick Cookies can be a wonderful family activity. Just like our cherished family dinners, where even simple moments like Raz making a beautiful and delicious carrot cake become memorable, baking and decorating together creates lasting bonds. Family time, especially when centered around creating yummy treats, truly is the best!

Discover More Festive Easter Treat Recipes!
If you’ve enjoyed making these adorable Easter Chick Cookies and are looking for even more ways to sweeten your holiday, we’ve got you covered! Explore our collection of other easy and delightful Easter-themed recipes that are perfect for sharing with family and friends. From rich brownies to whimsical marshmallow treats, there’s something here to satisfy every sweet tooth and add extra charm to your Easter dessert table:
- Cadbury Mini Eggs Brownie Bars: Indulge in rich, fudgy brownies topped with colorful and crunchy Cadbury Mini Eggs – a classic Easter favorite.
- Easy Easter Marshmallow Bark: A super simple, customizable treat made with melted chocolate and festive Easter marshmallows, perfect for quick assembly.
- Homemade Chocolate Marshmallow Eggs: Craft your own decadent chocolate eggs filled with soft, fluffy marshmallow centers.
- Easy Peanut Butter Easter Eggs: A beloved combination of creamy peanut butter and rich chocolate, shaped into festive Easter eggs.
- Little Lemon Drops: Bright and zesty, these small lemon cookies offer a refreshing burst of citrus flavor.
- Jumbo Lemon Easter Cookies: Larger-than-life lemon cookies, perfect for a grand Easter statement.
- Easy Easter Egg Nests: Crunchy cereal nests, adorned with chocolate eggs, create a charming and edible display.
- Easter Rice Krispie Treats: A fun and colorful twist on the classic crispy treat, decorated with Easter flair.
- Braided Sweet Bread: A beautiful and lightly sweet bread, often featuring a hint of citrus or spice, ideal for Easter brunch.
These Easy No-Bake Easter Chick Cookies are truly a standout, offering a simple yet incredibly satisfying way to celebrate the season. Made with convenient packaged wafer cookies, expertly dipped in a smooth candy coating, and adorned to resemble the most charming baby chicks, they are an absolute delight. This effortless, fast, and wonderfully fun Easter cookie recipe is designed to be ready in under an hour, ensuring you can enjoy a festive, homemade treat even with a busy schedule!
