Delicious No-Bake Mini Hamburger Cookies: The Ultimate Fun Treat!
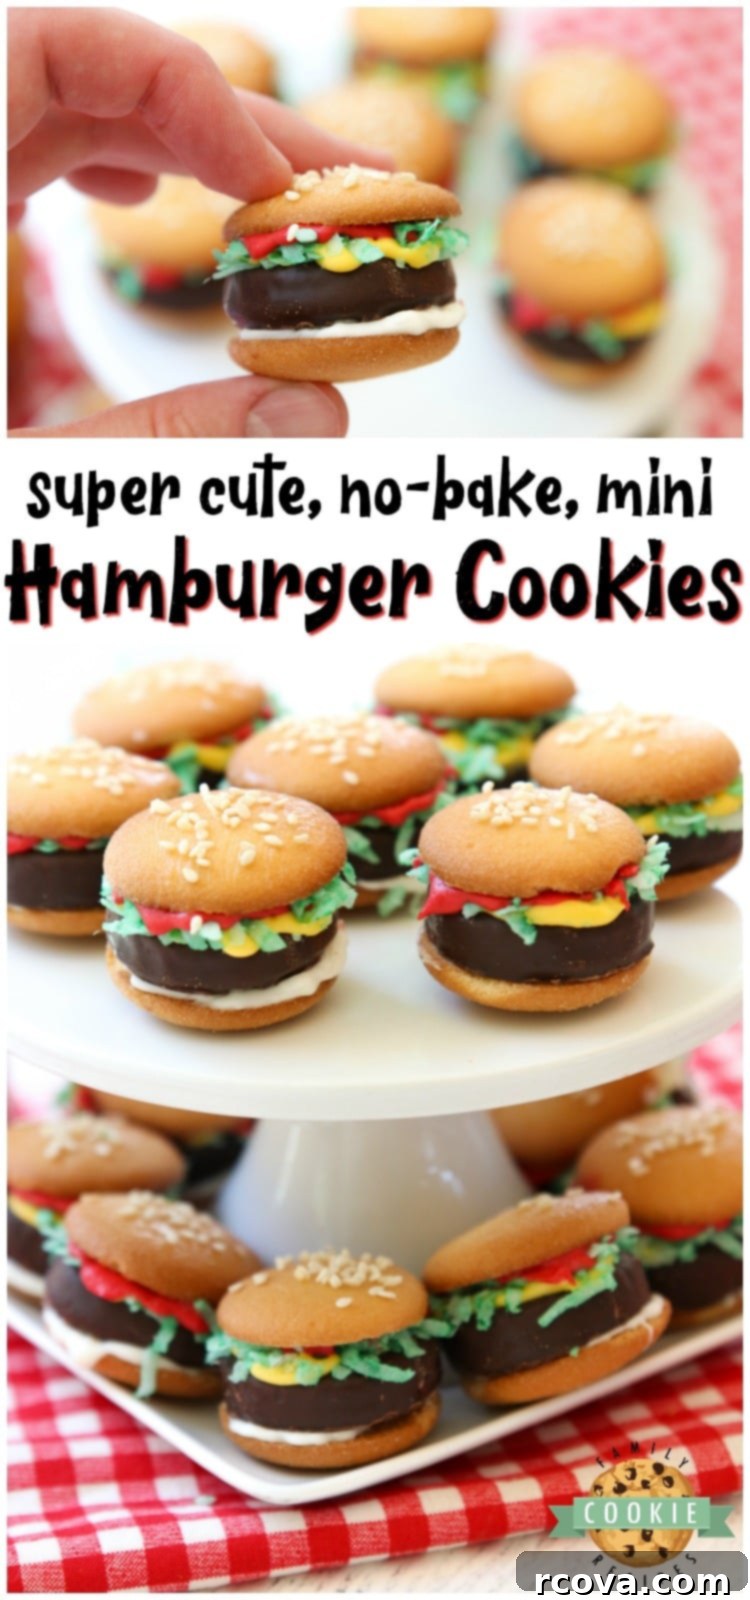
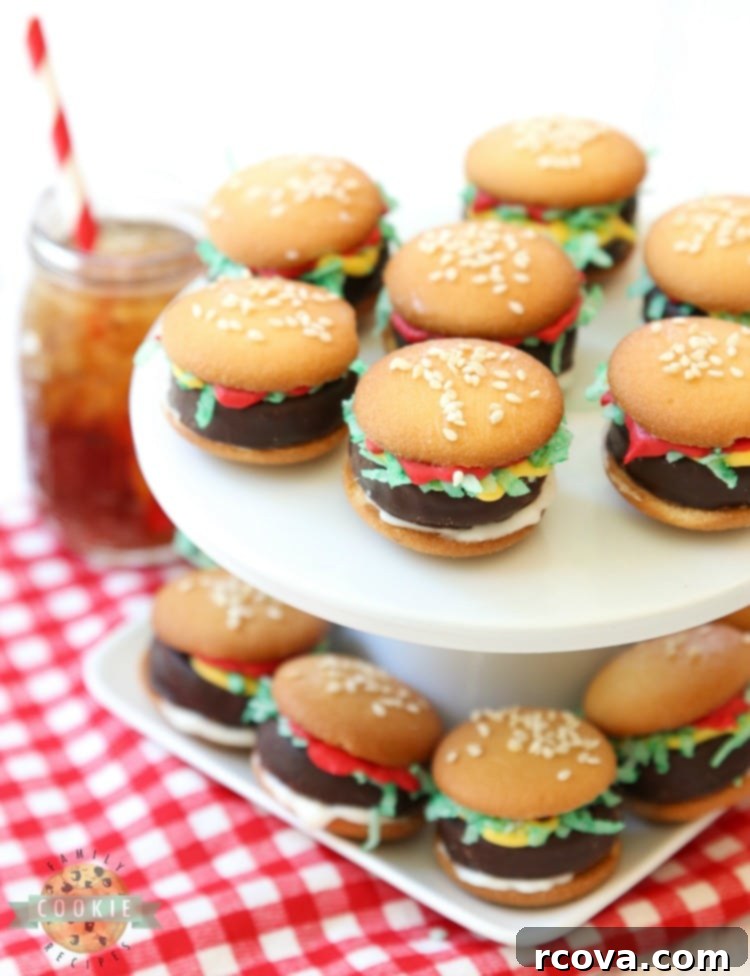
Get ready to delight everyone with these incredibly cute and easy-to-make Mini Hamburger Cookies! Crafted from simple ingredients like classic Nilla Wafers, refreshing Peppermint Patties, luscious melted chocolate, and vibrant coconut, these no-bake cookies are guaranteed to be a hit. They mimic the look of miniature burgers so perfectly, children and adults alike will go absolutely crazy for them! Perfect for any gathering, especially those warm-weather events, these delightful treats require no oven, keeping your kitchen cool and your taste buds happy.
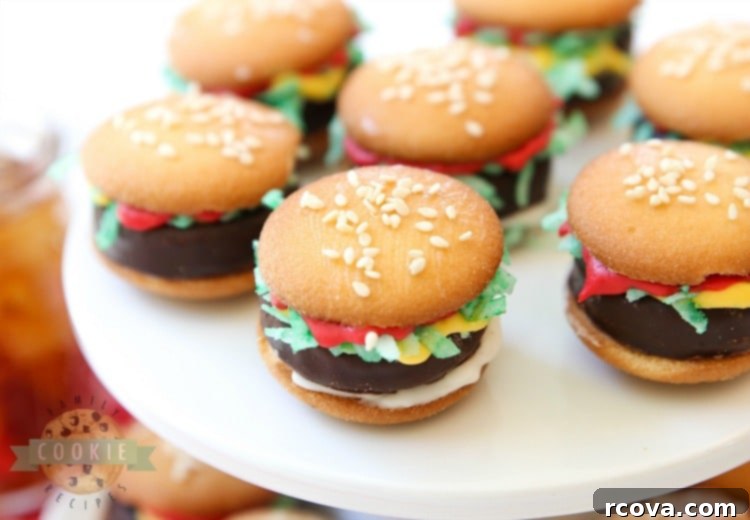
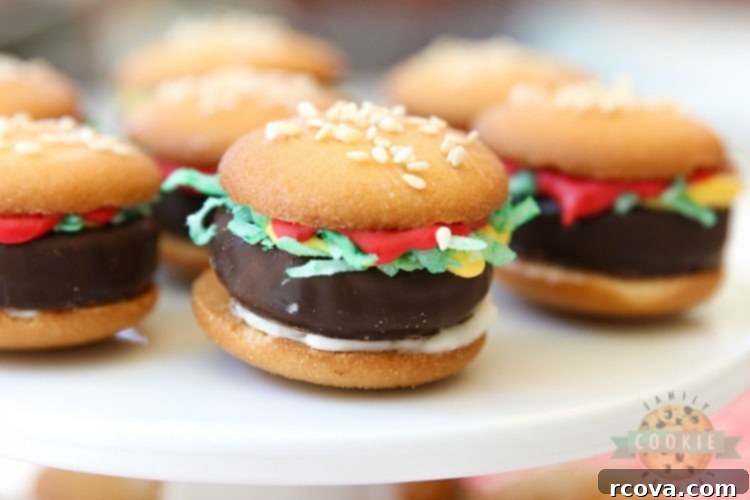
Imagine the smiles and excitement when you bring out a platter of these festive cookie burgers at your next backyard BBQ, birthday party, or any casual get-together. They are a genuinely fun treat that promises to be a big hit with family and friends. When the summer heat is unbearable, and the thought of turning on your oven is out of the question, this no-bake cookie recipe comes to the rescue. You can create a delicious and eye-catching dessert without adding any extra warmth to your home, making it the ideal summer indulgence.
Why These Hamburger Cookies Will Be Your New Favorite No-Bake Treat
The inspiration for these charming Hamburger Cookies came from an old Betty Crocker cookbook, and once my daughter spotted them, there was no turning back! Her insistence led us to discover just how simple and enjoyable they are to create. With no baking required, they are truly a perfect treat for the summertime, or any time you need a quick and impressive dessert. We loved making plates of these fun cookies and sharing them with families in our neighborhood; the joy on their faces was truly priceless. These cookies are especially fitting for any summer BBQ, perfectly complementing a menu that includes actual grilled hamburgers for dinner. They add a playful touch that elevates the entire dining experience.
Reasons to Make These Fun Hamburger Cookies Today
In case you still need a little convincing to give this delightful recipe a try, here are a few more compelling reasons why these mini burger cookies deserve a spot on your dessert table:
- They’re SO FREAKING FUN! Honestly, just look at them. They are undeniably charming and truly resemble mini burger cookies. Their novelty makes them an instant conversation starter and a favorite among kids and adults.
- No-Bake & lightning fast to assemble. You won’t need to preheat an oven or wait for anything to cool. By myself, I was able to whip up several of these in about 10 minutes. When my kids joined in to help, the assembly became even faster and a fantastic bonding activity.
- Perfect for Any Occasion: From casual backyard BBQs and summer picnics to themed birthday parties and school events, these cookies fit right in. They bring a whimsical touch that makes any gathering feel more special.
- Kid-Friendly Activity: This recipe is incredibly simple, making it a wonderful kitchen project for children of all ages. They can help with coloring the coconut, unwrapping candies, and assembling the layers, fostering creativity and a love for cooking.
- Unique & Memorable: While classic cookies are always appreciated, these hamburger cookies offer a unique twist that stands out. Guests will remember these fun, creative treats long after the party is over.
- Customizable: While we stick to classic burger colors here, you could get creative with other candy melt colors or cookie variations to match different themes or preferences.
Essential Hamburger Cookie Ingredients
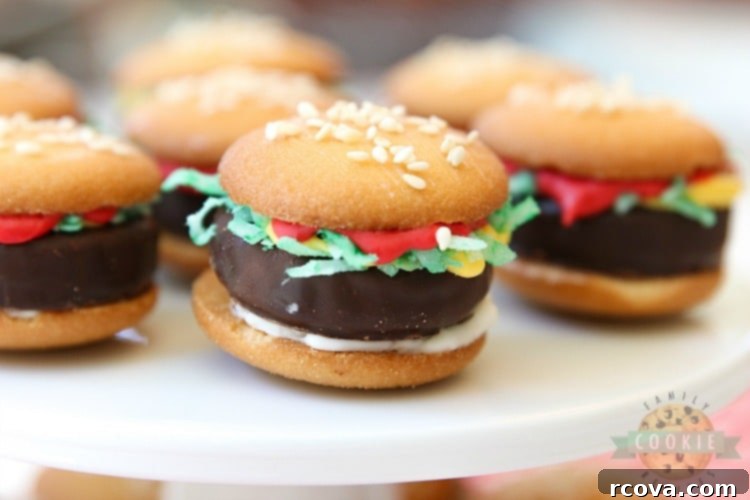
Creating these delightful no-bake hamburger cookies requires a few simple, readily available ingredients. Here’s what you’ll need to transform ordinary treats into extraordinary mini burgers:
- Nilla Wafers: You will need 40 Nilla Wafer cookies. These serve as the perfect “buns” for your mini hamburgers, providing a classic vanilla flavor and a firm base. This quantity will yield 20 assembled hamburger cookies.
- York Peppermint Patties: For the “meat” of this cookie burger, use 20 mini York Peppermint Patty candies. Their dark chocolate coating and refreshing minty interior offer a delightful contrast and a distinctive flavor that makes these cookies truly unique.
- Sweetened Shredded Coconut: To beautifully mimic the crisp lettuce on a burger, you’ll need ¼ cup of sweetened shredded coconut. Its texture is ideal for creating that leafy green effect.
- Green Food Coloring: Just a few drops of green food coloring are essential to dye the coconut, transforming it into realistic-looking lettuce for your mini burgers.
- Yellow Candy Melts: To craft the “mustard” element on your hamburger cookie, prepare ⅓ cup of yellow candy melts. These melts provide a smooth, vibrant drizzle that sets quickly.
- Red Candy Melts: For the “ketchup” component, you will use ⅓ cup of red candy melts. The bright red adds another authentic touch to the mini burger aesthetic.
- White Candy Melts: No burger is complete without a hint of “mayonnaise”! Use ⅓ cup of white candy melts to create this classic condiment layer on your cookie.
Pro Tip on Candy Melts: Candy Melts are widely available in a variety of colors and can be found at most craft stores, as well as larger grocery stores. While smaller grocery stores might have a limited selection, a craft store will typically offer a broader range of colors, ensuring you find the exact yellow, red, and white you need. If you happen to struggle finding specific colored candy melts, don’t fret! You can easily dye white chocolate with a few drops of food coloring to achieve your desired hues.
- Butter: You’ll need 1 tablespoon of butter, melted. This will be lightly brushed on the top “bun” (the Nilla Wafer) before adding the sesame seeds, helping them adhere.
- Sesame Seeds: For the finishing touch, reminiscent of a real hamburger bun, you will need 1 teaspoon of sesame seeds. These add a crucial visual detail to these hamburger-themed cookies.
How to Make Easy No-Bake Hamburger Cookies
Prepare the Candy Melts (Mustard, Mayo, Ketchup)
The first step is to prepare your colorful candy melts, which will act as your “condiments.”
- Begin by placing the required amount of yellow, red, and white candy melts into separate small zip-top bags or piping bags. Securely close each bag.
- Lay each bag flat in the microwave. Heat each bag separately for 1 minute and 30 seconds. It’s crucial to heat them individually to ensure even melting and prevent scorching.
- After heating, remove the bag and let it sit on the counter, ideally covered with a towel, for 2 minutes. The residual heat will continue to melt the candy, helping it become smooth.
- After 2 minutes, gently massage each bag to mix the melted candy and ensure it’s completely smooth. If any lumps remain, return the bag to the microwave for additional 15-second increments, massaging after each, until fully melted and smooth.
- Once all candy melts are warm and perfectly smooth, snip a very small corner off each bag. This small opening will allow for precise drizzling during assembly.
Assemble the Mini Burger Cookies
Now for the fun part – assembling your adorable cookie burgers!
- Prepare the “Lettuce”: Measure out the shredded coconut into a measuring cup or small bowl. Add just a couple of drops of green food coloring. Start with 2 drops, stir thoroughly, and then assess if it’s the desired light green shade to resemble lettuce. You want a subtle, fresh green, and typically 2 drops should achieve this. Add more one drop at a time if a darker shade is desired.
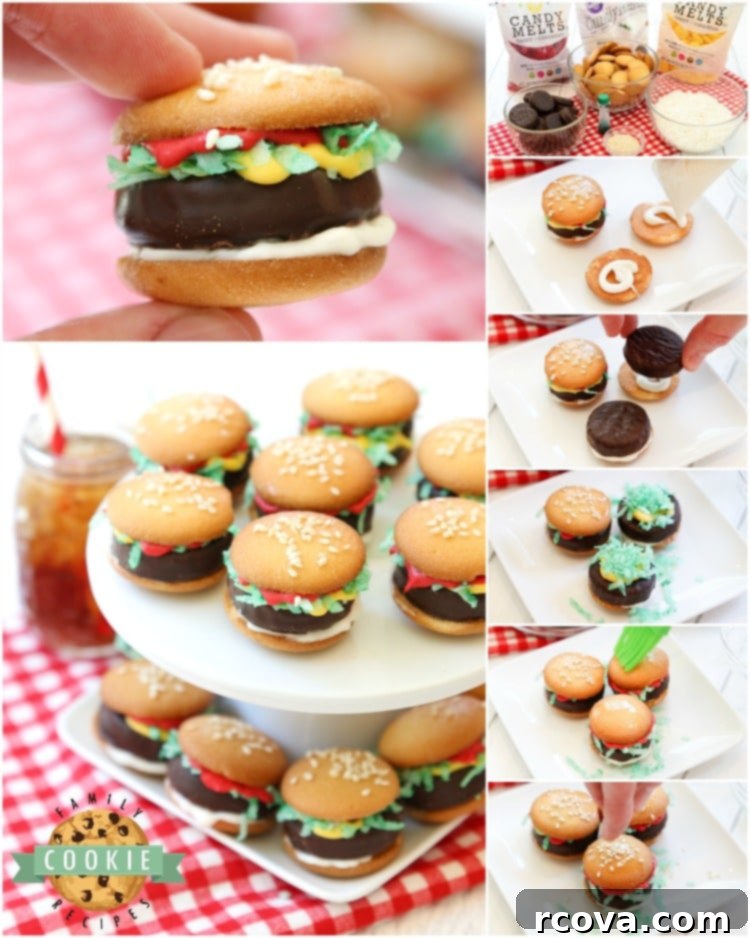
- Lay Out the “Bottom Buns”: Lay a piece of parchment paper on a baking sheet to prevent sticking and make cleanup easier. Arrange 20 Nilla Wafer cookies on the parchment paper, flat side up. These will serve as the bottom buns of your hamburgers.
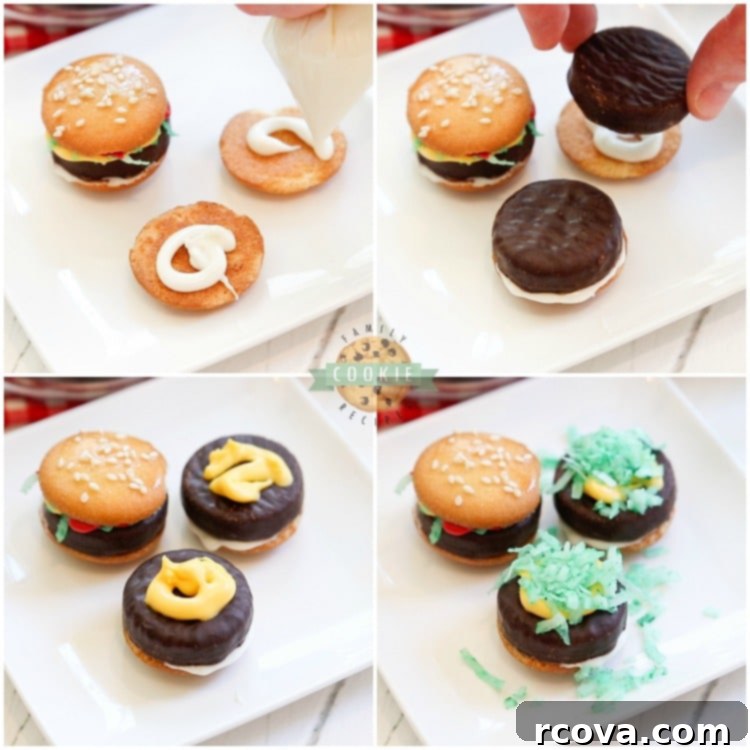
- Add “Mayo” and “Meat”: Swirl a small amount of the white melted chocolate (your “mayonnaise”) onto the flat side of each Nilla Wafer. Immediately press a mini York Peppermint Patty onto the center of the white chocolate, allowing some of the white chocolate to peek out around the edges, simulating mayo.
- Layer with “Mustard” and “Lettuce”: Next, add a small swirl of yellow melted chocolate (your “mustard”) to the top of each peppermint patty. On top of the yellow chocolate, gently place a pinch of the green-dyed coconut, creating the “lettuce” layer.
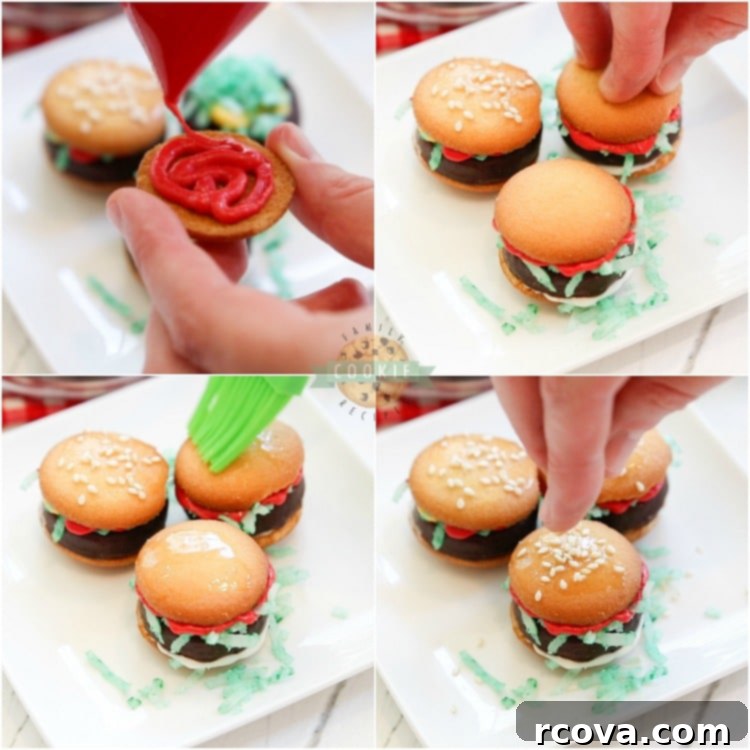
- Add the “Ketchup” Top Bun: Grab the remaining 20 Nilla Wafer cookies. Lay them out flat side up and add a swirl of red melted chocolate (your “ketchup”) to each. Carefully place these “ketchup side down” onto the green coconut layer of your assembled cookie hamburgers. Gently press down to help all the layers adhere and ensure the cookie stays together.
- The Sesame Seed Finish: In a small, microwave-safe bowl, melt 1 tablespoon of butter in the microwave for about 30 seconds. Using a clean pastry brush or a small food-safe brush, lightly brush a tiny amount of melted butter on top of each “top bun” (the Nilla Wafer). Immediately sprinkle about ½ teaspoon of sesame seeds over the buttered surface. The butter helps the sesame seeds stick, giving your cookies that authentic hamburger bun appearance.
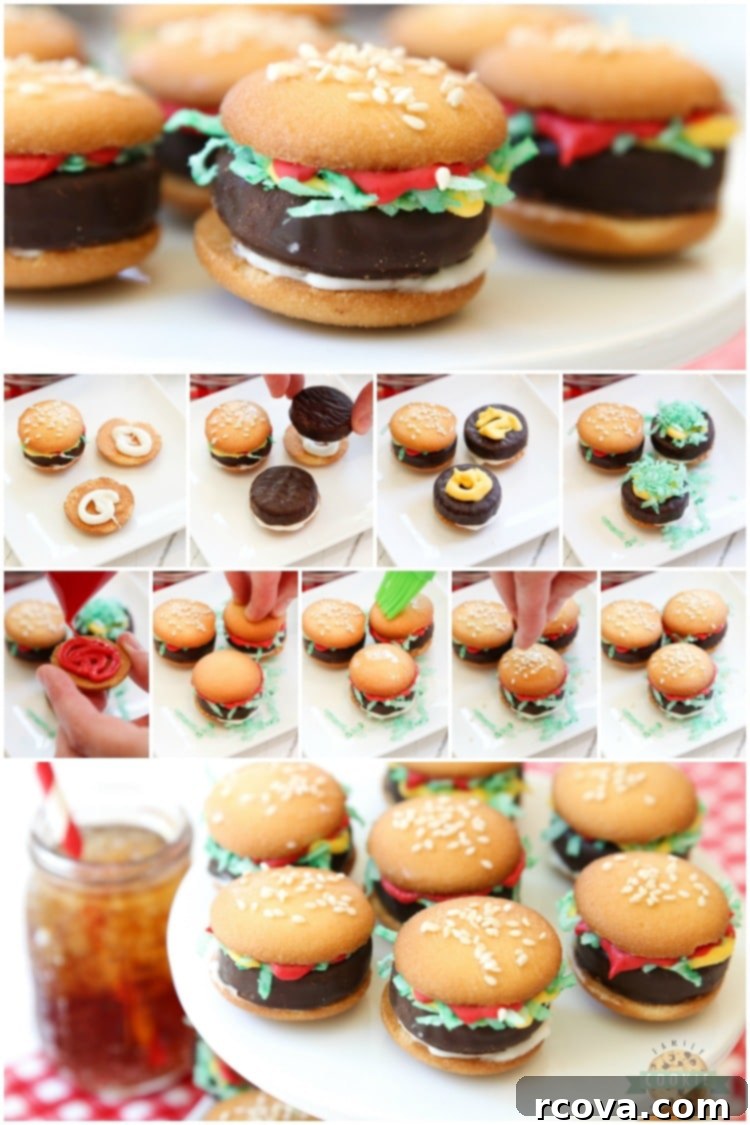
That’s it! Repeat the process for all your remaining cookie burgers. The sesame seeds really add a special touch, so don’t skip this important step. Allow the chocolate to set completely, which can take about 15-30 minutes at room temperature, or speed it up by placing them in the refrigerator for 5-10 minutes. Once set, these delightful treats are ready to be served and enjoyed!
For the best tasting results and to maintain freshness, I recommend eating these charming cookies within 1-3 days. They can be stored in an airtight container at room temperature. However, enjoying them sooner rather than later ensures they taste absolutely fantastic and maintain their perfect texture. Yum!
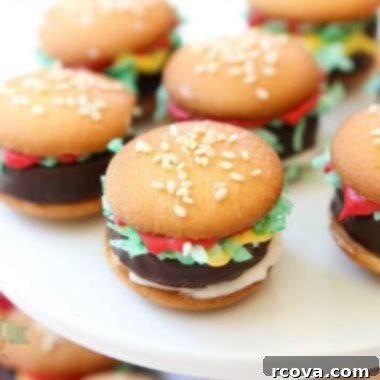
Hamburger Cookies
★
★
★
★
Print Recipe
Pin Recipe
Rate Recipe
Cookies, Dessert, No-Bake Dessert, Treat
American
hamburger cookies, no-bake cookies, mini burgers
10 minutes
10 minutes
20 minutes
20 cookies
257kcal
Jessica & Nellie
Prevent your screen from going to sleep
Ingredients
- 40 Nilla Wafers (for 20 assembled hamburgers)
- 20 Mini York Peppermint Patties
- ¼ cup Sweetened shredded coconut
- 2 drops of green food coloring
- ⅓ cup Yellow candy melts
- ⅓ cup Red candy melts
- ⅓ cup White candy melts
- 1 tbsp Butter (melted)
- 1 tsp Sesame seeds
Instructions
-
Prepare Candy Melts: Place each color of candy melts (yellow, red, white) into separate small zip-top bags or piping bags and securely close. Lay each bag flat in the microwave and heat separately for 1 minute 30 seconds. Remove and let sit on the counter, covered with a towel, for 2 minutes to allow residual heat to melt them further.
-
After 2 minutes, massage each bag to ensure smoothness. If needed, return to the microwave for additional 15-second increments until completely melted and smooth. Once warm and smooth, snip a small corner off each bag, preparing them for assembly.
-
Color the Coconut “Lettuce”: Measure ¼ cup of shredded coconut into a small bowl. Add 2 drops of green food coloring and stir well until the coconut is evenly and lightly green, resembling lettuce. Add more drops if a darker shade is desired.
-
Assemble Bottom Bun with “Mayo” & “Meat”: Lay a piece of parchment paper on a baking sheet. Arrange 20 Nilla Wafer cookies, flat side up, as your bottom buns. Swirl white melted chocolate (“mayo”) onto each wafer. Press a mini York Peppermint Patty onto the chocolate, allowing some “mayo” to peek out.
-
Add “Mustard” & “Lettuce”: Next, swirl yellow melted chocolate (“mustard”) onto the top of each peppermint patty. Place a pinch of the green-dyed coconut (“lettuce”) on top of the yellow chocolate.
-
Attach Top Bun with “Ketchup”: Take the other 20 Nilla Wafer cookies. Swirl red melted chocolate (“ketchup”) onto the flat side of each. Place these cookies, ketchup-side down, on top of the green coconut. Gently squeeze the hamburger cookie to secure all layers.
-
Final Touch – Sesame Seeds: In a small bowl, melt 1 tablespoon of butter in the microwave for 30 seconds. Lightly brush a small amount on top of each hamburger cookie (the top wafer) and sprinkle with sesame seeds. Allow chocolate to set completely before serving. Enjoy!
Video
Notes
Nutrition (per cookie)
Carbohydrates: 47g |
Protein: 1g |
Fat: 8g |
Saturated Fat: 5g |
Polyunsaturated Fat: 1g |
Monounsaturated Fat: 1g |
Trans Fat: 0.1g |
Cholesterol: 2mg |
Sodium: 73mg |
Potassium: 62mg |
Fiber: 1g |
Sugar: 35g |
Vitamin A: 21IU |
Vitamin C: 0.01mg |
Calcium: 6mg |
Iron: 0.4mg
Tried this recipe?
Mention @familycookierecipes or tag #familycookierecipes!
How Long Do No-Bake Hamburger Cookies Stay Fresh?
For optimal flavor and texture, it’s best to enjoy these delightful hamburger cookies within 1 to 3 days of making them. While they can be stored longer, consuming them within this timeframe ensures they taste their absolute best. To keep them fresh, store the cookies in an airtight container at room temperature. This prevents them from going stale and keeps the flavors vibrant. You’ll find that the sooner you eat them, the more enjoyable and delicious they will be!
Explore More Fun Cookies Kids Love!
If you and your family enjoyed making and eating these fun mini hamburger cookies, you’ll love exploring other creative and kid-friendly cookie recipes! Here are some more favorites that promise to bring smiles and deliciousness to your kitchen:
- Glazed Donut Cookies
- Jello Sugar Cookies
- Under-the-Sea Cookies
- Watermelon Sugar Cookies
- Flower Pot Cookies
- Hot Chocolate Cookie Cups
These Mini Hamburger Cookies are a testament to how creative and simple no-bake desserts can be. Made from widely available packaged Nilla Wafer cookies, iconic York Peppermint Patties, and colorful melted candy chocolates, this easy no-bake cookies recipe delivers an incredibly cute and festive treat. It’s a guaranteed crowd-pleaser that kids will absolutely adore, making it a perfect addition to any celebration or a fun afternoon activity.
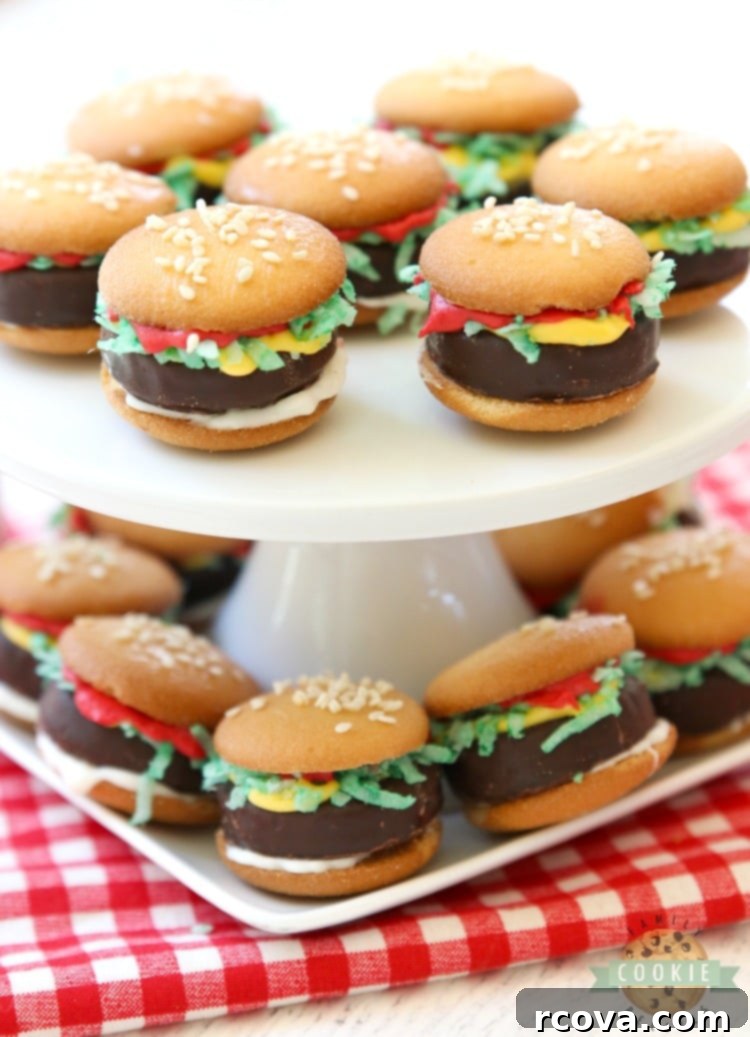


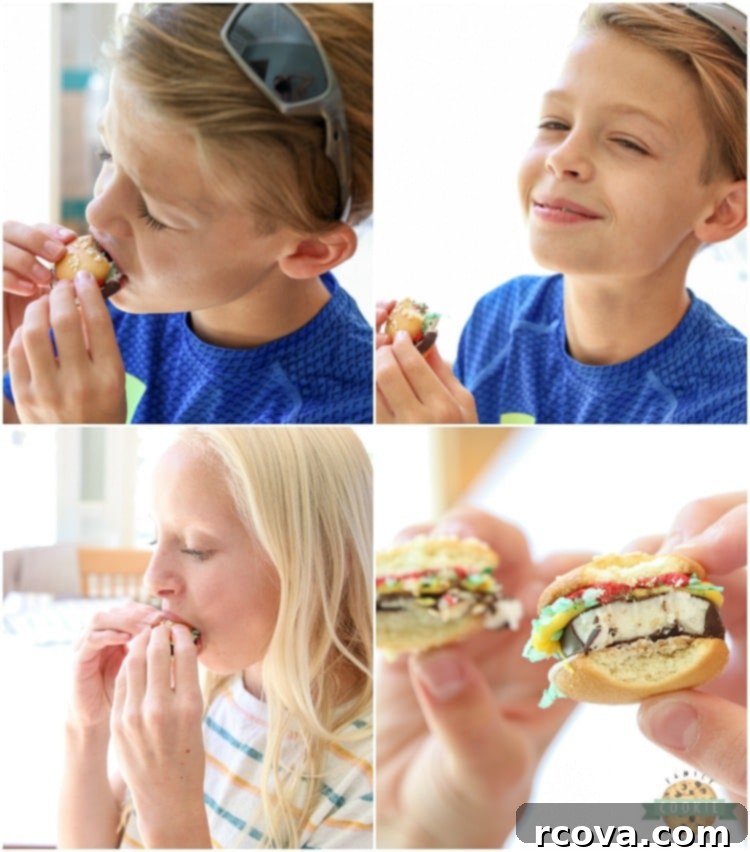
How could I possibly leave out these precious pictures of my kiddos enjoying their delicious creations? Aren’t they just the cutest? Both the cookies and, of course, my amazing children! It’s incredible how fast they’re growing up. When did that even happen?! I cherish these moments, and I love that they’re never too old to have fun in the kitchen, making sweet treats with Mom. These cookies are more than just a dessert; they’re a memory in the making, a simple joy that brings us closer. I hope they bring the same happiness to your family!
