Mastering Meal Prep: The Ultimate Guide to Food Storage, Freshness, and a Free Meal Plan
Welcome to the definitive guide on transforming your kitchen routine with effective meal prep and smart food storage! Discover the best containers and proven tips to keep your food incredibly fresh, reduce waste, and save money. Plus, we’ve included a free, budget-friendly meal prep plan to help you put these strategies into practice immediately.
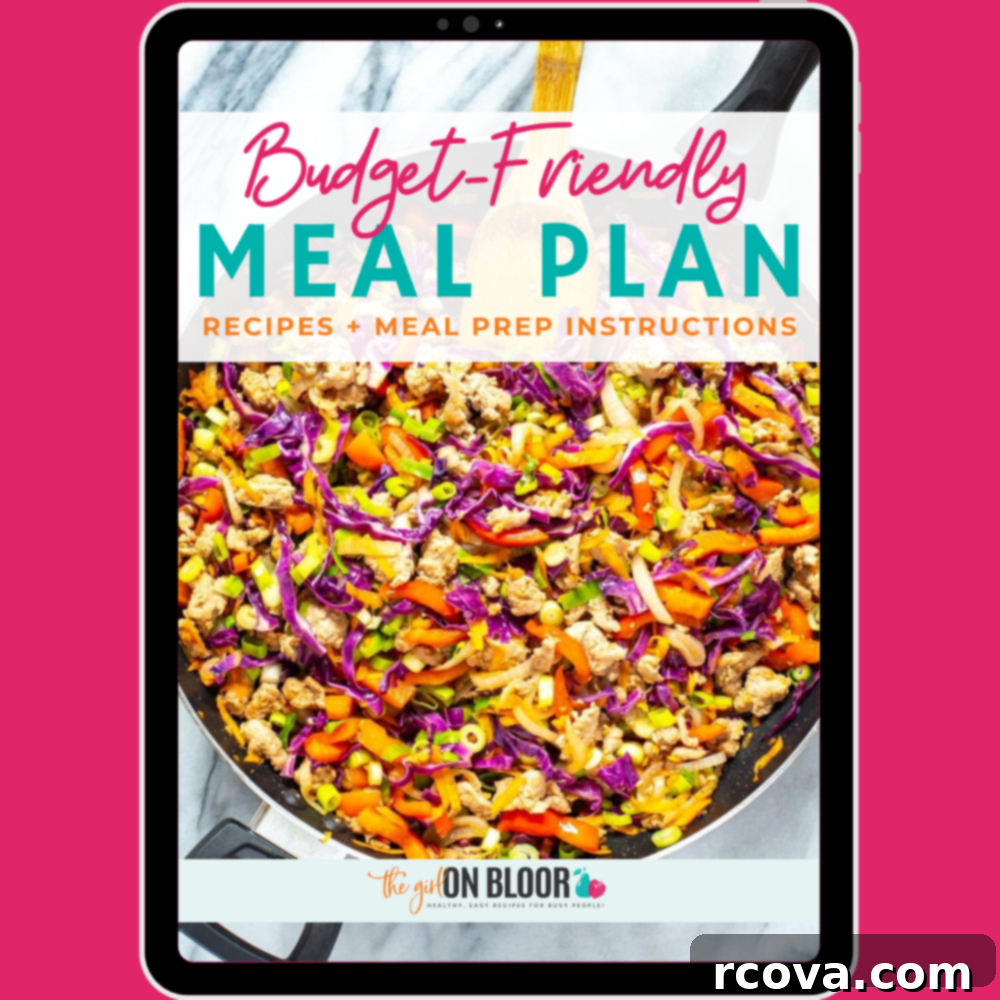
Unlock Your FREE Budget-Friendly Meal Plan!
Imagine saving thousands of dollars on groceries every year while enjoying delicious, healthy meals. My free budget-friendly meal plan ebook provides actionable strategies and tasty recipes to help you achieve just that. Don’t miss out on this incredible resource!
Optimizing Your Food Storage for Maximum Freshness and Savings
In an era where grocery costs are steadily climbing, ensuring the longevity of your food is more crucial than ever. Smart food storage practices are your best defense against spoilage and wasted money. With the right preparation and storage methods, you can significantly extend the shelf life of your ingredients, making them last longer and taste fresher. I’ve gathered my ultimate tips for proper food storage, including my favorite containers that are essential for any meal prep enthusiast.
As an added benefit, this guide also features a free ingredient prep plan. This plan will teach you to utilize your new food storage expertise by preparing all your ingredients at the beginning of the week and storing them efficiently in the fridge until you’re ready to cook. This not only minimizes waste but also dramatically cuts down on daily cooking time, making healthy eating more accessible and enjoyable.
Selecting the Best Food Storage Containers for Longevity
The secret to keeping your food fresh for extended periods often lies in the quality and type of containers you use. I strongly advocate for investing in high-quality food storage containers. They are not merely organizational tools; they are key players in preserving flavor, nutrients, and texture, ultimately making your weekly meal prep much more efficient and effective. A bonus? Your fridge will look incredibly organized and aesthetically pleasing!
I highly recommend acquiring an assortment of containers in various sizes, all equipped with secure lids. A fantastic option is a versatile glass set, such as this Anchor Hocking glass container set. Glass containers are superior to plastic because they don’t absorb food odors or stains, are microwave and oven-safe (without lids), and generally offer a better airtight seal. For maximum flexibility, you might even consider purchasing two sets, ensuring you have one with smaller capacities. This diverse collection of sizes will allow you to store everything from chopped vegetables and cooked grains to sauces and snacks, with lids guaranteeing optimal freshness throughout the week.
Beyond traditional containers, reusable plastic or silicone freezer bags are also fantastic for food storage, especially for items you want to freeze or where space is a premium. I’m a big fan of the Stasher brand for their durability and reusability. The key benefit of these bags is the ability to easily squeeze out excess air before sealing, which significantly reduces oxidation and freezer burn. They are perfect for storing items like pre-chopped vegetables, cooked rice, or quinoa, making them an excellent choice for efficient fridge and freezer organization.
Another staple in my kitchen for liquid storage is an assortment of mason jars. These classic, versatile jars are ideal for keeping homemade sauces, dressings, and marinades fresh. Their airtight seal prevents leaks and preserves flavors, and their clear glass allows you to easily see the contents.
To further equip your kitchen for seamless meal prepping and efficient pantry organization, consider these additional essential items:
- Invest in more glass meal prep bowls specifically designed for individual meal portions and storing leftovers.
- Enhance your dry food storage with the popular OXO Good Grips 20-Piece POP Container Set, perfect for grains, pasta, and snacks.
- For a comprehensive overview of recommended food storage solutions, refer to my full list of best food storage containers.
Mastering Produce Storage: Keep Your Vegetables and Fruits Fresher, Longer
The key to maximizing the life of your fresh produce is understanding how to store each item effectively. For most prepared vegetables and fruits, simple glass containers with airtight lids are your best bet. I emphasize glass because it’s non-porous, meaning it won’t absorb food odors or chemicals from plastic, and it maintains a more consistent temperature, ensuring food stays fresher longer. Glass also allows you to easily see what you have, which helps prevent forgotten items.
Beyond containers, a well-structured meal plan and a prep-ahead checklist are invaluable. They guide you to use prepped ingredients in the most logical order, prioritizing items that spoil quickest. For instance, in the free meal plan provided in this blog post, you’ll find strategies to use chopped lettuce within a day to prevent wilting. This proactive approach dramatically reduces food waste.
Continue reading to discover specific produce storage tips, followed by a detailed example meal plan and a prep-ahead checklist designed to help you store all your fresh ingredients correctly, ensuring they don’t go bad before you can enjoy them.
Essential Produce Storage Tips for Extended Freshness:
- Store romaine lettuce whole in your fridge until you’re ready to use it, ideally a day or two before. Chopping lettuce prematurely exposes more surface area to air, accelerating spoilage. Once chopped, store it in a Ziploc or reusable silicone Stasher bag, ensuring all excess air is squeezed out to maintain crispness.
- Generally, all other washed and chopped vegetables, including vibrant cabbage, nutritious sweet potatoes, colorful bell peppers, pungent onions, florets of broccoli and cauliflower, and tender zucchini, will maintain their quality for up to 5 or 6 days in the fridge when stored in an airtight glass container with a lid.
- To prevent discoloration and maintain texture, store diced potatoes in a glass container completely submerged in water. This method prevents oxidation, which causes browning.
- Similarly, keep cut up apples fresh by storing them in a glass container filled with water. A squeeze of lemon or lime juice can also be added to the water for extra browning prevention.
- Once opened, preserve avocados by storing them in a Ziploc or silicone Stasher bag. Squeeze out as much air as possible. Sprinkling a little lemon or lime juice directly onto the exposed flesh also works wonders in preventing browning due to oxidation.
- Extend the life of your fresh herbs significantly by treating them like a bouquet of flowers. Place them stem-down in a glass with a small amount of water, then cover loosely with a plastic or reusable bag. This creates a mini-greenhouse effect, keeping them vibrant for up to two weeks.
- For delicate greens like spinach, arugula, and other leafy greens, add a slightly damp paper towel overtop before sealing the container. This provides a humid environment that prevents them from drying out and wilting too quickly.
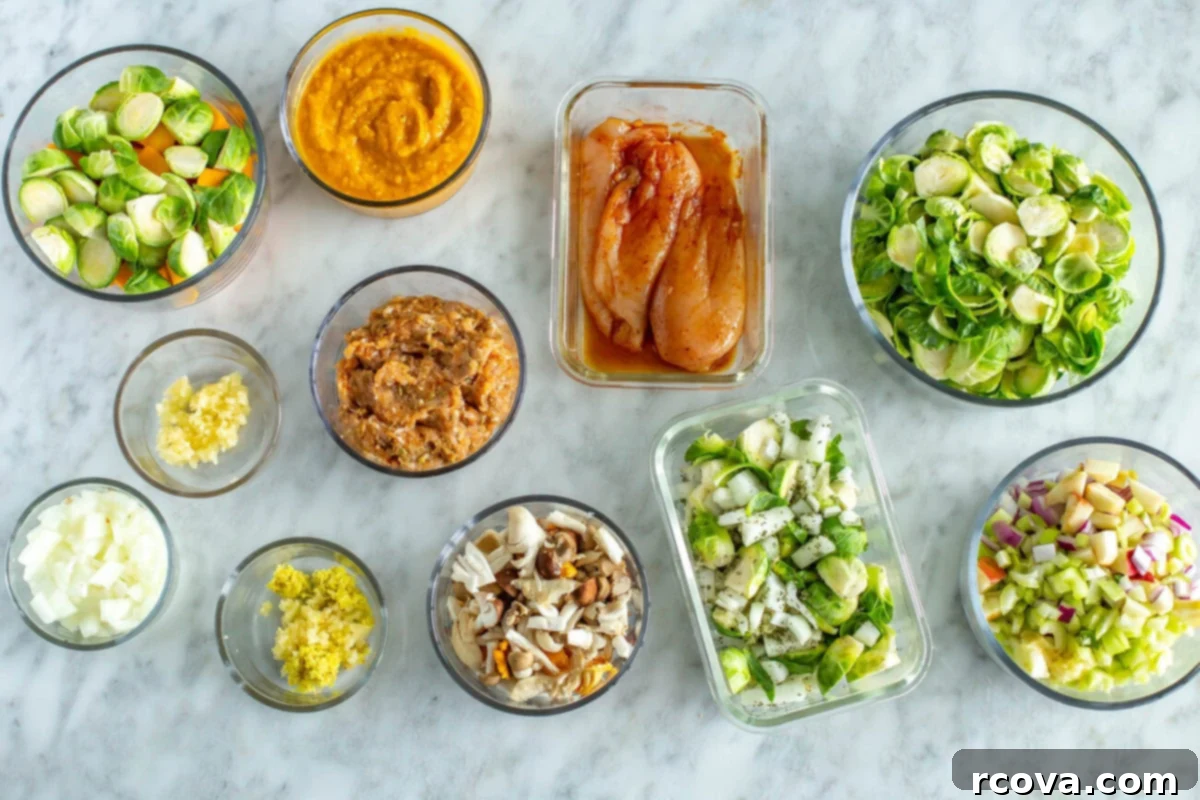
Your Weekly Meal Plan: Delicious & Efficient
This carefully curated meal plan is designed to make your weeknights easier and your meals tastier. Follow this structure to maximize your prep efforts and minimize cooking time.
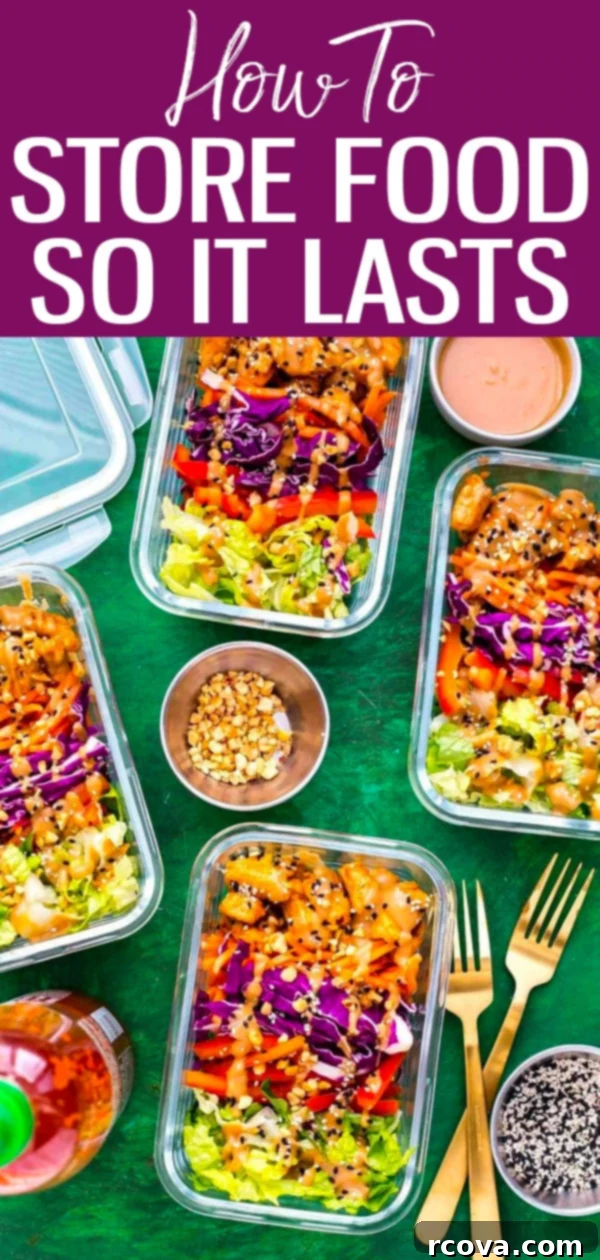
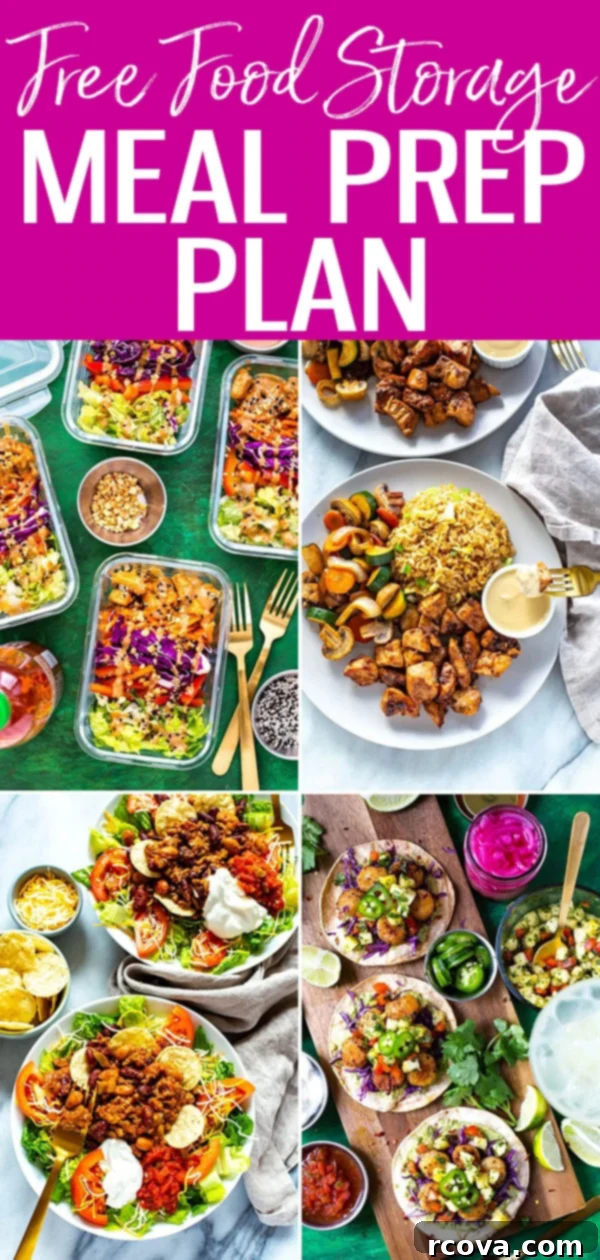
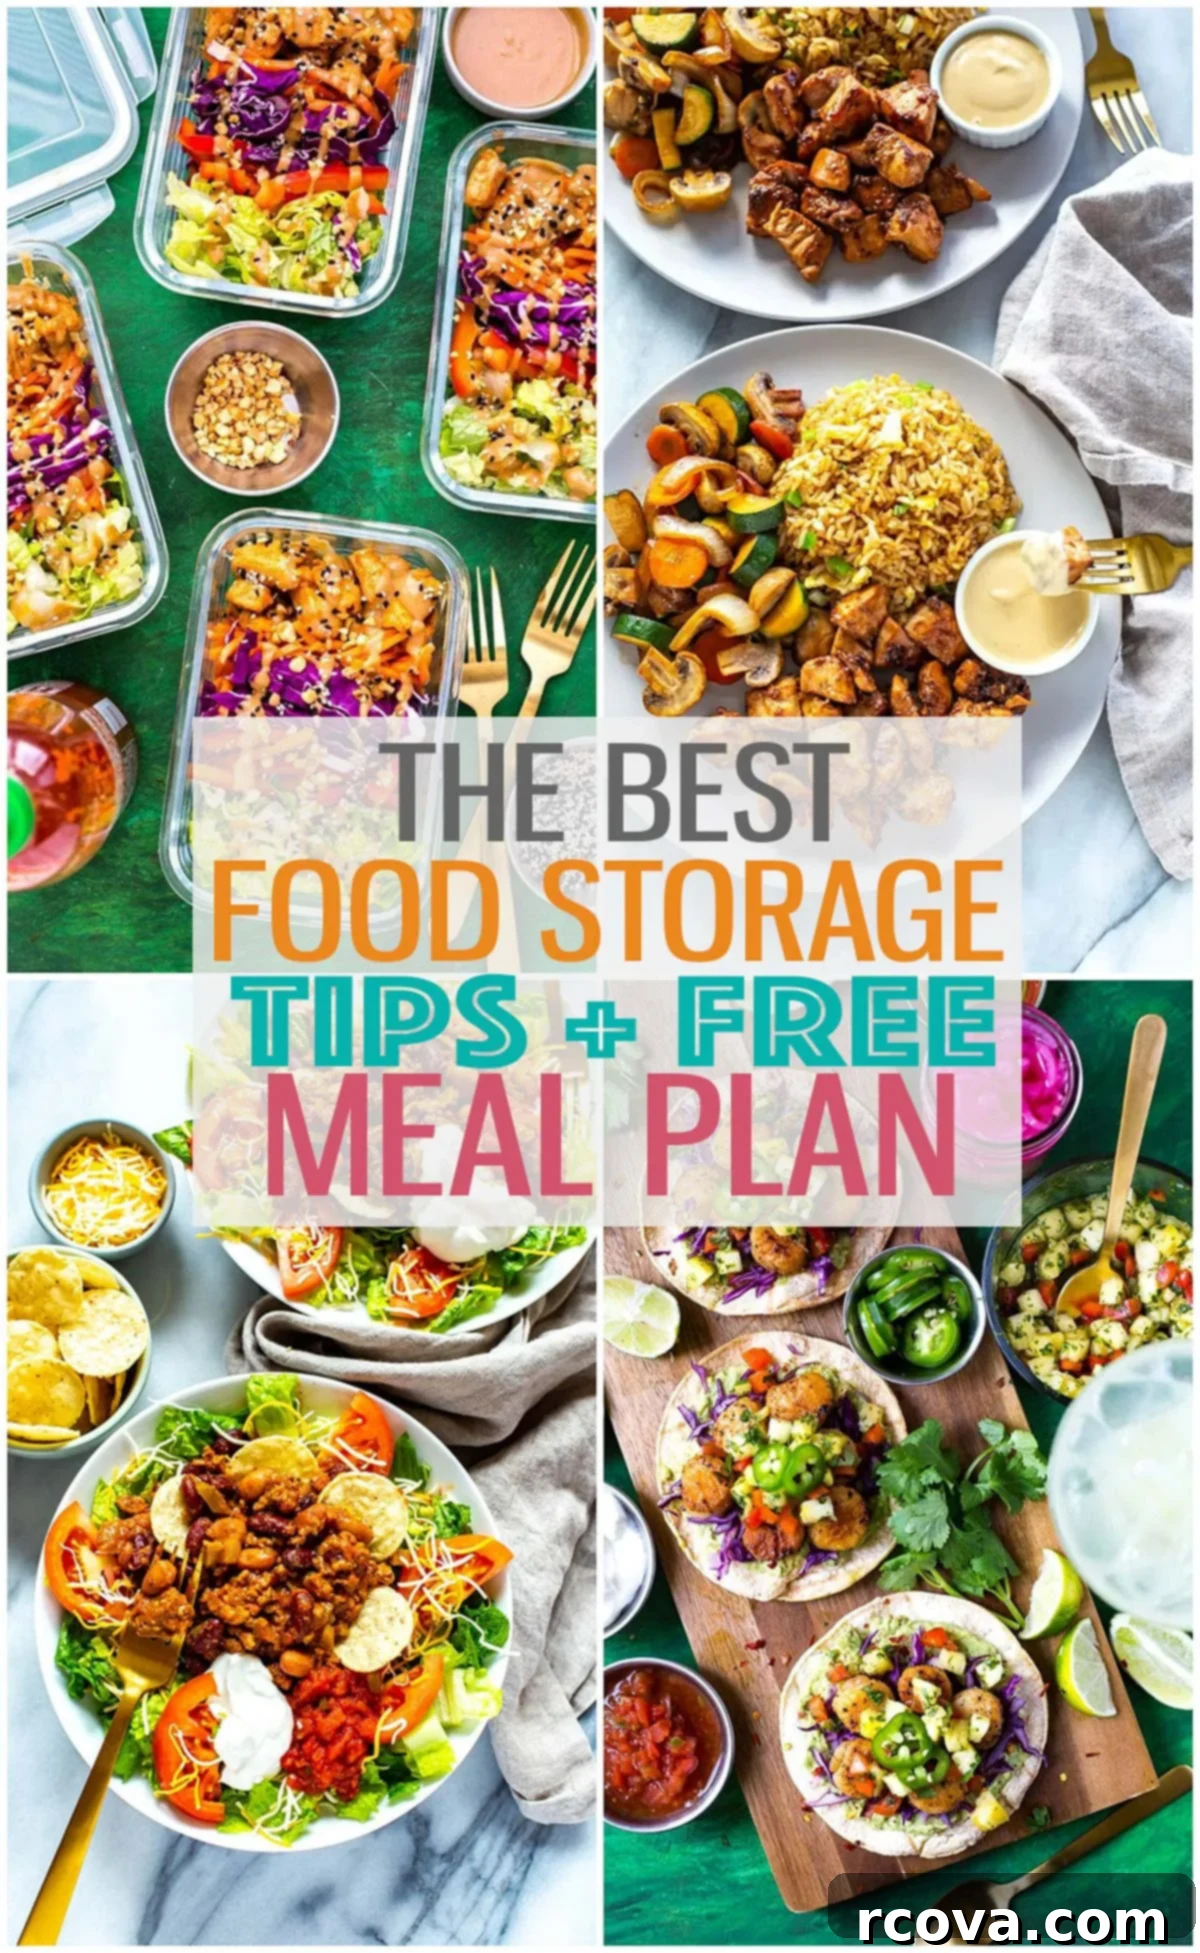
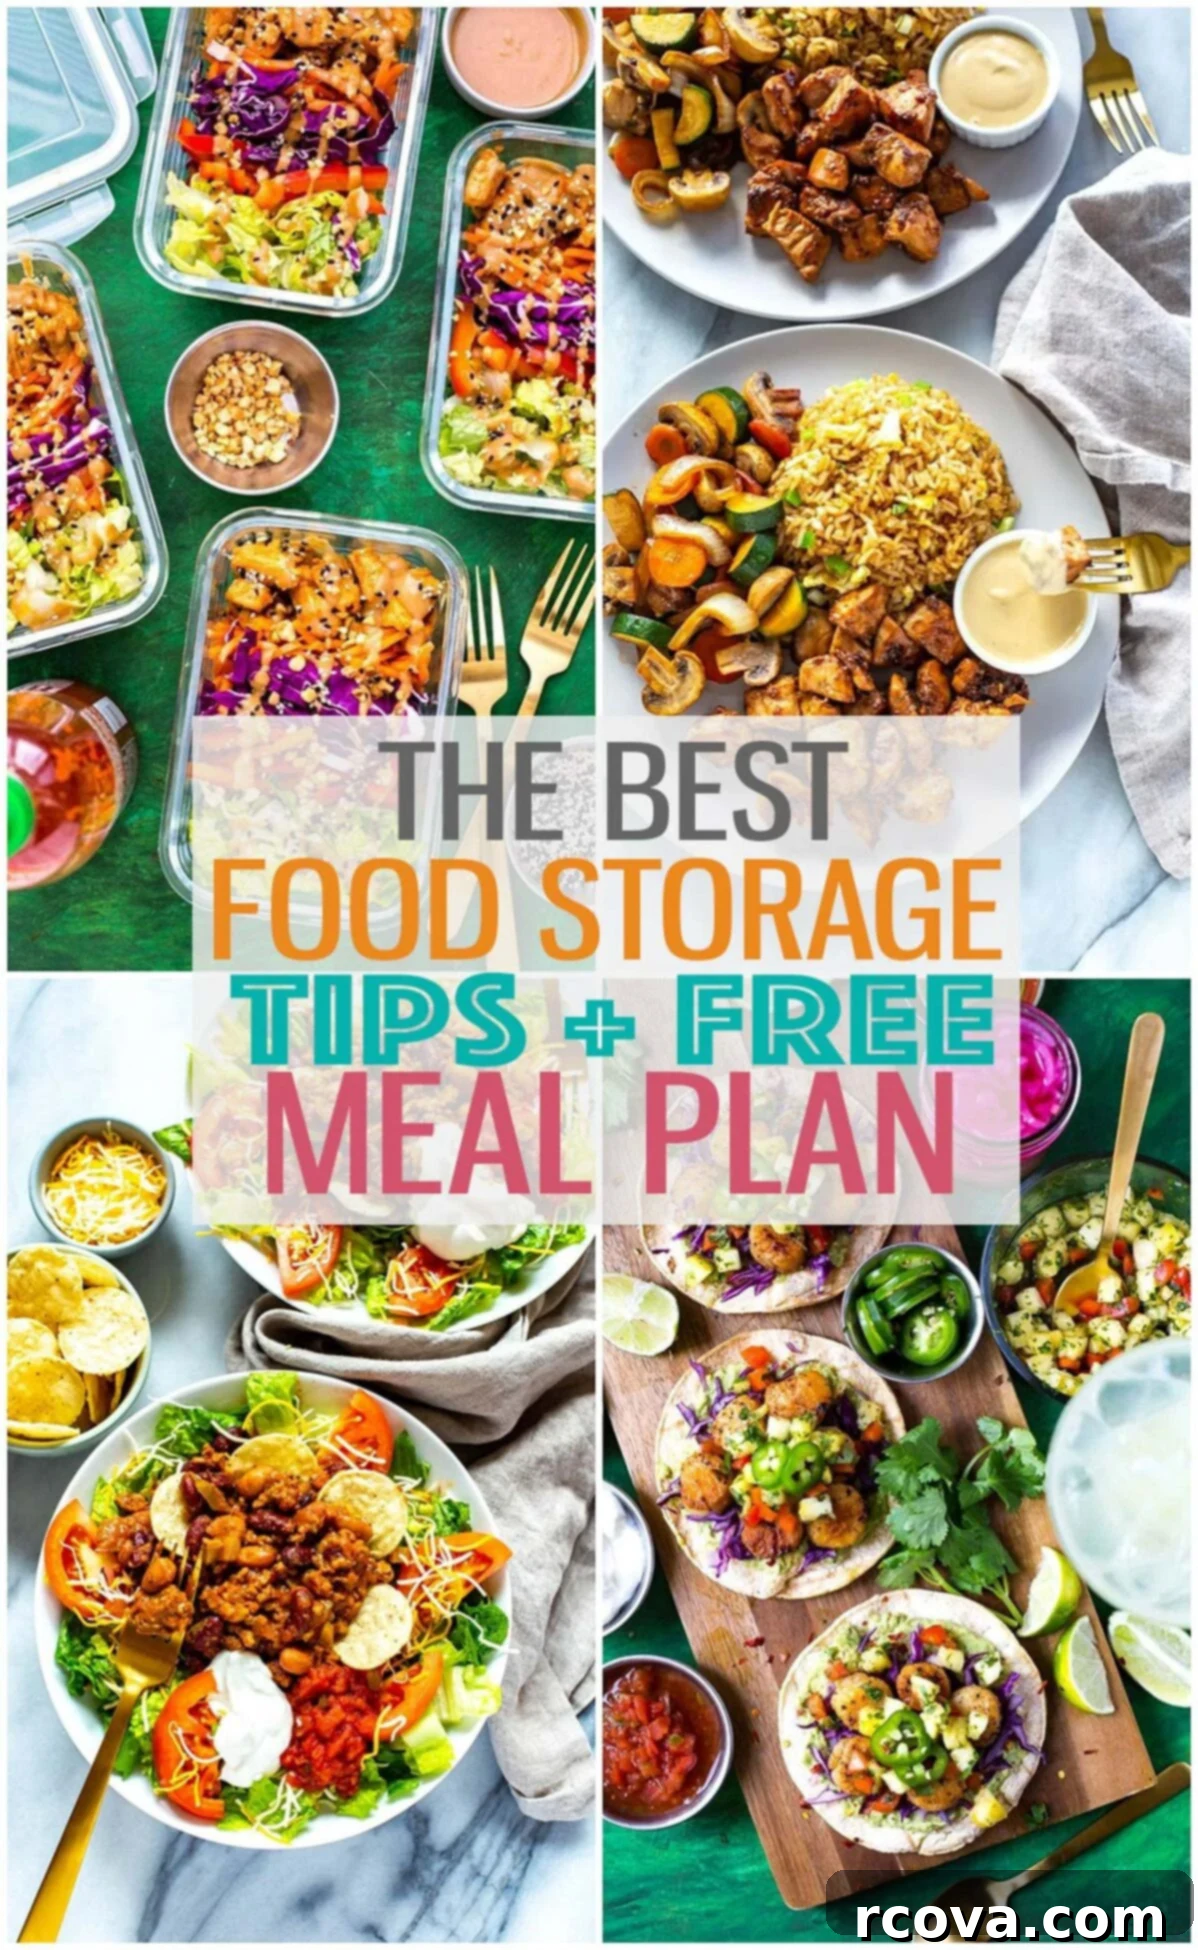
Monday night: Savor the flavors of easy Peanut Chicken Bowls
Tuesday night: Enjoy vibrant Scallop Tacos with Fresh Pineapple Salsa
Wednesday night: A delightful homemade version of Hibachi Chicken
Thursday night: A satisfying and hearty Wendy’s Taco Salad Copycat
Friday night: Time for delicious leftovers, a quick and easy meal, or a well-deserved dinner out!
See These Recipes Come to Life: Watch My YouTube Video!
Want a visual guide to crafting these amazing meals? My YouTube video demonstrates exactly how to prepare each recipe from this meal plan, offering valuable tips and techniques to ensure your meal prep is a success. Click play and cook along!
The Streamlined Ingredient Prep Ahead Plan for Your Week
Execute this prep-ahead plan on Sunday to set yourself up for a week of quick, healthy, and delicious meals. By following the steps in the order listed, you’ll efficiently prepare ingredients that will then be easily pulled out for each evening’s recipe. This strategic approach will slash your nightly cooking time to a mere 15 to 20 minutes, allowing you more free time and less kitchen stress! If you find this plan helpful and are looking for even more ways to simplify your meal routine, remember to download another free, budget-friendly meal plan to keep the momentum going.
Grains: The Foundation of Your Meals
- Begin by preparing the rice for your Hibachi Chicken. Combine 1 cup of rice with 1 1/2 cups of water, a pinch of salt, and 1 tsp of butter in a rice cooker or a pot on the stove. Cook until all the liquid has been fully absorbed and the rice is fluffy. It’s crucial to allow the rice to cool completely for about an hour before transferring it to an airtight container or placing the entire rice cooker pot directly into the fridge. This prevents condensation that can make the rice soggy and ensures food safety.
Sauces: Flavor Boosters for Your Dishes
- Craft the delectable Hibachi Chicken sauce by mixing together 1/2 cup light mayo, 1 tbsp soy sauce, 1 tbsp rice vinegar, and 1 tbsp dijon mustard. Whisk until smooth, then store in a small container or a sealed mason jar in the fridge. This allows the flavors to meld beautifully.
- Prepare the rich Peanut Chicken sauce by combining 1/3 cup peanut butter, 1 tbsp soy sauce, 1 tbsp lime juice, 1 tbsp honey, 1 tsp dried ginger, and 1/4 cup water. Mix thoroughly and store in a small container or mason jar. Pre-making this sauce ensures it’s ready to enhance your Monday night meal with minimal effort.
Veggies: Freshness Ready to Go
- For the Hibachi Chicken, peel and thinly slice 1 carrot, slice 1 cup of mushrooms, dice 1 yellow onion, and chop 1 zucchini. Store these prepared vegetables together in a large airtight glass container. This keeps them crisp and ready for cooking.
- Mince 8 cloves of garlic. Divide this potent flavor enhancer: store half in a small container specifically for the fried rice component of the Hibachi Chicken, and the other half will be added to the chicken marinade for depth of flavor.
- Slice 4 green onions into thin rounds. Place these in a small container, ready to be sprinkled over the fried rice in your Hibachi Chicken bowls as a fresh garnish.
- Prepare the fresh components for your Peanut Chicken: thinly slice 1 cup red cabbage, dice 1 red pepper, and chop 1 cup of romaine lettuce. Store the sliced cabbage and red pepper in a medium to large airtight container. The chopped lettuce, which is more delicate, should be stored separately in a reusable silicone bag with all the air squeezed out to maintain its crunch.
- For the Scallop Tacos, slice 1 cup red cabbage and thinly slice 1 jalapeno pepper (remove seeds for less heat, if preferred). Store both in a medium-sized container.
- Create your vibrant pineapple salsa: dice 1 cup fresh pineapple, 1/2 a red pepper, and 1 small red onion. Mix these in a medium-sized bowl with 1 tbsp lime juice, 2 tbsp freshly chopped cilantro, and 1/2 tsp salt. Transfer to a sealed container, ready to bring a burst of flavor to your Scallop Tacos.
- Prepare a simple mashed avocado: mash 1 avocado in a small to medium-sized container, then mix with 1 clove of minced garlic, 2 tsp lime juice, and a pinch of salt. The lime juice helps prevent browning.
- For the Wendy’s Taco Salad, dice 2 small yellow onions and 3 stalks of celery, and mince 2 cloves of garlic. Combine these aromatics in a medium-sized container, making your base ready for assembly.
Proteins: Pre-Marinated for Peak Flavor
- Transform 1 lb of chicken breasts by cutting them into 1-inch pieces. Place them in a medium-sized container. Add 1 tbsp sesame oil, 2 tbsp soy sauce, 2 tbsp hoisin sauce, 4 cloves of minced garlic (from the earlier prep), and 1 tsp minced ginger. Stir everything thoroughly to ensure the chicken is well-coated, then store in the fridge. This marinade will infuse the chicken with incredible flavor for your Hibachi Chicken.
- Cut another 1 lb of chicken breasts into 1-inch pieces and place them in a separate medium-sized container. This plain chicken will be used for your Peanut Chicken meal, allowing you to add the sauce right before cooking.
If you’re loving the convenience and efficiency of this meal prep plan and are eager for more resources, don’t forget to download another free meal plan here. It’s packed with fresh ideas to keep your meal prep exciting and sustainable.
Curious about how long your carefully prepped meals will stay fresh and delicious? Check out this detailed post to find out exactly how long meal prep lasts, ensuring you enjoy every bite safely and flavorful!
