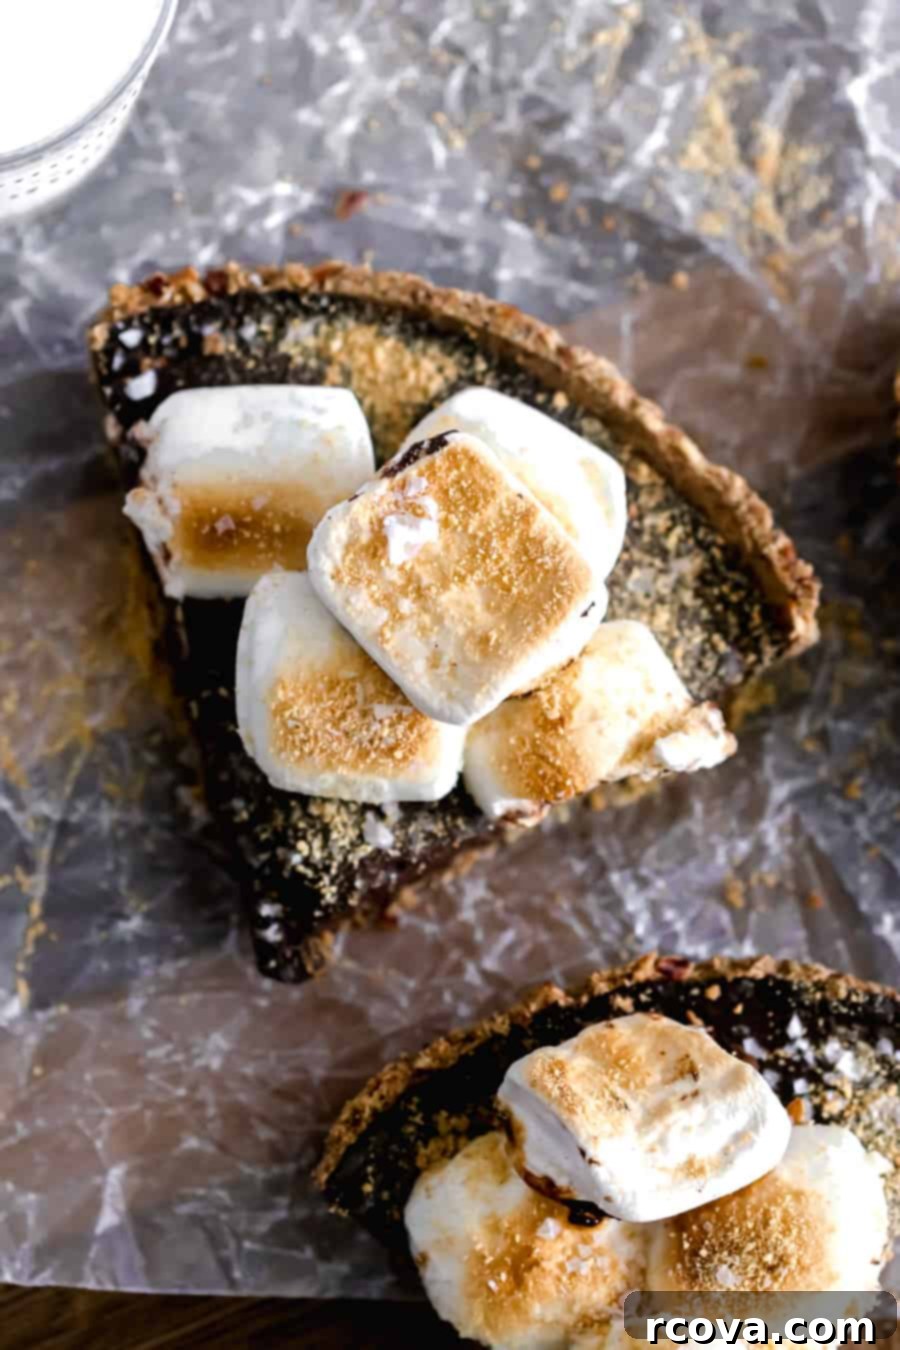
Decadent Homemade Paleo S’mores Pie: Your Ultimate Summer Dessert
Craving the nostalgic taste of gooey s’mores but without the campfire or the heat? This Homemade S’mores Pie is your dream summer dessert come true! Imagine a rich, silky smooth chocolate pudding filling, nestled in a crisp, buttery graham cracker crust, all crowned with perfectly toasted marshmallows. Best of all, this recipe features a cleaned-up, paleo-friendly filling that’s free of refined sugars, making it a delightfully decadent yet wholesome treat. It’s truly an insanely delicious way to enjoy the classic s’mores flavors, no matter the weather!
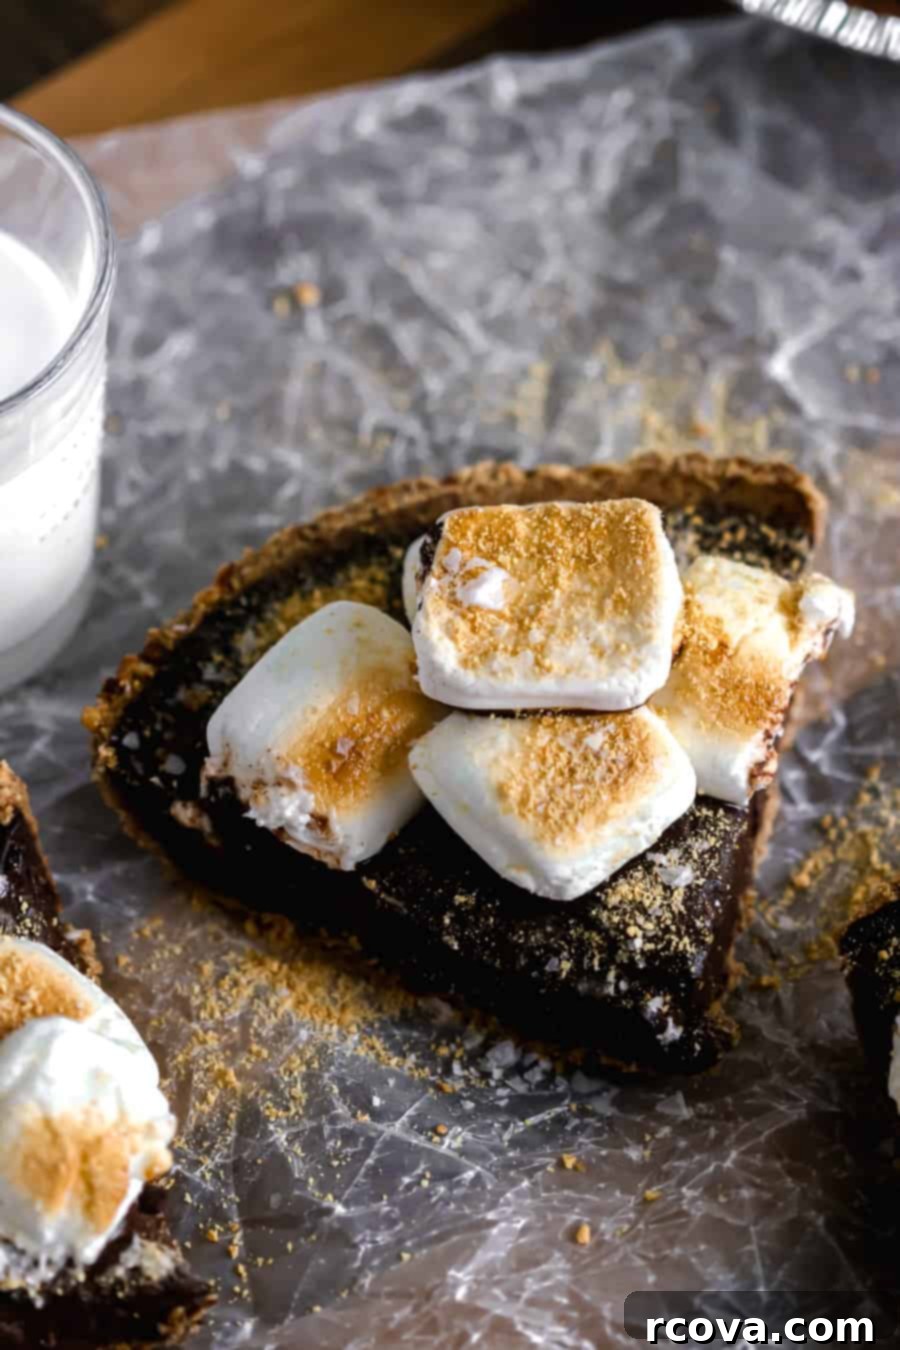
The Irresistible Allure of S’mores, Reimagined as a Pie
There’s something magical about a campfire s’more – the crackling fire, the perfectly golden-brown marshmallow, the melting chocolate, and the crisp graham cracker. It’s a quintessential summer experience that brings back cherished memories for many. However, factors like unpredictable weather, living in warmer climates (like Florida, where backyard fires are often a no-go in the summer heat!), or simply not having access to a fire pit can make enjoying this classic treat challenging.
That’s where this incredible S’mores Pie comes in. It captures all the beloved flavors and textures of a traditional s’more, transforming them into an elegant, easy-to-make dessert that requires no open flame for its primary assembly. This means you can indulge in that delightful combination of chocolate, marshmallow, and graham cracker any time, anywhere. It’s the ultimate solution for satisfying those s’mores cravings when a campfire isn’t an option, or when you’re looking for a slightly more sophisticated, yet still incredibly fun, dessert to share with friends and family.
Why This Homemade S’mores Pie is a Must-Try
While classic s’mores are undeniably delicious, this pie offers several advantages that make it a standout dessert. Firstly, its convenience is unmatched. No need to gather sticks, build a fire, or contend with sticky fingers from individual s’mores. This pie is prepped, chilled, and ready to slice and serve, making it perfect for entertaining or a relaxed family treat. The homemade graham cracker crust adds an authentic, rich base, though we’ve also included options for a quick store-bought crust if you’re short on time.
What truly sets this S’mores Pie apart is its “cleaned-up paleo filling.” We’ve opted for wholesome ingredients, ditching refined sugars without compromising on flavor or richness. The chocolate pudding filling is unbelievably decadent, made with natural sweeteners like maple syrup and the creamy goodness of unsweetened coconut milk. This thoughtful approach ensures that you can enjoy a truly indulgent dessert that also aligns with a more mindful eating philosophy. It’s a dessert you can feel good about serving, offering pure enjoyment with every luscious bite. It’s rich, insanely delicious, and surprisingly straightforward to prepare – you’ll want to make it all summer long!
Essential Ingredients for Your Perfect S’mores Pie
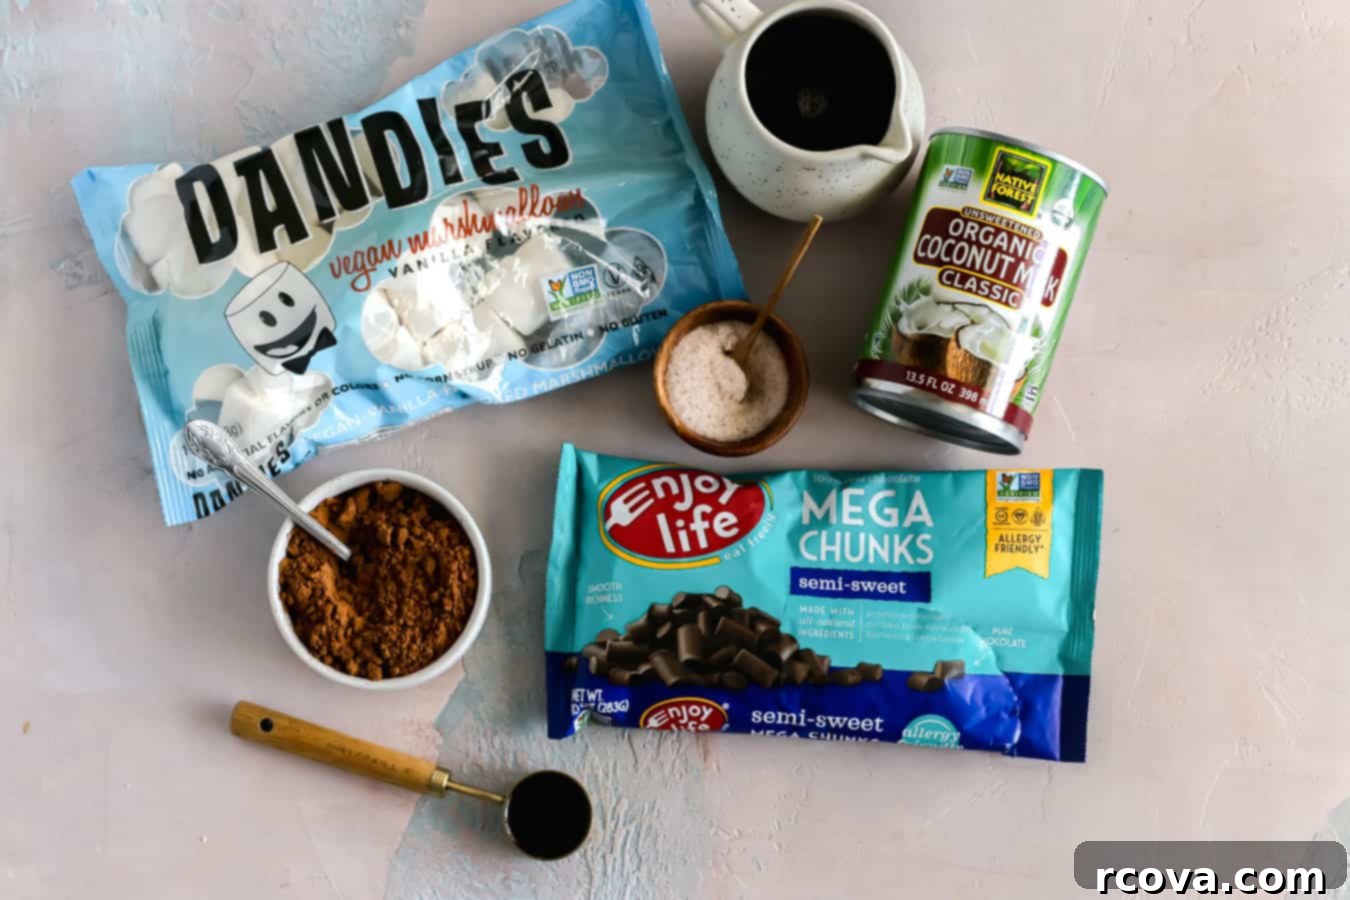
Crafting this simple yet spectacular S’mores Pie relies on a few key components that come together to create a truly unforgettable dessert. The decadent, pudding-like filling is not only incredibly tasty and rich but also features a “cleaned-up” profile, making it free of refined sugars, aligning with paleo principles. Here’s a detailed look at what you’ll need:
For the Graham Cracker Crust:
- Graham Crackers: You’ll need about 1 ½ cups of crushed graham crackers, which typically equates to about 10 full sheets. For a truly paleo or gluten-free version, look for paleo-friendly or gluten-free graham crackers, or consider a nut-based crust as an alternative.
- Melted Ghee (or Butter): Ghee, clarified butter, is preferred for a paleo-friendly crust due to its pure fat content and rich flavor. However, unsalted butter works perfectly well if ghee isn’t available or if you’re not strictly adhering to paleo guidelines. Ensure it’s melted to bind the crumbs effectively.
While making your own graham cracker crust is always recommended for the freshest taste and best texture, there are times when convenience calls. You can certainly use a store-bought pie crust if you’re short on time. If choosing a pre-made crust, examine the ingredient list carefully. Some nut-based crusts, like this one from Diamond Nuts, often offer a much better ingredient profile than typical store-bought graham cracker crusts, which can contain high fructose corn syrup and other unwanted additives. The choice is yours!
For the Chocolate Pudding Filling (Paleo & Refined Sugar-Free):
This is where the magic happens! This smooth, rich chocolate pudding is the heart of our S’mores Pie.
- 1/3 cup Maple Syrup: This natural sweetener provides the perfect touch of sweetness without any refined sugars, aligning with our paleo-friendly goals.
- 3 tablespoons Tapioca Starch (or Cornstarch): Tapioca starch is an excellent grain-free thickener, ideal for paleo baking. If paleo isn’t a concern, cornstarch can be used as a direct substitute to achieve that wonderfully thick, pudding-like consistency.
- 1/3 cup Cocoa Powder: Use unsweetened cocoa powder for a deep, rich chocolate flavor. This also allows you to control the sweetness with the maple syrup.
- Pinch of Sea Salt: A small amount of salt enhances the chocolate flavor, balancing the sweetness and adding depth.
- 1 – 13.5 ounce can Unsweetened Coconut Milk: Full-fat unsweetened coconut milk is crucial for the creamy, luxurious texture of the pudding. It also keeps the filling dairy-free, contributing to the paleo profile.
- 1 tablespoon Vanilla Extract: Pure vanilla extract adds warmth and depth to the chocolate flavor, a classic pairing.
- 3 ounces Semi-Sweet Chocolate Chips: Opt for high-quality semi-sweet chocolate chips. For a strictly paleo version, look for chocolate chips sweetened with alternative sugars like coconut sugar or stevia, or simply use a high-quality dark chocolate bar (70% or higher cocoa content) chopped into small pieces.
For the Topping:
- Marshmallows: Standard large or mini marshmallows work perfectly. For a refined sugar-free or vegan option, seek out specialty marshmallows made with alternative sweeteners or plant-based gelatin.
Step-by-Step Guide to Making This Delicious S’mores Pie
Don’t let the decadent appearance fool you; this easy s’mores pie comes together with just a few simple steps. Each stage requires minimal preparation time, making the hardest part the patient wait for the luscious chocolate pudding to firm up in your refrigerator! Follow these detailed instructions for a perfect pie every time.
- Prepare Your Crust:
If you’re opting for a homemade graham cracker crust (highly recommended!), this is your first step. Begin by pulsing whole graham crackers in a food processor until they are reduced to fine, uniform crumbs. This ensures a consistent texture. Add the melted ghee (or butter) to the crumbs and pulse or stir until thoroughly combined. The mixture should resemble wet sand and hold together when pressed. Firmly press this mixture into a 9-inch pie plate, making sure the bottom and sides are evenly covered. A flat-bottomed measuring cup or the back of a spoon can help you achieve a compact and smooth crust. Place the prepared crust in the freezer for about 10 minutes to chill while you start on the filling. This quick chill helps set the crust and prevents it from becoming soggy.
- Craft the Silky Chocolate Filling:
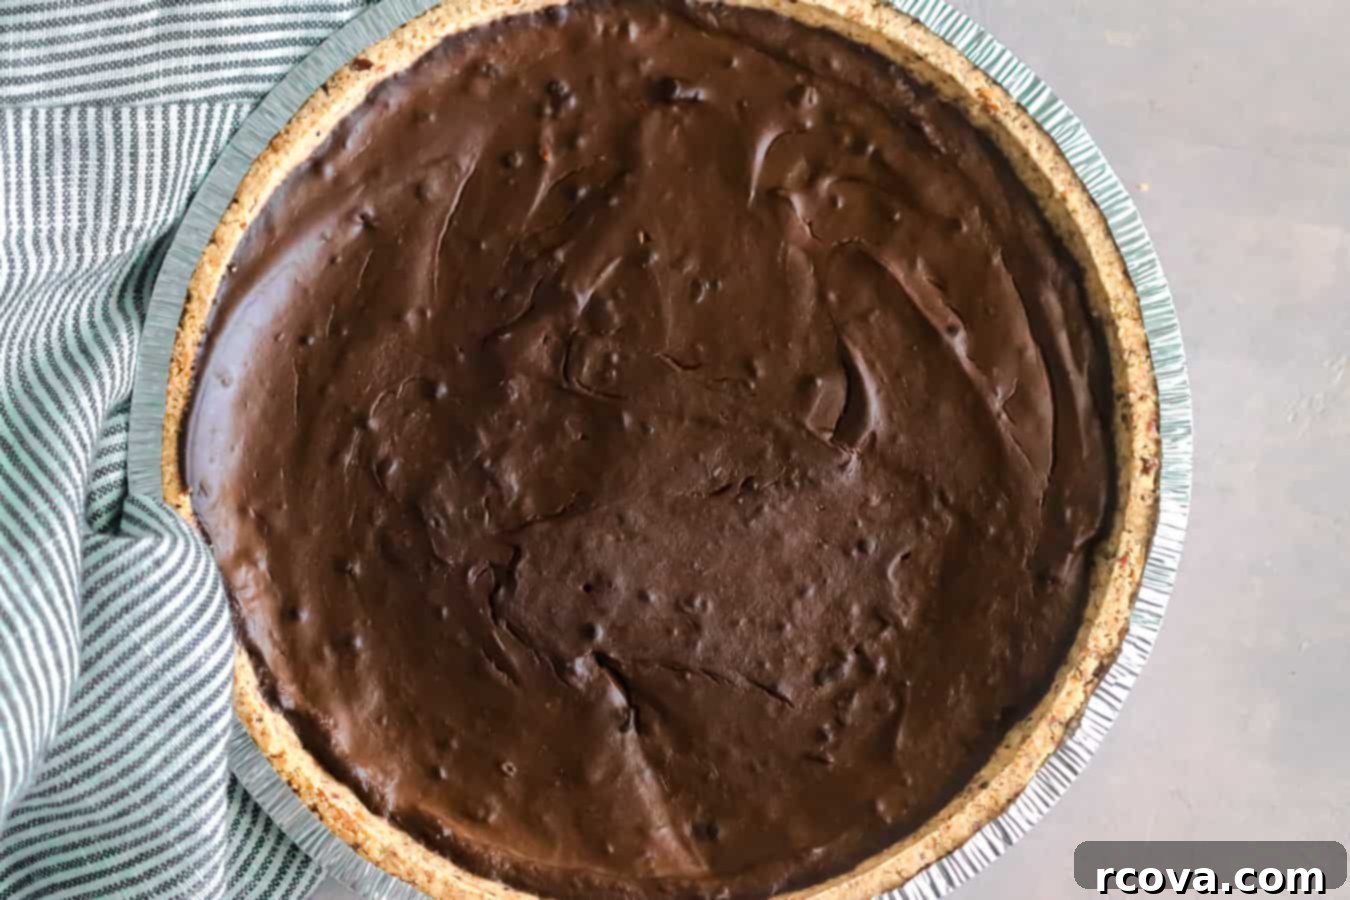
This part is surprisingly easy and incredibly rewarding. In a medium-sized saucepan, combine the maple syrup, tapioca starch (or cornstarch), cocoa powder, and a generous pinch of sea salt. Whisk these dry and wet ingredients vigorously until the mixture is completely smooth, with no lumps remaining. Next, pour in the unsweetened full-fat coconut milk and whisk again to fully incorporate everything. Place the saucepan over medium-high heat. Stir constantly with a whisk or rubber spatula, paying attention to the bottom of the pan to prevent scorching, until the pudding comes to a gentle simmer and visibly thickens. It should coat the back of a spoon. As soon as it thickens to your desired pudding consistency, remove the saucepan from the heat. Stir in the vanilla extract and the semi-sweet chocolate chips (or chopped chocolate). Continue stirring gently until the chocolate chips have completely melted into the warm pudding, yielding a glossy, smooth, and utterly irresistible chocolate filling.
- Chill for Perfection:
Carefully pour the warm chocolate pudding filling into your chilled graham cracker crust. Use a spatula to spread it evenly. This is the stage where patience is a virtue! Place the pie in the refrigerator and allow it to chill for a minimum of 4-6 hours. This extended chilling time is crucial for the pudding to firm up properly, achieving that perfect sliceable consistency. For best results, or if making ahead, cover the pie with plastic wrap once the filling has completely set to prevent a skin from forming and to keep it fresh. This pie and its filling can be made up to 2 days in advance, covered and refrigerated.
- Top with Toasted Marshmallows:
Once your pie has fully set (it should show no jiggling when gently nudged), it’s time for the signature s’mores topping! You have two fantastic options for toasting your marshmallows:
- Using a Kitchen Torch: Arrange a single layer of marshmallows (large or mini) on top of the chilled pie. Use a small kitchen torch to carefully toast the marshmallows until they are golden brown and slightly caramelized. This method offers excellent control and minimizes the risk of warming the pie filling.
- Using Your Oven’s Broiler: If you don’t have a kitchen torch, the broiler works wonderfully. Preheat your oven’s broiler. Arrange marshmallows evenly across the top of the chilled pie. Place the pie on the top rack of your oven, keeping a very close eye on it. Broil for about 30 seconds to 1 minute, or until the marshmallows are beautifully golden brown. They can go from perfect to burnt in seconds, so do not walk away!
- Serve or Re-Chill:
The method you chose for toasting the marshmallows will influence immediate serving. If you used a kitchen torch, your pie is ready to slice and serve immediately without any issues, as the torch won’t significantly warm the chocolate filling.
However, if you used the oven broiler, the intense heat will likely warm the chocolate filling, causing it to slightly melt. This actually creates a wonderful, truly authentic “campfire s’more” experience, mimicking that warm, gooey center. If you prefer a firmer, cleaner slice for presentation, simply refrigerate the broiled pie for an additional 45-60 minutes to allow the filling to firm back up before slicing and serving. This makes for easier, neater slices.
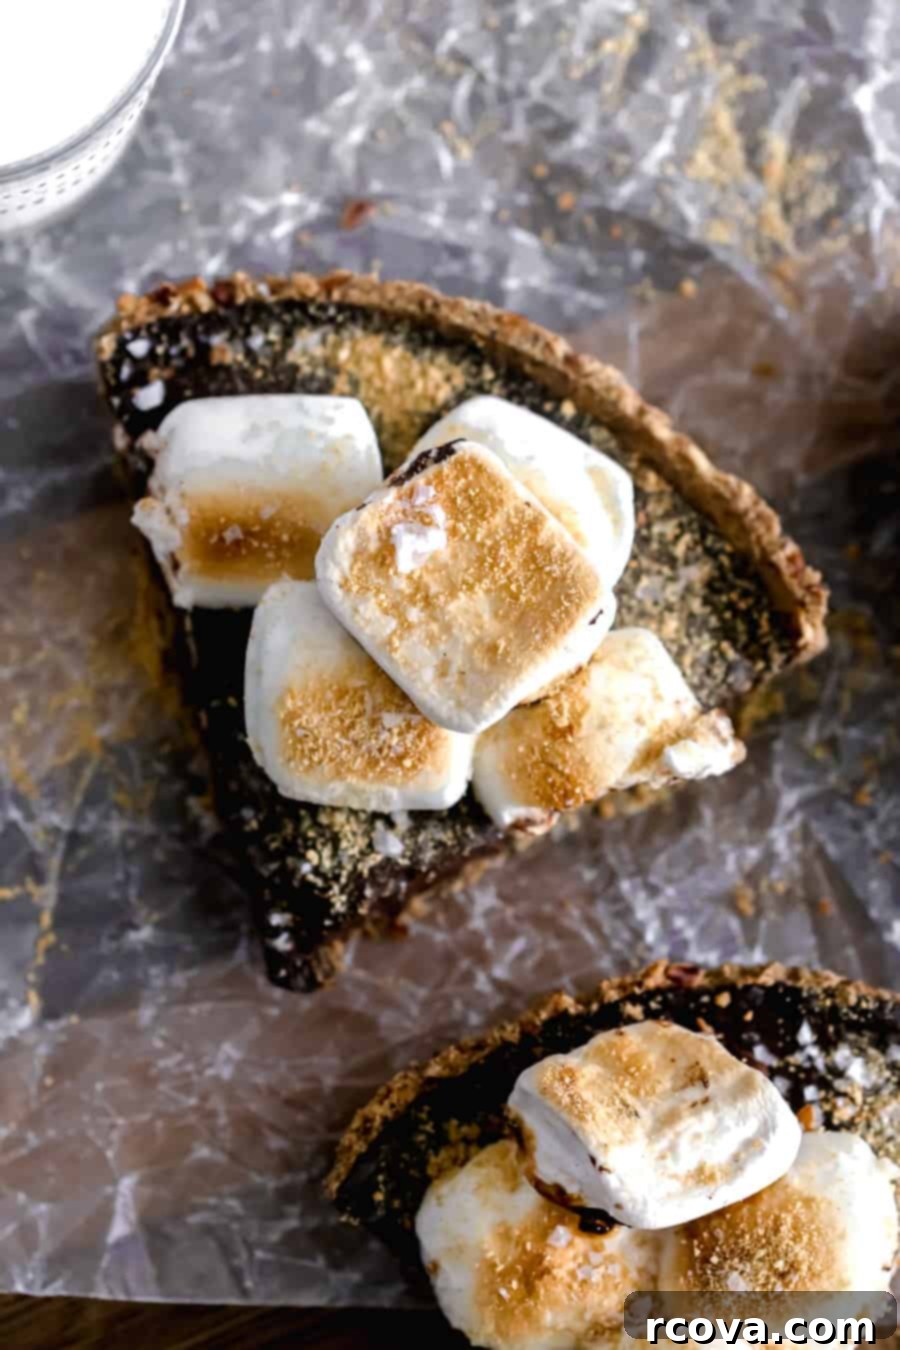
Pro Tip for Clean Slicing: When slicing this delightful pie, especially with melty marshmallows, your knife can get a bit messy. Keep a warm cup of water nearby and dip your knife into it after each slice, wiping it clean before the next cut. This optional but highly recommended step ensures beautiful, clean slices for an impressive presentation every time!
Tips for S’mores Pie Success
- Don’t Rush the Chill: The most crucial step for a perfect sliceable pie is adequate chilling time. Allow at least 4-6 hours for the chocolate pudding to fully set. Patience will be rewarded!
- Whisk Vigorously: When making the pudding, ensure you whisk the dry ingredients with the maple syrup until absolutely smooth before adding the coconut milk. This prevents lumps.
- Constant Stirring: While cooking the pudding, stir constantly to prevent it from sticking to the bottom of the pan and ensure even thickening.
- Watch the Broiler: Marshmallows under the broiler can burn very quickly. Keep a watchful eye and remove the pie as soon as they reach your desired golden-brown toastiness.
- Quality Ingredients: Using good quality cocoa powder and chocolate chips will significantly impact the flavor of your chocolate pudding.
Making Ahead and Storage
This S’mores Pie is an excellent make-ahead dessert! You can prepare the entire pie (crust and filling) up to 2 days in advance. Once the filling has set, cover the pie tightly with plastic wrap and store it in the refrigerator. Add the marshmallows and toast them just before serving for the freshest look and texture. Leftovers, if any, should be covered and refrigerated for up to 3-4 days. The marshmallows might lose some of their crispness over time, but the pie itself remains delicious.
Variations and Customizations
Feel free to get creative with your S’mores Pie!
- Nutty Crust: For a paleo-friendly and gluten-free alternative, try a crust made from almond flour or a mix of nuts like pecans and walnuts, bound with melted ghee.
- Darker Chocolate: Increase the cocoa powder slightly or use darker chocolate chips in the filling for a more intense chocolate flavor.
- Flavored Extracts: Add a splash of almond extract or a hint of peppermint extract to the chocolate pudding for a different twist.
- Chocolate Drizzle: Before adding marshmallows, drizzle a layer of melted chocolate over the set pudding for extra indulgence.
- Mini S’mores Pies: Prepare this recipe in individual ramekins or mini pie pans for personal servings.
Frequently Asked Questions (FAQs)
- Is this S’mores Pie truly paleo?
- The chocolate pudding filling is designed to be paleo-friendly, using maple syrup as a natural sweetener and unsweetened coconut milk. For the crust, ensure you use paleo-friendly graham crackers or make a nut-based crust with ingredients like almond flour and ghee. Check your marshmallow ingredients for refined sugars if you’re strict.
- Can I make this pie gluten-free?
- Yes! The filling is naturally gluten-free. For the crust, simply use gluten-free graham crackers or opt for a nut-based crust (e.g., almond flour and melted butter/ghee).
- Can this be made vegan?
- Absolutely! The chocolate pudding filling is already vegan (using coconut milk and maple syrup). For the crust, use a plant-based butter alternative instead of ghee. Ensure your graham crackers and marshmallows are also vegan-friendly.
- What if my pudding doesn’t thicken?
- Ensure you’re stirring constantly over medium-high heat and allow it to come to a simmer. Tapioca starch needs heat to activate its thickening properties. If it still seems too thin, you might need to cook it a bit longer, or you can mix a small amount of additional tapioca starch with cold water into a slurry, then whisk it into the hot pudding and cook for another minute.
- How long does the S’mores Pie last?
- Stored covered in the refrigerator, the pie will last for about 3-4 days. The marshmallows are best when freshly toasted, but the pie itself holds up well.
This easy homemade S’mores Pie is not just a dessert; it’s an experience. Perfect for a summer treat, a special gathering, or simply satisfying that deep craving for chocolate, marshmallow, and graham cracker goodness. If you’re not a fan of s’mores (gasp!), don’t fret! You might love my Healthier Peanut Butter Pie recipe instead!
Other Delicious Treats You’ll Love:
- Almond Flour Chocolate Chunk Cookies
- Strawberry + Goat Cheese Hand Pies
- Flourless Almond Cake
- Grilled Pound Cake

s’mores pie
Print
Pin
Rate
Ingredients
GRAHAM CRACKER CRUST
- 1 1/2 cups graham crackers – about 10 sheets of graham crackers
- 5 tablespoons ghee or unsalted butter, melted
CHOCOLATE PUDDING FILLING
- 1/3 cup maple syrup
- 3 tablespoons tapioca starch – or cornstarch
- 1/3 cup cocoa powder
- pinch of sea salt
- 1 – 13.5 ounce can unsweetened coconut milk
- 1 tablespoon vanilla extract
- 3 ounces semi sweet chocolate chips
- marshmallows, to top
Instructions
GRAHAM CRACKER CRUST
-
Pulse whole graham crackers in a food processor until crushed into fine crumbs. Add the melted butter and stir to combine. Press into a 9-inch pie plate. Freeze while you mix the filling. Approx 10 minutes in freezer.
CHOCOLATE PUDDING FILLING
-
To a medium sized saucepan, whisk to combine maple syrup, tapioca starch, cocoa powder, and a generous pinch of sea salt until smooth (There should be no lumps). Stir in the coconut milk and whisk again to combine.
-
Cook the chocolate pudding over a medium high heat stirring constantly until it comes to a simmer. Once the pudding thickens, remove from heat. Stir in the vanilla and chocolate chips. Stir just until the chocolate melts and is smooth.
-
Pour the pudding into the prepared pie crust. Refrigerate the pie until the filling is firm, approx 4-6 hours. The pie and filling can be made 2 days in advance. If making ahead of time, make sure to cover the pie with plastic wrap once the filling has set.
-
Once your pie has set, you can layer with marshmallows and either use a small kitchen torch or your oven’s broiler.
-
If using a broiler: preheat broiler, and arrange marshmallows on top of the chilled pie. Broil until golden, watching closely to avoid burning, about 1 minute. (see notes for serving)
Notes
This post may contain affiliate links. Purchasing through them help support this website. Please see the disclaimer here.
