Effortless One-Pot Chicken Teriyaki Bowls: Your Ultimate Weeknight Dinner Solution
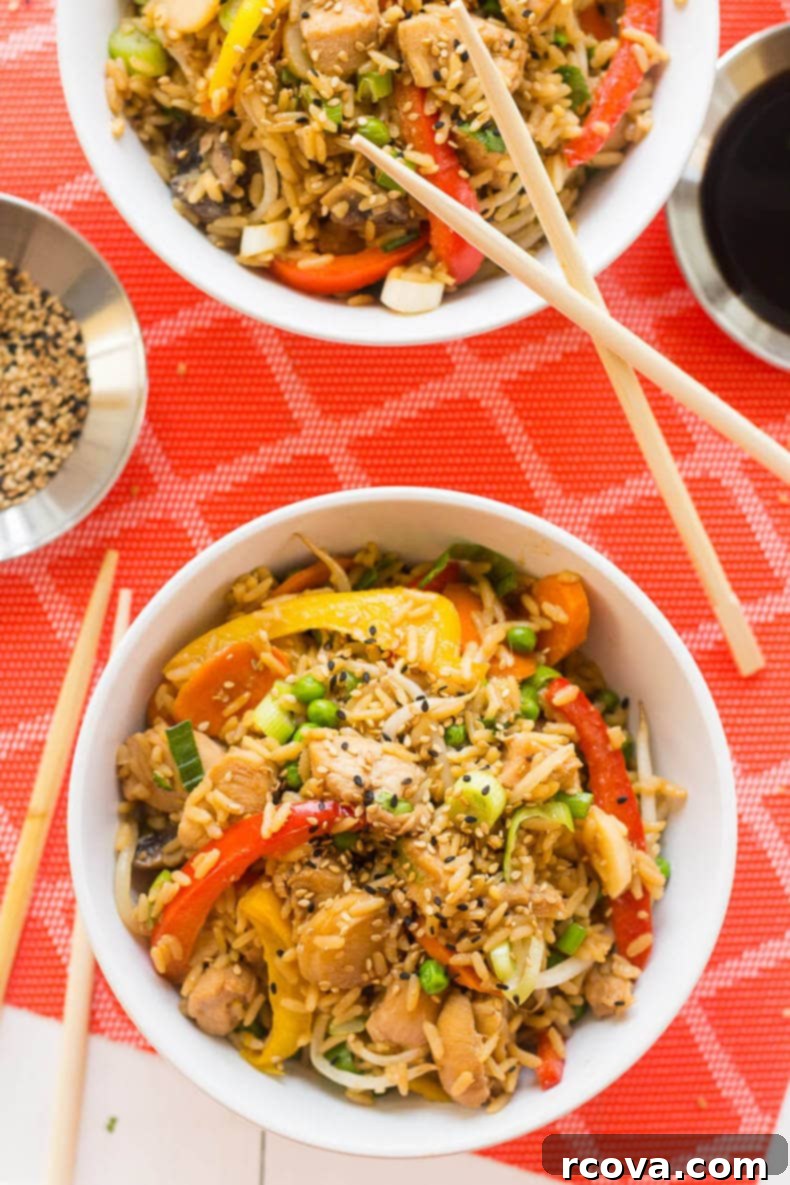
Simplify your dinner routine with these incredibly delicious and healthy One-Pot Chicken Teriyaki Bowls! Featuring tender chicken, vibrant vegetables, and fluffy rice, all cooked together in a single pan for minimal cleanup, this recipe is perfect for busy weeknights and efficient meal prep. Get ready to enjoy a restaurant-quality meal without the fuss.
FREE Budget-Friendly Meal Plan!
Save thousands of dollars on food every year with my free budget-friendly meal plan ebook.
Why You’ll Love These One-Pot Chicken Teriyaki Bowls
In today’s fast-paced world, finding a dinner recipe that is both satisfying and simple to prepare can feel like a culinary quest. Look no further! These One-Pot Chicken Teriyaki Bowls are designed to be your go-to meal for a multitude of reasons:
- **Ultimate Convenience:** The name says it all – “one pot!” This means less time scrubbing dishes and more time enjoying your evening. Everything, from the chicken to the rice and veggies, cooks in a single vessel.
- **Flavor Explosion:** The rich, savory, and slightly sweet teriyaki sauce perfectly coats every ingredient, creating a harmonious blend of Asian-inspired flavors that will tantalize your taste buds.
- **Nutritionally Balanced:** Packed with lean protein from the chicken, complex carbohydrates from the rice, and an abundance of colorful vegetables, this dish offers a complete and wholesome meal in every bowl.
- **Highly Customizable:** Whether you’re catering to picky eaters or using up leftover produce, this recipe is incredibly versatile. Swap out vegetables, adjust the spice level, or even change the protein to suit your preferences.
- **Perfect for Meal Prep:** Cook a larger batch on Sunday, and you’ll have delicious, ready-to-eat meals for several days. It reheats beautifully, making your weekday lunches or dinners a breeze.
- **Budget-Friendly:** Utilizing common pantry staples and affordable fresh ingredients, this recipe helps you create a high-impact meal without breaking the bank.
Say goodbye to complicated cooking and hello to easy, flavorful, and minimal-mess dinners. These One-Pot Chicken Teriyaki Bowls are about to become a staple in your household!
How to Make These Delightful One-Pot Chicken Teriyaki Bowls
Creating this flavorful One-Pot Chicken Teriyaki Bowl is surprisingly simple. Follow these steps for a delicious and hassle-free meal:
-
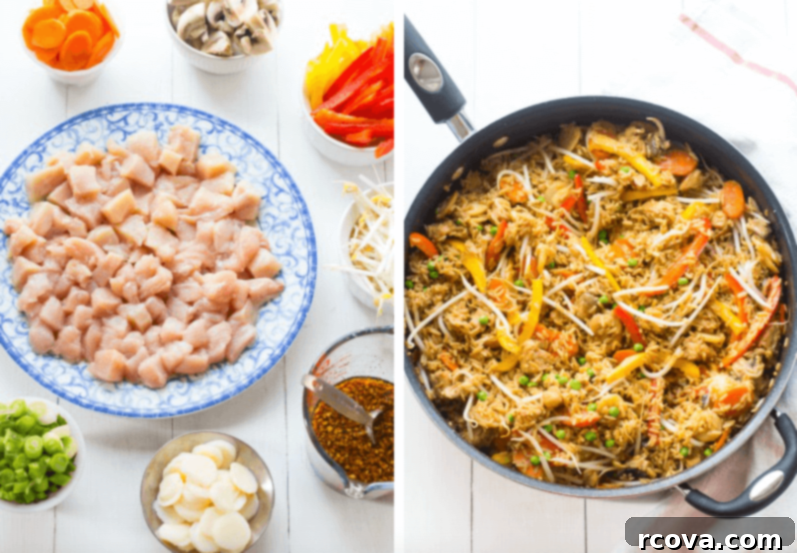
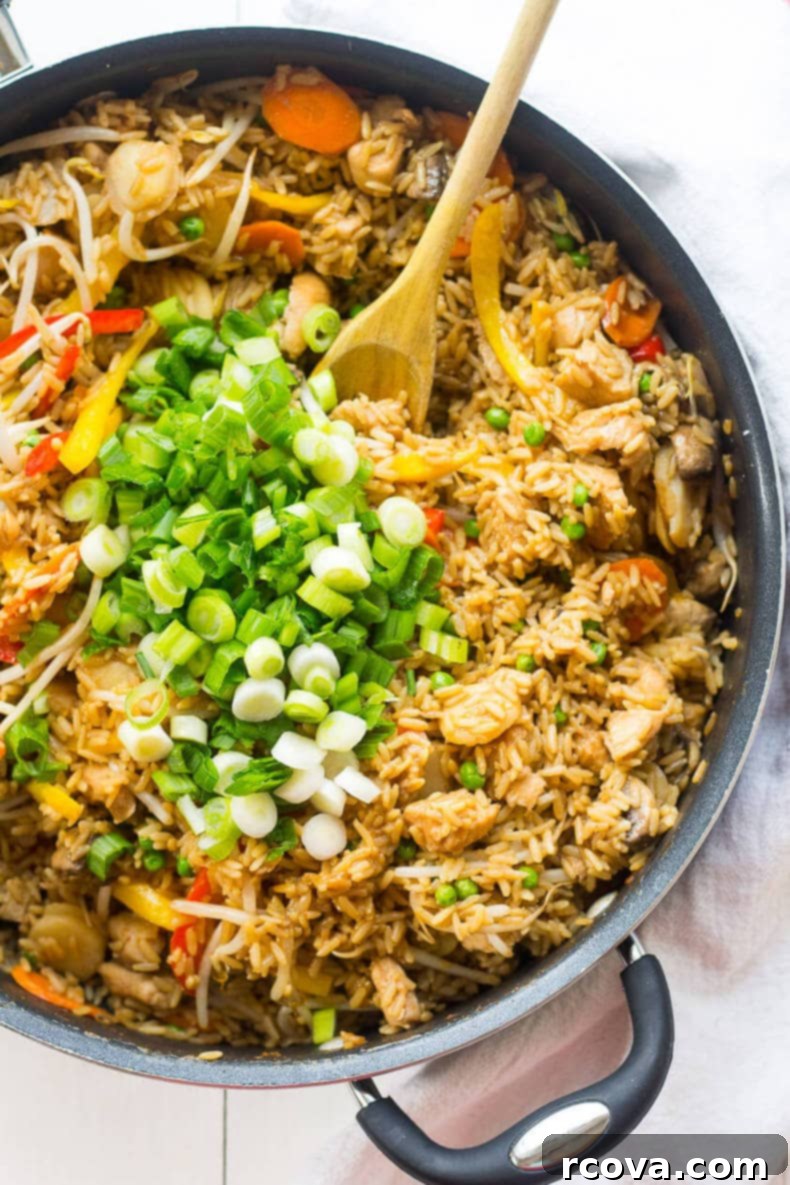
Step 1: Brown the Chicken. Begin by heating 1 tablespoon of canola or sunflower oil in a large pan or pot over medium-high heat. Once the oil is shimmering, add your diced chicken breast pieces and 2 tablespoons of the teriyaki sauce. Stir and fry the chicken until it’s just browned on all sides. The goal here isn’t to cook it through completely, but to develop a nice flavor and seal in the juices. Browning the chicken first adds depth to the overall dish.
-
Step 2: Cook the Rice. After browning the chicken, add the dried instant rice and chicken broth to the same pot. Stir everything gently to combine, ensuring the rice is submerged. Bring the mixture to a rolling boil. Once boiling, immediately reduce the heat to a low simmer. Cover the pot with a tight-fitting lid and let it cook undisturbed for 12-15 minutes, or until the liquid is mostly absorbed and the rice is tender. Resist the urge to lift the lid during this time, as it allows the steam to cook the rice evenly.
-
Step 3: Add the First Batch of Veggies. Carefully remove the lid from the pot. At this stage, add the sliced carrots, quartered mushrooms, and the remaining teriyaki sauce to the rice and chicken mixture. Stir gently to incorporate these ingredients. Continue cooking for another 2-3 minutes, allowing the flavors to meld and the initial vegetables to soften slightly.
-
Step 4: Incorporate Remaining Vegetables. Now, add the rest of your chosen vegetables (red and yellow bell peppers, water chestnuts, frozen peas, bean sprouts) to the pot. Stir occasionally to ensure even cooking and distribution of the teriyaki sauce. Cook for an additional 5 minutes, or until the vegetables reach your desired tenderness. We add them in stages to ensure none of the veggies become overcooked or mushy.
-
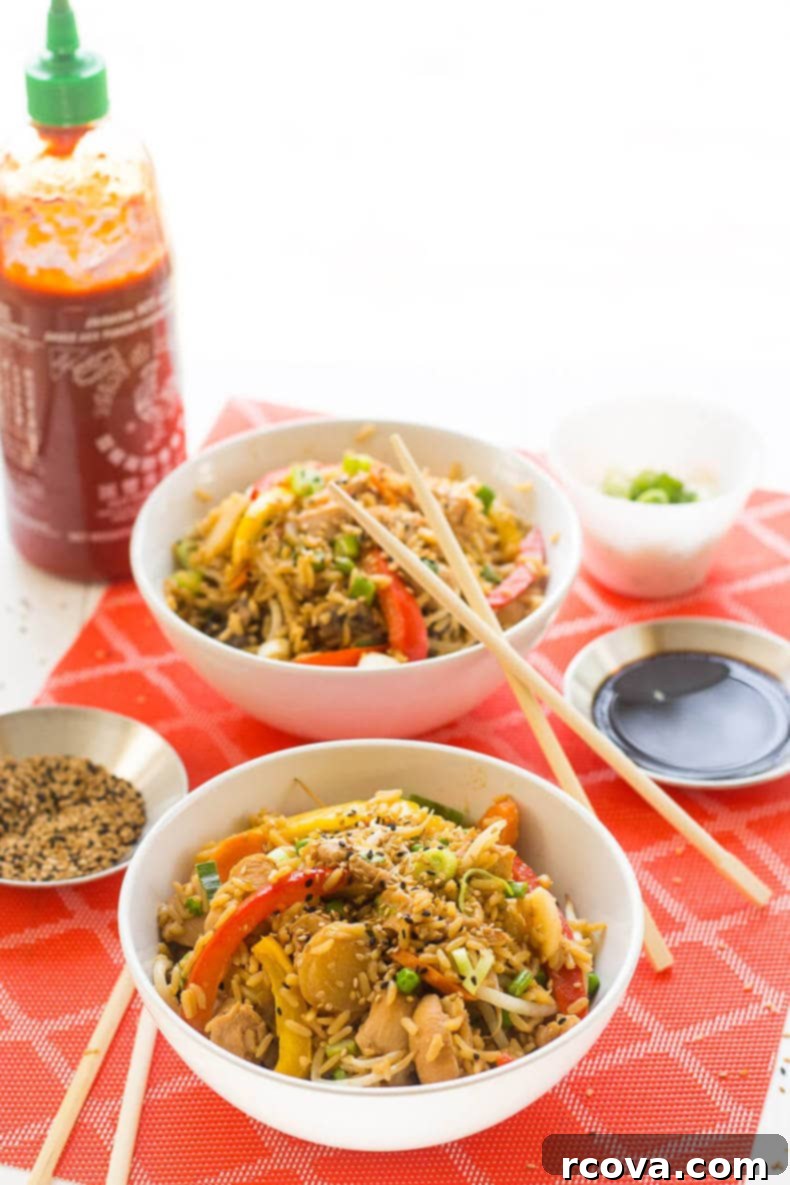
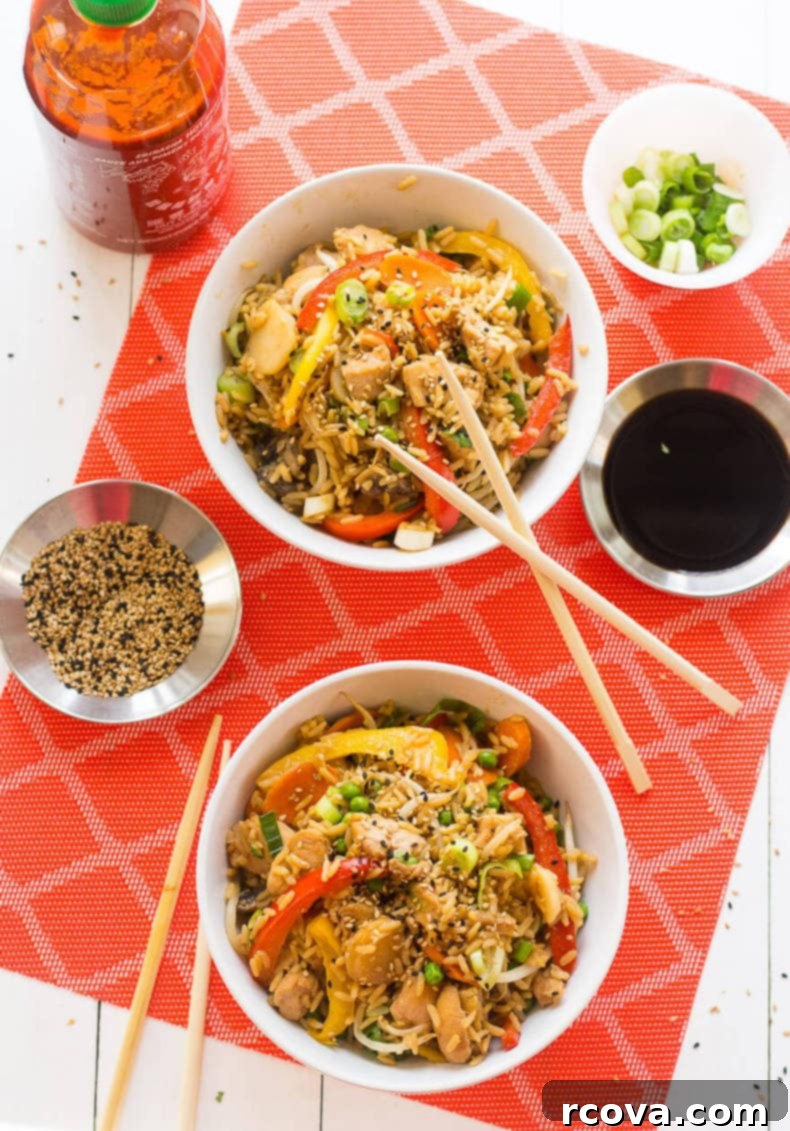
Step 5: Finish and Serve. Remove the pan from the heat. Stir in the freshly sliced green onions (if using) for a final burst of freshness and a mild onion flavor. Ladle the finished chicken teriyaki and rice mixture into individual bowls. For an extra touch of flavor and texture, garnish with a sprinkle of sesame seeds before serving.
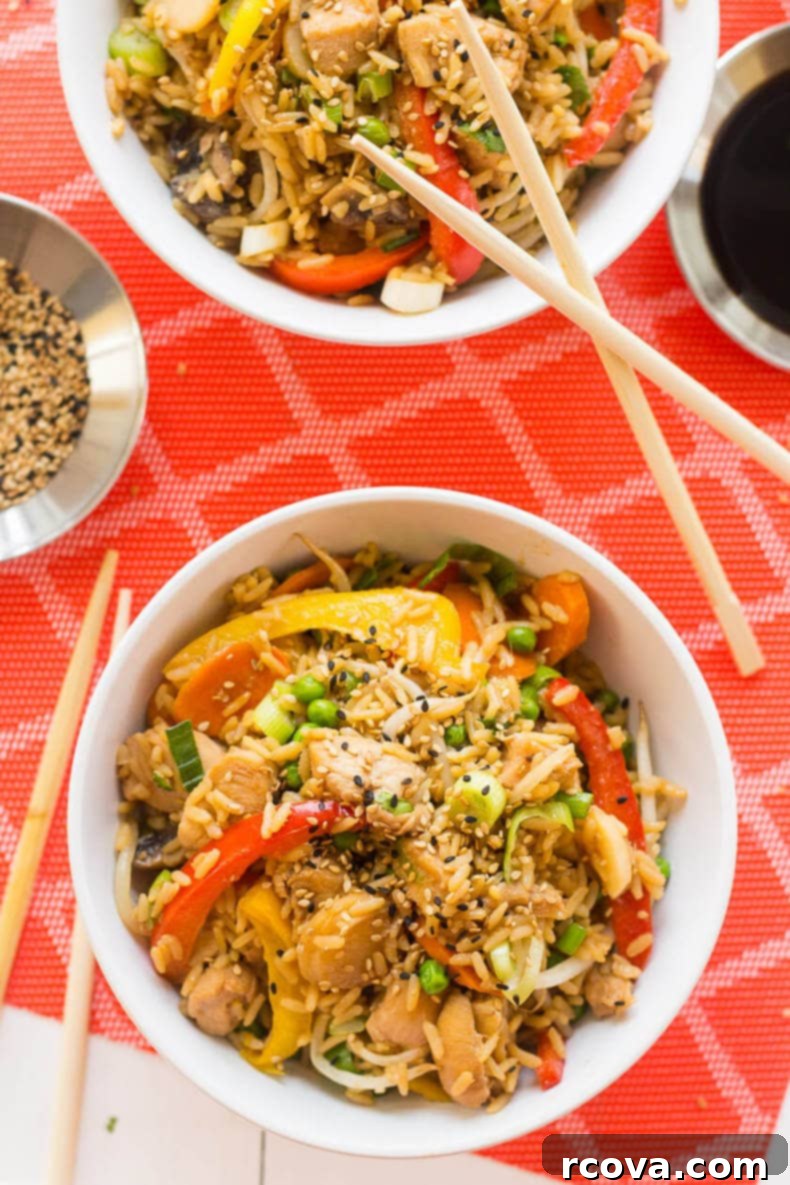
Ingredients and Smart Substitutions for Your One-Pot Teriyaki Bowls
The beauty of this One-Pot Chicken Teriyaki Bowl recipe lies in its flexibility. Don’t have an ingredient? No problem! Here are the core ingredients and some fantastic substitution ideas to ensure you can always make this delicious meal:
- Canola Oil: This neutral-flavored oil is great for high-heat cooking. You can easily substitute it with other healthy oils like sunflower oil, avocado oil, or even a light olive oil for similar results.
- Chicken Breast: Lean and quick-cooking, chicken breast is ideal. However, chicken thighs are an excellent alternative if you prefer a richer flavor and more tender texture. Just make sure to dice them into uniform pieces for even cooking. For a vegetarian option, firm tofu or tempeh, pressed and cubed, would also work beautifully.
- Instant Rice: We recommend using jasmine rice for its fragrant aroma and slightly sticky texture, which pairs wonderfully with teriyaki. However, feel free to use any instant rice you have on hand, such as basmati or even a quick-cooking brown rice, though cooking times might vary slightly. Always check package instructions for non-instant varieties.
- Chicken Broth: This adds a savory base for the rice. Vegetable broth is a perfect substitute if you want to keep the dish vegetarian or simply prefer its flavor profile. Low-sodium options are always recommended to control the overall saltiness, especially with soy sauce in the teriyaki.
- Carrot: Adds sweetness and a pleasant crunch. If carrots aren’t your favorite, consider other root vegetables like finely diced parsnips or even sweet potato. You can also simply omit them if you prefer.
- Mushrooms: Cremini (baby bella) mushrooms, white button mushrooms, or even sliced shiitake mushrooms are all excellent choices. They absorb the teriyaki sauce beautifully and add an earthy depth.
- Red and Yellow Bell Peppers: These add vibrant color and a sweet, mild crunch. Don’t feel limited to these specific colors; orange or green bell peppers will work just as well, each offering a slightly different flavor note.
- Water Chestnuts: Known for their unique crisp texture, canned water chestnuts are convenient and add an authentic touch. If you’re in a pinch or can’t find them, you can leave them out entirely, or try finely diced jicama for a similar crunch.
- Frozen Peas: A quick and easy addition for a pop of green and sweetness. Frozen snap peas or snow peas (sliced) can also be used. For more variety, any frozen mixed vegetable blend would be a great way to boost the nutrient content.
- Bean Sprouts: These add a fresh, delicate crunch. Soybean sprouts offer a slightly firmer texture, while enoki mushrooms or thinly sliced cabbage can provide similar light crunch and freshness. Sunflower sprouts are another unique option if available.
- Green Onions (optional garnish): Essential for a fresh, mild onion finish. Don’t skip these if you want that classic teriyaki bowl aesthetic and flavor boost!
- Sesame Seeds (optional garnish): Toasted sesame seeds add a lovely nutty aroma and visual appeal.
Teriyaki Sauce: While a good quality store-bought teriyaki sauce works wonders for convenience, making your own offers superior flavor and allows you to control the sugar and sodium levels. Here’s what goes into a classic teriyaki sauce:
- Soy Sauce: The salty backbone of teriyaki. For gluten-free options, coconut aminos or tamari are popular and delicious substitutes. Always opt for low-sodium if possible.
- Sesame Oil: Adds a distinct, fragrant, and nutty aroma that is characteristic of Asian cuisine. A little goes a long way!
- Brown Sugar: Provides sweetness and helps thicken the sauce. Agave nectar or honey can be used as alternatives, adjust to taste for desired sweetness.
- Garlic: Freshly minced garlic offers the best flavor, but jarred minced garlic is a convenient shortcut. In a pinch, garlic powder can be used (about 1/4 teaspoon per clove of fresh garlic).
Tips for Success & Common Questions
- **Achieving Perfectly Cooked Rice:** The key to fluffy, non-mushy rice is a tight-fitting lid and resisting the urge to peek! The steam does all the work. If your rice seems a little too wet at the end, let it sit, covered, off the heat for another 5 minutes to absorb any remaining moisture.
- **Don’t Overcrowd the Pan:** If you’re doubling the recipe or using a smaller pan, consider browning the chicken in two batches to ensure it browns rather than steams. Overcrowding can lead to less flavorful chicken.
- **Vegetable Timing is Key:** Adding vegetables in stages, as directed in the recipe, ensures that some veggies like carrots have time to soften, while more delicate ones like bell peppers and bean sprouts retain their crispness.
- **Adjusting Teriyaki Sauce Sweetness:** If using store-bought teriyaki, taste it before adding extra brown sugar. Some brands are sweeter than others. You can always add a pinch more sugar or a splash of rice vinegar to balance the flavor.
- **Spice It Up!** For a little kick, add a dash of sriracha or red pepper flakes to the sauce, or directly to your bowl when serving.
- **Can I use other proteins?** Absolutely! Shrimp, thinly sliced beef (like sirloin or flank steak), or even firm tofu are great in teriyaki bowls. Adjust cooking times accordingly.
Storing and Reheating Your Delicious One-Pot Chicken Teriyaki Bowls
These One-Pot Chicken Teriyaki Bowls are fantastic for leftovers, making them ideal for meal prep throughout the week. Proper storage and reheating will ensure they remain delicious and safe to eat:
Storing Leftovers: Once your dish has cooled down completely, transfer individual servings into airtight containers. This prevents spoilage and keeps the flavors fresh. Stored this way, the chicken teriyaki bowls will last beautifully in the fridge for up to five days. It’s crucial to let the food cool down before sealing it to avoid condensation, which can make the rice soggy and promote bacterial growth.
Reheating from the Fridge: When you’re ready to enjoy your leftovers, sprinkle a small amount of water (about 1-2 tablespoons) over the serving in its container. This added moisture helps to rehydrate the rice and chicken, preventing them from drying out during reheating and keeping them tender. Microwave your serving for 2-3 minutes, stirring halfway through, until it is thoroughly heated. For best results, use a microwave-safe container.

Freezing This Dish for Future Meals
This One-Pot Chicken Teriyaki Bowl is also incredibly freezer-friendly, making it a dream come true for long-term meal planning. Freezing cooked meals saves time and ensures you always have a healthy option readily available.
How to Freeze: After the dish has been cooked and has cooled completely to room temperature, divide it into individual portions. Place these portions into airtight, freezer-safe containers. Ensuring the containers are tightly sealed will prevent freezer burn and maintain the quality of the food. These bowls can be safely stored in the freezer for up to three months. Always label your containers with the date for easy tracking!
Reheating from Frozen: When you’re craving a quick and hearty meal, simply retrieve a container from the freezer. You have a couple of options for reheating:
- Direct Microwave: For the quickest method, microwave the frozen dish for 5-6 minutes, or until fully warmed through, stirring once or twice to ensure even heating. Adding a splash of water beforehand can help retain moisture.
- Thaw and Microwave: For a slightly better texture, you can move your frozen containers to the fridge the night before to allow them to thaw. Once thawed, microwave for 1-2 minutes, or until hot, similar to reheating from the fridge.
Enjoy the convenience of having delicious, homemade meals ready in minutes, even on your busiest days!
More Delicious One-Pot Recipes to Try
If you’ve fallen in love with the ease and convenience of one-pot cooking, you’re in luck! There’s a whole world of simple yet satisfying meals you can create with minimal cleanup. Here are a few more of our favorite one-pot recipes that we think you’ll adore:
- Healthy One-Pot Broccoli Alfredo Pasta: Creamy, comforting, and surprisingly easy, this pasta dish brings rich flavors and green goodness together in a single pot.
- One-Pot Lasagna Soup: All the classic, hearty flavors of lasagna transformed into a comforting, easy-to-make soup – no layering required!
- One-Pot Healthy Beef Stroganoff: Enjoy tender beef and mushrooms in a creamy sauce, all prepared in one pot for a satisfying and easy meal.
Essential Meal Prep Tools for Efficiency
Elevate your meal prep game and make cooking even smoother with these helpful tools. Investing in the right kitchen gadgets can save you time, effort, and even money in the long run:
- I get my high-quality, free-range chicken from Butcher Box. Their delivery service ensures you receive premium meats right to your door.
- For storing your prepared meals, especially if you plan to enjoy these One-Pot Chicken Teriyaki Bowls for lunches throughout the week, grab some durable glass meal prep bowls. They are oven-safe, microwave-safe, and perfect for keeping your food fresh.
- If you frequently make rice-based dishes, a reliable rice cooker is an absolute game-changer. It simplifies meal prep by consistently producing perfectly cooked rice with minimal effort. This is the model I personally use and highly recommend.
- For those who enjoy a little heat with their teriyaki, always have some sriracha on hand. If you run out, buy some here to keep your pantry stocked.
One Pot Chicken Teriyaki Bowls
Print
Pin
Rate
SEND ME MY PLAN
Ingredients
- 1 tbsp sunflower or canola oil
- 1 lb chicken breasts diced
- 2 cups dried instant rice
- 3 cups chicken broth
- 1 Carrot sliced
- 8 mushrooms quartered
- 1/2 each red and yellow pepper
- 1 small can water chestnuts
- 1/2 cup Frozen peas
- 1 cup bean sprouts
- 3 green onions sliced
- Sesame seeds to garnish optional
Teriyaki Sauce
- 1/2 cup soy sauce
- 1 tbsp sesame oil
- 3 tbsp brown sugar
- 4 cloves garlic minced
Instructions
-
In a large pan/pot, heat oil over med-high heat. Add diced chicken breast and 2 tbsp of the teriyaki sauce, frying until the chicken is just browned on all sides, about 3-5 minutes.
-
Stir in the instant rice and chicken broth. Bring the mixture to a boil. Once boiling, reduce the heat to a low simmer, cover with a tight-fitting lid, and cook for 12-15 minutes, or until the liquid is mostly absorbed and the rice is tender. Do not lift the lid during this process.
-
Remove the lid and add the sliced carrots, quartered mushrooms, and the remaining teriyaki sauce. Stir to combine and cook for another 2-3 minutes. Then, add the rest of the veggies (red and yellow bell peppers, water chestnuts, frozen peas, bean sprouts), and cook for an additional 5 minutes, stirring occasionally, until all vegetables are tender-crisp. Remove from heat and stir in the sliced green onions. Serve hot in bowls, optionally garnished with sesame seeds. Leftovers are good for up to five days in the fridge or can be frozen for up to three months.
