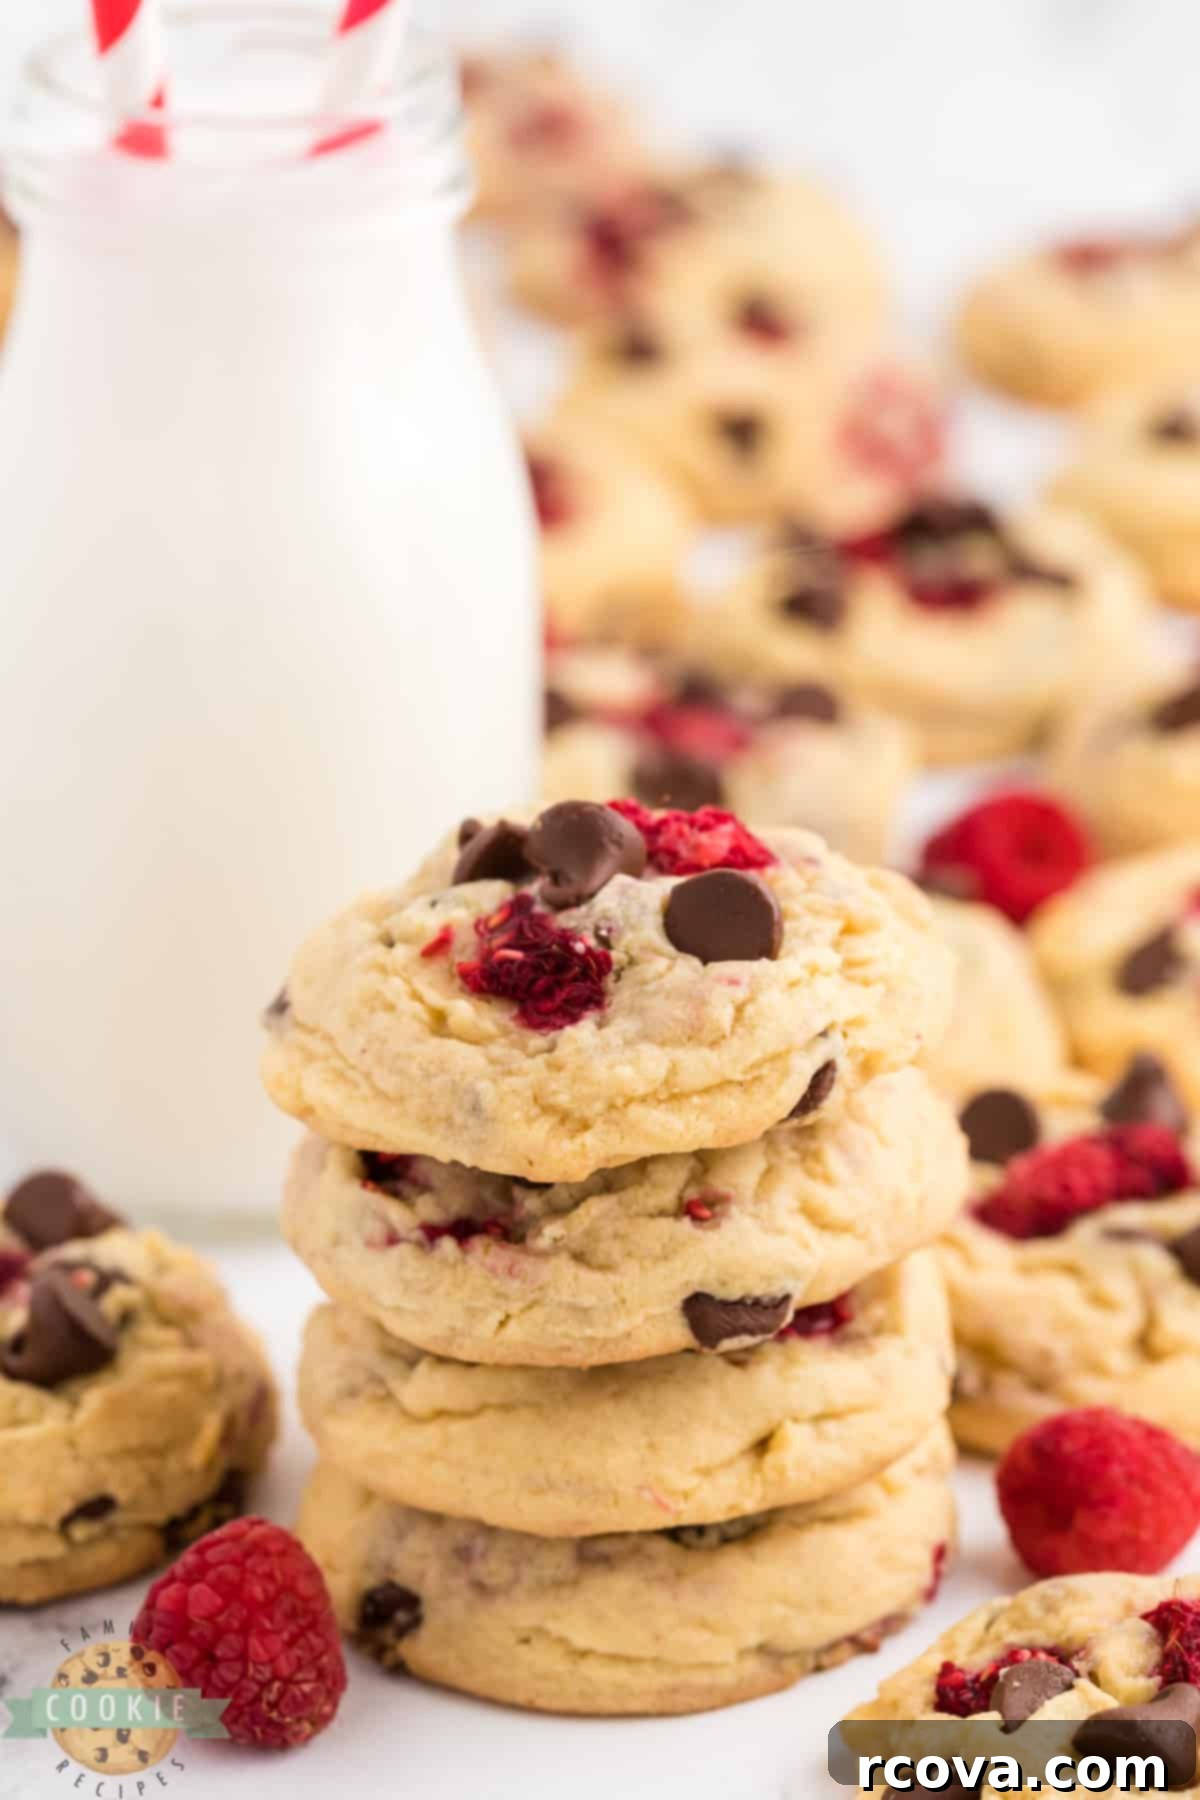
Irresistible Raspberry Chocolate Chip Cookies: Your Guide to Soft, Chewy Perfection
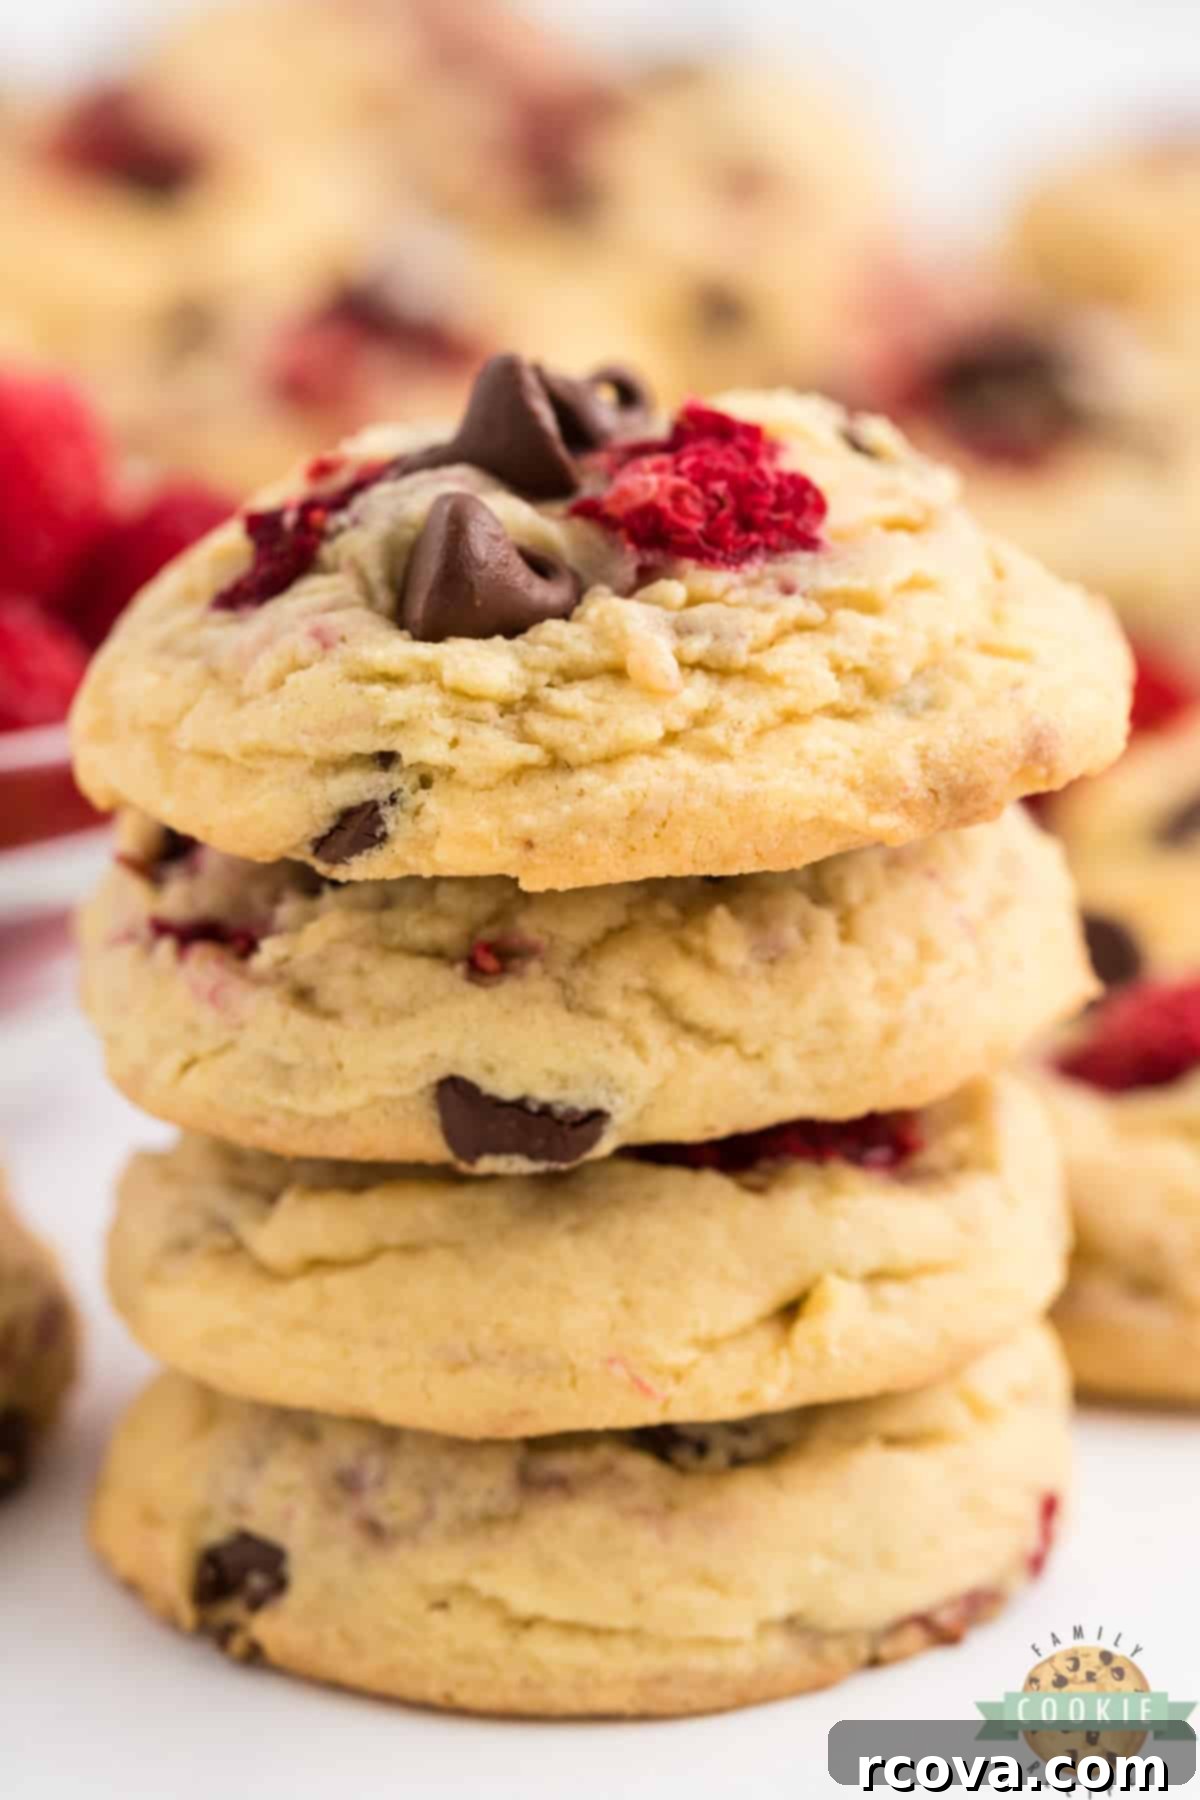
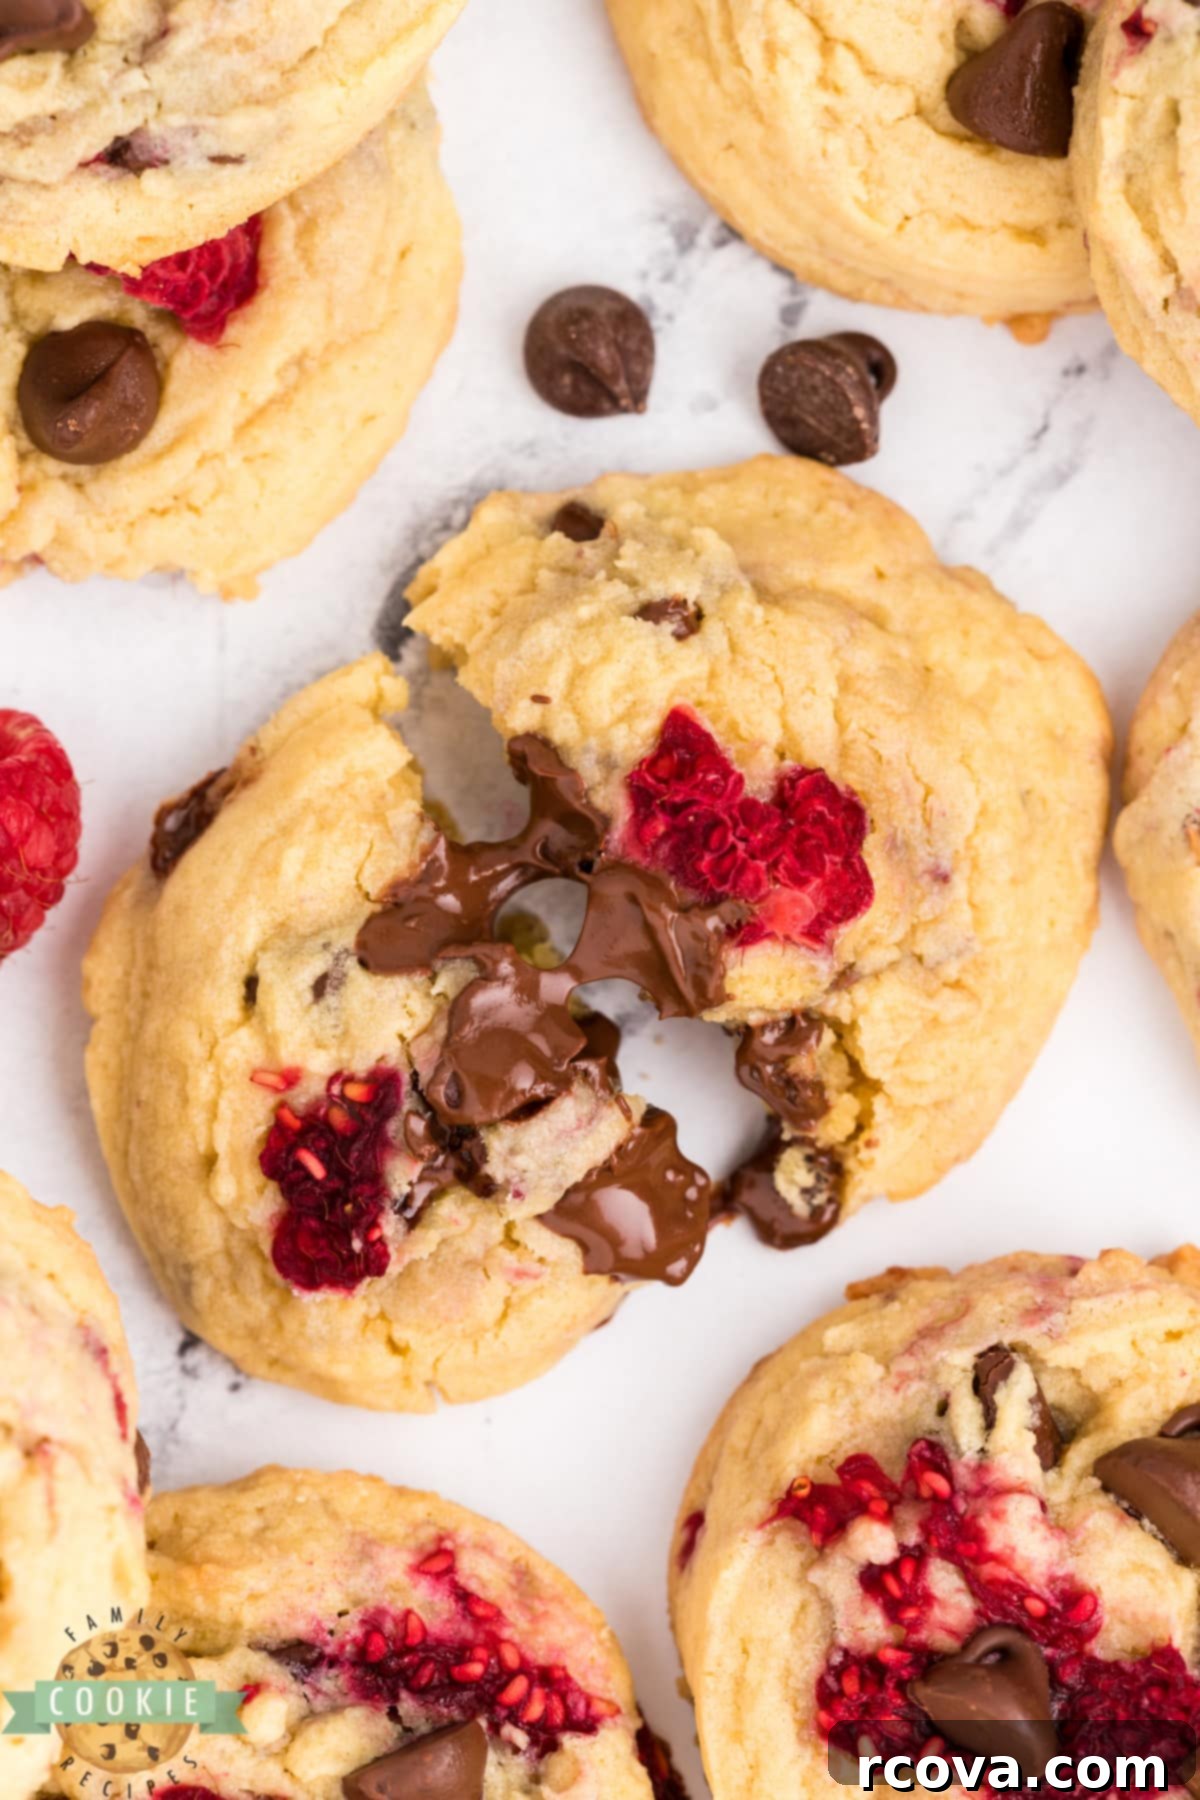
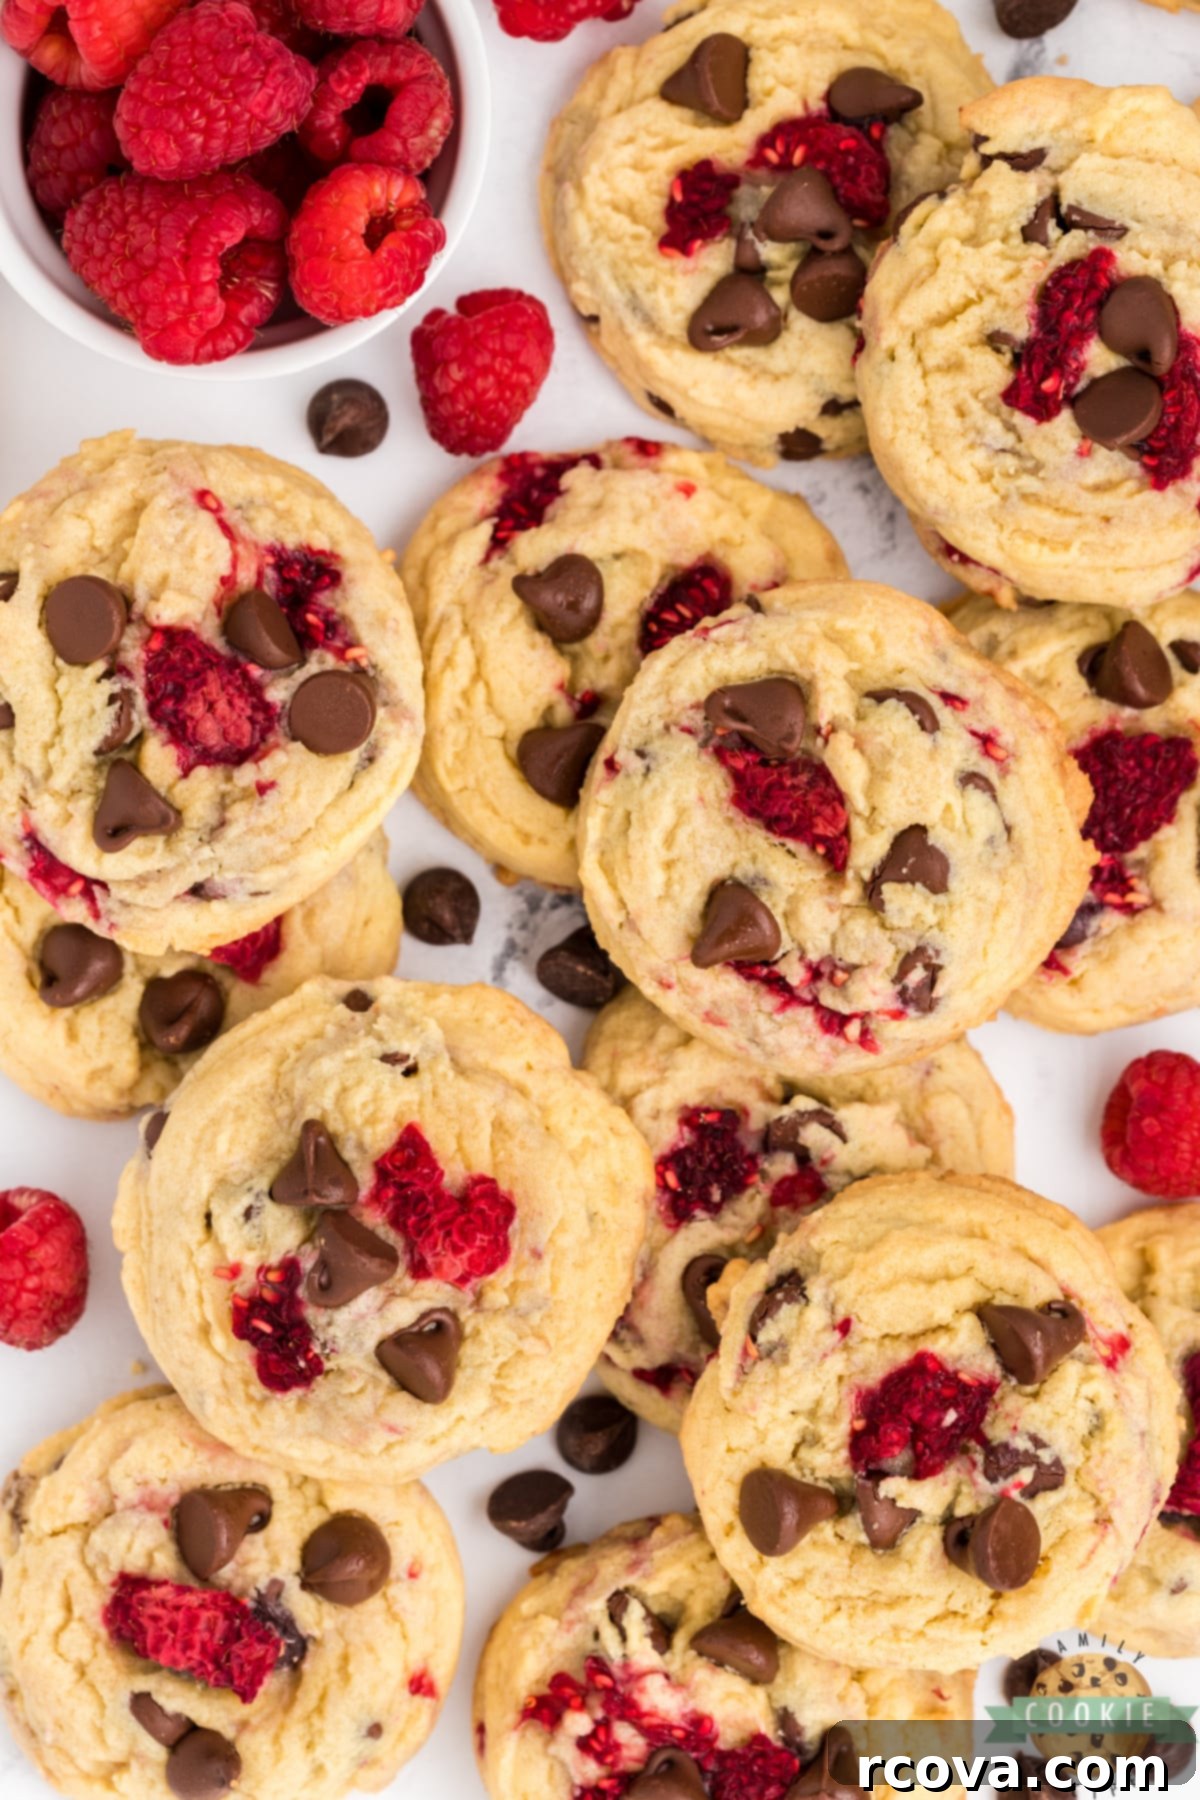
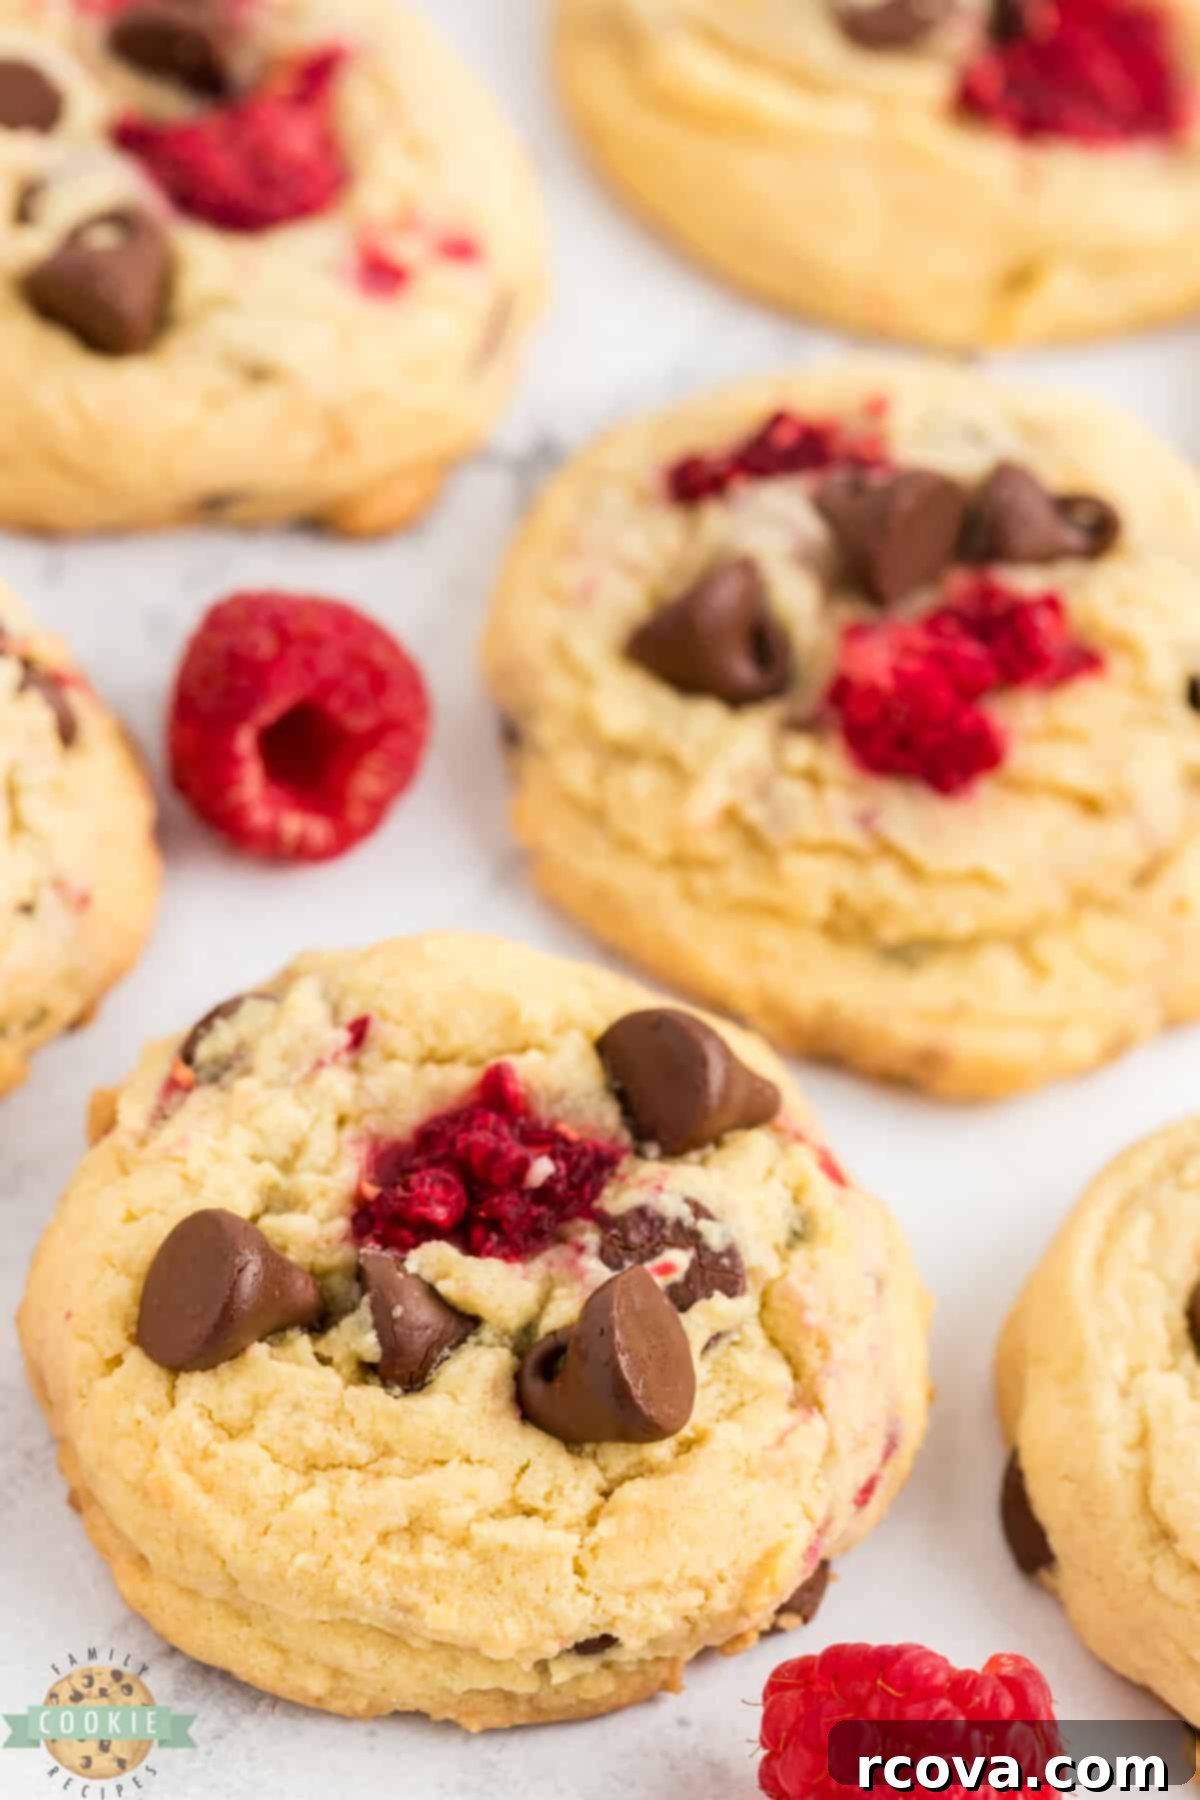
Get ready to fall in love with these wonderfully soft, delightfully chewy, and absolutely amazing **Raspberry Chocolate Chip Cookies**! By simply adding fresh, vibrant raspberries to a beloved classic chocolate chip cookie recipe, you elevate the experience to an entirely new level of deliciousness. This isn’t just another cookie; it’s a gourmet twist on a comforting favorite, promising to be a highlight for any occasion and a treat that will disappear quickly from any cookie platter.
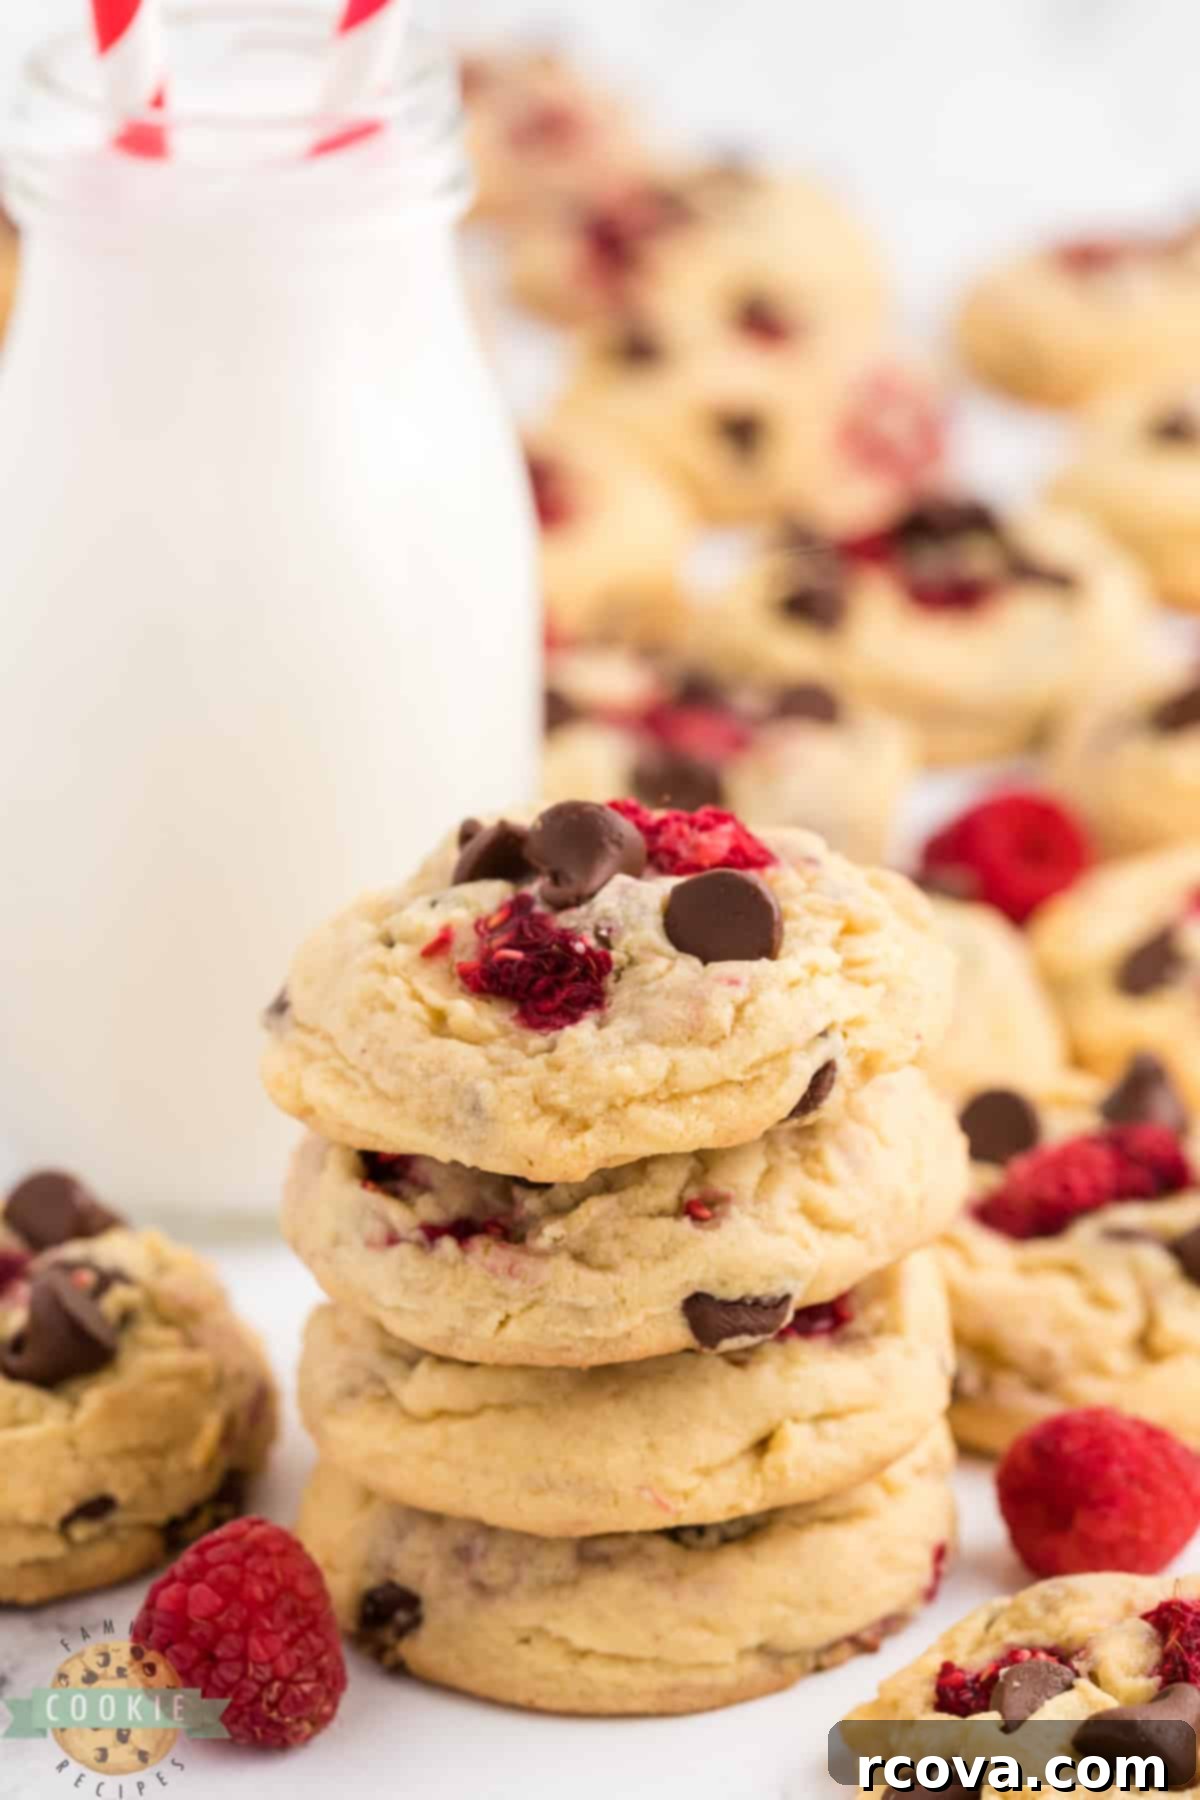
As an avid home baker, I’m always exploring new ways to enhance classic treats and create new family favorites. While I’ve experimented with countless fancy desserts and intricate pastries, the humble chocolate chip cookie has always held a special place in my heart. It’s the ultimate comfort food, a versatile canvas for endless creativity. This particular Raspberry Chocolate Chip Cookie recipe emerged from one of my recent culinary experiments, born from a desire to combine my favorite cookie with the seasonal freshness of raspberries. The results were so spectacular that I simply had to share this delightful invention with all of you!
Before diving into this fruity variation, make sure to explore our comprehensive collection of the BEST HOMEMADE CHOCOLATE CHIP COOKIE RECIPES here, offering a treasure trove of tips and tricks for every cookie enthusiast, from beginners to seasoned bakers.
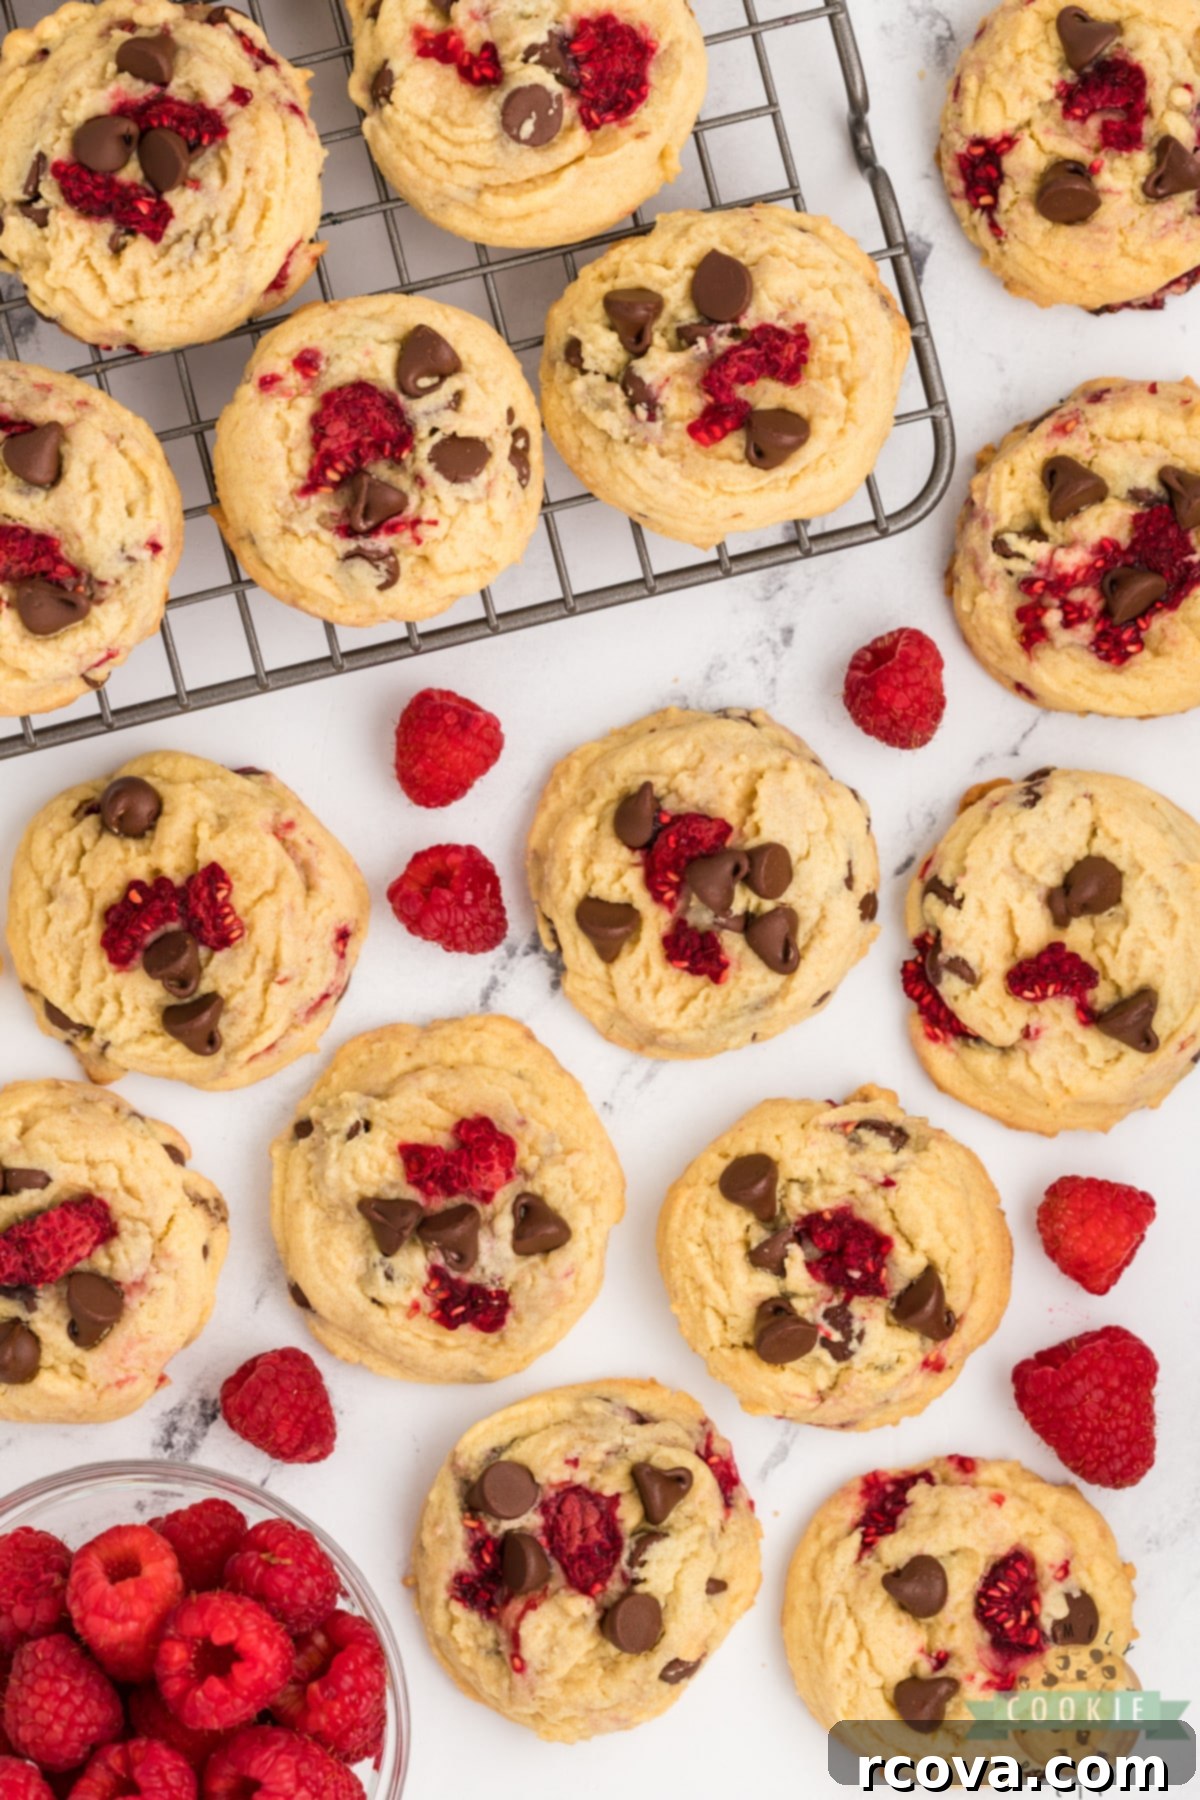
The Secret to Unforgettable Raspberry Chocolate Chip Cookies: Pudding Mix!
The inspiration for these extraordinary cookies struck me when I had an abundance of fresh raspberries on hand. I wondered what magic might unfold if I incorporated them into my go-to chocolate chip cookie dough. The outcome surpassed all expectations! These cookies boast an incredible texture, largely thanks to a unique secret ingredient: instant vanilla pudding mix added directly into the batter. This isn’t just for a subtle flavor boost; it’s a game-changer for cookie texture, lending an unparalleled softness and chewiness that lasts for days, along with an enhanced, rich vanilla aroma that perfectly complements the tart raspberries and sweet chocolate. The starches in the pudding mix absorb moisture during baking, which results in a thicker, softer cookie that resists drying out. While they are best enjoyed within a couple of days to preserve the freshness of the raspberries, I have a feeling you won’t find keeping them around for long to be a challenge!
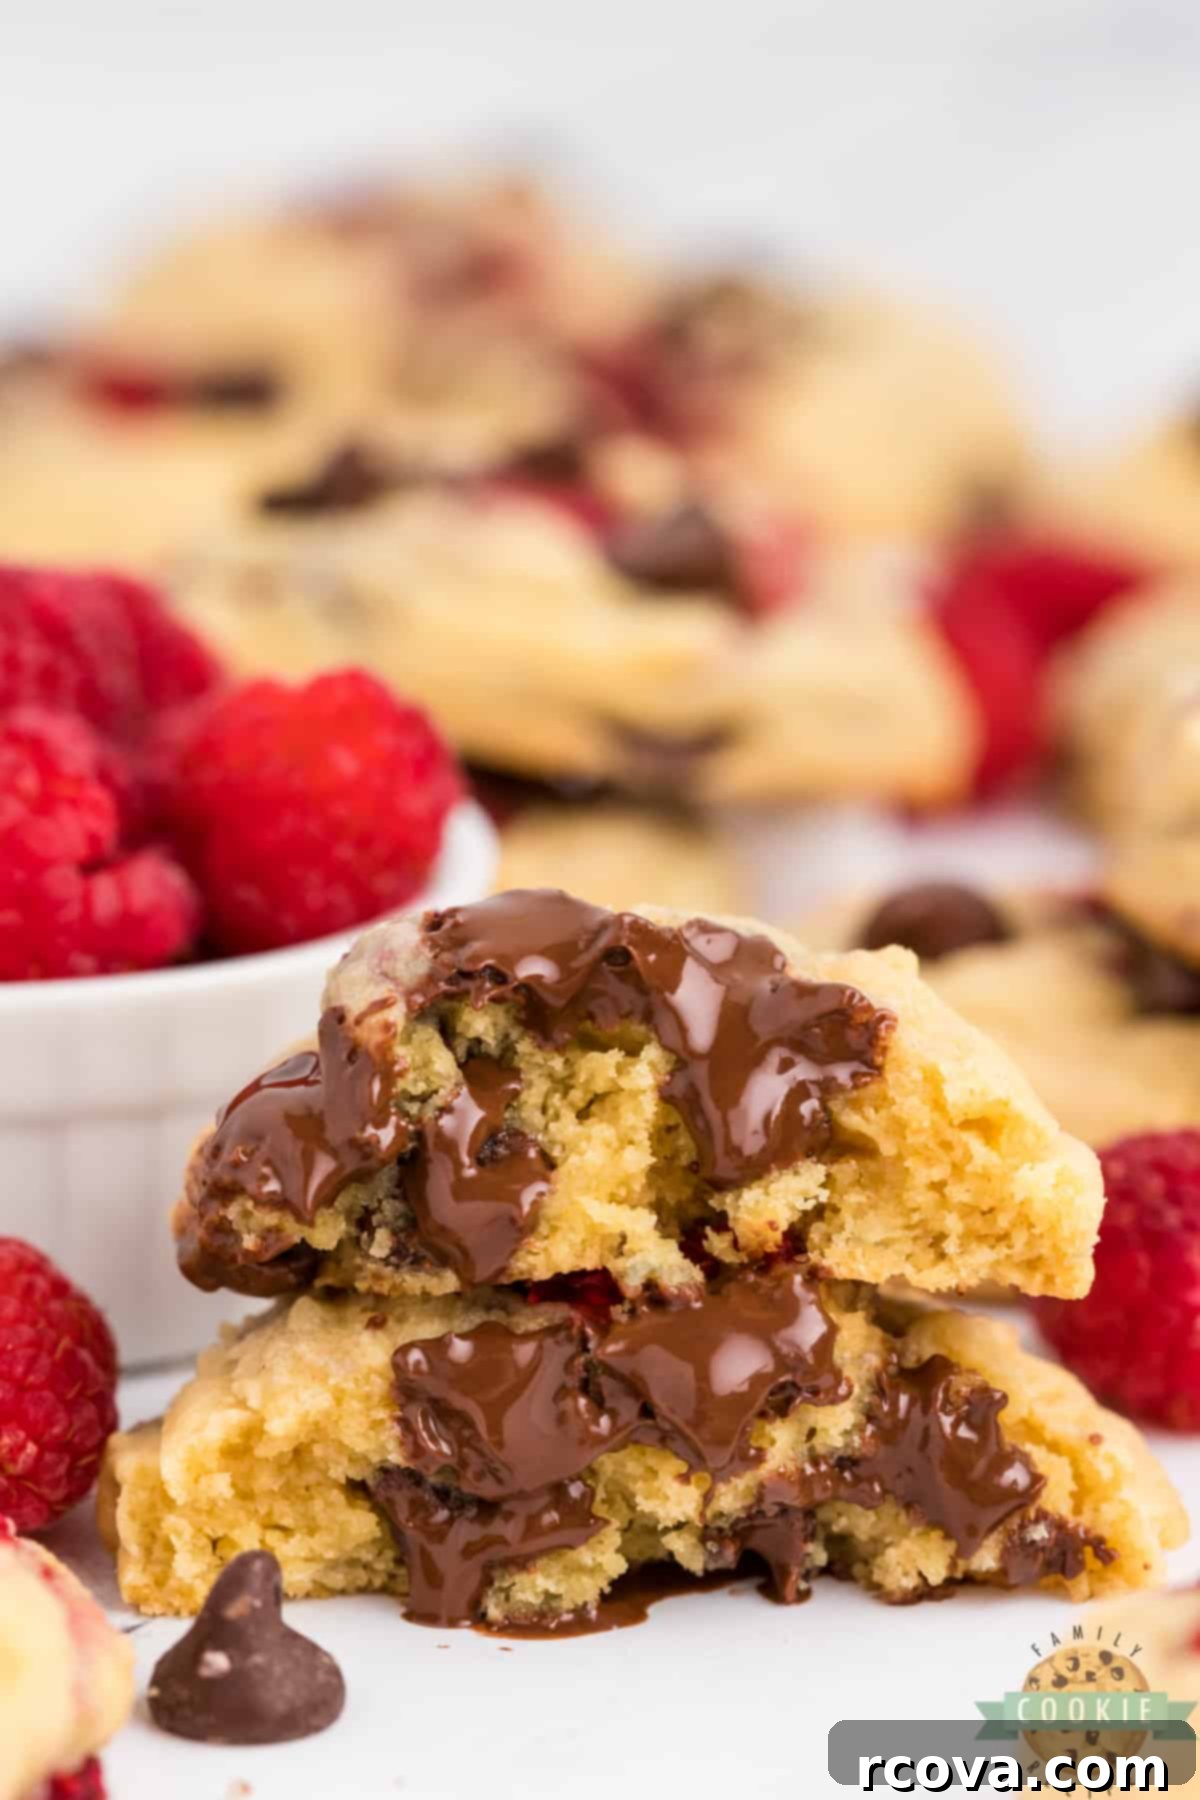
Mastering the Art of Perfect Chocolate Chip Cookies Every Time
Achieving that ideal cookie—crisp on the edges, wonderfully soft and chewy in the center—is a baking dream for many. Here are my essential tips, honed over years of baking, to ensure your Raspberry Chocolate Chip Cookies, and indeed any chocolate chip cookie, turn out perfectly every time:
- Make sure your **butter is perfectly softened, NOT melted**. Softened butter (butter that yields slightly when pressed but isn’t oily or liquid) creams beautifully with sugar. This process incorporates air pockets that are vital for the cookies’ light, tender, and airy texture. Melted butter, on the other hand, will result in flatter, greasier, and denser cookies that spread too much.
- **Ensure you have enough flour in the dough.** Flour provides the structural integrity for your cookies. If the dough is too sticky or seems overly wet, your cookies may spread excessively and become flat. You might need to add a little bit more flour, starting with 1-2 tablespoons at a time, until the dough is cohesive and manageable, but still soft.
- **Dedicate ample time to mix the butter and sugars.** This creaming step is foundational for perfect cookies. Beating them together for a full 2-3 minutes on medium speed allows sugar crystals to cut into the butter, creating tiny air pockets. This aeration contributes significantly to the cookies’ rise, chewiness, and overall delicate consistency. Don’t rush this crucial step!
- **Always preheat your oven thoroughly.** Placing cookie dough into a properly preheated oven ensures even baking from the moment the cookies enter. A cold or fluctuating oven temperature can lead to unevenly baked cookies, where some might burn while others remain raw in the center. Give your oven at least 15-20 minutes to fully reach and stabilize at the desired temperature.
- **Use a cookie scoop!** If you desire consistently shaped, uniformly sized cookies, a cookie scoop is an invaluable tool. It not only speeds up the portioning process but also guarantees that all your cookies bake evenly, preventing some from being overdone while others are underbaked. This leads to a picture-perfect batch every time.
- **Employ parchment paper or a silicone baking mat.** Doing this will make it incredibly easy to remove the cookies from your cookie sheet without sticking or scraping. They will simply slide right off, maintaining their perfect shape, and cleanup becomes significantly easier. These also help promote more even baking by slightly insulating the cookies from the direct heat of the pan.
- **Don’t overbake the cookies.** This is perhaps the most critical tip for achieving soft, chewy cookies. When I take mine out of the oven, the centers still look slightly underbaked or very pale, but the edges should just be beginning to turn a light golden brown. This is exactly what you want! The residual heat from the hot cookie sheet will continue to bake the cookies for a few more minutes outside the oven, allowing them to set perfectly without becoming dry or hard.
Choosing the Best Chocolate Chips for Your Raspberry Chocolate Chip Cookies
The type of chocolate you select can dramatically influence the overall flavor profile and enjoyment of your Raspberry Chocolate Chip Cookies. Each variety offers a distinct characteristic that can enhance or contrast with the sweet and tart notes of the raspberries.
For a classic and universally loved flavor, I typically prefer to use **semi-sweet chocolate chips** in my chocolate chip cookies. Their balanced sweetness pairs well with almost anything. However, in these Raspberry Chocolate Chip Cookies, the tartness of the raspberries creates a fantastic opportunity to experiment.
I believe **dark chocolate chips** would be absolutely amazing in this recipe. The slight bitterness and intense cocoa flavor of dark chocolate create a sophisticated and harmonious contrast with the bright, fruity notes of raspberries. It’s a classic gourmet pairing that elevates the cookie experience. If you prefer a sweeter, creamier, and milder chocolate flavor, **milk chocolate chips** are also a wonderful choice and will create a more indulgent cookie. Alternatively, if you are particularly fond of the elegant white chocolate and raspberry flavor combination, then **white chocolate chips** would be a perfect addition, offering a sweet, milky counterpoint to the tart fruit.
For an even more exciting experience, why not use a combination of a couple different kinds of chocolate chips? Imagine a medley of dark and white chocolate, or semi-sweet and milk, to add depth and complexity to each bite. As far as brands go, I really appreciate the quality of Ghirardelli chocolate chips for their rich flavor and consistent melt. However, you can certainly achieve delicious results with other reputable brands like Nestle, or even good-quality store-brand chocolate chips. The most important thing is to choose a chocolate that you personally enjoy, as its flavor will truly shine through in your finished cookies.
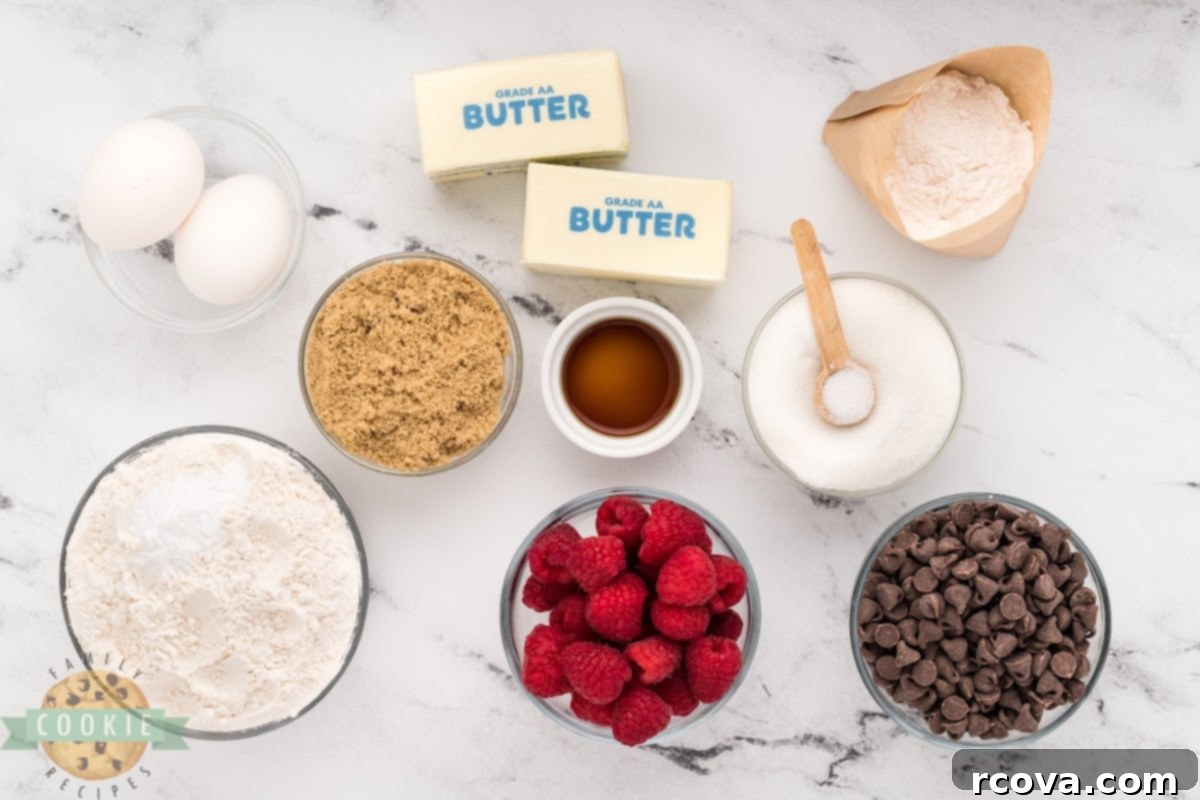
Essential Ingredients for Your Amazing Raspberry Chocolate Chip Cookies
Each ingredient in this recipe is carefully selected to contribute to the perfect texture, flavor, and overall deliciousness of your Raspberry Chocolate Chip Cookies. Here’s a detailed breakdown of what you’ll need and why:
- Butter: The recipe calls for 1 cup of unsalted butter (which is equivalent to two standard sticks). It’s absolutely essential that the butter is softened to room temperature, not melted, before you begin mixing. Room temperature butter creams better with sugar, incorporating air for a light, fluffy texture. For the best flavor and consistency, always use real, high-quality butter.
- Sugars: You will need a combination of light brown sugar and granulated sugar. Brown sugar contributes significantly to the cookies’ characteristic chewiness and adds a subtle, rich molasses flavor. Granulated sugar helps with the cookie’s spread and contributes to a slightly crisp edge. For optimal results, ensure your brown sugar is fresh and soft, not hard and clumped, which indicates it’s dried out.
- Vanilla Pudding Mix: This is the secret ingredient that truly sets these cookies apart! You will need one large (5.1 ounce) box of *instant* vanilla pudding mix (not cook-and-serve). This mix adds an extra layer of sweetness and a wonderfully pronounced vanilla flavor to the cookies. More importantly, the starches in the pudding mix absorb moisture during baking, which makes these cookies incredibly soft, thick, and chewy, and also helps them stay fresh and moist for longer.
- Eggs: Two large eggs are incorporated into the dough to help bind all the ingredients together. They provide essential moisture, contribute to the richness of the dough, and act as an emulsifier, helping to create a smooth, well-integrated batter. For best results, ensure your eggs are at room temperature as well, for better blending.
- Vanilla Extract: A crucial flavor enhancer in almost any cookie recipe! The higher the quality of your vanilla extract, the more depth and complexity it will add to your cookies. Opt for pure vanilla extract over imitation for a superior, more authentic vanilla flavor that beautifully complements both the chocolate and raspberries.
- Flour: All-purpose flour works best in this recipe, providing the necessary structure without making the cookies too dense or heavy. If you have dietary restrictions, a good quality 1:1 gluten-free baking flour blend can be successfully substituted, though results may vary slightly.
- Baking Soda: One teaspoon of baking soda acts as the primary leavening agent in these cookies. It reacts with the acidic components in the brown sugar to produce carbon dioxide gas, which helps the cookies rise and achieve that desirable soft, slightly puffy, and chewy texture. Always check that your baking soda isn’t expired to ensure its effectiveness.
- Chocolate Chips: As explored previously, your choice of chocolate chips (semi-sweet, dark, white, or a mix) will define a significant part of the flavor profile. I really love semi-sweet chocolate chips for a classic taste, but dark chocolate chips pair exceptionally well with the raspberries for a sophisticated flavor. White chocolate chips also create a delightful contrast.
- Fresh Raspberries: This is the star ingredient that makes these cookies so special! You will need about 1 cup of fresh raspberries. It is absolutely crucial to wash them thoroughly, then gently pat them completely dry before carefully cutting them in half. Excess moisture on the raspberries can make your cookie dough too wet and sticky, leading to flat cookies. Gently folding them in at the very end ensures they remain largely intact and distribute evenly throughout the dough without being crushed.
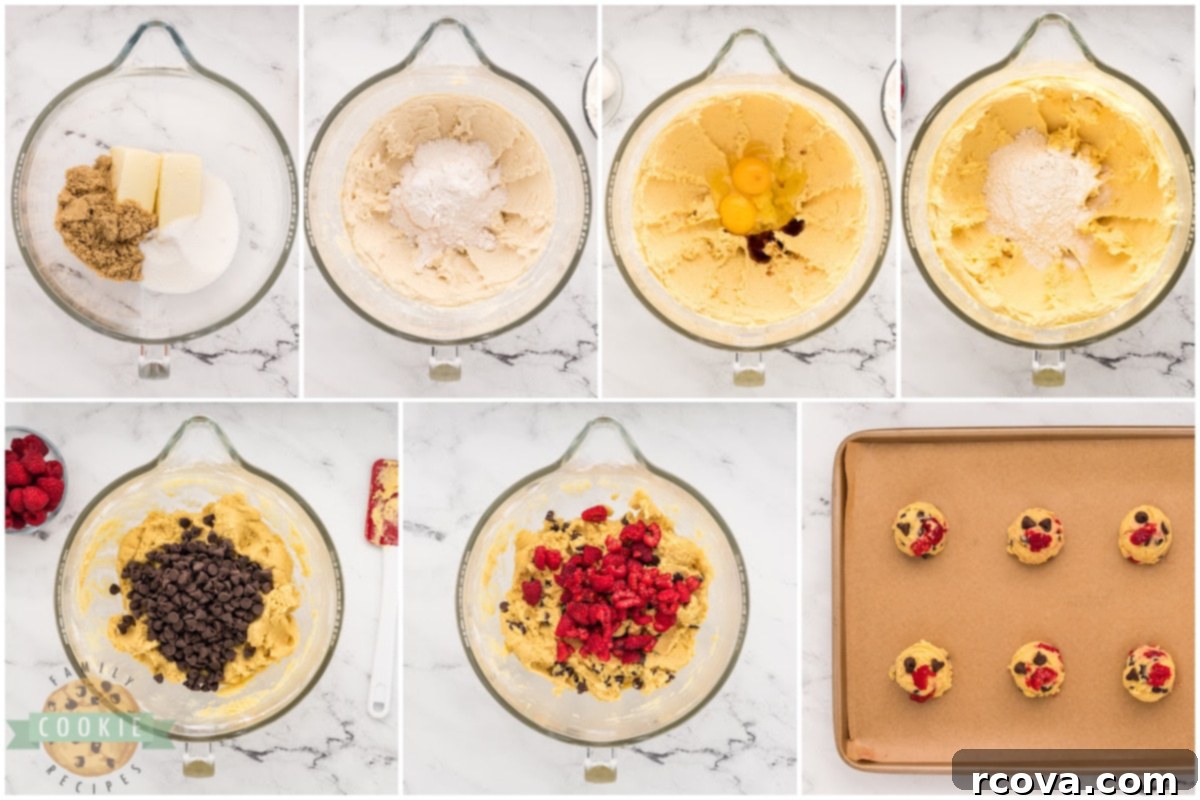
Simple Steps to Create Delicious Raspberry Chocolate Chip Cookies
Follow these easy, step-by-step instructions to bake a batch of irresistibly delicious, soft, and chewy Raspberry Chocolate Chip Cookies that your family and friends will rave about:
- Begin by preheating your oven to 350°F (175°C). While the oven heats up, prepare your baking sheets by lining them with parchment paper or silicone baking mats. This step ensures easy cleanup and prevents sticking.
- In a large mixing bowl, using a hand mixer (or a stand mixer fitted with the paddle attachment), cream together the softened butter, light brown sugar, and granulated sugar for approximately 2-3 minutes. Beat until the mixture is light in color and fluffy, indicating that air has been properly incorporated.
- Next, add the instant vanilla pudding mix to the creamed butter and sugars. Continue to mix for another 1-2 minutes until the pudding mix is thoroughly combined and the entire mixture is light and fluffy.
- Beat in the eggs, adding them one at a time and mixing until each is fully incorporated before adding the next. Then, add the vanilla extract and continue to beat for 2 more minutes. The mixture should appear smooth, creamy, and well-emulsified.
- In a separate bowl, whisk together the flour and baking soda. Gradually add these dry ingredients to the wet ingredients in the mixing bowl. Mix on low speed until the flour is just combined and no streaks remain. Be careful not to overmix, as this can overdevelop the gluten, resulting in tough cookies.
- Once the flour is mostly incorporated, stir in your chosen chocolate chips. Then, with great care, very gently fold in the fresh raspberry halves using a rubber spatula. Overmixing the raspberries can cause them to break apart and bleed their juices into the dough, altering the color and texture of your cookies.
- Using a cookie scoop (I prefer a medium-sized one for uniform cookies) or by rounded teaspoonfuls, drop the cookie dough onto your prepared cookie sheets, ensuring you leave ample space (about 2 inches) between each cookie for spreading during baking.
- Bake for about 10 minutes. The cookies are done when the edges are just barely turning a light golden brown, and the centers still look slightly soft, puffy, and pale. Remember, they will continue to set and firm up on the baking sheet after removal from the oven.
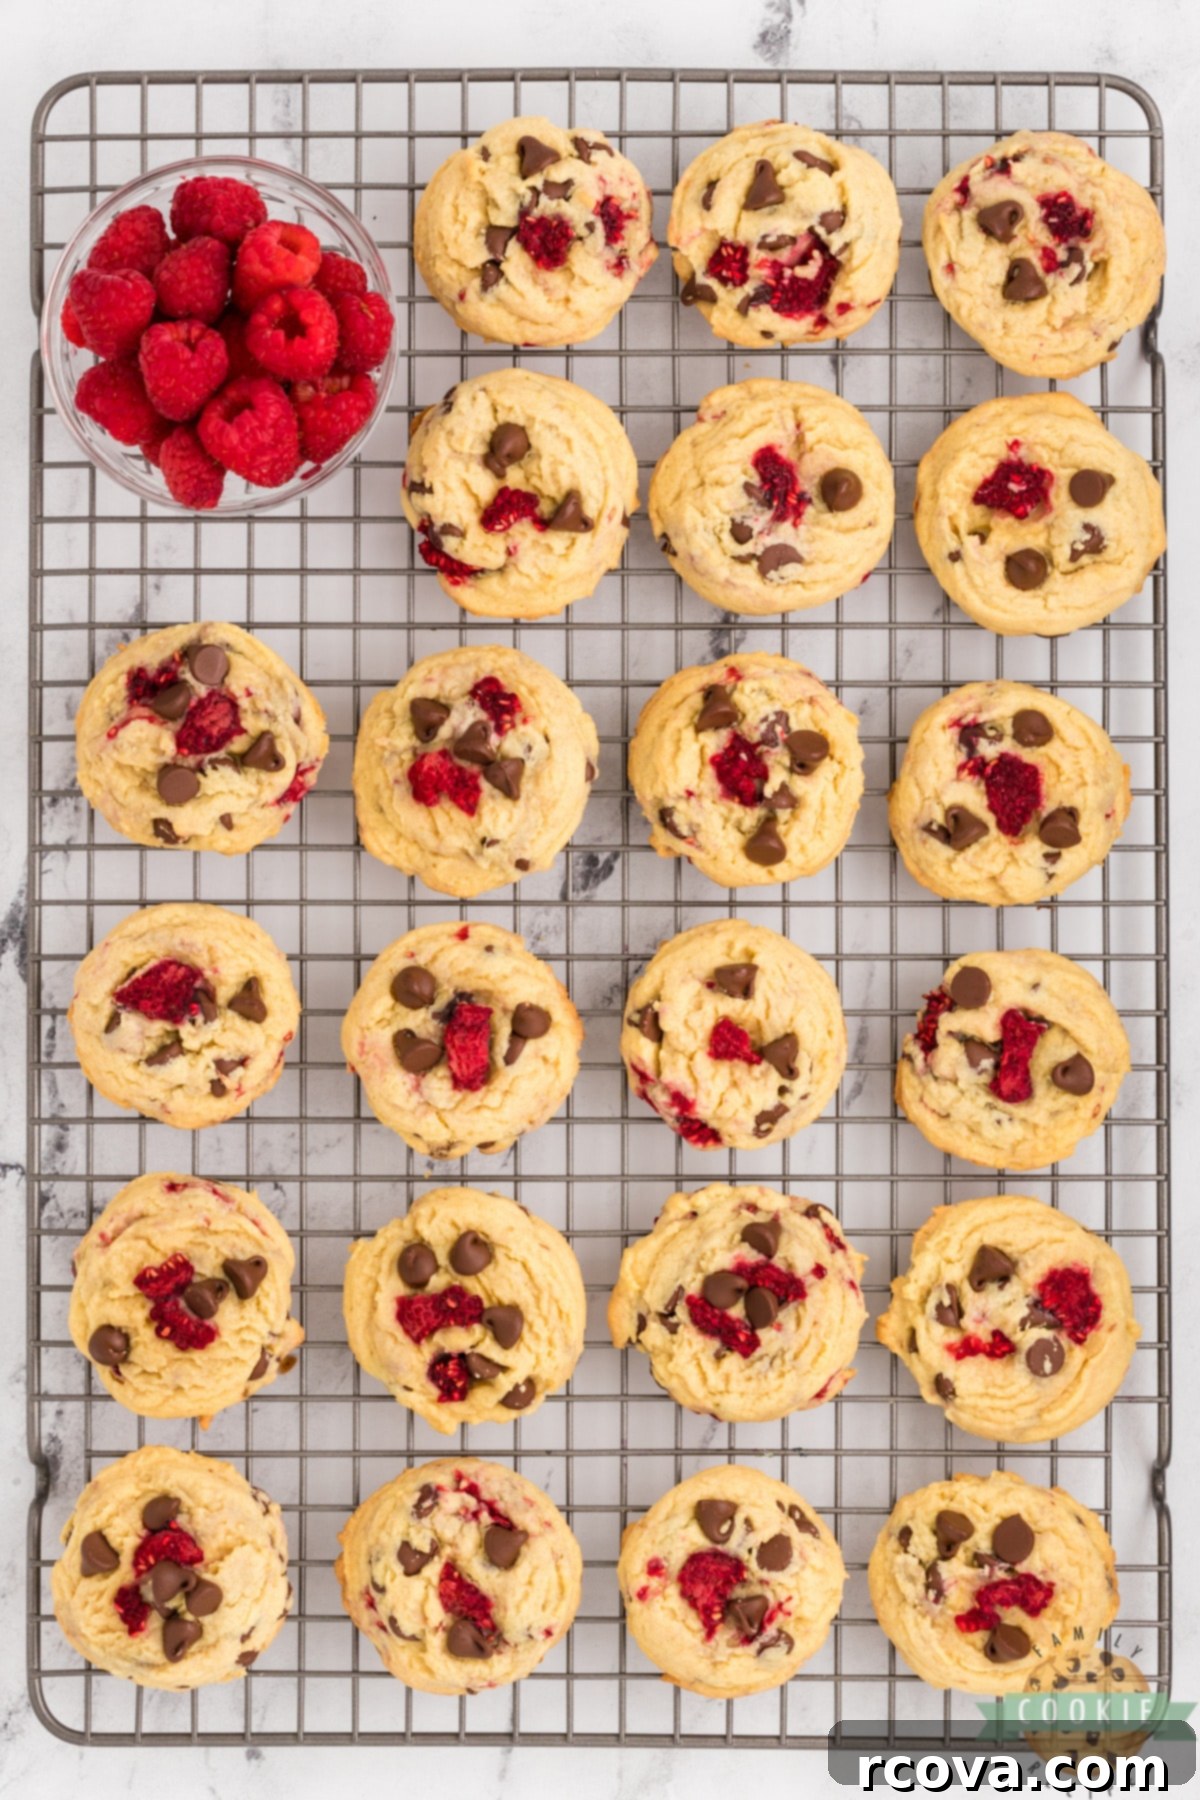
- Allow the cookies to cool on the cookie sheets for about 5 minutes after removing them from the oven. This crucial step helps them firm up and prevents them from breaking when transferred. Then, carefully transfer them to wire racks to cool completely. Enjoy these warm or at room temperature!
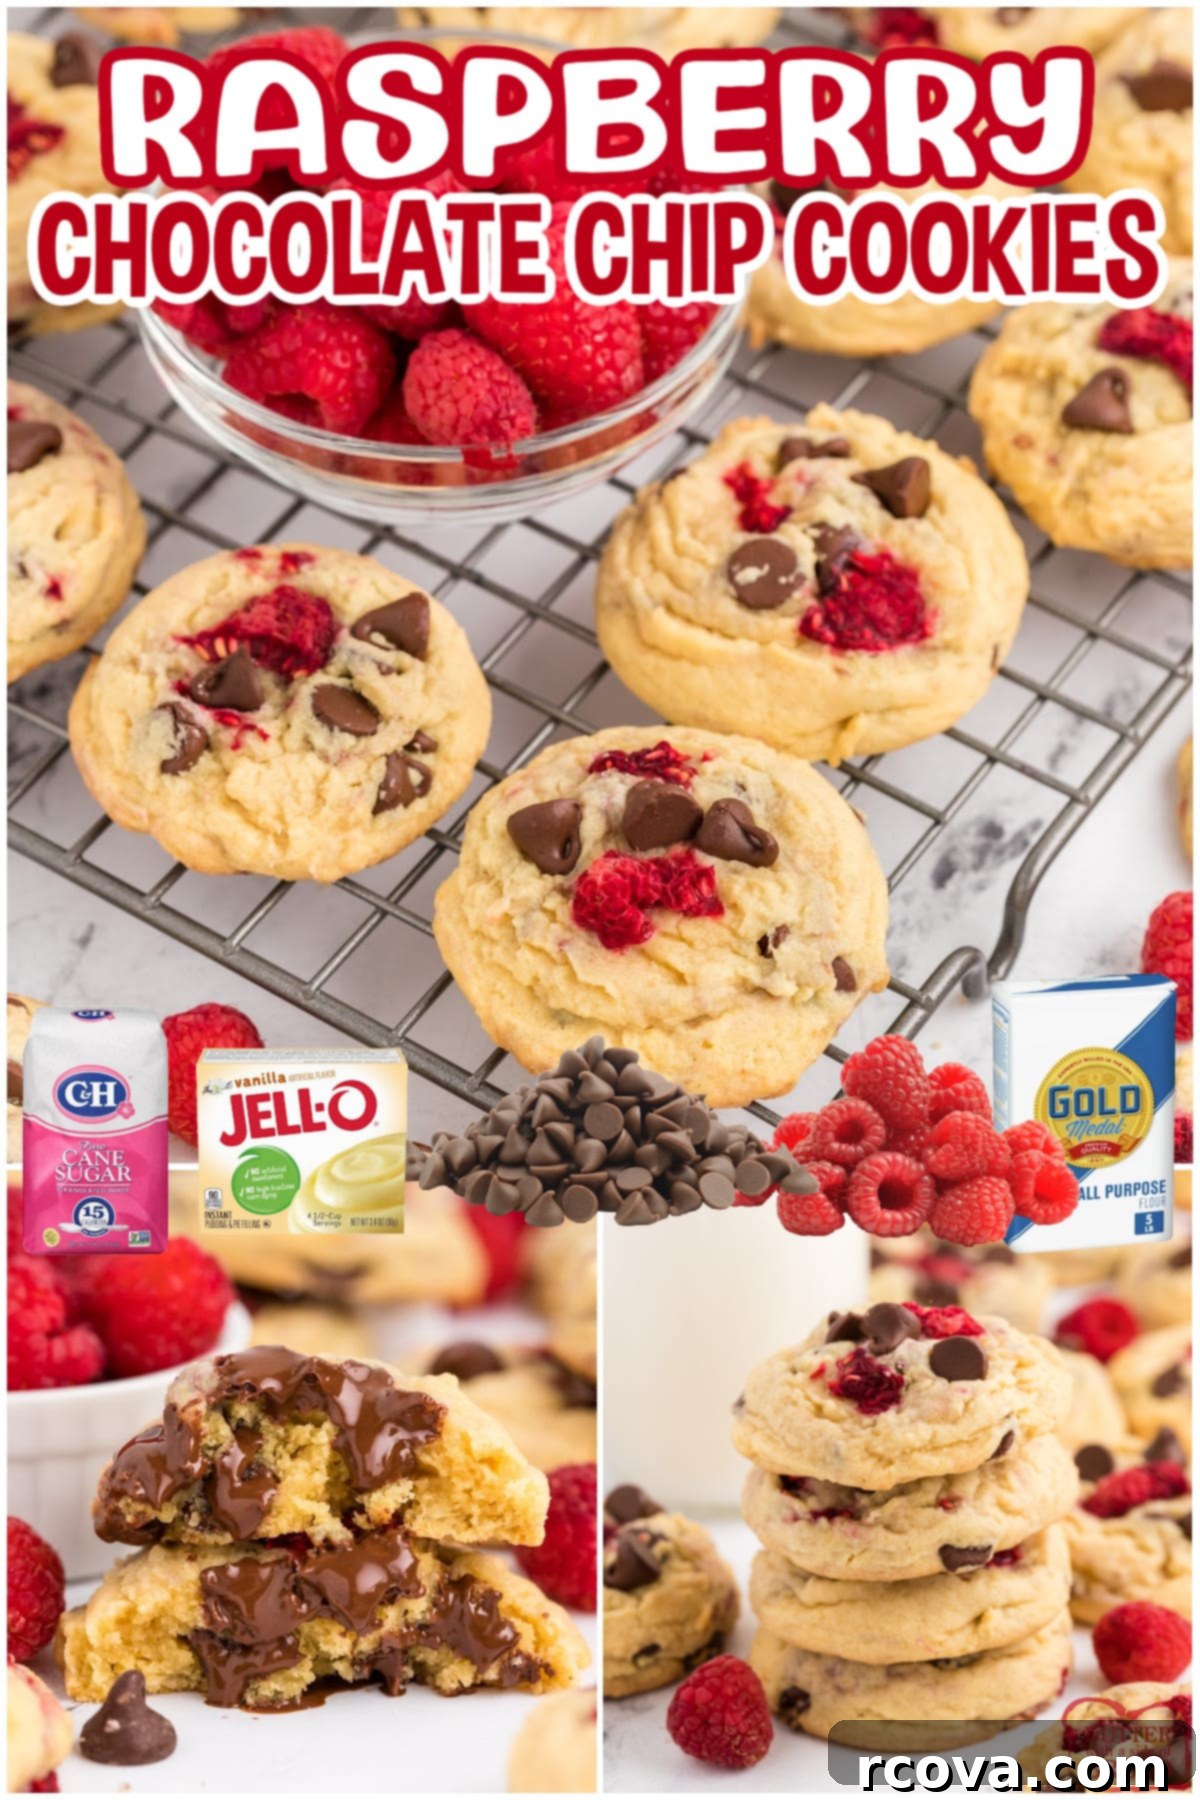
Raspberry Chocolate Chip Cookies
Print
Pin
Rate
Ingredients
- 1 cup butter softened (2 sticks)
- ½ cup brown sugar
- ½ cup sugar
- 1 large box 5.1 oz Instant Vanilla Pudding mix
- 2 eggs
- 1 tsp vanilla
- 2 ½ cups flour
- 1 tsp baking soda
- 1 cup semi-sweet chocolate chips
- 1 cup fresh raspberries halved
Instructions
-
Preheat oven to 350°.
-
With a hand mixer, cream together the butter and sugars for about 2-3 minutes.
-
Add the pudding mix and mix for another 1-2 minutes.
-
Add the eggs and vanilla and beat for 2 more minutes.
-
Add the flour and baking soda and continue mixing. Stir in the chocolate chips and then very gently fold in the raspberries.
-
Drop cookies by rounded teaspoonfuls (I use a cookie scoop) onto a greased cookie sheet (or a high quality non-stick cookie sheet).
-
Bake for about 10 minutes. The edges should just be just barely turning a light golden brown. Let the cookies cool on the cookie sheets for about 5 minutes before transferring to wire racks to cool completely.
Nutrition
Common Chocolate Chip Cookie Troubleshooting Tips
Even seasoned bakers encounter cookie mishaps from time to time. While you might have a go-to chocolate chip cookie recipe that you adore, sometimes they don’t turn out quite as expected. Why does this happen? Over the years, through many baking successes and a few invaluable failures, I’ve gathered some crucial insights. Here are solutions to some of the most common cookie problems, ensuring your next batch of Raspberry Chocolate Chip Cookies is nothing short of perfect!
Why are my chocolate chip cookies flat and spread out too much?
Flat cookies are a common frustration for home bakers, but thankfully, they’re usually an easy fix! If your chocolate chip cookies spread excessively thin while baking, losing their desirable chewiness and thickness, it often indicates one of a few common issues:
- **Too little flour:** This is frequently the most common culprit. Flour provides the necessary structure and body for your cookies. If your dough has insufficient flour, it will be too wet and won’t hold its shape in the heat of the oven, leading to excessive spreading. A good starting point is to add an extra tablespoon or two of all-purpose flour to your dough and mix briefly. Observe the consistency; if it still feels overly soft, sticky, or greasy, add another tablespoon until it reaches a more manageable, yet still soft, consistency.
- **Melted or overly soft butter:** As emphasized in our “Perfect Cookies” tips, butter needs to be softened, not melted. Melted butter lacks the solid fat structure that traps air when creamed with sugar. Without these trapped air pockets, the dough will be denser and spread rapidly in the oven. Even butter that is too warm (starting to look shiny or slightly greasy) can cause this problem. Ensure your butter is at a cool room temperature, where it gives slightly to pressure but isn’t oily.
- **Warm dough:** If your kitchen is warm, or if you’ve handled the dough extensively, the butter in the dough can become too warm. This can cause the cookies to spread prematurely. Chilling your cookie dough for at least 30 minutes, or even an hour, can significantly help to firm up the butter and prevent excessive spreading, resulting in thicker cookies.
- **Inaccurate oven temperature:** An oven that isn’t hot enough can cause cookies to spread before the edges have a chance to set, resulting in flat cookies. Conversely, an oven that is too hot might cause the cookies to set too quickly on the outside, preventing proper spread and resulting in puffy but potentially raw-in-the-middle cookies. Always preheat your oven thoroughly and consider using an oven thermometer to verify its accuracy.
What’s the best way to soften butter to room temperature quickly?
Softened butter is absolutely key to the success of many baking recipes, especially cookies, as it creams properly with sugar to create that light, airy, and uniformly textured dough. The ideal method is to simply set your butter out on the counter for a few hours before you plan to bake. However, let’s be realistic – most of us (or at least, I often am!) aren’t that prepared or don’t think that far in advance. So, if you find yourself needing softened butter in a pinch, here are a few tricks to get it perfectly soft in just a matter of minutes, without melting it:
- **The Microwave Method (with extreme caution!):** This is undoubtedly the fastest method, but it’s also the riskiest, as it’s incredibly easy to accidentally melt the butter. Place a whole stick of unwrapped butter in the microwave. Microwave it for approximately 6-7 seconds on a low power setting (or even the defrost setting). Flip it over and repeat for another 5-7 seconds. Continue in short, controlled bursts of 3-5 seconds, checking the butter’s softness after each interval. You want it to be pliable and slightly yielding to the touch, but critically, it should not look shiny or have any liquid spots. I actually prefer to use the defrost setting on my microwave for this – I don’t know the exact scientific reason why it works differently, and it takes a little bit longer (closer to 30 seconds total), but it seems to be much easier to get the butter to soften uniformly without melting the edges.
- **The Warm Water Bath Method:** Cut your cold butter into smaller pieces (about 1-inch cubes) and place them in a heat-safe bowl. Fill a slightly larger bowl with warm (not hot, you should be able to comfortably touch it) water. Place the smaller bowl containing the butter into the larger bowl, ensuring no water splashes into the butter itself. The gentle warmth from the water will evenly and gradually soften the butter in about 10-15 minutes. This method offers more control than the microwave.
- **The Grating Method:** If you are truly short on time and don’t mind a bit of elbow grease, you can grate cold butter using a box grater. The small shreds of butter will come to room temperature very quickly, usually within 5 minutes. This method is particularly effective if you’re adding butter to flour for recipes like pie crusts, but it also works well for cookie dough if you quickly incorporate it with the sugars to prevent it from becoming too warm from handling.
Why are my chocolate chip cookies crispy, hard, or crunchy instead of soft?
If your chocolate chip cookies consistently turn out hard, crunchy, or overly crispy instead of having that delightful soft and chewy texture, the most common and likely reason is simply **overbaking**. It’s a very common mistake, but easily avoided with a little attention and understanding of how cookies continue to cook outside the oven:
- **The “Underbake Slightly” Rule:** Remember this golden rule for soft cookies: they continue to bake for a couple of minutes on the hot cookie sheet even after you remove them from the oven. Therefore, you do not want to wait until they are fully golden brown and firm in the oven before taking them out! For truly soft and chewy cookies, aim for edges that are just barely set and starting to show a light golden hue, while the centers still look slightly pale, soft, and perhaps even a tiny bit undercooked. This allows the residual heat to finish the baking process gently.
- **Cooling Process Considerations:** How you cool your cookies also plays a role. Leaving them on the hot baking sheet for 5 minutes allows them to firm up enough to be safely transferred without breaking, while still benefiting from that residual heat. Transferring them too quickly to a cool rack might stop the cooking process too abruptly, while leaving them on the hot sheet for too long can lead to overbaking.
- **Proper Storage:** Even perfectly baked cookies can harden if not stored correctly. To maintain their softness and chewiness, store your Raspberry Chocolate Chip Cookies in an airtight container at room temperature. If they do start to harden slightly, you can place a half-slice of bread in the container with them overnight; the cookies will absorb moisture from the bread and soften up!
For example, my husband really likes a few cookies to be a little more well-done and crisp so that he can dip them in milk. So, I usually make half a tray of cookies specifically for him that get cooked a couple minutes longer to achieve that desired crispness, while keeping the majority perfectly soft and chewy for everyone else.
Why do my chocolate chip cookies burn on the bottom but aren’t done in the middle?
This frustrating baking dilemma is often linked to your baking equipment or how your oven is set up. If you frequently find that your cookies are burning on the bottom while still being undercooked or doughy in the middle, here’s what might be happening and how to fix it:
- **Dark-Colored Baking Sheets:** The most common cause! If you are using really dark cookie sheets, they absorb heat much more efficiently than lighter ones. This means the bottoms of your baked goods will tend to brown (and often burn) much faster than the rest of the cookie can cook through. Switching to lighter-colored, reflective, heavy-gauge aluminum baking pans can make a significant difference in preventing scorched bottoms and promoting more even baking.
- **Excessive Cooking Spray:** While a little non-stick spray or butter can help prevent sticking, using too much cooking spray can act almost like oil in a shallow frying pan. This causes the bottoms of the cookies to crisp up and burn prematurely. If you’re using quality non-stick pans or have already lined your sheets with parchment paper or silicone mats, you might not need any spray at all.
- **Oven Rack Position:** The placement of your baking sheet within the oven matters. If your cookies are consistently burning on the bottom, your baking sheet might be on the lowest rack, where it’s exposed to more direct, intense heat from the oven’s heating element. Try moving your baking sheet to the middle rack position for more even heat distribution from both the top and bottom elements.
- **The Power of Parchment Paper or Silicone Baking Mats:** These are truly revolutionary for preventing sticking and promoting even baking, effectively solving the burned-bottom problem. They create a protective barrier that moderates the direct heat transfer from the hot baking sheet to the cookie, preventing burning while allowing the cookie to cook through more gently and evenly. I’ve been completely converted to using silicone baking mats over the last couple of years, and I absolutely love how easy it is for cookies to come off the tray – no sticking ever, and perfectly golden bottoms every time!


Speaking of family and finding joy, my husband and I absolutely love to travel, even though it’s always a little tricky to make arrangements for our four wonderful kids so that we can manage to get away occasionally! Last spring, we had the incredible opportunity to spend a week in Oahu, Hawaii, and it was a truly fabulous break from reality. One particularly memorable evening, we rented a scooter and embarked on a picturesque drive right before sunset – the coastal views were breathtaking, and the feeling of the warm Hawaiian breeze was so exhilarating! We absolutely adored Oahu, from its vibrant culture to its stunning beaches and lush volcanic landscapes. However, I must confess, I still think Maui holds a special place in my heart with its serene beauty and more relaxed pace. This often sparks a friendly debate in our household about which island reigns supreme! Which Hawaiian island is your personal favorite? Or perhaps you have another dream vacation spot that we absolutely must add to our ever-growing travel list to check out next?

Explore More Delicious Fruity Cookie Recipes
If you’ve thoroughly enjoyed the delightful burst of flavor in these Raspberry Chocolate Chip Cookies, you’ll be thrilled to explore other cookie recipes that celebrate the natural goodness of fresh fruit. Fruit adds a wonderful tangy contrast, essential moisture, and natural sweetness, transforming ordinary cookies into something truly extraordinary and exciting. Here are some more of our favorite fruity cookie recipes to inspire your next baking adventure and keep your cookie jar full of variety:
- Blackberry Oatmeal Cookies: A comforting and wholesome classic with a juicy, sweet-tart blackberry twist.
- Raspberry Meltaway Cookies: Delicately tender cookies infused with a delightful raspberry essence that literally melt in your mouth.
- Cherry Chocolate Chip Cookies: A fantastic sweet and tart combination that’s perfect for cherry lovers and chocolate enthusiasts alike.
- Blueberry Cream Cookies: Incredibly soft, creamy cookies generously studded with plump, juicy fresh blueberries.
- Cherry Cheesecake Cookies: Experience all the decadent flavors of your favorite dessert, perfectly packaged in a convenient, bite-sized cookie form.
- Snickerdoodle Apple Pie Cookie Cups: A creative and delicious treat combining the warm spices of snickerdoodles with comforting apple pie filling.
- Fresh Strawberry Cookies: Celebrate peak strawberry season with these incredibly fresh, vibrant, and flavorful cookies.
- Peach Snickerdoodles: A warm, spiced cookie featuring the irresistible sweet taste of fresh summer peaches.
- White Chocolate Cherry Cookies: A luxurious and elegant blend of sweet white chocolate chunks and tangy dried cherries.
- Double Chocolate Cherry Cookies: For the ultimate deep chocolate and cherry experience, a truly indulgent treat.
- Easy Raspberry Cheesecake Cookies: Simple to make, yet incredibly decadent, creamy, and bursting with raspberry flavor.
- Chocolate Chip Cookie Pizza with Fruit: A fun, visually appealing, and shareable dessert that’s as beautiful as it is delicious, topped with an array of fresh fruits.

These **Raspberry Chocolate Chip Cookies** are truly a testament to how simple yet thoughtful additions can transform a cherished classic into something even more extraordinary. The perfect combination of tender, chewy cookie dough, rich, melty chocolate, and bright, fresh raspberries creates a dessert that’s ideal for sharing with loved ones, celebrating special moments, or simply indulging in a well-deserved moment of pure bliss. With our detailed tips and the secret pudding mix ingredient, you’re well on your way to baking your best batch yet. Happy baking, and enjoy every delightful bite!
