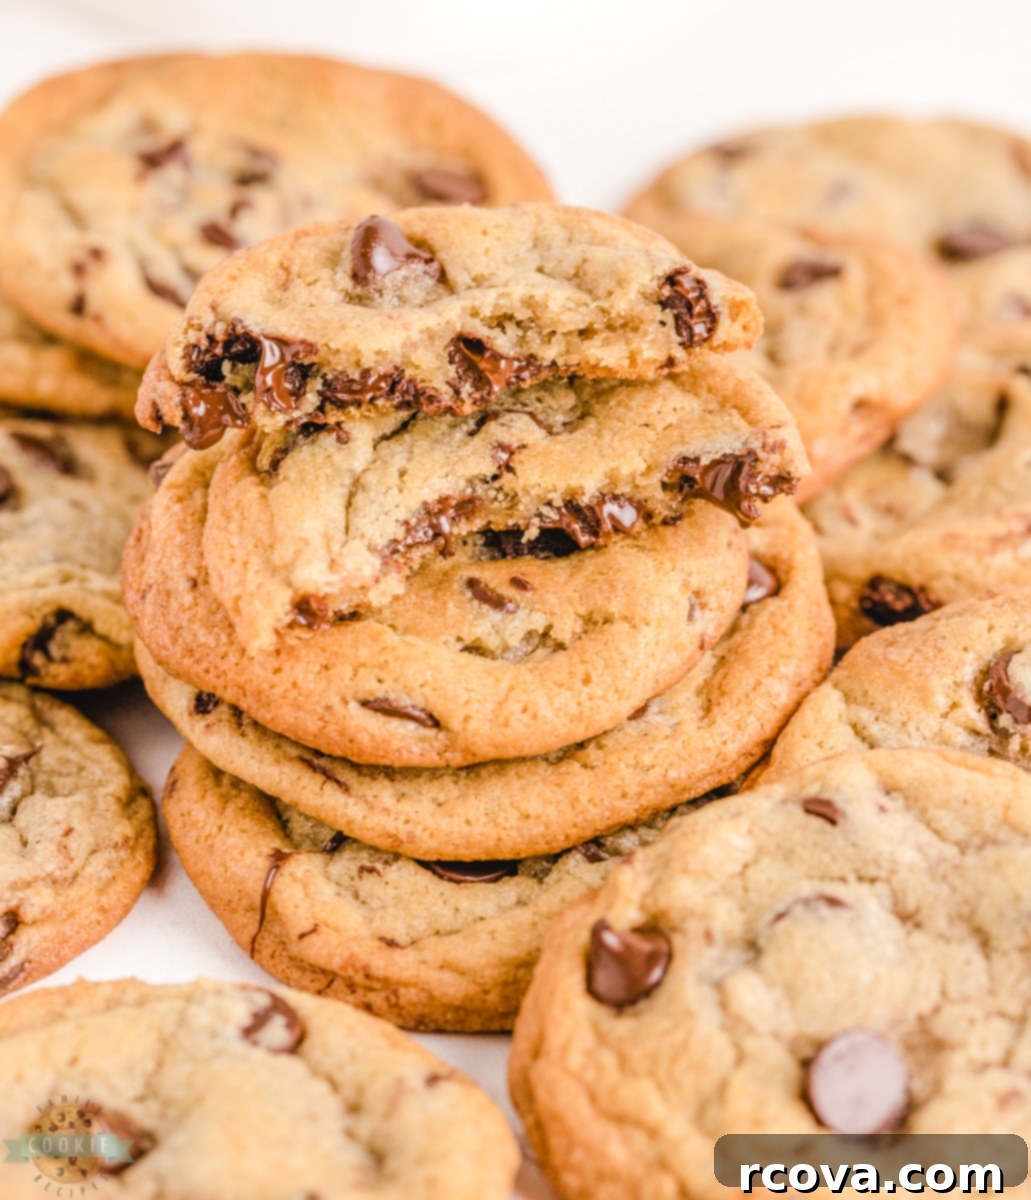
The Ultimate Guide to Baking the Best Nestle Toll House Chocolate Chip Cookies: A Classic Recipe Perfected
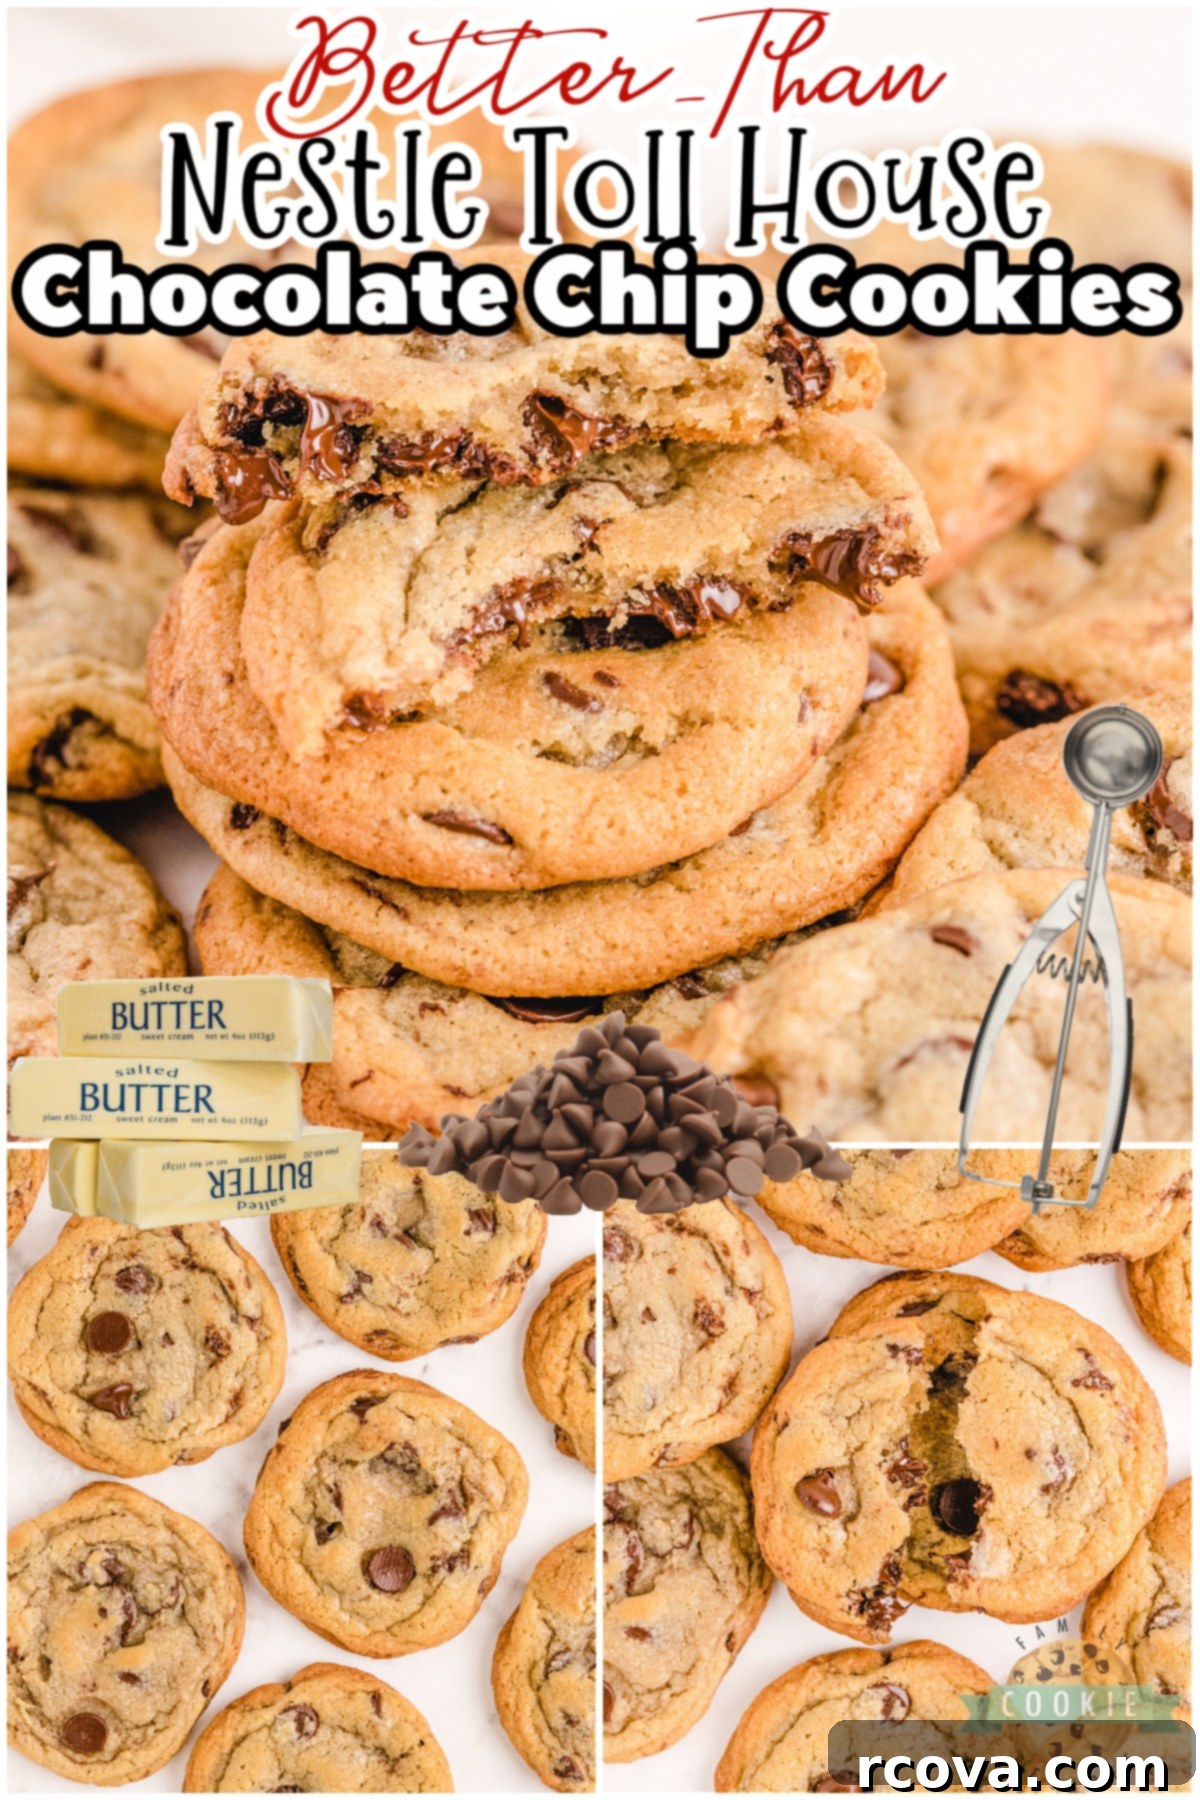
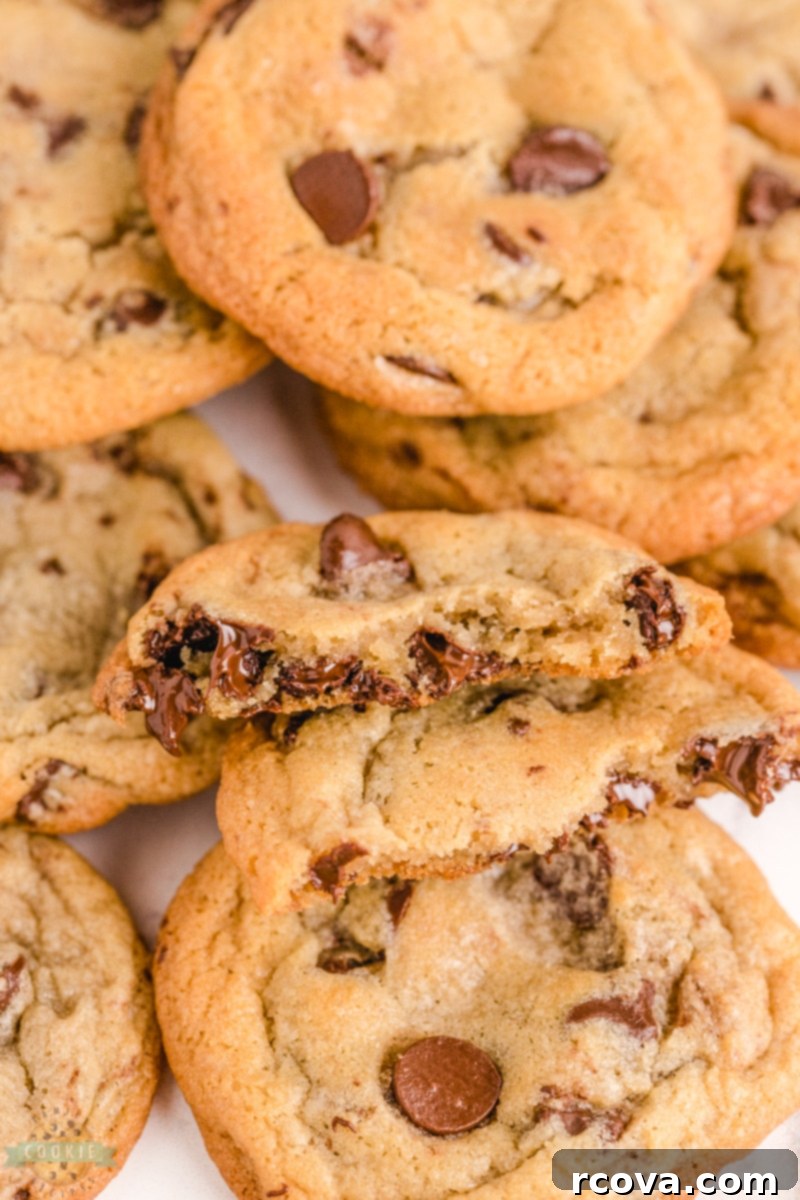
Welcome to the ultimate guide for crafting the most delectable, buttery, and perfectly textured Nestle Toll House Chocolate Chip Cookies you’ve ever tasted. This isn’t just a recipe; it’s an elevated experience of a timeless classic, designed to bring you the very best of homemade goodness. We’ve taken the beloved recipe from the back of that iconic yellow bag of chocolate chips and introduced a few thoughtful tweaks to make them even BETTER. Get ready to bake cookies that are rich, chewy, and melt-in-your-mouth delicious, guaranteeing perfect flavor and an irresistible texture every single time.
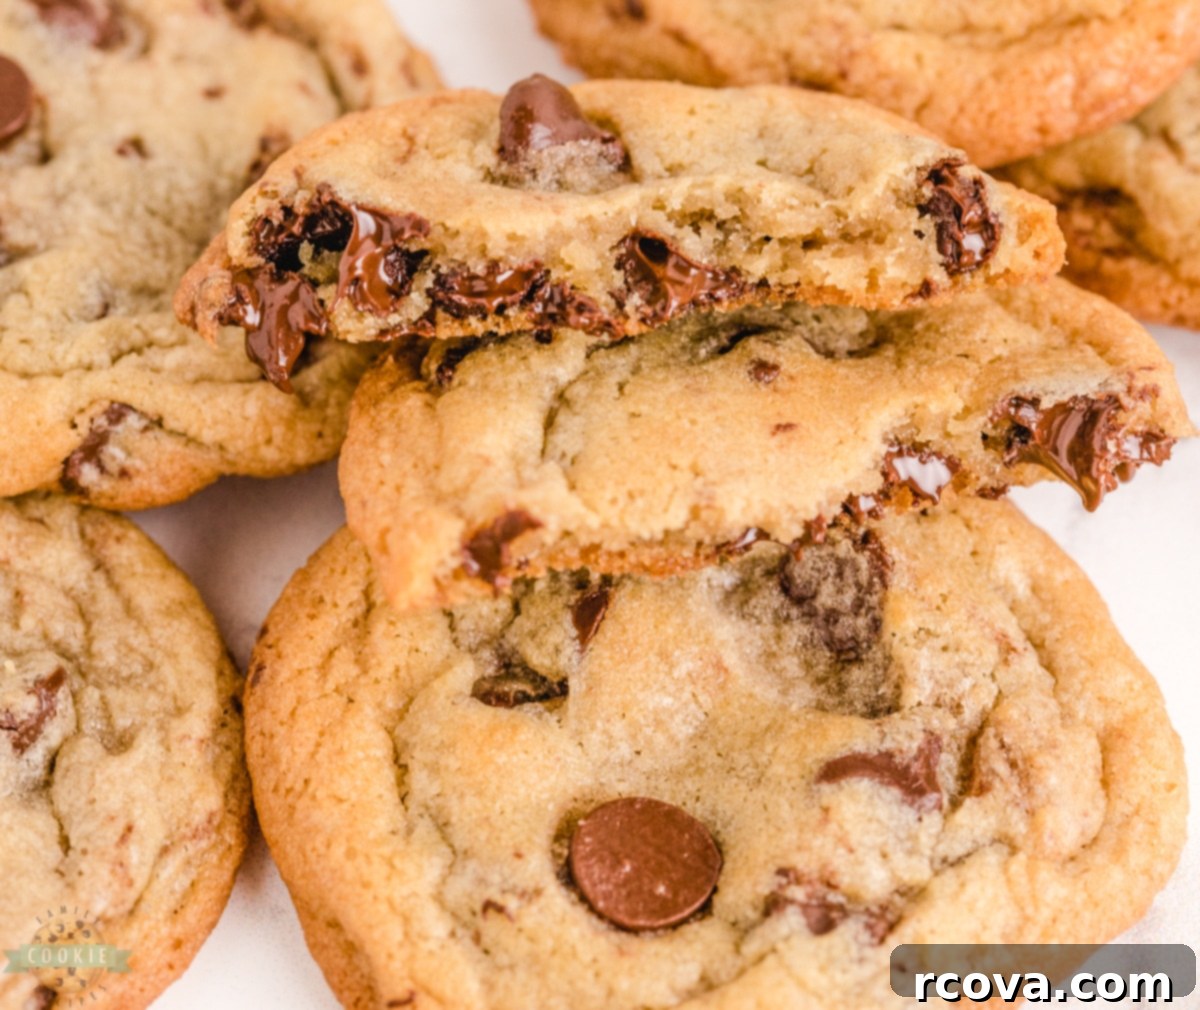
If you’re a true cookie connoisseur, or perhaps a fan of the hit 90s comedy show “Friends,” then the phrase “Nestle Toll House” might just trigger a fond memory of Phoebe Buffay’s quest for her grandmother’s legendary chocolate chip cookie recipe. While Phoebe’s discovery might have led to a humorous disappointment, we promise that these cookies will not only meet but exceed your expectations. They are so good, in fact, that you might just find yourself passing this recipe down for generations, creating your own authentic family tradition.
The beauty of the classic chocolate chip cookie lies in its simplicity and comforting familiarity. Our refined version builds upon this foundation, ensuring each bite delivers a symphony of flavors and textures that will leave you craving more. Forget any past cookie frustrations; this recipe is straightforward, uses accessible ingredients, and yields consistently amazing results, making it perfect for both novice bakers and seasoned pros. Prepare to impress everyone with these truly spectacular homemade chocolate chip cookies.
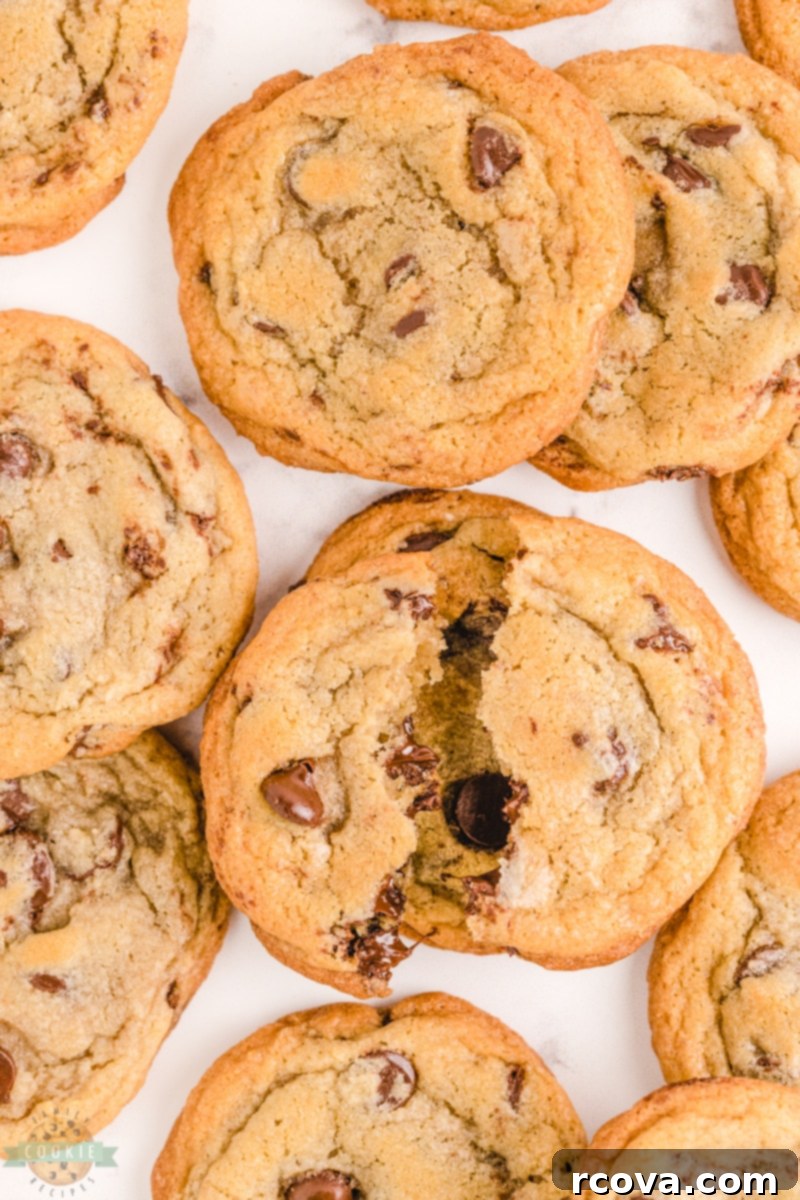
What Makes These Nestle Toll House Cookies So Special?
Nestle Toll House cookies are more than just a recipe; they are an American icon. Originating in the 1930s at the Toll House Inn in Whitman, Massachusetts, this recipe quickly became a national sensation. It has graced countless kitchens for decades and continues to rank among the top contenders for the best chocolate chip cookie recipe worldwide. Its enduring popularity is a testament to its perfect balance of sweetness, chewiness, and delightful semi-sweet chocolate bursts.
Our rendition takes this already fantastic base and elevates it. By introducing a blend of butter and shortening, we achieve an unparalleled richness and an even softer, chewier texture that resists excessive spreading during baking. The semi-sweet chocolate chips, paired with this buttery, tender cookie, practically melt on your tongue, creating a truly irresistible treat. These cookies are not only easy to make, using simple, readily available ingredients, but they also offer a charm and appeal that is hard to match. They represent the quintessential comfort food, perfect for any occasion, from a casual snack to a festive gathering.
Essential Ingredients for Your Perfect Chocolate Chip Cookies
The secret to these sensational cookies lies in the quality and balance of a few key ingredients. Here’s a detailed look at what you’ll need and why each component is crucial:
- Butter & Shortening: We use a combination of ½ cup softened butter (one stick) and ½ cup butter-flavored shortening. The butter provides incredible flavor and richness, while the shortening contributes to a softer, more tender crumb and helps prevent the cookies from spreading too much, ensuring a wonderfully chewy texture. Using both gives you the best of both worlds!
- Sugars: This recipe calls for ¾ cup each of packed brown sugar and granulated sugar. Brown sugar is key for moisture and chewiness, giving the cookies their signature soft texture and a hint of caramel flavor. Granulated sugar, on the other hand, helps with crisp edges and provides the overall sweetness, ensuring a balanced and delightful taste.
- Vanilla Extract: A full teaspoon of vanilla extract is essential to enhance all the other flavors in these cookies. Using a good quality, strong vanilla can make a noticeable difference, adding a warm, aromatic depth that complements the chocolate beautifully.
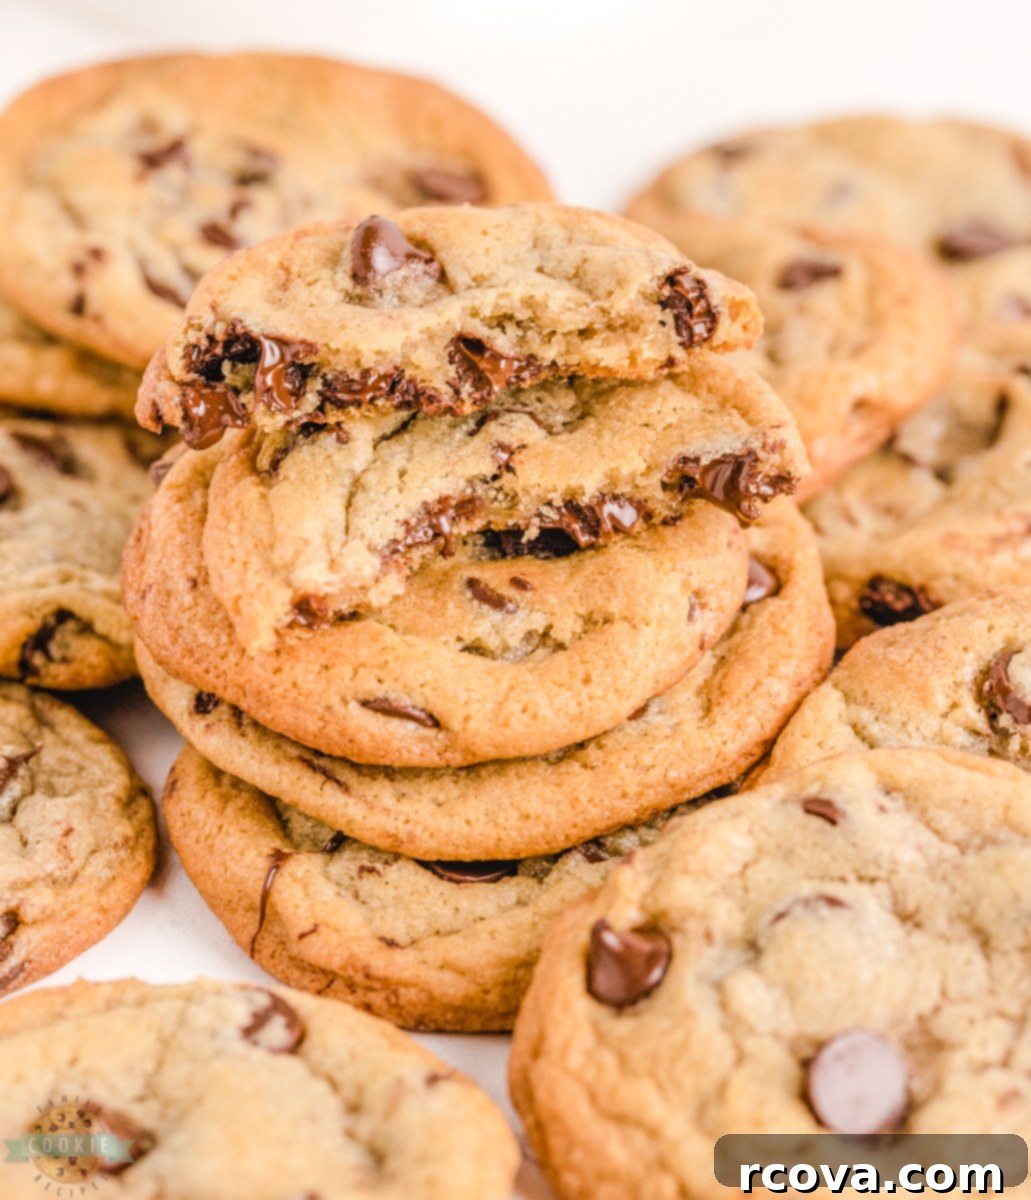
- Eggs: Two large eggs are vital for binding the cookie dough ingredients together. They add moisture, richness, and help the cookies hold their structure, ensuring they are sturdy enough to be picked up straight from the serving plate without crumbling. Ensure your eggs are at room temperature for better emulsification with the butter and sugars.
- All-Purpose Flour: The foundation of our cookie dough is 2 ½ cups of all-purpose flour. Flour provides the necessary structure, giving the cookies their body and preventing them from becoming too flat. Proper measurement is crucial here – spoon and level your flour for accuracy.
- Baking Soda: Adding 1 ¼ teaspoons of baking soda works as a leavening agent, reacting with the acidic brown sugar to help the cookies puff up and rise nicely during baking, creating that desirable soft interior.
- Salt: A single teaspoon of salt is not just for seasoning; it’s a flavor enhancer. It balances the sweetness of the sugars and chocolate, making the overall flavor profile more complex and satisfying. Don’t skip it!
- Chocolate Chips: We insist on 2 cups (a standard 12-ounce bag) of NESTLÉ® TOLL HOUSE® Semi-Sweet Chocolate Chips. While other brands might work, using the original Nestle Toll House chips ensures the authentic, classic flavor that this recipe is famous for. Their melt quality and flavor are simply unmatched for this particular cookie.
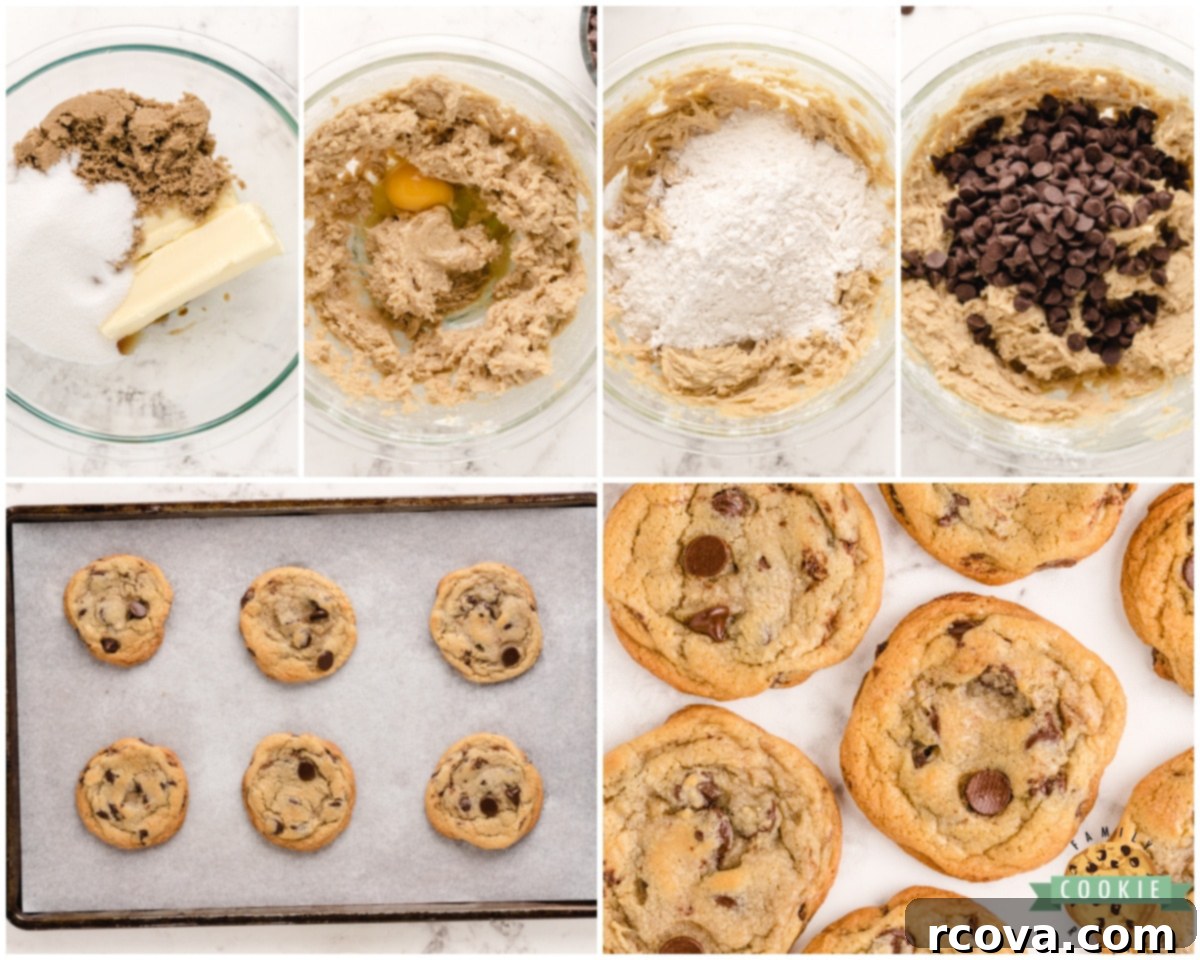
Step-by-Step: How to Bake Nestle Toll House Cookies to Perfection
Making these classic chocolate chip cookies is a delightful and rewarding process. Follow these steps carefully for the best results:
- Preparation is Key: Begin by preheating your oven to 375 degrees F (190 degrees C). Line two baking sheets with parchment paper. This simple step prevents sticking and ensures even baking, making cleanup a breeze.
- Combine Dry Ingredients: In a small bowl, whisk together the all-purpose flour, baking soda, and salt. Whisking ensures these ingredients are evenly distributed, which is crucial for uniform texture and rise. Set this aside.
- Cream Wet Ingredients: In a large mixing bowl (or the bowl of a stand mixer fitted with a paddle attachment), beat together the softened butter, butter-flavored shortening, granulated sugar, brown sugar, and vanilla extract. Beat until the mixture is light, fluffy, and creamy, typically for 2-3 minutes. This process, known as creaming, incorporates air, contributing to the cookies’ soft texture.
- Add Eggs: Add the eggs one at a time, beating well after each addition. This ensures the eggs are fully incorporated and the mixture remains emulsified.
- Gradually Add Dry to Wet: Slowly and gradually beat in the flour mixture into the wet ingredients. Mix just until combined. Be careful not to overmix, as overmixing can develop the gluten in the flour, leading to tougher cookies.
- Stir in Chocolate Chips: Finally, fold in the Nestle Toll House semi-sweet chocolate chips using a spoon or spatula. Distribute them evenly throughout the dough.
- Chill the Dough: This is a crucial step for truly superior cookies! Cover the bowl of cookie dough with plastic wrap and place it in the fridge for at least 4 hours. Chilling allows the flavors to meld, the flour to hydrate, and the fats to solidify, which results in richer flavor and less spreading during baking.
- Prepare for Baking: Once chilled, remove the dough from the fridge and let it sit at room temperature for about 20 minutes to soften slightly, making it easier to scoop.
- Portion and Bake: Drop the dough by rounded tablespoons onto your prepared, ungreased baking sheets. Leave some space between each cookie for spreading.
- Bake to Golden Perfection: Bake in the preheated oven for 9-11 minutes, or until the edges are golden brown and the centers are still slightly soft. Remember that ovens can vary, so keep an eye on them.
- Cooling Process: Let the cookies cool on the baking sheets for 2 minutes before carefully removing them with a spatula and placing them on wire racks to finish cooling completely. This initial cooling on the baking sheet helps them set and prevents them from breaking apart. Enjoy these warm, fresh-from-the-oven delights!
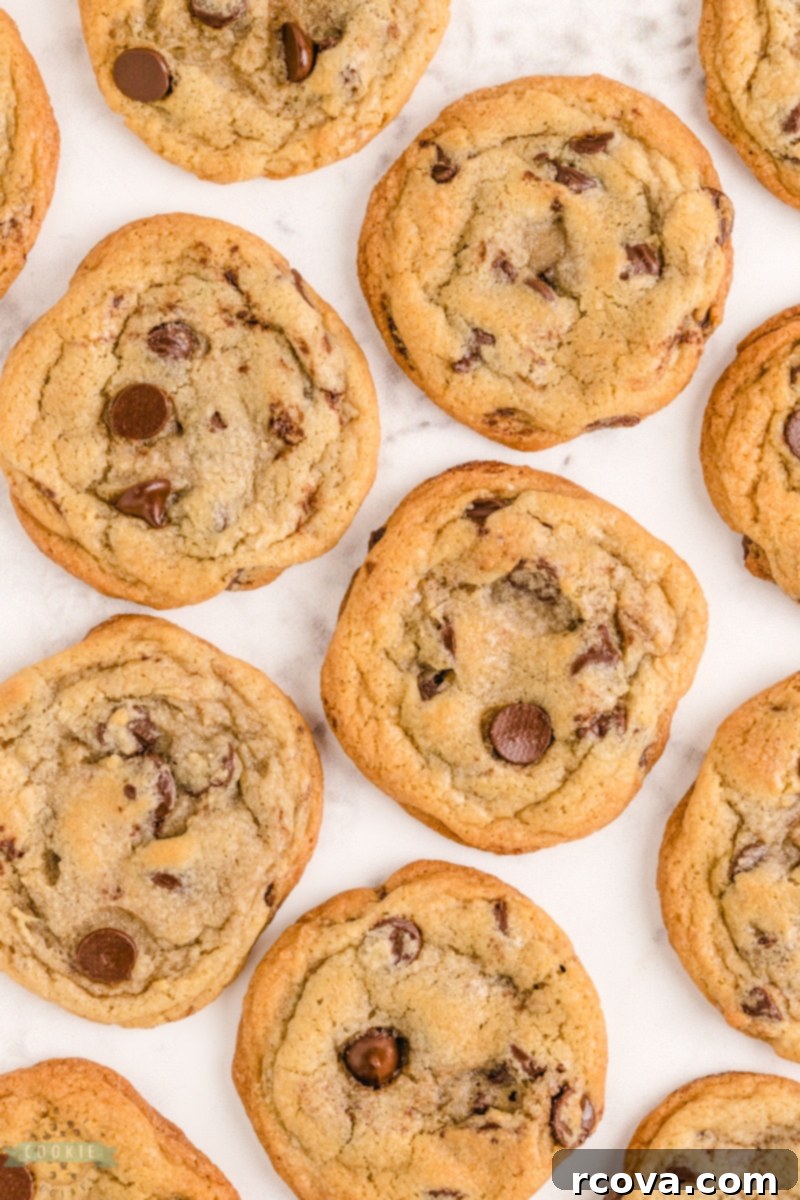
Cooling Your Cookies: The Key to Structure and Enjoyment
The cooling process is often underestimated but plays a vital role in achieving perfectly structured and delightful cookies. Once you pull your chocolate chip cookies from the oven, they are still quite soft and delicate. To prevent them from falling apart, it’s best to let them cool on the hot baking sheet for 3-4 minutes. This allows them to firm up slightly and continue to bake just a tiny bit from the residual heat.
After this initial rest, you can then carefully transfer them to a wire cooling rack. Cooling on a wire rack ensures air circulation around the entire cookie, preventing the bottoms from becoming soggy and helping them cool evenly. Typically, after a couple more minutes on the cooling rack, the cookies will be firm enough to handle and enjoy. Warm cookies, with their gooey chocolate chips, are undeniably the best way to experience this classic treat!
Better Than NESTLE TOLL HOUSE Chocolate Chip COOKIES
Print
Pin
Rate
Ingredients
- ½ cup butter softened, 1 stick
- ½ cup shortening butter flavored
- ¾ cup granulated sugar
- ¾ cup packed brown sugar
- 1 teaspoon vanilla extract
- 2 large eggs
- 2 ½ cups all-purpose flour
- 1 ¼ teaspoons baking soda
- 1 teaspoon salt
- 2 cups NESTLÉ TOLL HOUSE Semi-Sweet Chocolate chips 12-ounce package
Instructions
-
Preheat oven to 375° F. Line 2 baking sheets with parchment paper & set aside.
-
Combine flour, baking soda and salt in small bowl. Whisk and set aside.
-
Beat butter, shortening, granulated sugar, brown sugar and vanilla extract in large mixing bowl until creamy.
-
Add eggs, one at a time, beating well after each addition. Gradually beat in flour mixture. Stir in chocolate chips. Cover dough & refrigerate at least 4 hours.
-
Remove dough from fridge & let sit 20 minutes. Drop by rounded tablespoon onto ungreased baking sheets.
-
Bake for 9 to 11 minutes or until golden brown. Cool on baking sheets for 2 minutes; remove to wire racks to cool completely.
Video
Nutrition
Why Chill Cookie Dough? The Secret to Flavor and Texture
While patience might not always be a virtue, when it comes to cookie dough, it’s absolutely essential. We highly recommend letting your chocolate chip cookie dough chill for at least 4 hours. This crucial step is often overlooked, but it profoundly impacts the final cookie. Here’s why chilling is your secret weapon for making truly superior cookies:
- Flavor Development: As the dough chills, the liquid ingredients (like eggs and vanilla) have more time to fully absorb into the dry ingredients (flour and sugar). This allows the flavors to deepen and meld, resulting in a more complex and richer tasting cookie.
- Better Texture: Chilling solidifies the butter and shortening in the dough. This firm fat melts more slowly in the oven, leading to less spread and thicker, chewier cookies. It also helps to prevent a greasy texture.
- Reduced Spreading: Cold dough spreads less when baked, giving your cookies a better shape and a wonderfully chewy center with slightly crisp edges.
- Moisture Control: The flour continues to absorb moisture from the liquid ingredients during chilling. This leads to a more evenly hydrated dough and a more consistent texture in the baked cookies.
While 4 hours is the minimum for noticeable improvement, you can actually chill the dough for up to 24 hours (or even longer, covered, in the fridge) if you want to prepare it in advance or if you simply happen to forget about it. The longer chill time will only enhance the flavors further, making your cookies even more incredible.
Storing Your Homemade Chocolate Chip Cookies
Once your irresistible Nestle Toll House cookies have cooled, proper storage is key to maintaining their freshness and deliciousness. These cookies are best enjoyed within about a week if stored correctly. To keep them at their peak, place them in an airtight container at room temperature. This prevents them from drying out and helps maintain their soft and chewy texture. For an extra touch, you can place a slice of bread in the container with the cookies; the bread will absorb moisture, keeping your cookies soft for longer.
Freezing Cookie Dough for Future Cravings
One of the many joys of baking chocolate chip cookies is the ability to prepare ahead of time. Yes, you can absolutely freeze cookie dough! Freezing dough is a fantastic way to have fresh-baked cookies ready in minutes whenever a craving strikes. Here’s how to do it effectively:
First, scoop the dough into proper-sized cookie balls, just as you would for baking. Place these dough balls on a baking sheet lined with parchment paper, ensuring they don’t touch. Freeze the dough balls until they are solid, typically for about 1-2 hours. Once firm, transfer the frozen dough balls to a freezer-safe airtight bag or container. This prevents them from sticking together and makes it easy to grab just a few at a time.
When you’re ready to bake, simply remove the desired number of frozen dough balls from the freezer. You can place them directly on a parchment-lined baking sheet. Let them thaw for a minute or two while your oven preheats (no need to fully thaw!). Then, bake at the recommended temperature and time. You might need to add an extra minute or two to the baking time since they are starting from frozen, but generally, the baking process is very similar. Enjoy the luxury of warm, homemade cookies with minimal effort whenever you wish!

Life’s simple pleasures, like baking and enjoying these perfect chocolate chip cookies, often create the most cherished memories. We recently had a delightful family outing, tagging along on my husband’s business trip to Vegas. Our stop at the Paris Hotel was a particular highlight. Have you ever visited? I adore its quiet elegance and charming atmosphere! My daughter, who has been taking French for the last couple of years, was incredibly excited to explore the shops and soak in the Parisian ambiance.

Of course, we couldn’t resist indulging in some delicious crepes! We all loved how the hotel is designed to make you feel as if you’re truly walking along a quaint Parisian street. There were so many pretty things to admire and capture – I think my daughter took a hundred pictures! It was such a fun little outing, and it left us dreaming of the day we can visit the real City of Lights and experience its magic firsthand. Just like these cookies, some experiences are simply timeless and create lasting joy.
More Delicious Cookie Recipes You’ll Love
If you’re a fan of baking and enjoy experimenting with different flavors and textures, be sure to check out some of our other fantastic cookie recipes. From fruity to nutty, classic to creative, there’s a cookie for every taste and occasion:
- PINK SANDWICH COOKIES
- PEANUT BUTTER COOKIE BITES
- BREAKFAST CHOCOLATE CHIP COOKIES
- EASY BUTTERSCOTCH COOKIES
- LEMON THUMBPRINT COOKIES
- WHITE CHOCOLATE MACADAMIA NUT COOKIES
- SNICKERDOODLE COOKIE BARS
- LEMON MELTAWAY COOKIES
- BUTTER PECAN COOKIES
- RASPBERRY CHEESECAKE COOKIES
- EGGLESS OATMEAL CHOCOLATE CHIP COOKIES
- VANILLA MELTAWAY COOKIES
- CHOCOLATE SUGAR COOKIES
- CREAM CHEESE SUGAR COOKIES
- STRAWBERRY COOL WHIP COOKIES

