Irresistible S’mores Oatmeal Cookies: Your Ultimate Guide to Chewy, Gooey Perfection
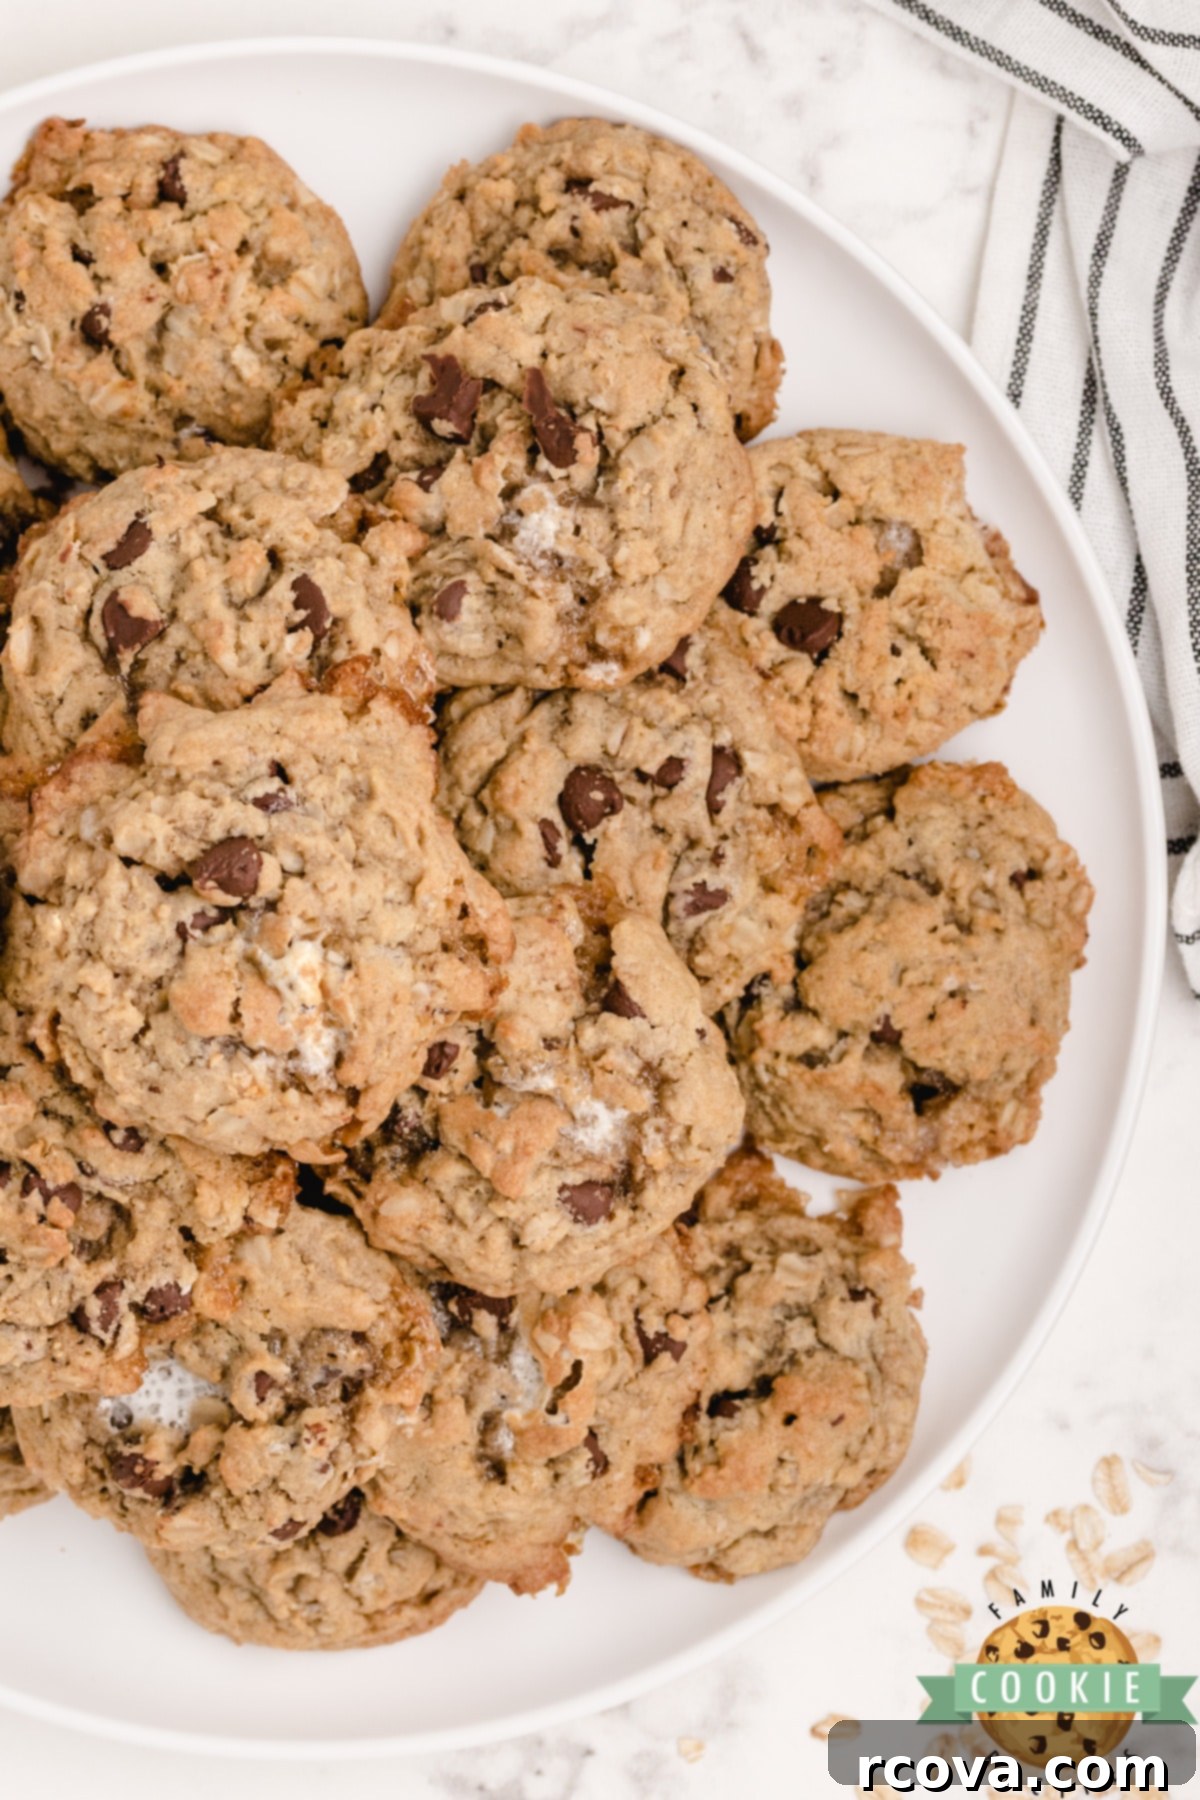
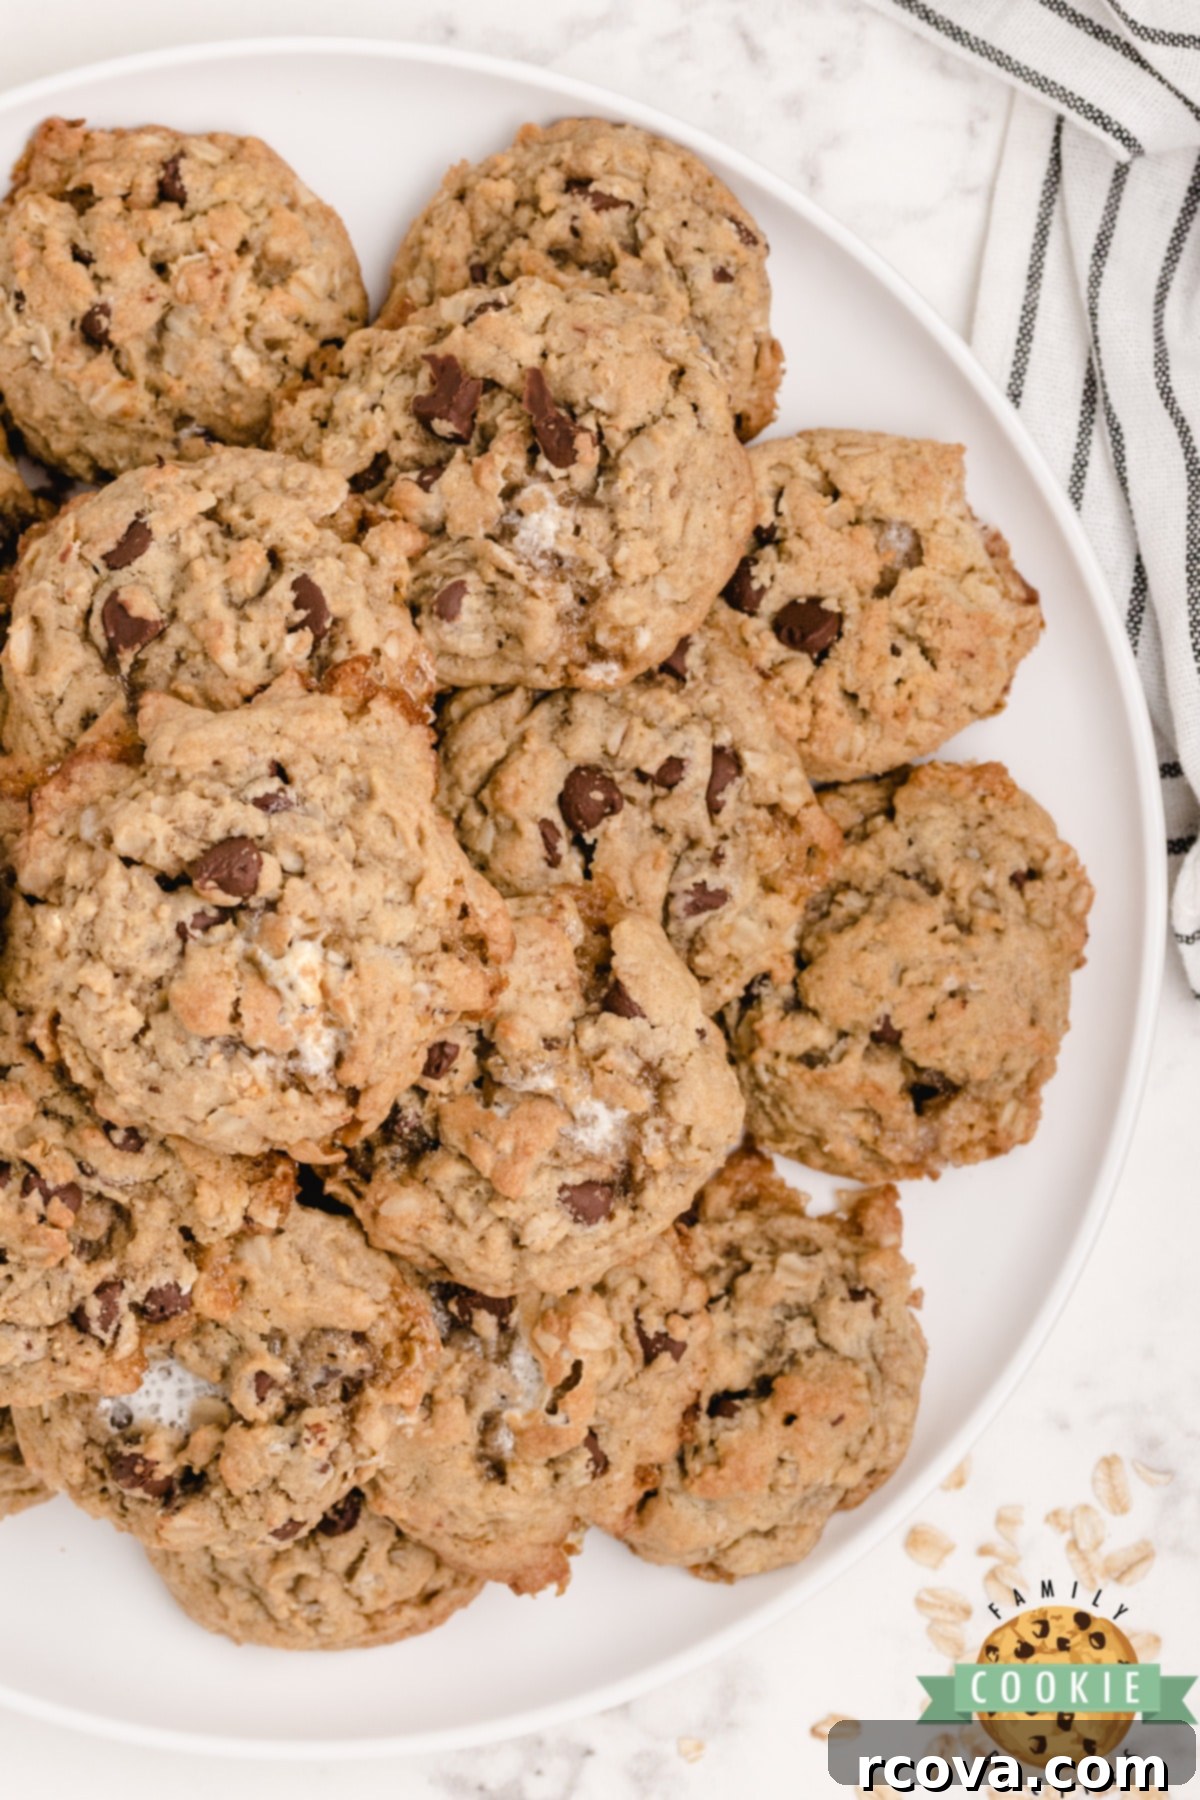
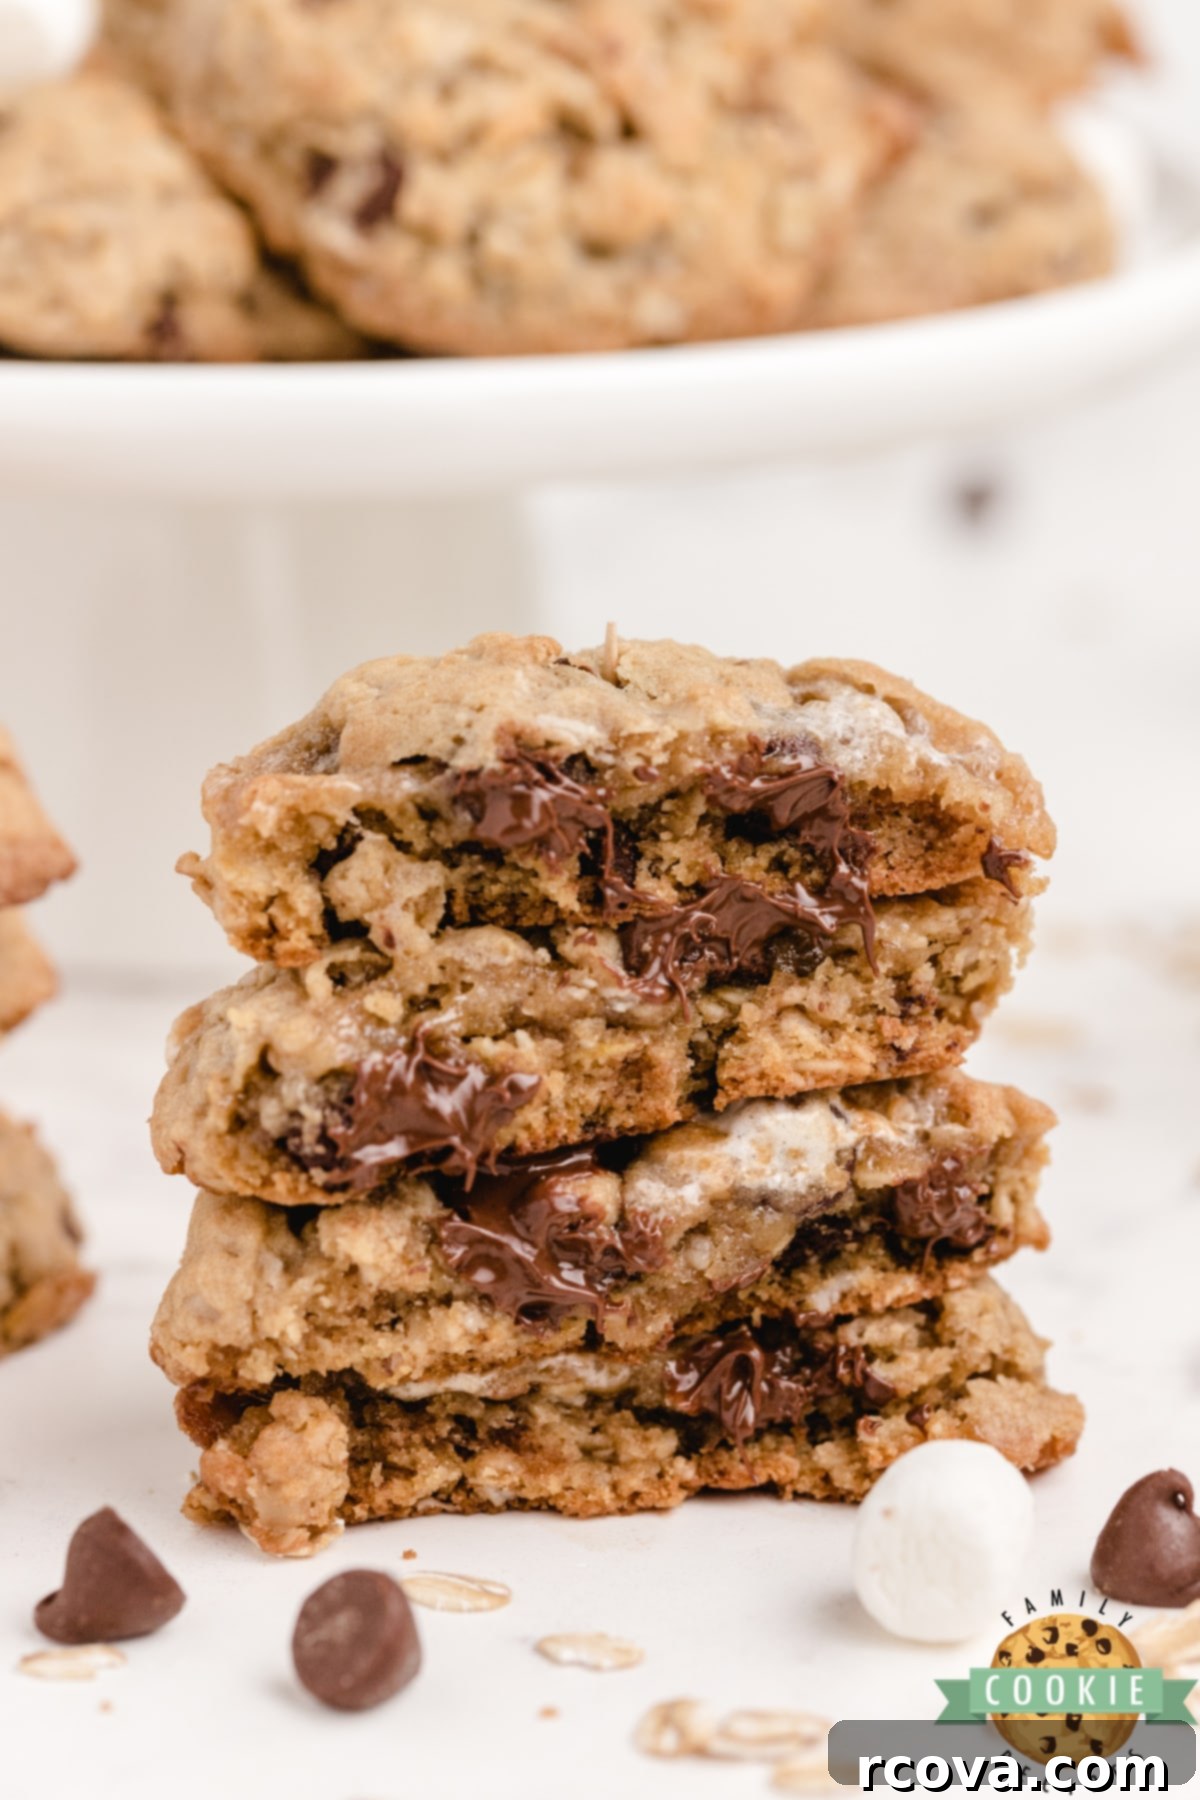
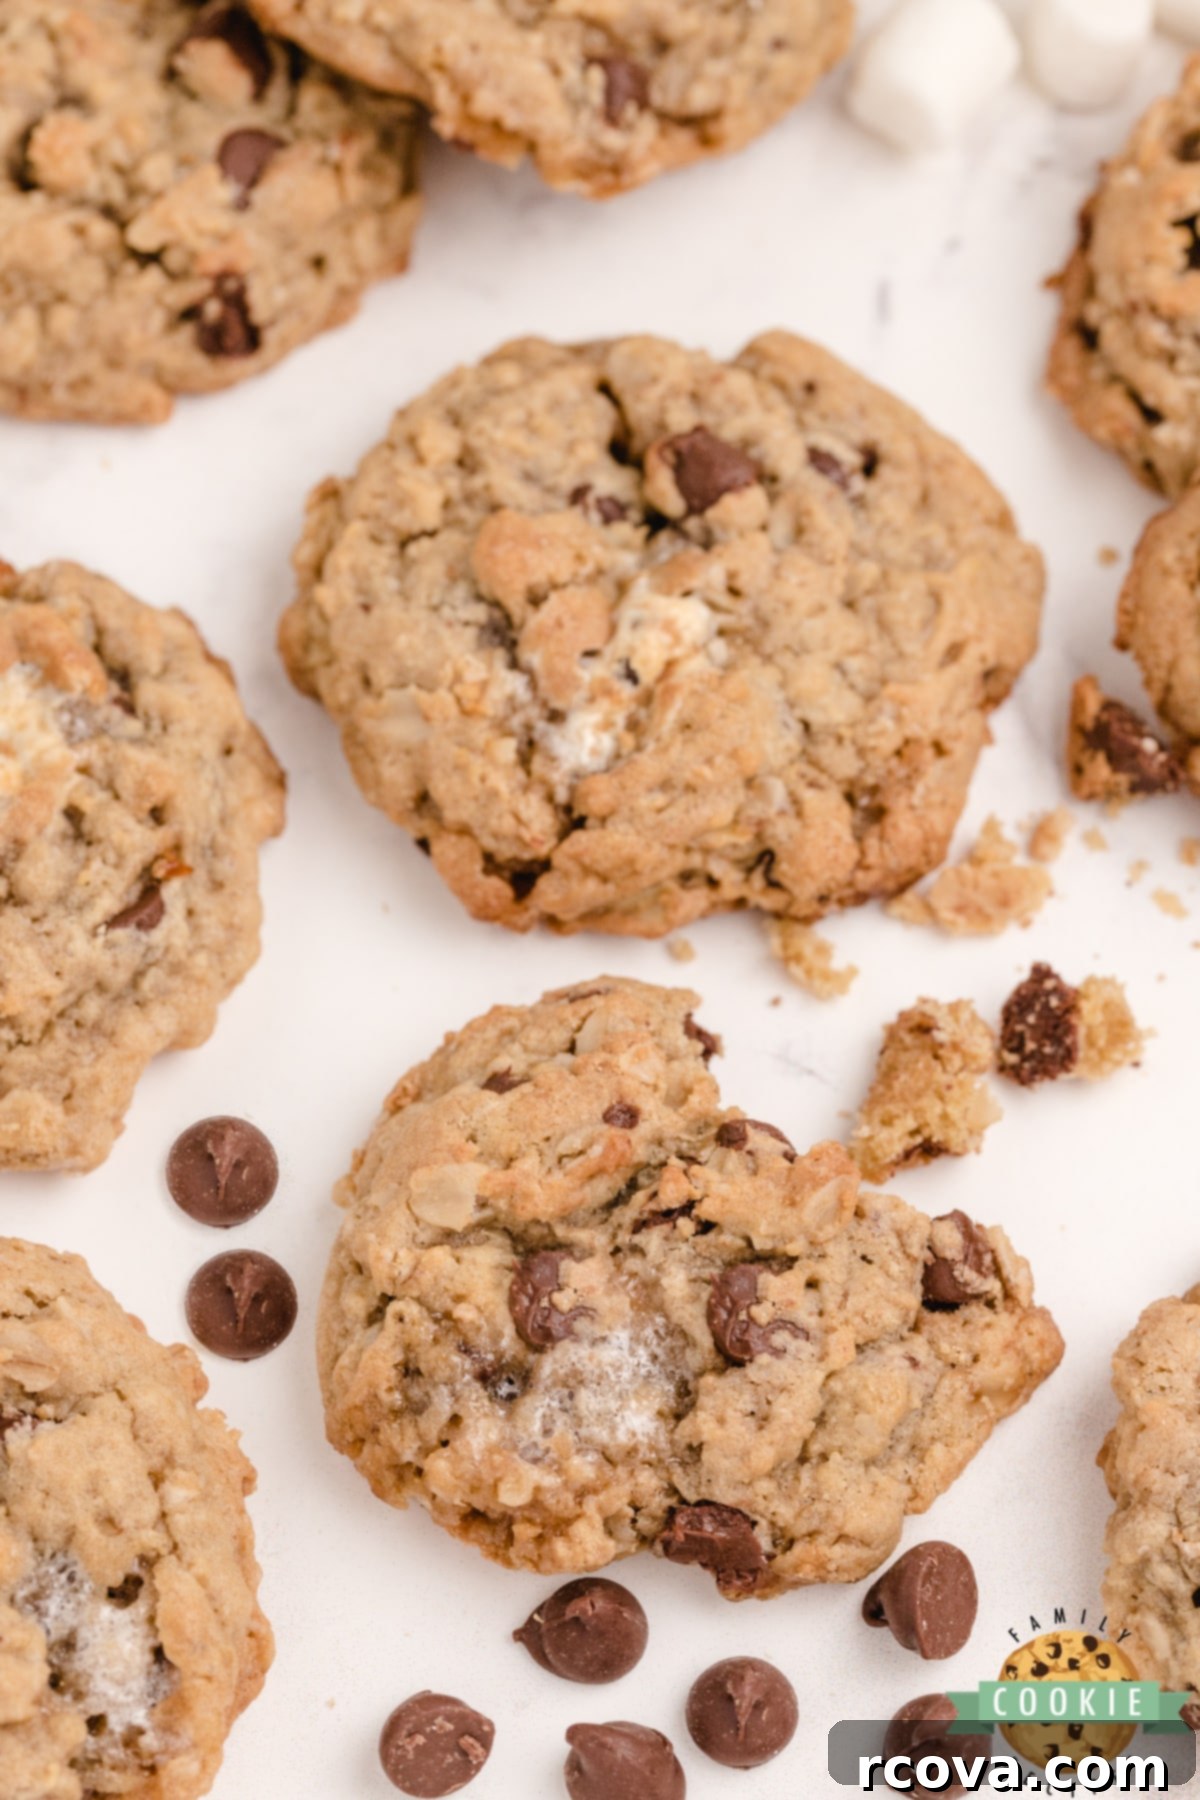
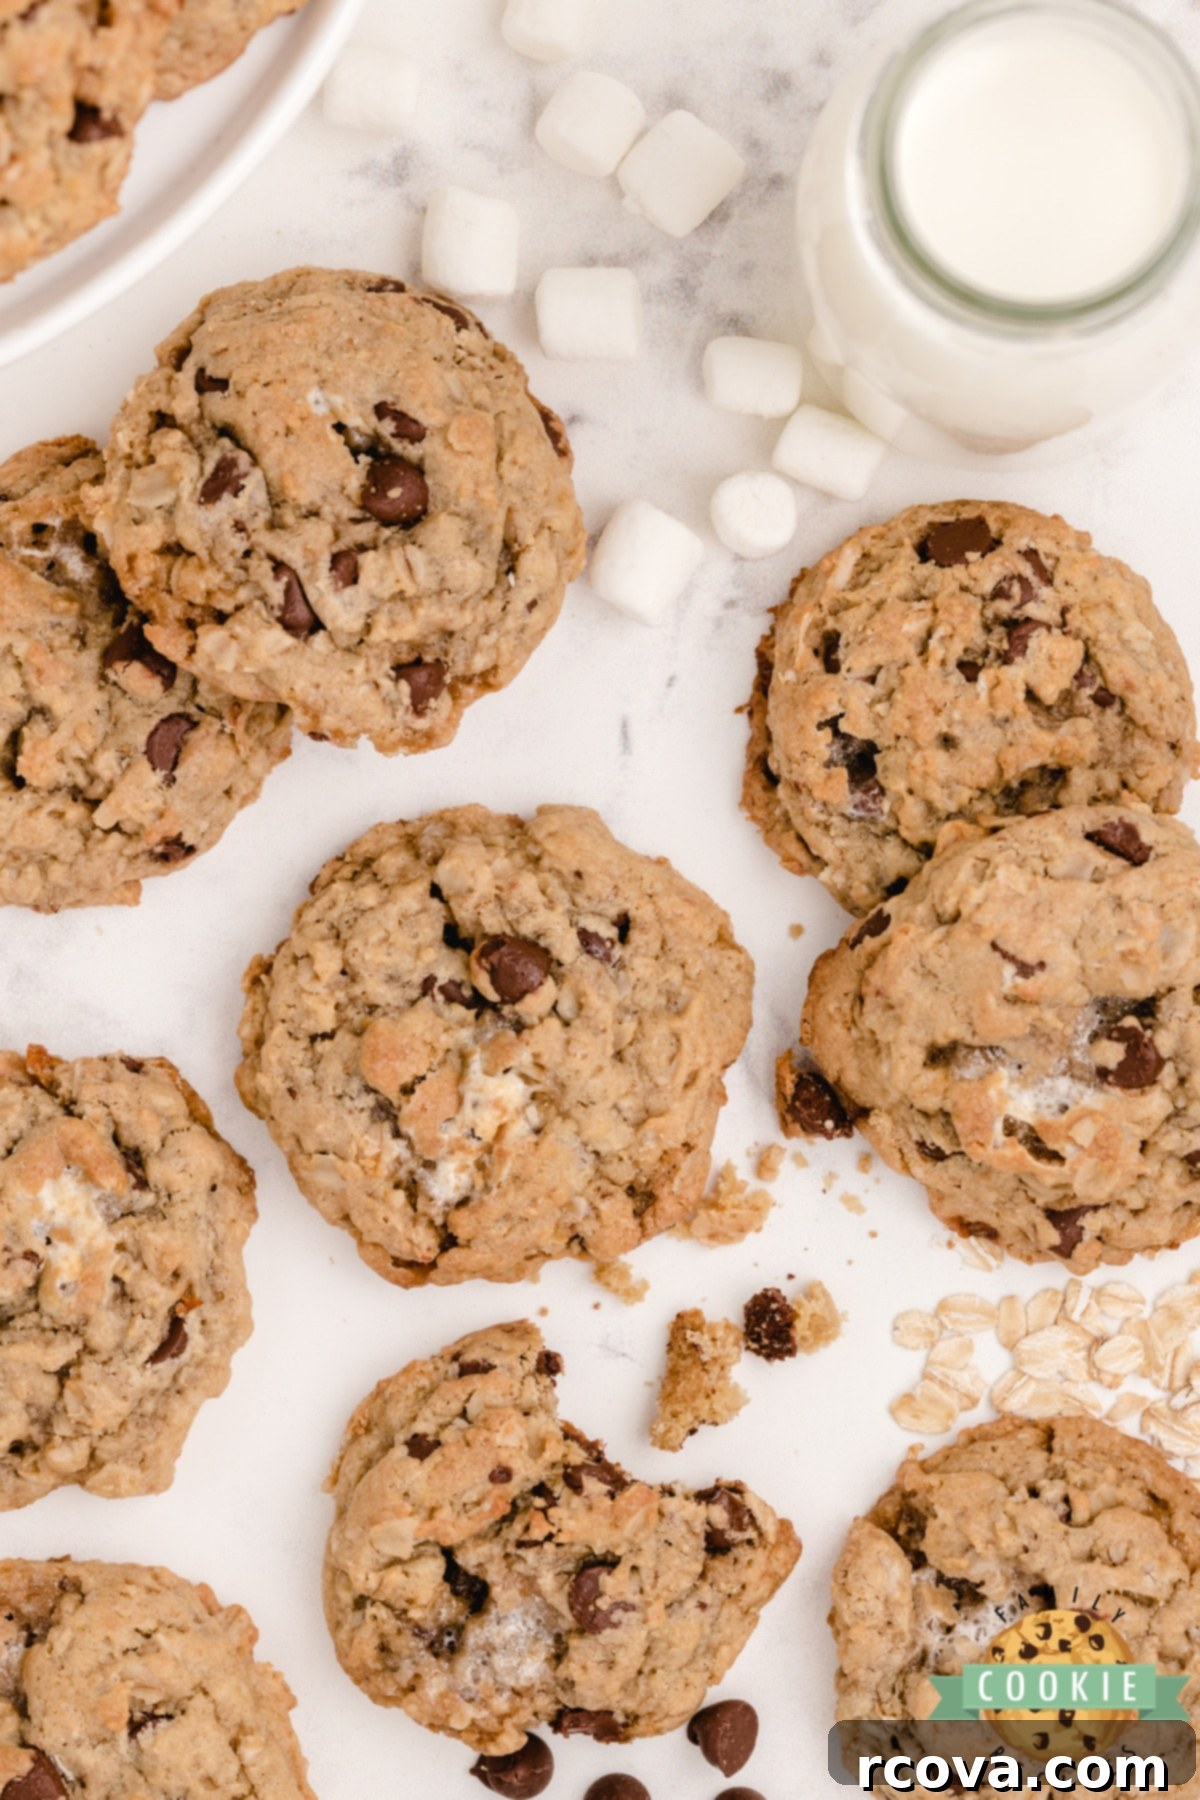
There’s nothing quite like the nostalgic taste of s’mores around a campfire. Now, imagine capturing that magical blend of toasted marshmallow, melted chocolate, and graham cracker (or in this case, hearty oats!) in a soft, chewy cookie. That’s exactly what you get with these incredible S’mores Oatmeal Cookies! Packed with wholesome oats, generous chunks of semi-sweet chocolate, and miniature marshmallows that melt into delightful pockets of gooeyness, these cookies are a dream come true for any s’mores lover. They offer all the beloved flavors of the classic campfire treat, but in a convenient, bake-at-home format that’s perfect for sharing, parties, or simply indulging in a cozy moment. Get ready to bake a batch of pure happiness that will transport you straight back to your favorite summer nights.
Baking Essentials: Tools for Crafting the Best S’mores Oatmeal Cookies
Achieving bakery-quality cookies at home is easier than you might think, especially when you have a few key kitchen tools at your disposal. I rely on these items for almost all my cookie recipes, including these delightful S’mores Oatmeal Cookies, and they prove invaluable for countless other baking projects too. Investing in them will elevate your baking experience and consistently produce fantastic results.
First and foremost, I highly recommend lining your cookie sheets with either a piece of parchment paper or a reusable silicone baking mat. These are a game-changer! They come in standard sizes that fit most 12×16 cookie sheets perfectly, creating a non-stick surface that ensures your cookies bake evenly without sticking. Say goodbye to struggling with stuck-on cookies and the greasy mess of spraying oil directly onto your pans. This simple step guarantees easy release and minimal cleanup, allowing your cookies to slide right off the tray once cooled. Using these liners also promotes more even heat distribution, preventing the bottoms from burning and ensuring a consistent golden-brown finish.
My second indispensable item is a KitchenAid mixer. While I also own a Bosch, I consistently find myself reaching for my KitchenAid when baking cookies. The standard paddle attachment, which comes with every mixer, is specifically designed for creaming butter and sugar and mixing doughs uniformly. Its robust motor and planetary mixing action ensure all ingredients are thoroughly combined, preventing pockets of unmixed flour or sugar. This efficiency saves time and effort, leading to a consistently smooth and well-aerated dough, which is crucial for soft and chewy cookies. Beyond cookies, a KitchenAid mixer is incredibly versatile, tackling everything from bread doughs with its hook attachment to whipped creams with its whisk. If you’re passionate about baking, a stand mixer is a worthwhile addition to your kitchen wishlist; it’s one of my most used small appliances, period.
Finally, a cookie scoop is an absolute must-have for perfectly uniform cookies. For years, I used two spoons to portion out dough, often resulting in cookies of varying sizes and shapes – some oblong, some too small, some too large. This led to uneven baking, with some cookies burning while others were still raw. Then a friend brought impeccably uniform cookies to a party, and her secret was a simple cookie scoop! These handy tools come in three common sizes: 1/2 tablespoon (great for mini cookies or truffles), 1.5 tablespoon (my go-to for standard oatmeal cookies and most drop cookies), and 3 tablespoon (perfect for large, bakery-style cookies). Using a scoop ensures that each cookie is the same size, which means they’ll bake evenly and finish at the same time, preventing some from being underbaked while others are overdone. Plus, they make the scooping process incredibly quick and clean, keeping your hands free of sticky dough.
Essential Ingredients for Delectable S’mores Oatmeal Cookies
Crafting the perfect S’mores Oatmeal Cookies starts with selecting high-quality ingredients. Each component plays a vital role in achieving that coveted soft, chewy texture and irresistible flavor profile. Here’s a closer look at what you’ll need and why each ingredient is important:
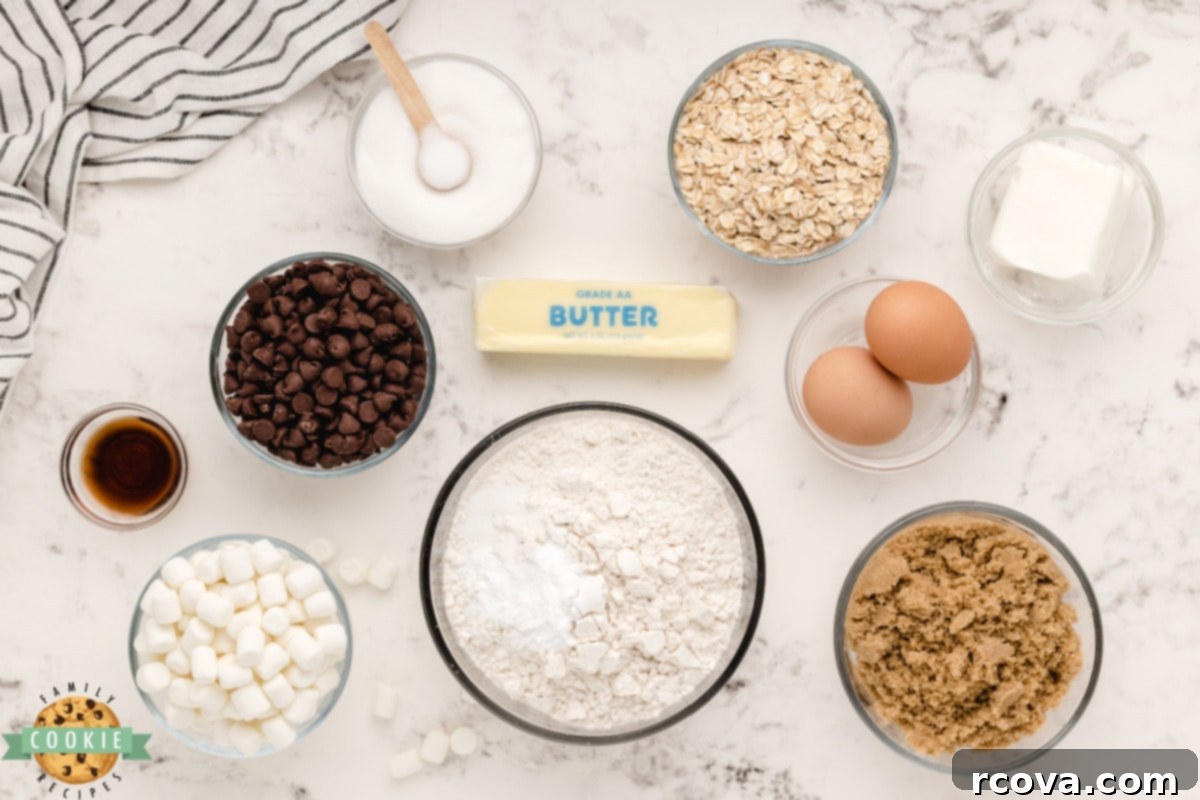
- Butter: You’ll need 1/2 cup (1 stick) of unsalted butter. It’s crucial that your butter is softened to room temperature (about 68-72°F or 20-22°C). This allows it to cream properly with the sugars, incorporating air and creating a lighter, more tender cookie. Cold butter won’t cream effectively, leading to a dense cookie, and melted butter will result in a flatter, greasier cookie with a different texture.
- Shortening: A half cup of shortening is combined with the butter. This ingredient is a secret weapon for achieving a perfectly soft and chewy consistency that lasts. Shortening has a higher melting point than butter, which helps the cookies hold their shape better and reduces excessive spread during baking. It also contributes to a wonderfully tender crumb and a slightly crisp exterior, making these cookies truly exceptional. You can use regular Crisco or butter-flavored shortening – both work wonderfully and add to the unique texture.
- Sugars: This recipe calls for a blend of 1 cup of packed light or dark brown sugar and 1/2 cup of granulated white sugar. Brown sugar is key here, adding moisture, a rich molasses flavor, and contributing significantly to the chewy texture we love in oatmeal cookies. Ensure your brown sugar is fresh and soft; if it’s hard, microwave it briefly with a damp paper towel. Granulated sugar provides sweetness and helps with spread and achieving a slightly crisp edge. The combination creates a balanced flavor and an ideal soft, yet structured, cookie.
- Eggs: Two large eggs act as a binder, holding all the ingredients together and providing structure. They also add moisture and richness to the dough, contributing to the overall structure and tenderness of the cookies. Make sure your eggs are also at room temperature for better emulsion with the creamed butter and sugar.
- Vanilla Extract: A full 1 1/2 teaspoons of high-quality pure vanilla extract is paramount here. It enhances all the other flavors, adding a warm, aromatic depth that is unmistakable and complements the chocolate and marshmallow beautifully. Don’t skimp on this; pure vanilla extract makes a noticeable difference in the final taste profile.
- All-Purpose Flour: Three cups of all-purpose flour provide the structural foundation for these cookies. It’s important to measure flour correctly by spooning it into a measuring cup and then leveling it off, rather than scooping directly, to avoid over-packing. Over-measured flour can lead to a dry, crumbly dough. While cake flour can also be used for a slightly more tender crumb, all-purpose flour generally works best for consistent, reliably chewy results in drop cookies.
- Baking Soda: This is your primary leavening agent, responsible for giving the cookies their lift and helping them spread into soft, rounded shapes. Ensure your baking soda is fresh and not expired for optimal activation. Old baking soda can lead to flat, dense cookies, so always check the date on your box.
- Salt: Just a fourth teaspoon of fine sea salt might seem small, but it’s mighty! Salt balances the sweetness and brings out the complex flavors of the chocolate, oats, and marshmallow, preventing the cookies from tasting one-dimensional or overly sweet. It’s a crucial flavor enhancer.
- Oats: 1 1/2 cups of old-fashioned rolled oats are my preferred choice for these cookies. They provide a hearty texture, a satisfying chew, and a robust structure. While quick oats can be substituted, they absorb liquid faster and will result in a less chewy, more cake-like texture that doesn’t hold up as well. For that classic, substantial oatmeal cookie feel, stick with old-fashioned.
- Semi-Sweet Chocolate Chips: Two cups of semi-sweet chocolate chips provide the perfect chocolatey richness and a delightful melt. The slight bitterness of semi-sweet chocolate balances the sweetness of the other ingredients and the marshmallows. Feel free to use milk chocolate chips if you prefer a sweeter, creamier chocolate flavor, or even a mix of semi-sweet and milk chocolate for added complexity and visual appeal.
- Miniature Marshmallows: The true star of the “s’mores” component! You will need 2 cups of mini marshmallows. When baked, these melt into glorious, gooey pockets, replicating that delicious toasted marshmallow experience without the campfire. They add incredible chewiness, an airy texture, and the quintessential s’mores flavor we all adore. For best results, stir them in at the very end to prevent them from completely dissolving into the dough.
Step-by-Step: How to Make S’mores Oatmeal Cookies
Follow these simple instructions to bake a batch of warm, chewy, and utterly delicious S’mores Oatmeal Cookies that everyone will love. Precision and attention to detail will ensure the best possible outcome, transforming your kitchen into a sweet-smelling haven.
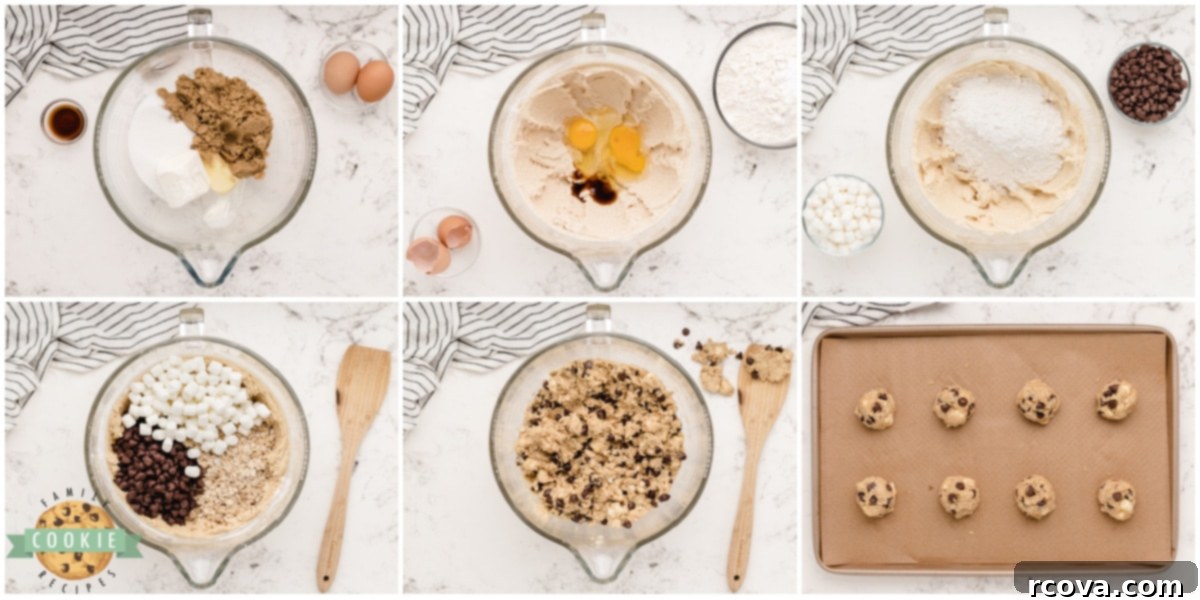
- Prepare Your Oven and Baking Sheets: Begin by preheating your oven to 350°F (175°C). While the oven heats up, line several large cookie sheets with parchment paper or silicone baking mats. This crucial step prevents the cookies from sticking, promotes even baking, and makes for much easier cleanup.
- Cream Wet Ingredients: In a large mixing bowl, using your stand mixer with the paddle attachment or an electric hand mixer, cream together the softened butter and shortening with both the brown sugar and granulated white sugar. Beat on medium speed for about 2-3 minutes until the mixture is light, fluffy, and noticeably pale in color. This vigorous creaming incorporates air, which contributes significantly to the cookies’ tender texture and slight puffiness.
- Add Eggs and Vanilla: Stop the mixer and scrape down the sides of the bowl to ensure everything is evenly mixed. Add the two large eggs one at a time, beating well after each addition until fully incorporated into the butter mixture. Stir in the vanilla extract, beating for another 1-2 minutes until everything is thoroughly combined and the mixture appears smooth and emulsified.
- Combine Dry Ingredients: In a separate, medium-sized bowl, whisk together the all-purpose flour, baking soda, and salt. Whisking ensures these dry ingredients, especially the leavening agent, are evenly distributed, which is vital for consistent texture and rise throughout the batch.
- Integrate Dry and Wet Mixtures: Gradually add the dry ingredient mixture to the creamed wet ingredients, mixing on low speed just until combined. Be careful not to overmix at this stage; overmixing can develop too much gluten in the flour, resulting in tough, dry cookies. Stop as soon as no streaks of dry flour remain visible.
- Fold in the Goodies: Remove the bowl from the mixer. Gently stir in the old-fashioned oats, semi-sweet chocolate chips, and miniature marshmallows using a sturdy spatula or spoon. Mix until these delightful additions are evenly distributed throughout the dough, taking care not to crush the marshmallows.
- Scoop and Bake: Using a cookie scoop (the 1.5 tablespoon size is ideal for this recipe to ensure uniform cookies), drop rounded scoops of dough onto the prepared cookie sheets, spacing them about 2 inches apart to allow for proper spread.
- Baking Time: Bake for 9-11 minutes, or until the edges of the cookies are lightly golden brown and the centers still look slightly soft, puffy, and perhaps a little underbaked. It’s better to slightly underbake oatmeal cookies for that perfect, irresistible chewy texture. They will continue to set and firm up as they cool on the baking sheet.
- Cooling: Let the freshly baked cookies cool on the baking sheets for an essential 5-7 minutes before carefully transferring them to wire racks to cool completely. This crucial cooling time on the hot pan allows them to finish baking and firm up without breaking, preventing them from becoming soggy on the bottom and ensuring they maintain their delightful shape and chewiness.
S’mores Oatmeal Cookies
Print
Pin
Rate
Ingredients
- 1/2 cup butter softened
- 1/2 cup shortening
- 1 cup brown sugar
- 1/2 cup sugar
- 2 eggs
- 1 1/2 tsp vanilla extract
- 3 cups all-purpose flour
- 1 tsp baking soda
- 1/4 tsp salt
- 1 1/2 cups old-fashioned oats
- 2 cups semi-sweet chocolate chips
- 2 cups miniature marshmallows
Instructions
-
Preheat oven to 350°F (175°C). Line cookie sheets with parchment paper or silicone baking mats.
-
In a large bowl, cream the softened butter and shortening with both sugars for 2-3 minutes until light and fluffy. Add eggs one at a time, beating well after each, then beat in vanilla extract for another 1-2 minutes.
-
In a separate bowl, whisk together the flour, baking soda, and salt. Gradually add this dry mixture to the wet ingredients, mixing on low speed just until combined. Do not overmix.
-
Gently stir in the old-fashioned oats, chocolate chips, and mini marshmallows until evenly distributed.
-
Scoop rounded portions of dough (using a 1.5 tablespoon scoop) onto the prepared cookie sheets, spaced 2 inches apart. Bake for 9-11 minutes, or until edges are lightly browned and centers are still slightly soft.
-
Let cookies cool on baking sheets for 5-7 minutes before transferring to wire racks to cool completely. Enjoy your homemade S’mores Oatmeal Cookies!
Nutrition
Expert Baking Tips for the Best S’mores Oatmeal Cookies Every Time
Over years of baking countless batches of oatmeal cookies, I’ve gathered some invaluable insights that consistently lead to the most delicious and perfectly textured results. Apply these expert tips to ensure your S’mores Oatmeal Cookies are nothing short of spectacular:
- Proper Flour Measurement: Ensure you have enough flour in your dough. If the dough seems overly sticky after combining all ingredients, you might need to add an extra tablespoon or two of flour, especially in humid conditions. However, remember that oatmeal cookie dough is naturally a bit stickier than other cookie doughs due to the moisture from the oats and brown sugar, and that’s perfectly normal and desirable for a chewy texture. Don’t add so much flour that the dough becomes dry and crumbly.
- Choose the Right Oats: For the best texture, always opt for old-fashioned rolled oats. These provide a satisfying chewiness and structure to the cookies, giving them that classic hearty oatmeal character. While quick oats can be used in a pinch, they tend to break down more during baking, resulting in a softer, less substantial cookie. Instant oats are generally not recommended for this recipe as they can make the cookies mushy and compromise the desired chewiness.
- Cream Butter and Sugars Thoroughly: Don’t rush the creaming step! Spending an extra minute or two (aim for 2-3 minutes) to cream the softened butter, shortening, and sugars together is critical. This process incorporates air into the mixture, which lightens the dough and contributes to a softer, more tender cookie with a delightful rise. The mixture should appear light in color and fluffy, indicating proper aeration.
- Always Preheat Your Oven: A properly preheated oven is non-negotiable for consistent baking. Placing cookie dough into a hot oven immediately activates the leavening agents, helping the cookies spread and set correctly before the fats melt too much. An underheated oven can cause excessive spreading, flat cookies, and uneven baking. Give your oven at least 15-20 minutes to reach and stabilize at the target temperature.
- Avoid Overbaking: This is perhaps the most crucial tip for chewy cookies! When you remove your S’mores Oatmeal Cookies from the oven, they should still look slightly underbaked in the center and just barely golden around the edges. The centers might even seem a bit soft and puffy. This is perfectly normal! They will continue to bake and set as they cool on the hot cookie sheet for a few more minutes. Overbaking leads to dry, hard cookies, losing that wonderfully soft and chewy s’mores texture.
- Chill Your Dough (Optional but Recommended): If time allows, chilling the cookie dough for at least 30 minutes (or up to 24 hours) can significantly improve the texture and flavor. Chilling solidifies the fats, which prevents the cookies from spreading too much and allows the flavors to meld and deepen. This often results in a thicker, chewier cookie with a more pronounced taste.
- Don’t Crowd the Pan: Give your cookies plenty of space to spread on the baking sheet. Overcrowding can lead to uneven baking as it lowers the oven temperature around the cookies and inhibits proper air circulation, resulting in cookies that might not brown properly or bake through. Always leave at least 2 inches between each dough ball.
Frequently Asked Questions for Perfect Cookies
How do you properly soften butter?
Softened butter is essential for a smooth, airy cookie dough, but it shouldn’t be melted. The ideal consistency is “cool to the touch but yields easily to gentle pressure.” Here are a few reliable ways to achieve that perfect state:
- Microwave Method (Carefully!): This is my go-to for speed. If you need a full 1/2 cup (1 stick) of butter, you can often leave it in its paper wrapper. For smaller amounts or faster softening, place the butter in a glass or porcelain bowl. Use the lowest defrost setting on your microwave and start with very short bursts, about 10-20 seconds for a whole stick. Check the butter by gently pressing it with a rubber scraper or your finger. It should indent easily without being liquid or greasy at all. If it’s still firm, give it another 5-10 seconds. Watch it extremely closely, as butter can go from perfectly soft to melted in a matter of seconds!
- Countertop Method: The most hands-off and traditional approach is to simply leave your butter out on the counter at room temperature for about 30-60 minutes, depending on how warm your kitchen is. For faster results, cut the butter into smaller pieces (about 1-inch cubes); this increases the surface area and speeds up the softening process.
- Warm Water Bath Method: Place the butter (still wrapped) in a bowl of warm (not hot!) water for about 10-15 minutes. This gentle warmth will help it soften evenly without melting. Check periodically until it yields to gentle pressure.
Remember, perfectly softened butter integrates better with sugar, creating a creamy, aerated base for your cookies, which is fundamental for a light and chewy texture.
Why do my oatmeal cookies burn on the bottom but aren’t done in the middle?
This is a common baking challenge, especially with cookies containing lots of mix-ins like oats, chocolate chips, and marshmallows. Several factors can contribute to cookies burning on the bottom while remaining undercooked in the middle:
- Cookie Sheet Material and Color: The most frequent culprit is often the baking sheet itself. Dark-colored cookie sheets absorb and retain heat more intensely than lighter, shiny ones, leading to faster browning (and potential burning) on the bottom of your baked goods. For best results, use light-colored, heavy-gauge aluminum baking sheets. These reflect heat more evenly, allowing the cookies to cook through without scorching the bottom.
- Excessive Greasing: While some recipes call for greasing, an excessive amount of cooking spray or butter can create a superheated layer between the cookie and the pan, causing the bottom to cook too quickly. This is another excellent reason why I’ve become a huge fan of silicone baking mats or parchment paper over the last few years. They provide a reliably non-stick surface without the need for additional grease, promoting even baking and effortless removal.
- Oven Temperature Inaccuracy: Ovens can sometimes run hotter or colder than their display indicates. If your oven consistently burns the bottom of cookies, consider investing in an inexpensive oven thermometer to verify its true temperature. You might find your oven is running 25-50°F hotter than you think! Adjust your oven’s setting accordingly.
- Rack Position: Baking too low in the oven can expose the bottoms of your cookies to more direct heat from the heating element. Try moving your cookie sheets to the middle or even upper-middle rack position for more even heat distribution. This allows for better air circulation around the cookies, promoting consistent baking.
- Dough Thickness and Density: If your dough is too thick in the middle, or if your cookies are scooped inconsistently (some much larger than others), the heat may not penetrate evenly. This leads to raw centers while the bottoms and edges crisp up and potentially burn. Ensure uniform cookie size with a scoop for consistent heat transfer.
By addressing these potential issues, you can significantly improve your cookie baking and enjoy perfectly cooked S’mores Oatmeal Cookies every time, with tender centers and golden edges.
Explore More Delightful Oatmeal Cookie Recipes!
If you’ve fallen in love with the comforting texture and versatility of oatmeal cookies, you’re in for a treat! We have a treasure trove of other fantastic oatmeal cookie recipes that cater to every craving. From classic flavors to innovative combinations, there’s an oatmeal cookie for everyone. Don’t stop at s’mores; explore these other delicious options to expand your baking repertoire and discover new family favorites:
- Fudgy Oatmeal Cookie Bars
- Homemade Oatmeal Cream Pies
- White Chocolate Cherry Oatmeal Cookies
- Oatmeal Chocolate Chip Cookie Bars
- Chocolate Chip Oatmeal Cookies
- Microwave Oatmeal Chocolate Chip Cookies
- Toffee Oatmeal Cookies
- Blackberry Oatmeal Cookies
- Best Oatmeal Raisin Cookies
- Peanut Butter Oatmeal Chocolate Chip Cookies
- Best Monster Cookies
- Banana Oatmeal Cookies
- Caramel Apple Oatmeal Cookies

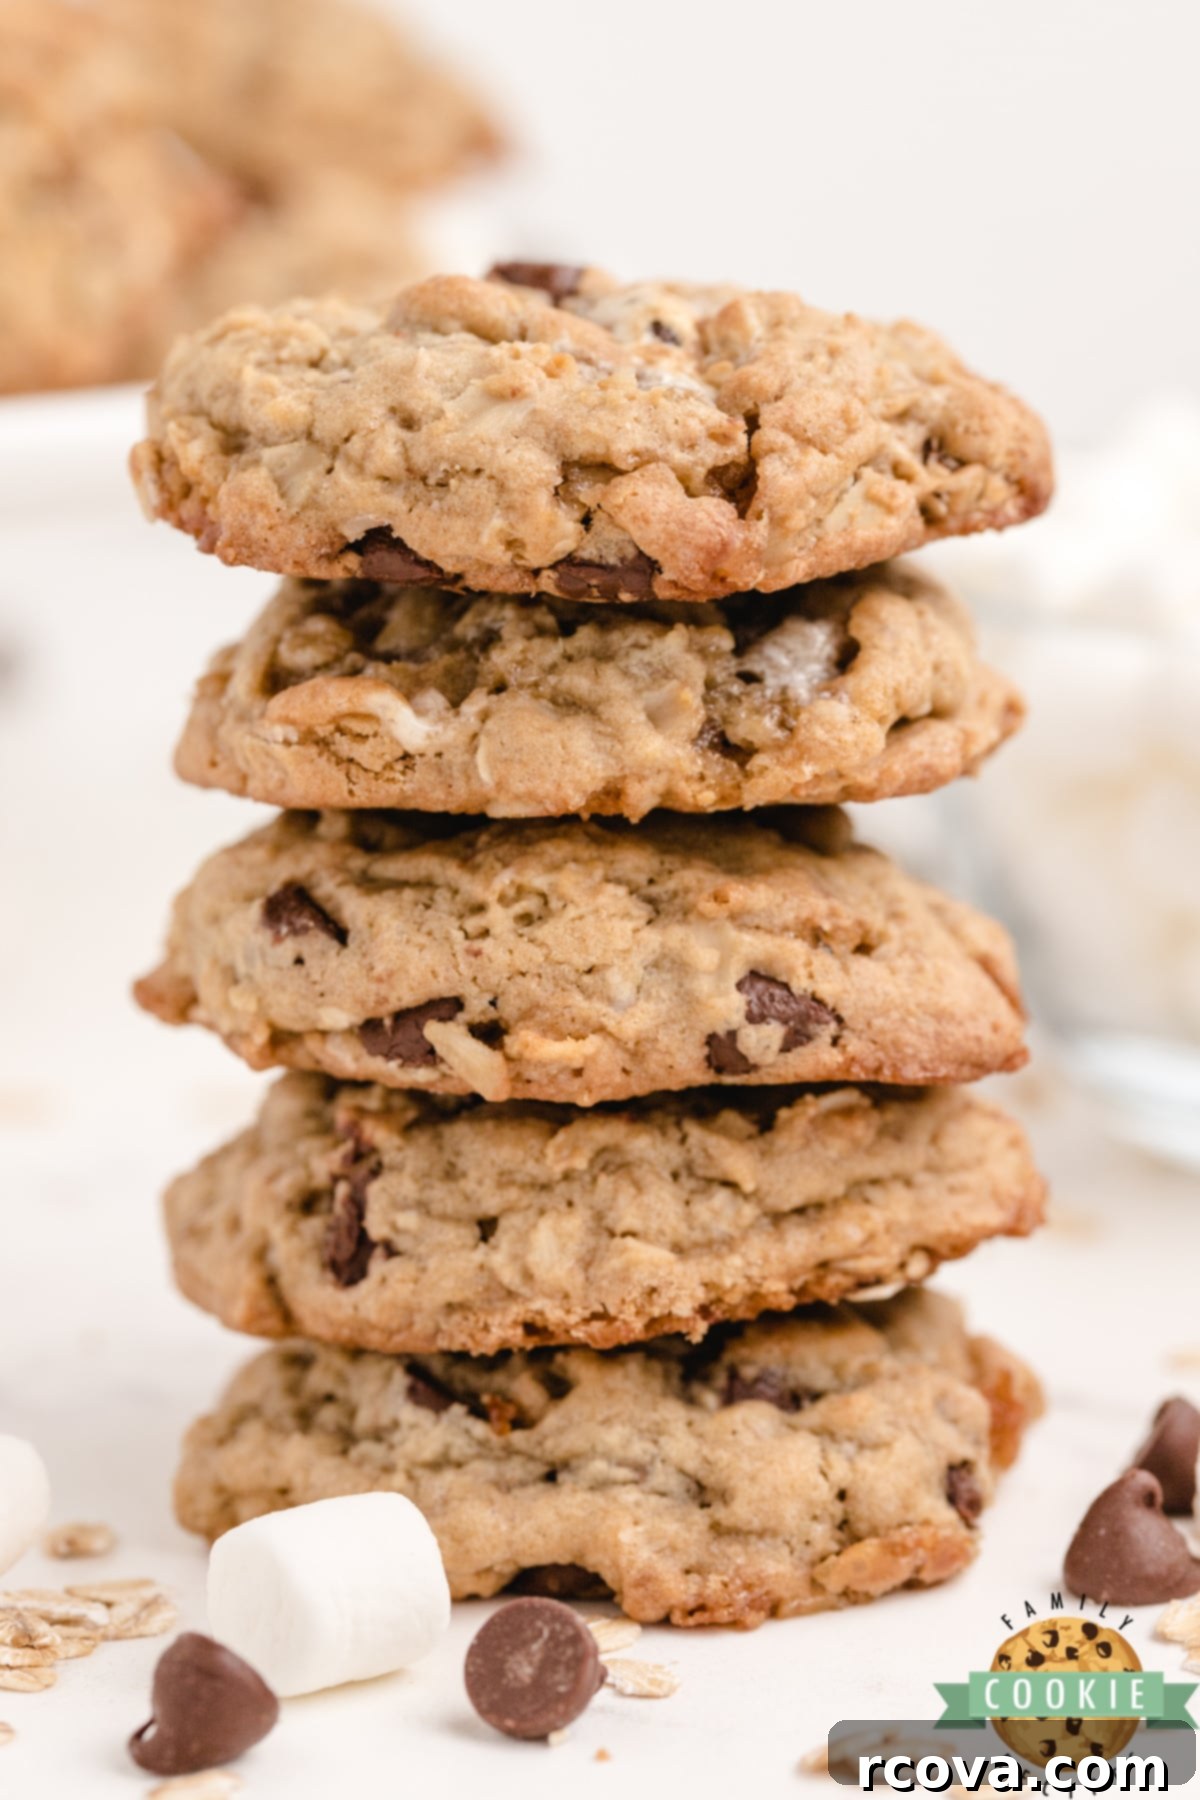
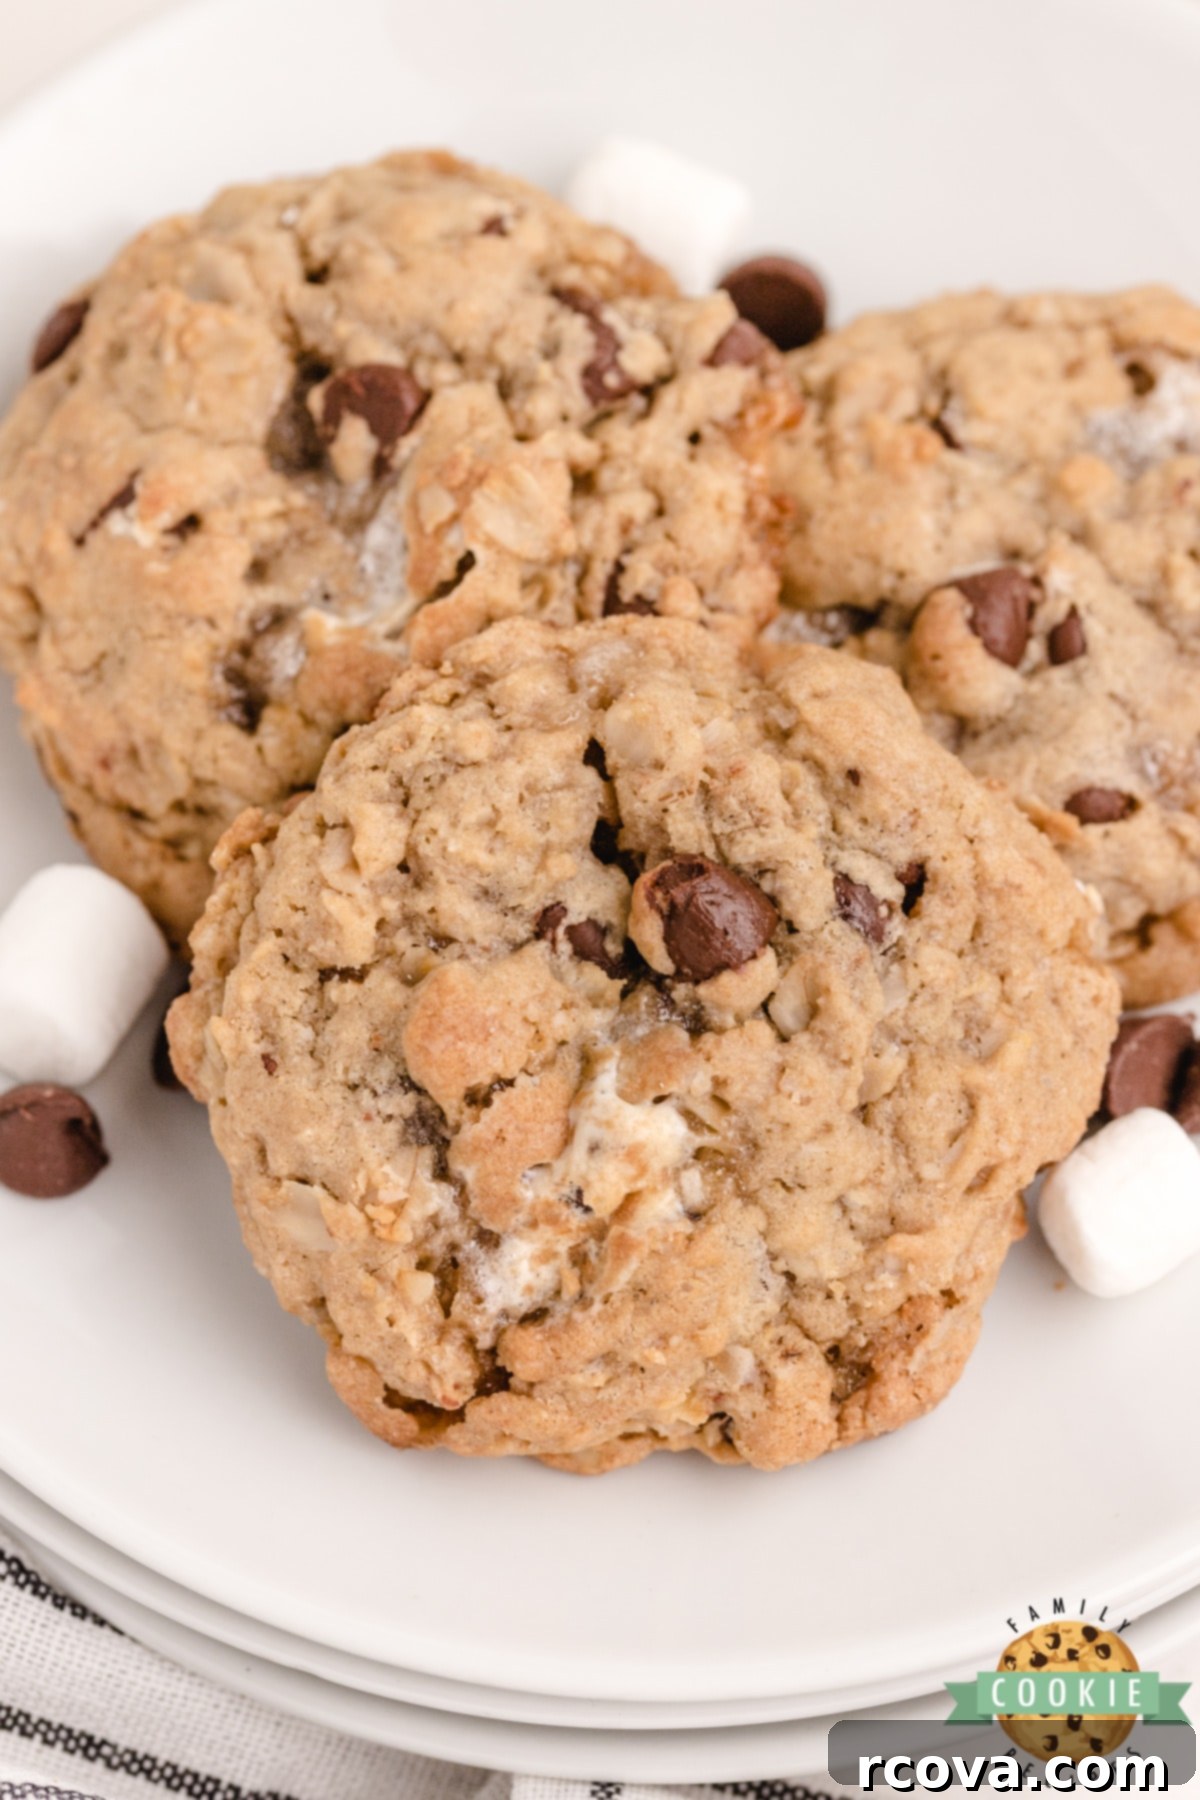
There’s a reason S’mores Oatmeal Cookies are such a beloved treat; they combine the wholesome goodness of oats with the universally adored elements of s’mores – rich chocolate chips and irresistibly gooey mini marshmallows. Each bite is a journey into a soft, chewy texture that perfectly balances sweetness and comfort. Whether you’re making them for a special occasion, a casual gathering, or just a regular Tuesday evening, these cookies are guaranteed to bring smiles and satisfy that nostalgic craving. They’re not just cookies; they’re a little piece of joy, baked with love.


Speaking of joy, one of the greatest pleasures of parenting is watching your children experience new things. Recently, we decided to introduce our little Miss B (who is three and a half) to roller skating for the very first time. Initially, she was a bit hesitant, unsure if she liked the sensation of gliding on wheels. Those first few minutes were a mix of wobbles and cautious glides, but with a bit of encouragement and her older sisters’ impressive skating skills, she quickly started to get the hang of it. I stayed in my regular shoes, offering a steadying hand, as my own roller skating abilities are, shall we say, a bit rusty! It wasn’t long before her older sisters had her going “super fast,” which, as it turns out, is her absolute favorite thing. She proudly declared that “going fast is her favorite thing in the whole world,” a statement that holds true whether she’s running, biking, or trying any new activity. Watching her joyful shouts and newfound confidence was truly heartwarming. These simple moments of discovery and pure delight are among my most cherished memories as a parent, reminding us to embrace the small joys and new adventures in life. Much like baking a fresh batch of these S’mores Oatmeal Cookies, it’s about creating sweet, memorable experiences that bring a special kind of warmth to the heart and fill our homes with happiness.

