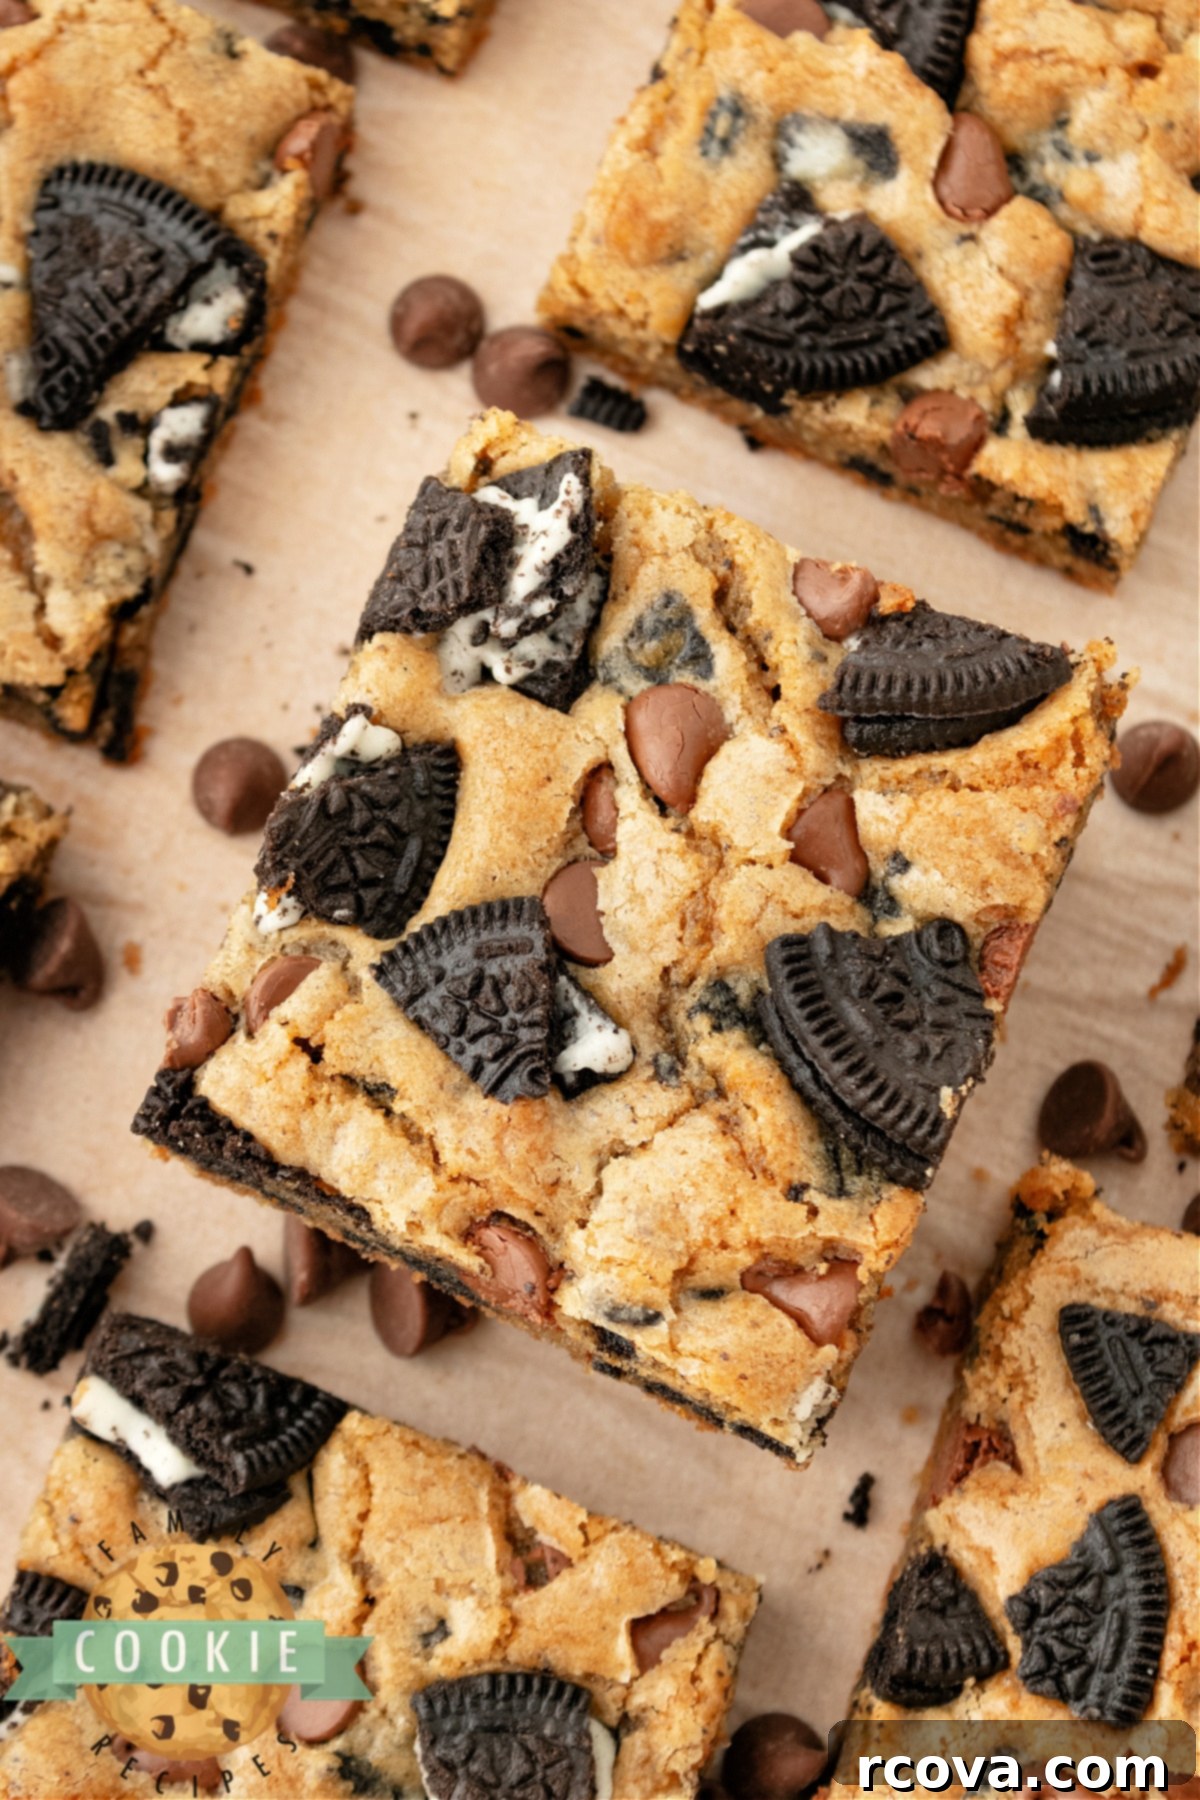
The Ultimate Oreo Cookie Bars Recipe: Soft, Chewy, and Irresistibly Gooey!
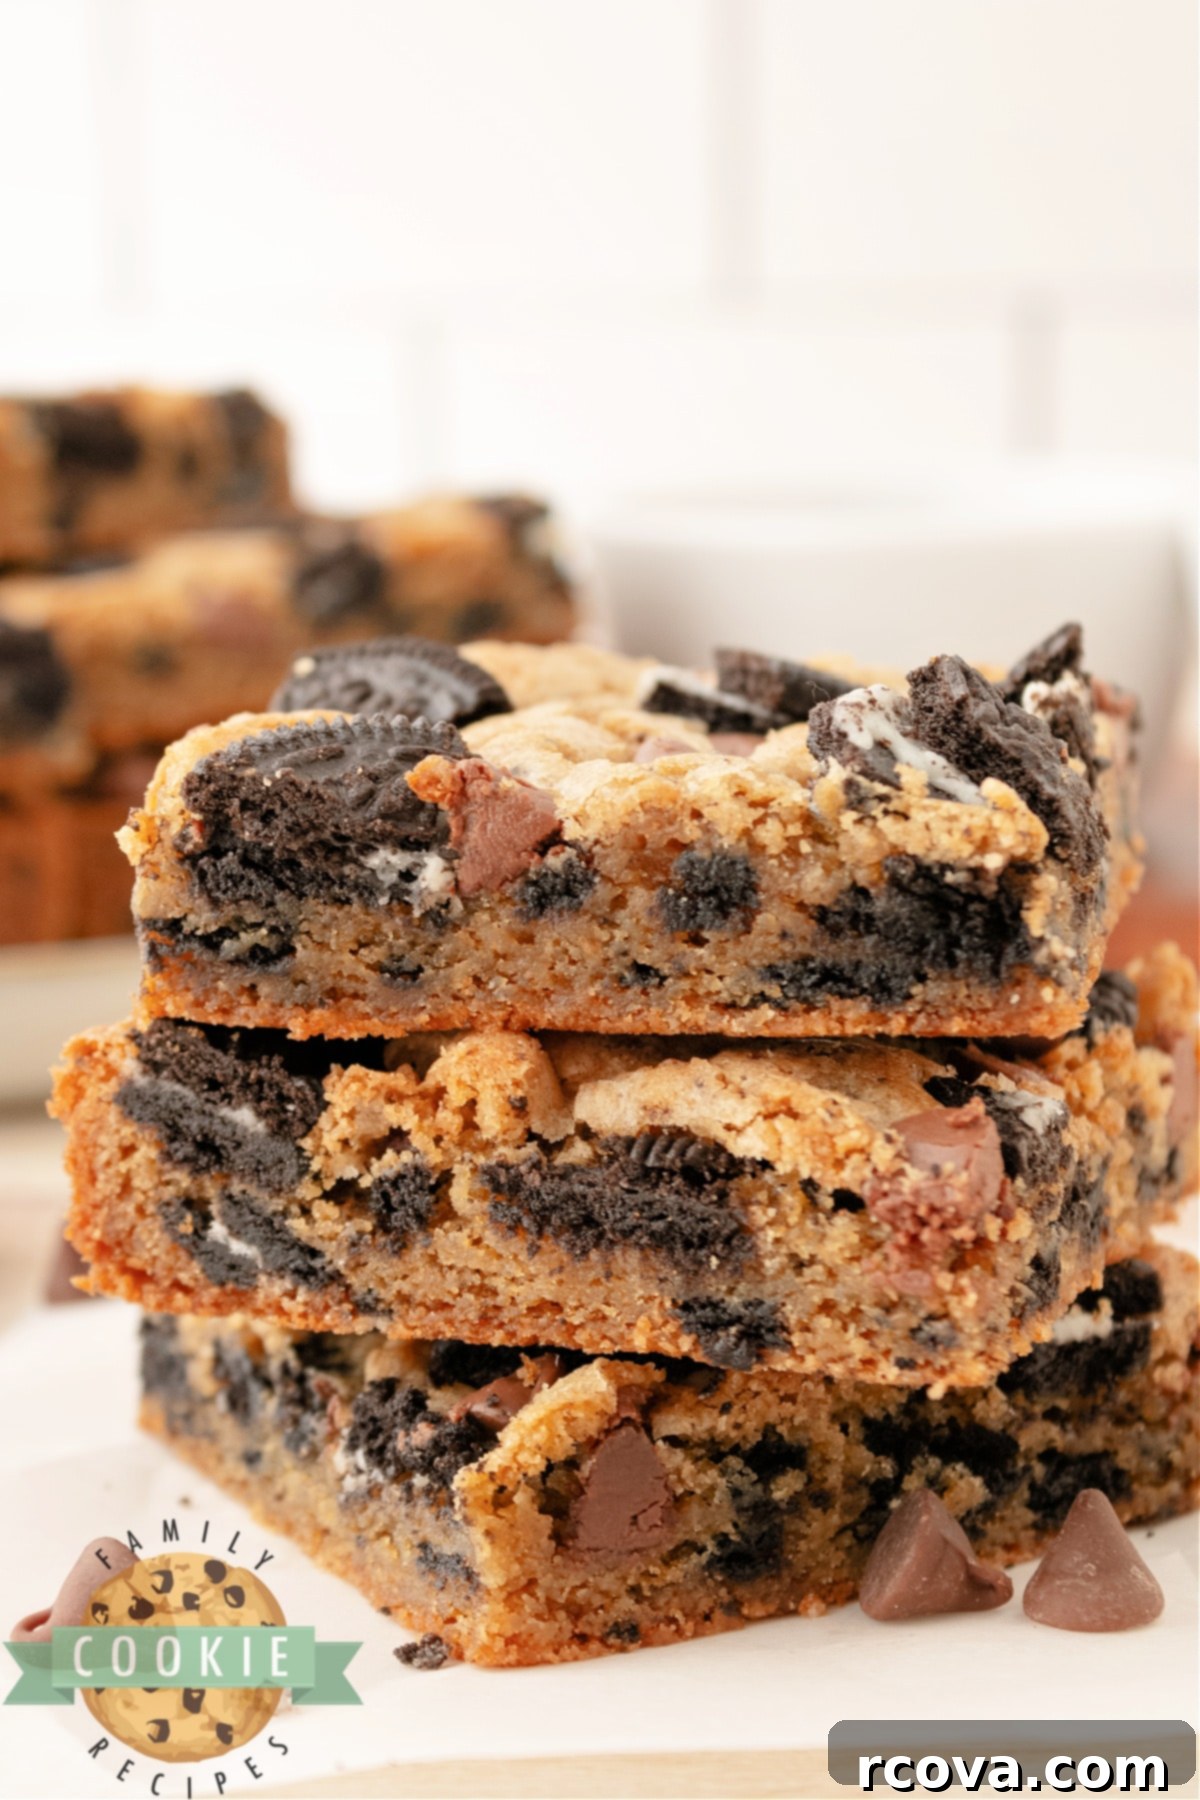
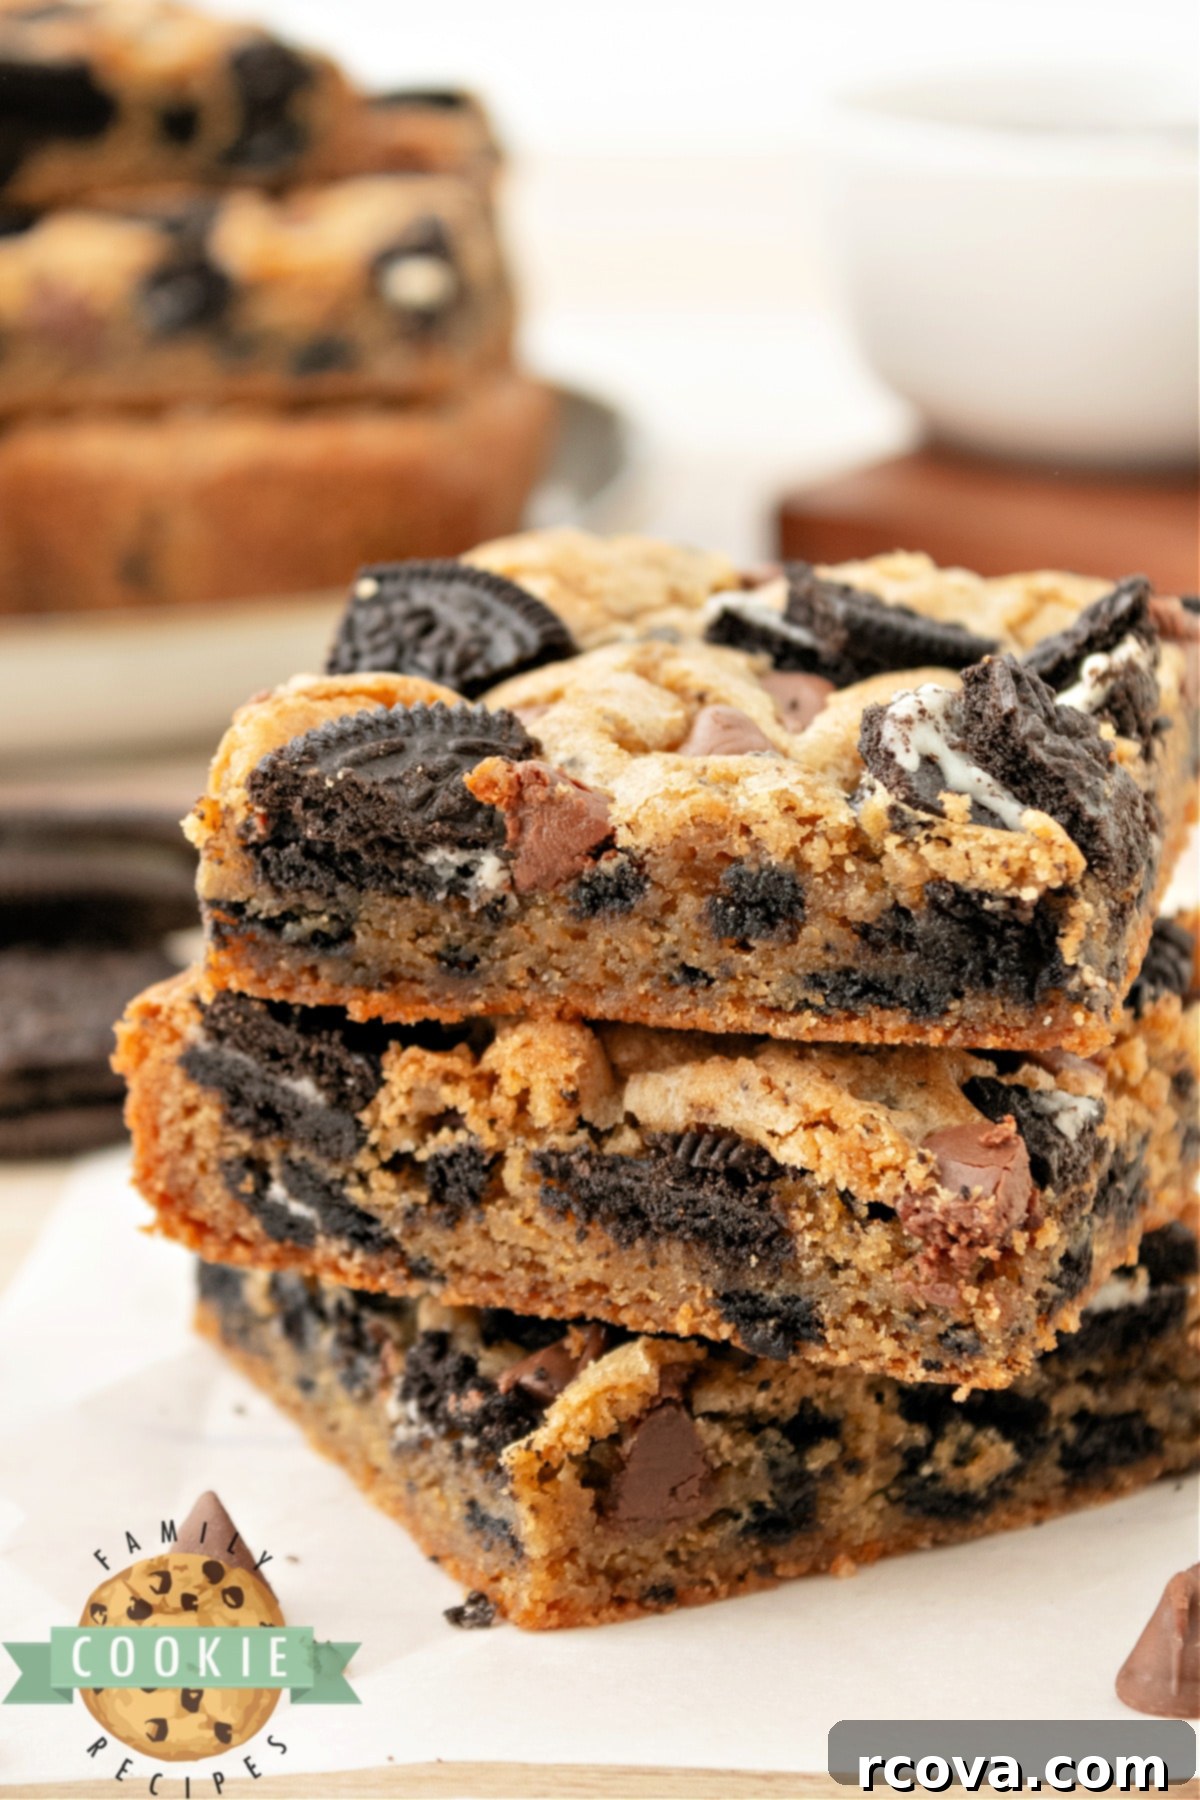
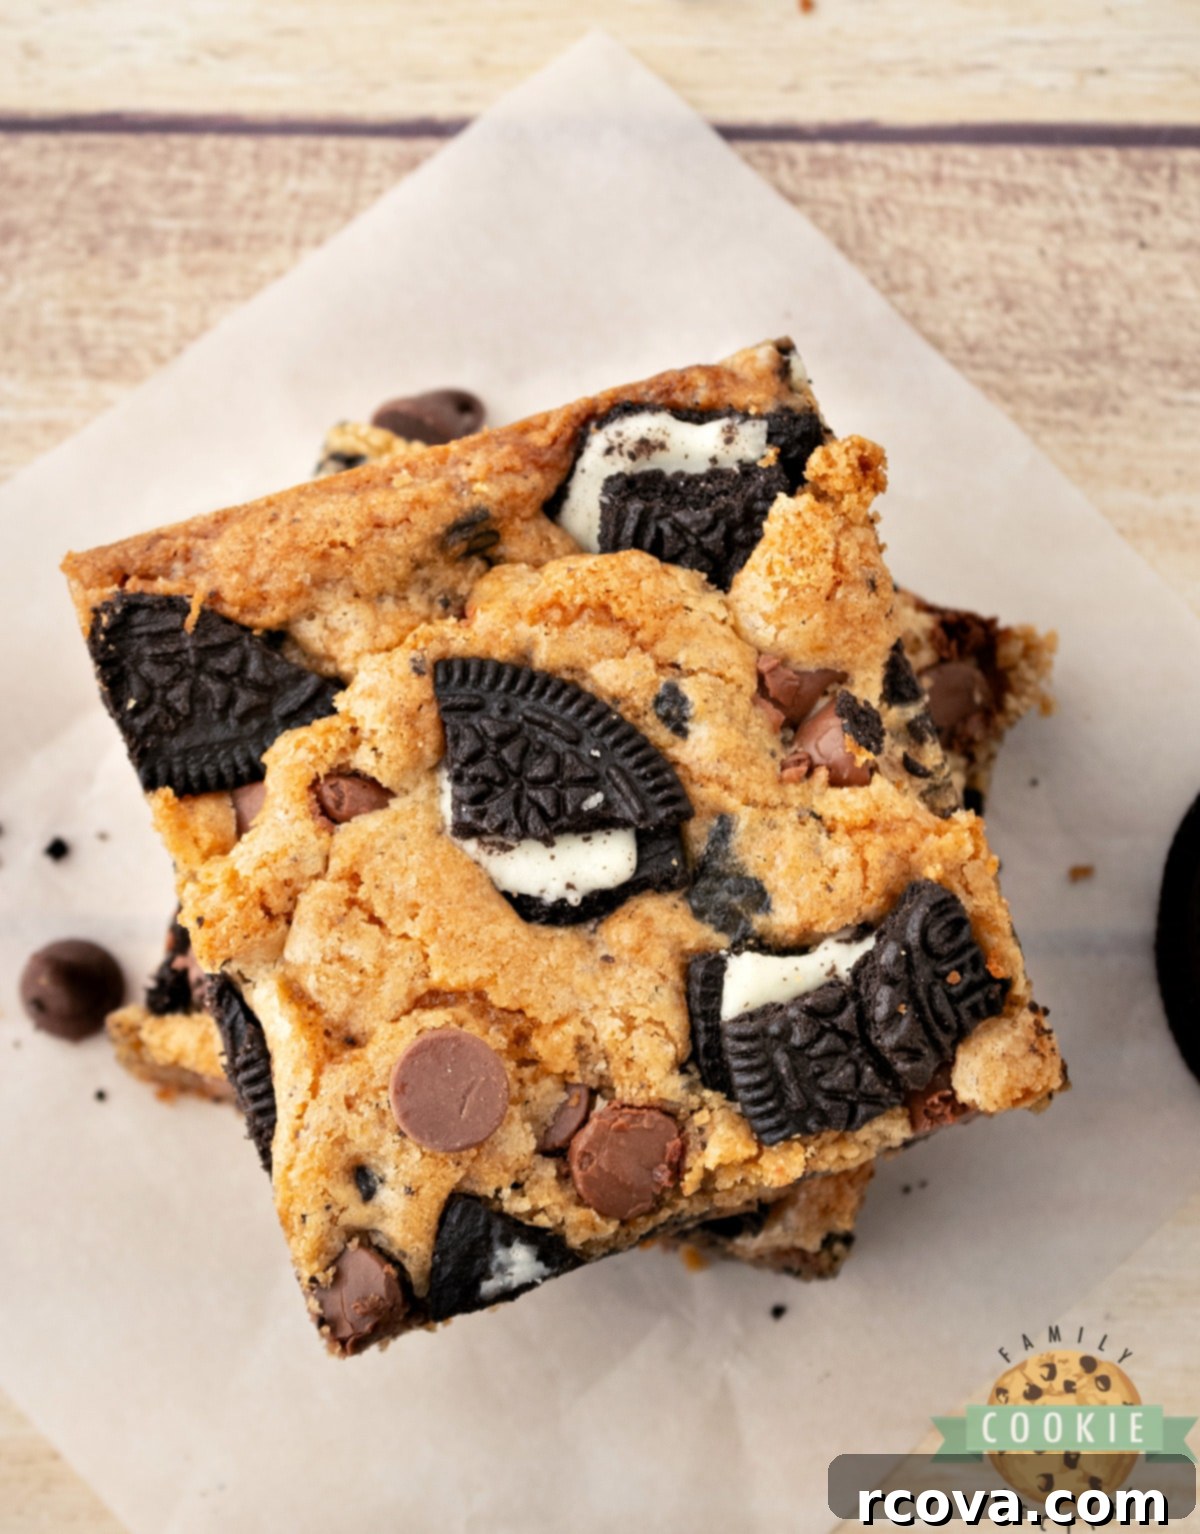
Get ready to indulge in the most incredible Oreo Cookie Bars you’ve ever tasted! Whether you call them Cookies & Cream Bars or simply the best dessert ever, these treats are delightfully soft, perfectly chewy, wonderfully gooey, and absolutely AMAZING. Packed with the iconic flavor of America’s favorite cookie, these bars are a dream come true for any Oreo lover.
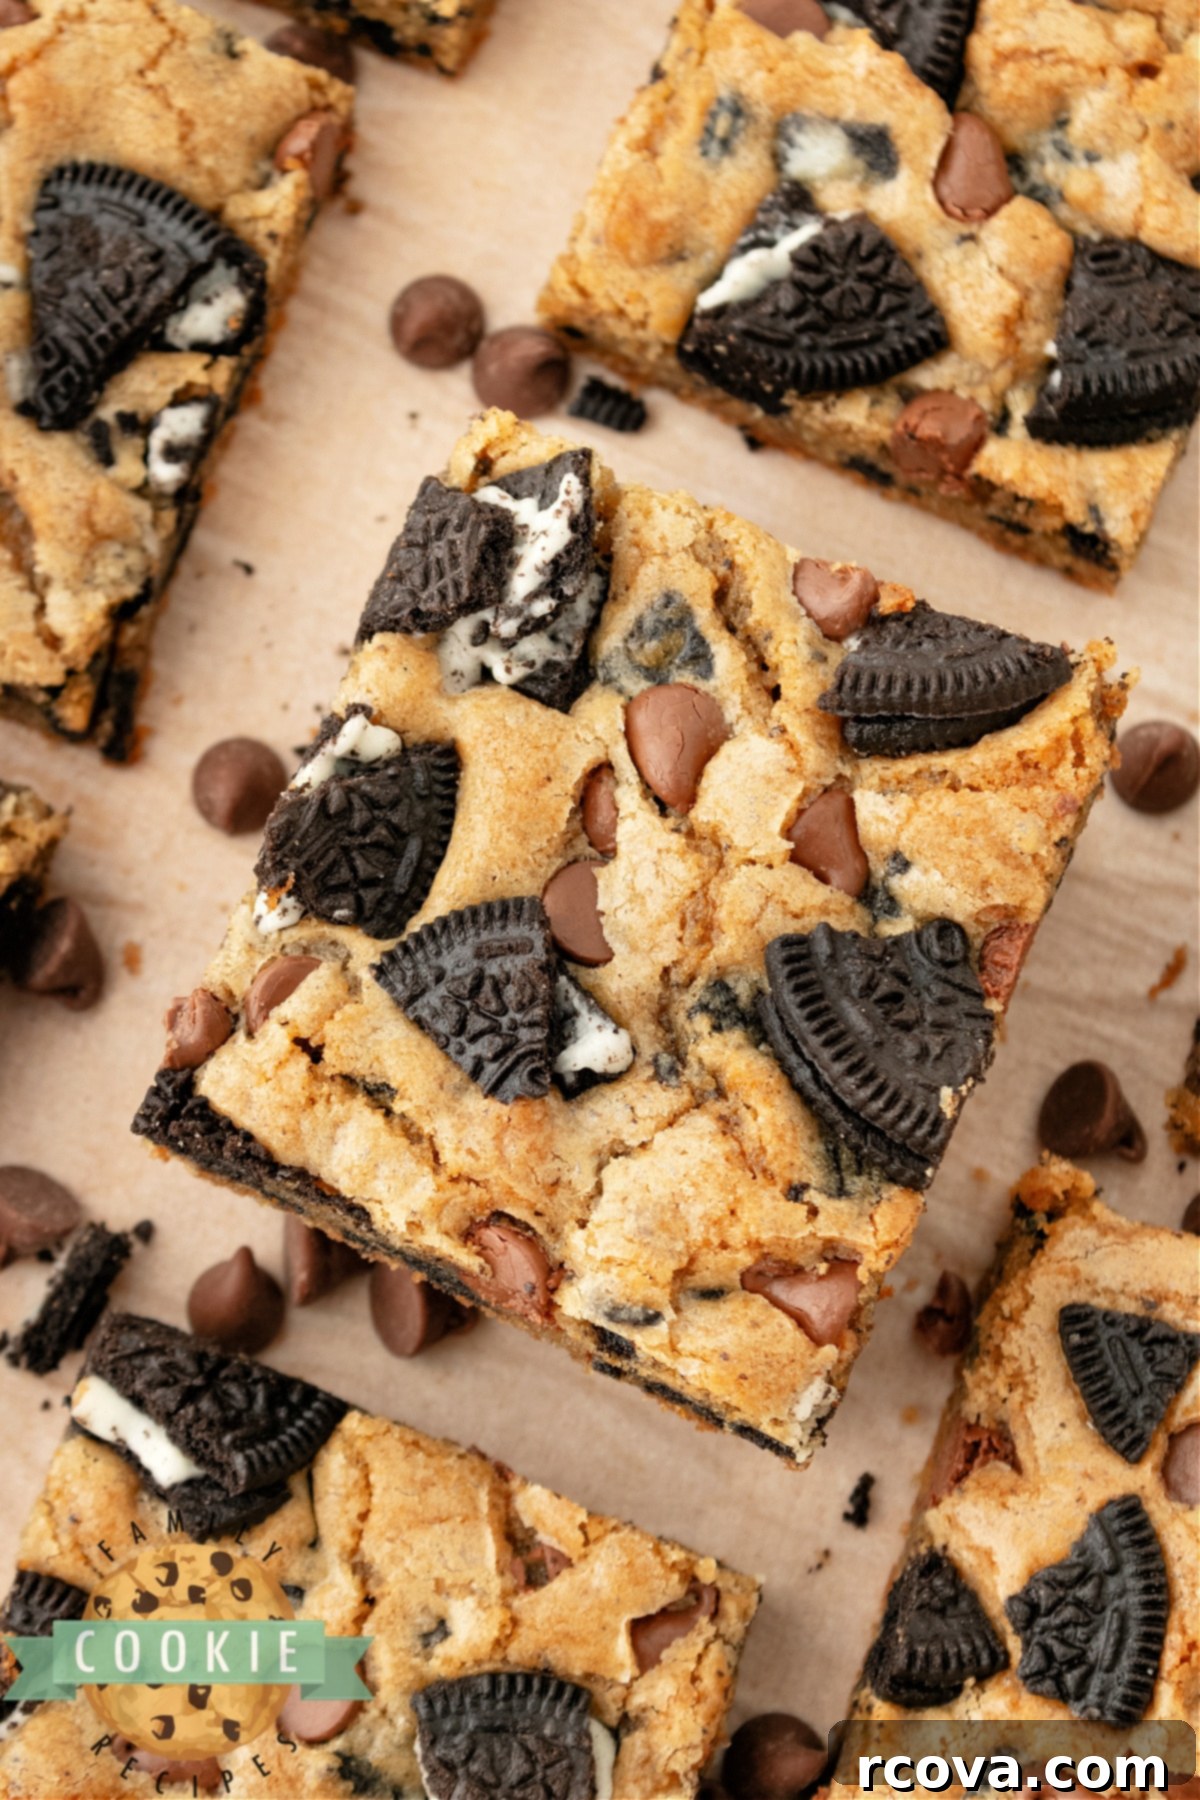
Making Oreo Cookie Bars offers a fantastic shortcut compared to baking individual cookies. While we adore classic cookies, the process of scooping, rolling, and baking dozens of separate treats can sometimes feel like a time-consuming task. That’s where cookie bars shine! This simplified approach allows you to spread an entire batch of dough into a single 9×13 inch pan and bake it all at once. The result is a uniformly delicious, easy-to-share dessert that saves you valuable kitchen time without sacrificing flavor or texture. It’s the perfect solution for potlucks, parties, or simply satisfying a sudden craving for something sweet and satisfying.
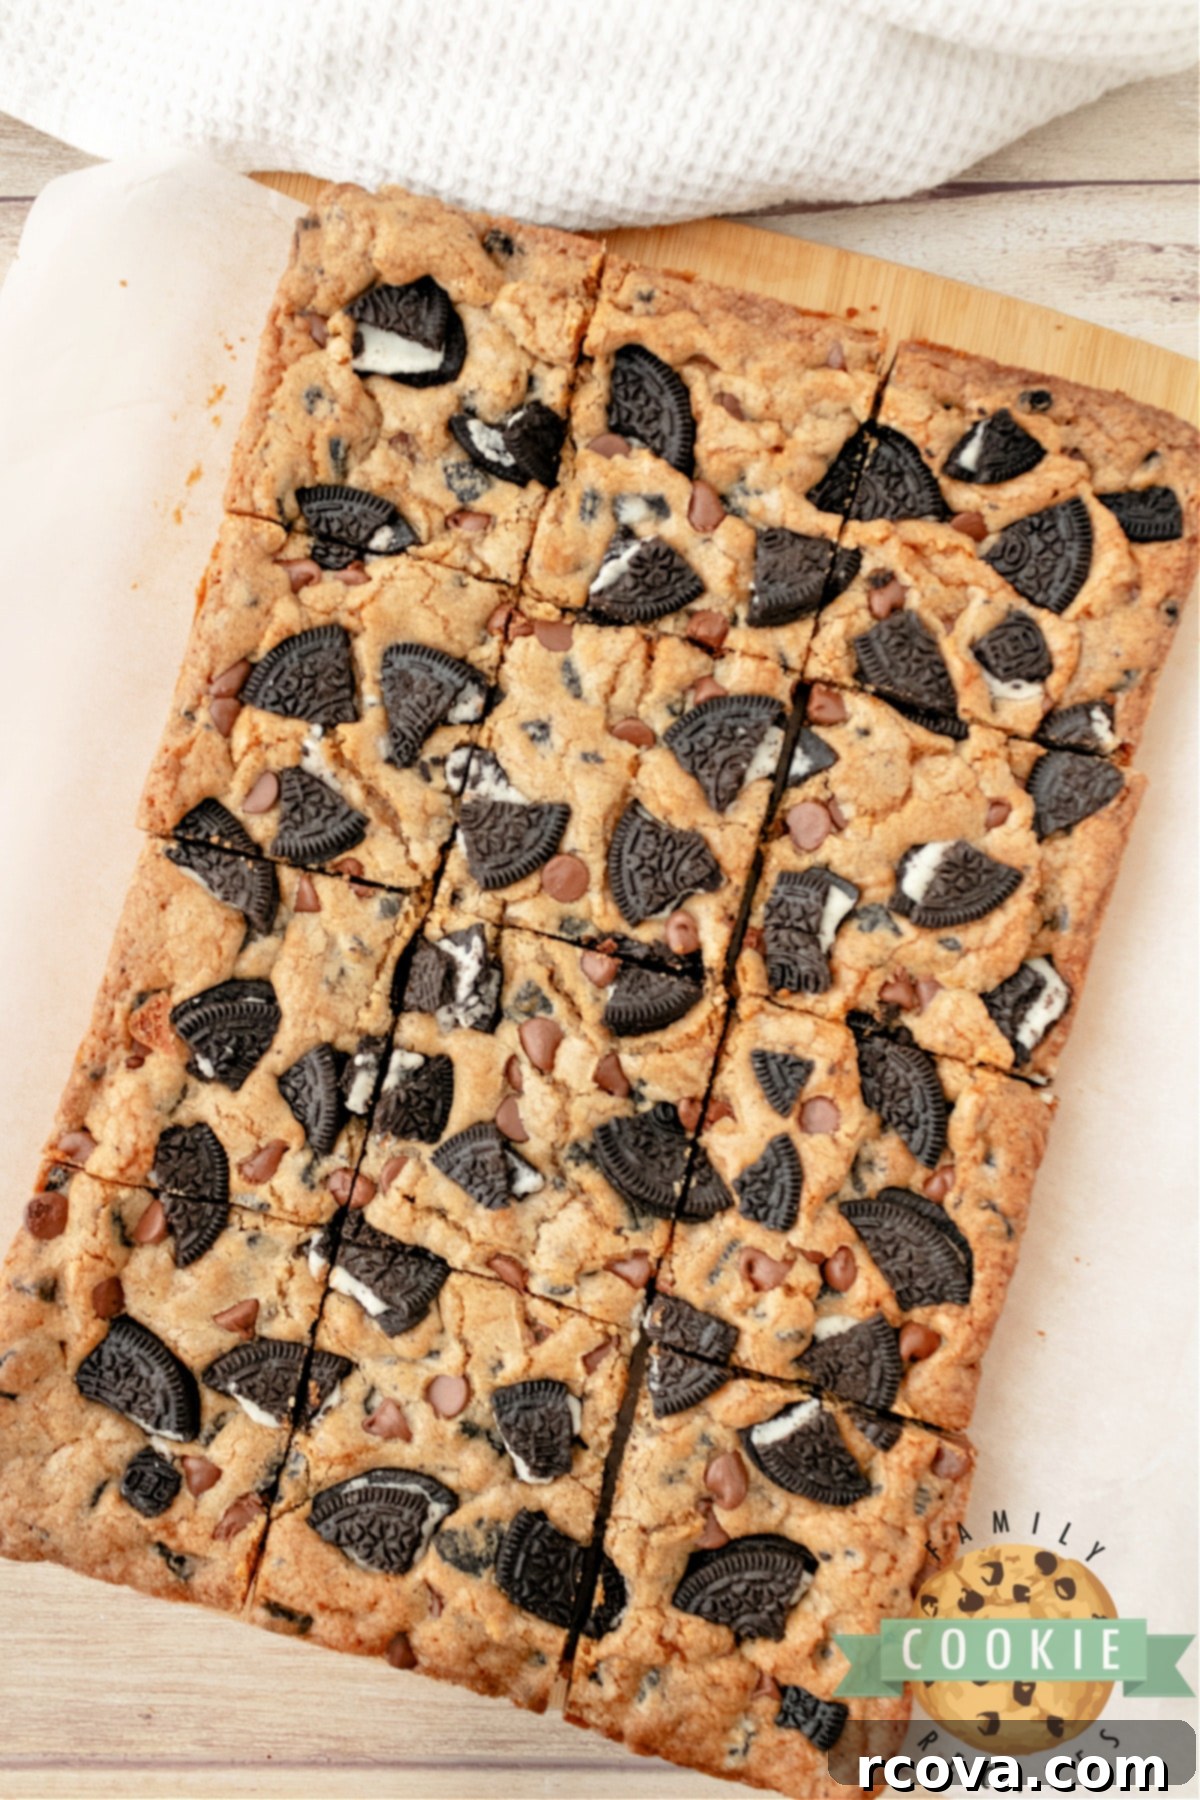
How to Achieve Perfectly Cut Cookie Bars Every Time
One of the secrets to achieving beautifully cut, uniform cookie bars without any fuss is the strategic use of parchment paper. Many home bakers, myself included, have experienced the frustration of destroying the first row of bars while trying to pry them from the pan. This common predicament can be easily avoided by lining your baking dish. By creating a sling of parchment paper that extends over the sides of the pan, you can effortlessly lift the entire cooled slab of cookie bars out before slicing. This method ensures clean edges and prevents sticking, making for picture-perfect presentation every time.
If you find yourself without parchment paper, don’t fret! You can still make these delicious bars. Simply grease your 9×13 inch pan thoroughly, perhaps with a combination of butter and flour, as you normally would for baking. While your first few cuts might not be quite as pristine, the delicious taste of these Oreo cookie bars will more than make up for any minor aesthetic imperfections. This particular cookie bar recipe is known for holding together remarkably well, making it one of the easiest desserts to slice into neat squares, regardless of your chosen pan preparation method.
Essential Ingredients for Delicious Oreo Cookie Bars
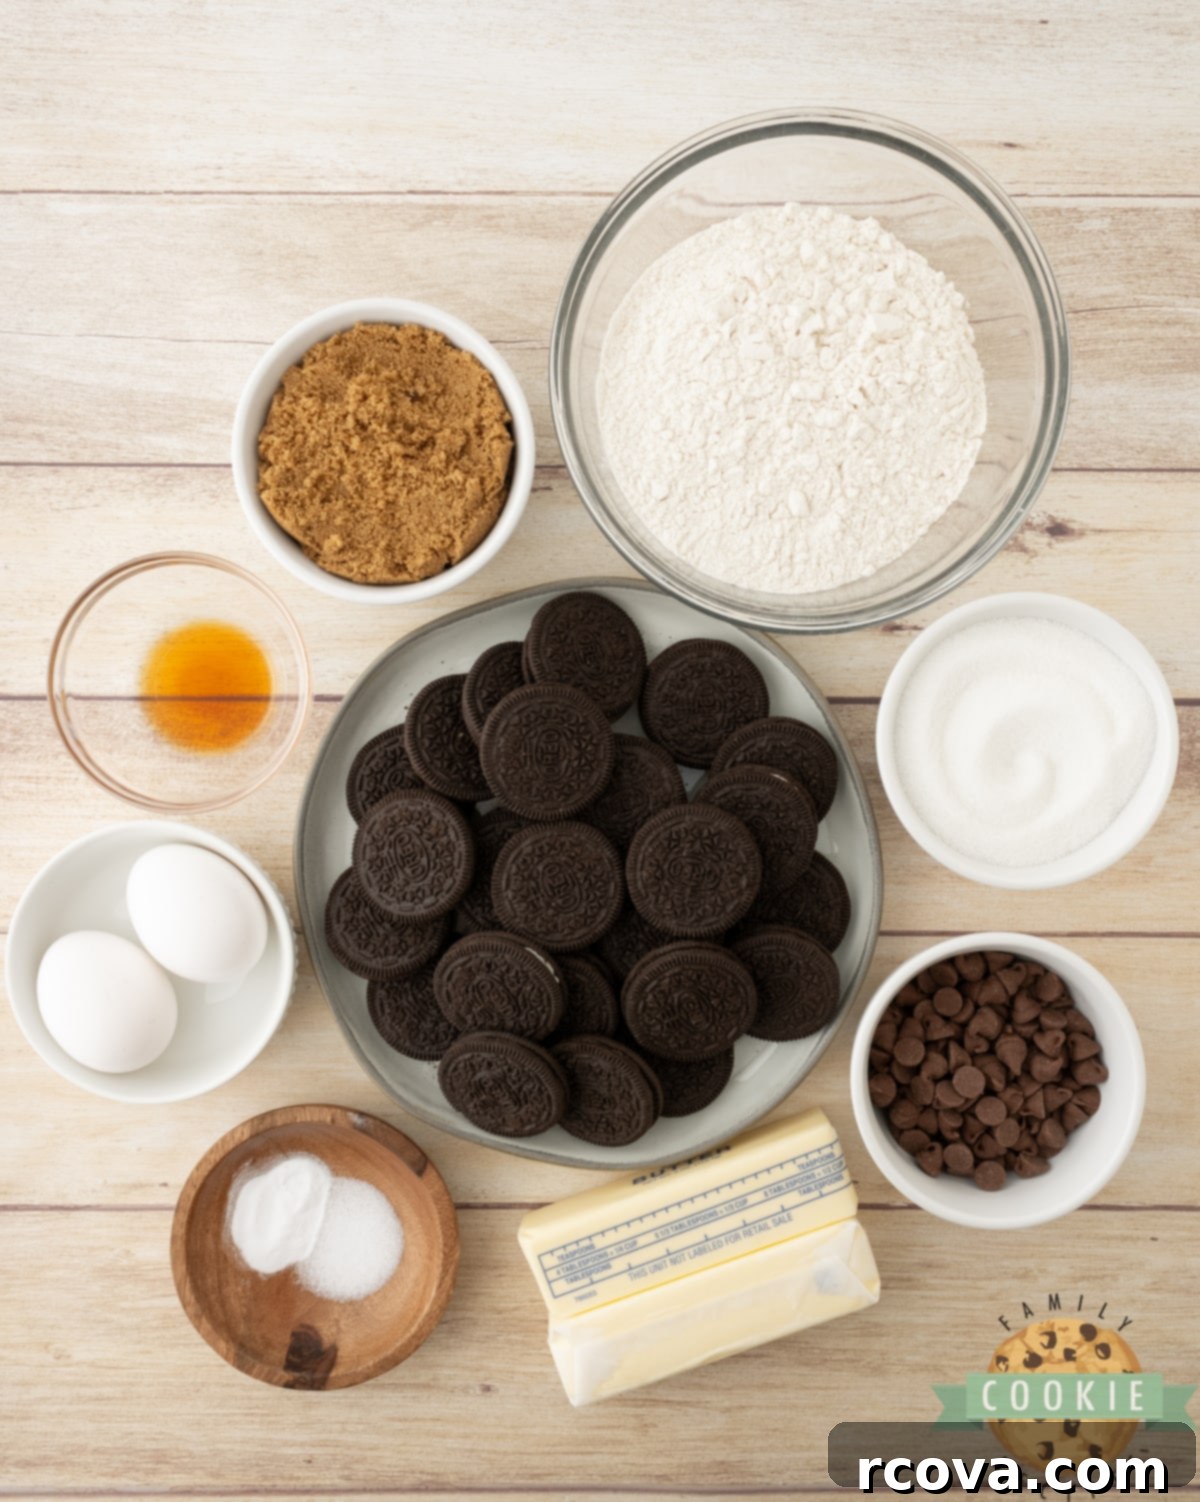
Crafting the perfect Oreo Cookie Bars requires a selection of quality ingredients that work in harmony to create their signature soft, chewy, and rich texture. Here’s a closer look at what you’ll need and why each component is important:
- Oreos: The star of the show! You’ll need approximately 22 standard Oreo cookies. For optimal texture and visual appeal, these will be divided. About 14 Oreos should be finely chopped and folded into the batter, ensuring every bite is infused with that classic chocolate and cream flavor. The remaining 8 Oreos will be chopped into slightly larger, more prominent pieces to press into the top of the bars before baking, providing a delightful crunch and a beautiful finish. There’s no need to remove the white cream filling; it adds to the overall richness!
- All-Purpose Flour: This forms the foundational structure of your cookie bars. All-purpose flour is ideal for its balanced protein content, which contributes to a tender yet stable bar. When measuring flour, it’s best to spoon it into the measuring cup and level it off rather than scooping directly, which can lead to over-packing and dry bars.
- Baking Soda: A crucial leavening agent, baking soda reacts with acidic ingredients (like brown sugar) to create carbon dioxide gas, which helps the cookie bars rise and become wonderfully soft and light. Always ensure your baking soda is fresh for the best results; old baking soda can lead to dense, flat bars.
- Salt: A small amount of salt is a powerful flavor enhancer. It balances the sweetness of the sugars and Oreos, making all the other flavors more vibrant and pronounced. Don’t skip it!
- Unsalted Butter: Using real, unsalted butter is key for achieving a rich flavor and tender crumb. It’s essential that your butter is softened to room temperature. This allows it to cream properly with the sugars, incorporating air and creating a light, fluffy base for your dough. Melted butter will yield a different, often greasier, and denser texture.
- Sugars: This recipe calls for a combination of both brown sugar and granulated sugar. Brown sugar contributes moisture and a delicious caramel-like depth, resulting in chewier, softer bars. Granulated sugar adds sweetness and helps create a slightly crisp edge. For the best outcome, make sure your brown sugar is soft and fresh, not hard or clumpy.
- Large Eggs: Eggs act as a binder, holding all the ingredients together and providing structure. They also add moisture, richness, and contribute to the overall tender texture of the bars. Two large eggs are typically sufficient for binding this quantity of dough.
- Vanilla Extract: Vanilla is a quintessential baking ingredient that enhances the flavor profile of almost any sweet treat. Opt for a high-quality pure vanilla extract for the best aroma and taste; it truly makes a difference in the final product.
- Chocolate Chips: While entirely optional, sprinkling a handful of semi-sweet chocolate chips over the top of your cookie bars before baking adds an extra layer of chocolatey goodness and visual appeal. It’s a fantastic way to elevate an already delicious dessert.
Step-by-Step Guide: How to Make Oreo Cookie Bars
Creating these delightful Oreo Cookie Bars is a straightforward process that yields impressive results. Follow these simple steps to bake a batch of homemade goodness:
- Preheat your oven to 350°F (175°C). Prepare a 9×13 inch baking dish by lining it with parchment paper, leaving an overhang on the longer sides to create a “sling.” This will greatly assist in removing the bars later.
- Take 14 of your Oreo cookies and, using a sharp knife or food processor, chop them into small, fine pieces. These will be incorporated into the dough for an even distribution of flavor. Next, chop or gently break the remaining 8 Oreos into slightly larger, chunkier pieces. These will be reserved for topping the bars, adding a delightful textural contrast. Set both portions aside.
- In a small mixing bowl, combine your dry ingredients: whisk together the all-purpose flour, baking soda, and salt until they are thoroughly blended. This ensures the leavening agent and salt are evenly distributed throughout the dough. Set this bowl aside.
- In a large mixing bowl, using either a hand mixer or a stand mixer fitted with the paddle attachment, cream together the softened butter, brown sugar, and granulated sugar. Beat on medium speed for about 2-3 minutes until the mixture is light, fluffy, and pale in color. This creaming process incorporates air, which is essential for a soft, tender bar.
- Add the two large eggs and the vanilla extract to the creamed butter and sugar mixture. Continue to mix for another 2-3 minutes, scraping down the sides of the bowl as needed, until all ingredients are well combined and the mixture is smooth.
- Gradually add the reserved dry ingredients to the wet ingredients. Mix on low speed until just combined. Be careful not to overmix the dough, as this can lead to tough cookie bars. Stop mixing as soon as no streaks of flour are visible.
- Using a sturdy rubber spatula, gently fold in the 14 finely chopped Oreos that you prepared earlier. Add them a little at a time, ensuring they are evenly distributed throughout the dough without crushing them too much. Once mixed, spread the rich cookie batter evenly into your prepared 9×13 inch baking dish.
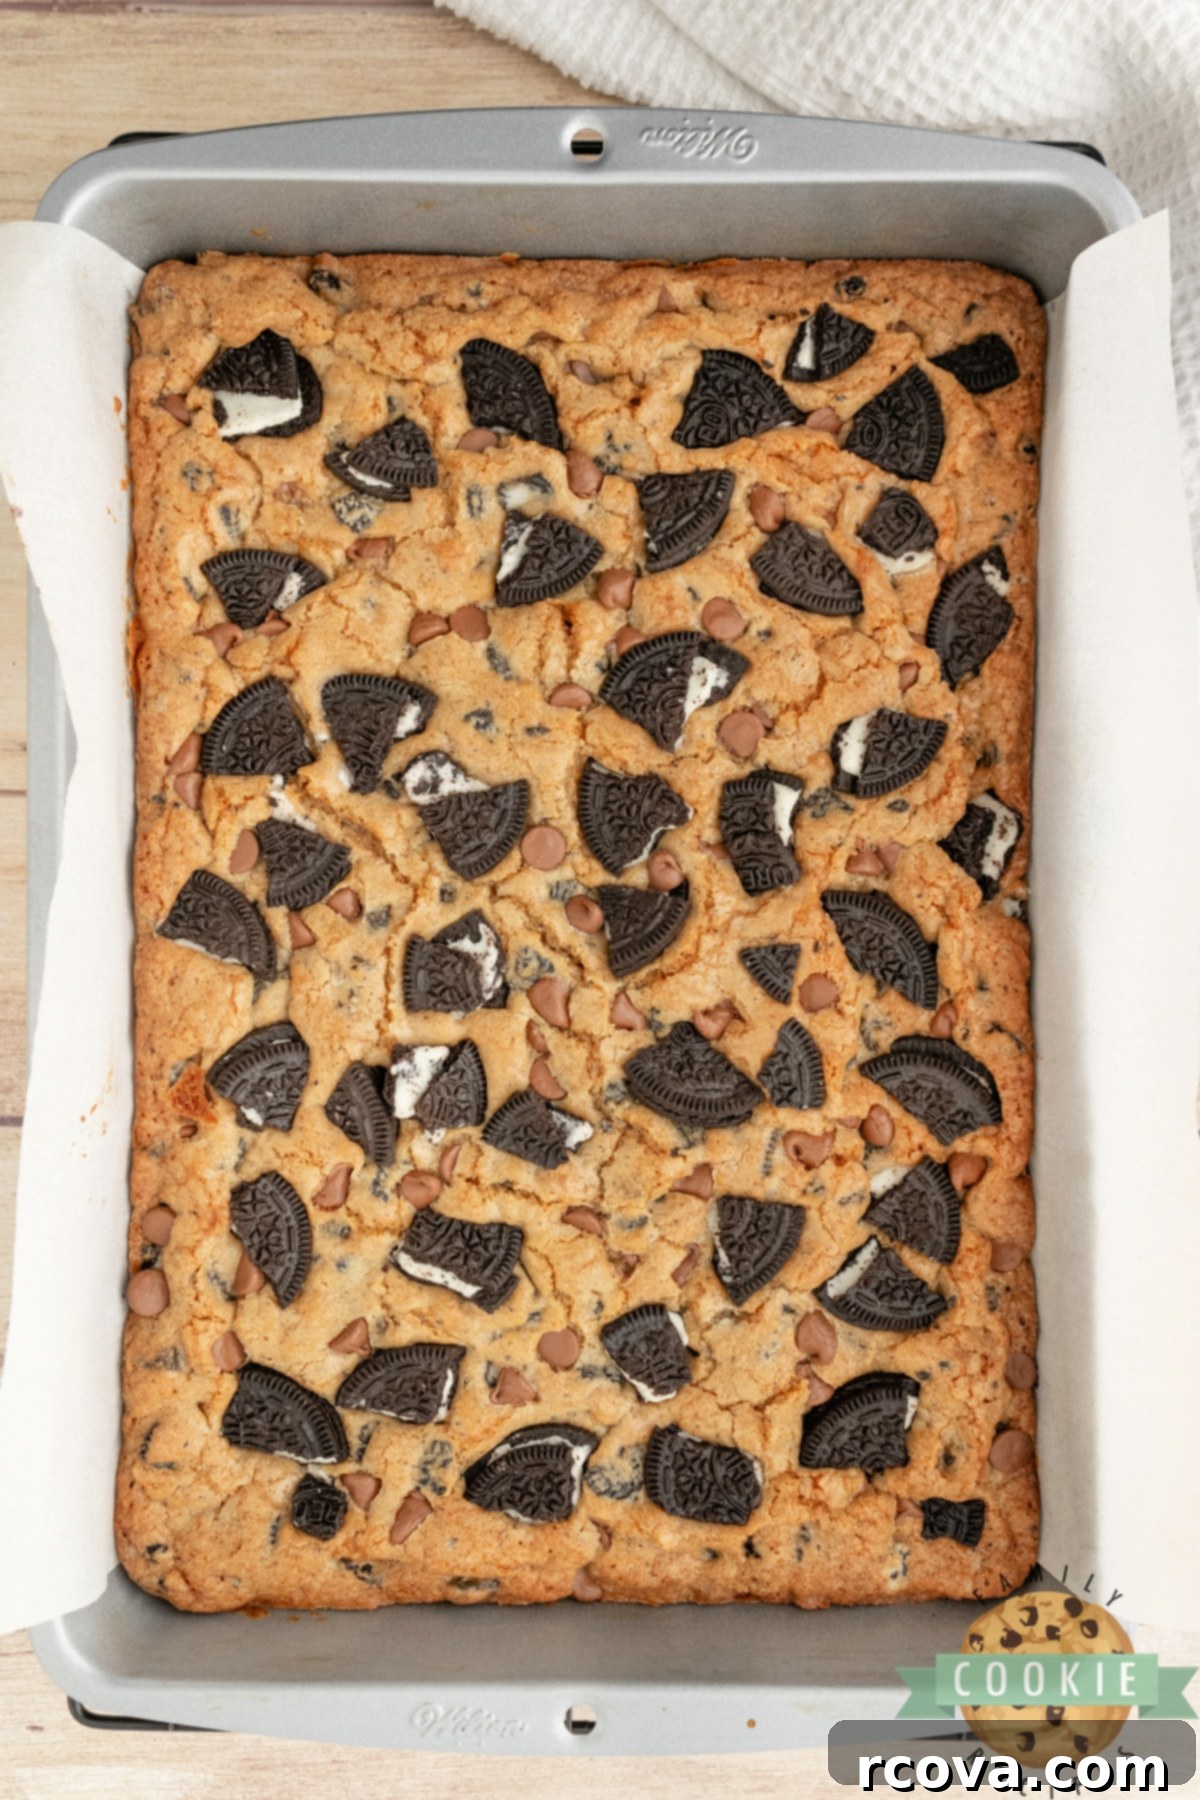
- For the finishing touch, gently press the 8 larger chopped Oreo pieces onto the surface of the batter. If you’re using chocolate chips, sprinkle them evenly over the top as well. This creates an attractive, textural topping.
- Bake in the preheated oven for 25-30 minutes. The bars are done when the edges are lightly golden brown and a toothpick inserted into the center comes out clean or with only moist crumbs attached (no raw batter). Avoid overbaking to keep them soft and chewy.
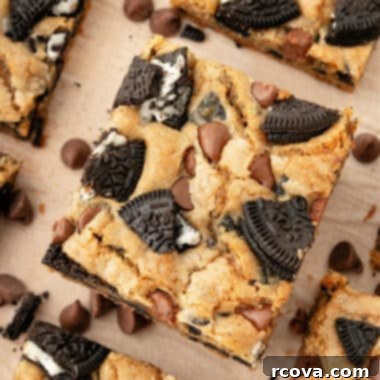
- Once baked, remove the pan from the oven and allow the Oreo Cookie Bars to cool completely in the pan on a wire rack. Cooling is crucial for them to set properly. Once cool, use the parchment paper sling to lift the entire slab out of the pan. Then, cut them into 12-15 generous bars using a sharp knife.
OREO COOKIE BARS
Print
Pin
Rate
Ingredients
- 22 Oreos divided
- 2 cups all-purpose flour
- ½ teaspoon baking soda
- ½ teaspoon salt
- 1 cup butter softened
- ¾ cup brown sugar
- ¾ cup granulated sugar
- 2 large eggs
- 1 teaspoon vanilla extract
- ¼ cup chocolate chips optional
Instructions
-
Preheat oven to 350°. Line a 9×13 baking dish with parchment paper.
-
Using a sharp knife, chop 14 of the Oreos into small pieces. Chop or break 8 of the Oreos into slightly larger pieces. Set aside.
-
In a small mixing bowl, whisk together flour, baking soda, and salt. Set aside.
-
In a large mixing bowl, mix butter, brown sugar, and granulated sugar for about 2-3 minutes until light and fluffy with a hand mixer or stand mixer.
-
Add eggs and vanilla and mix for another 2-3 minutes.
-
Slowly add the dry ingredients to the wet and mix until just combined.
-
Using a spatula, fold in the 14 chopped Oreos a little at a time. Spread the batter into the baking dish.
-
Gently press the 8 chopped Oreos into the top and sprinkle on chocolate chips (if using).
-
Bake for 25-30 minutes until a toothpick inserted into the center comes out without any raw batter.
-
Cool and then cut into 12-15 bars.
Nutrition
Expert Tips for Baking the Best Cookie Bars
While making cookie bars is generally straightforward, a few key tips can elevate your baking from good to absolutely phenomenal. Follow these pointers for consistently perfect, soft, and chewy Oreo Cookie Bars:
- Do Not Melt the Butter: This is a crucial step! The recipe calls for softened butter, meaning it should be at room temperature, pliable but not greasy or melted. Melted butter significantly alters the fat-to-liquid ratio in the dough, leading to a denser, greasier, and less tender bar. Room temperature butter creams properly with sugar, creating air pockets for a lighter texture.
- Cream Butter and Sugars Thoroughly: Don’t rush this step. Creaming the butter and both granulated and brown sugars together for the recommended 2-3 minutes is vital. This process incorporates air into the mixture, which is essential for the cookie bars’ light and fluffy texture, contributing significantly to their final consistency and chewiness.
- Always Preheat Your Oven: A properly preheated oven ensures that your cookie bars start baking at the correct temperature immediately. This promotes even baking, consistent rise, and prevents the bars from spreading too much or becoming undercooked in the center. Give your oven ample time to reach and stabilize at 350°F (175°C).
- Utilize Parchment Paper: As mentioned earlier, using parchment paper to line your baking pan is a game-changer. It not only prevents sticking but also allows you to easily lift the entire cooled batch of bars out of the pan, making slicing effortless and neat.
- Avoid Overmixing the Dough: Once you add the dry ingredients to the wet, mix only until just combined. Overmixing develops the gluten in the flour, which can result in tough, dense, and less tender cookie bars. Use a spatula to gently fold in the chopped Oreos.
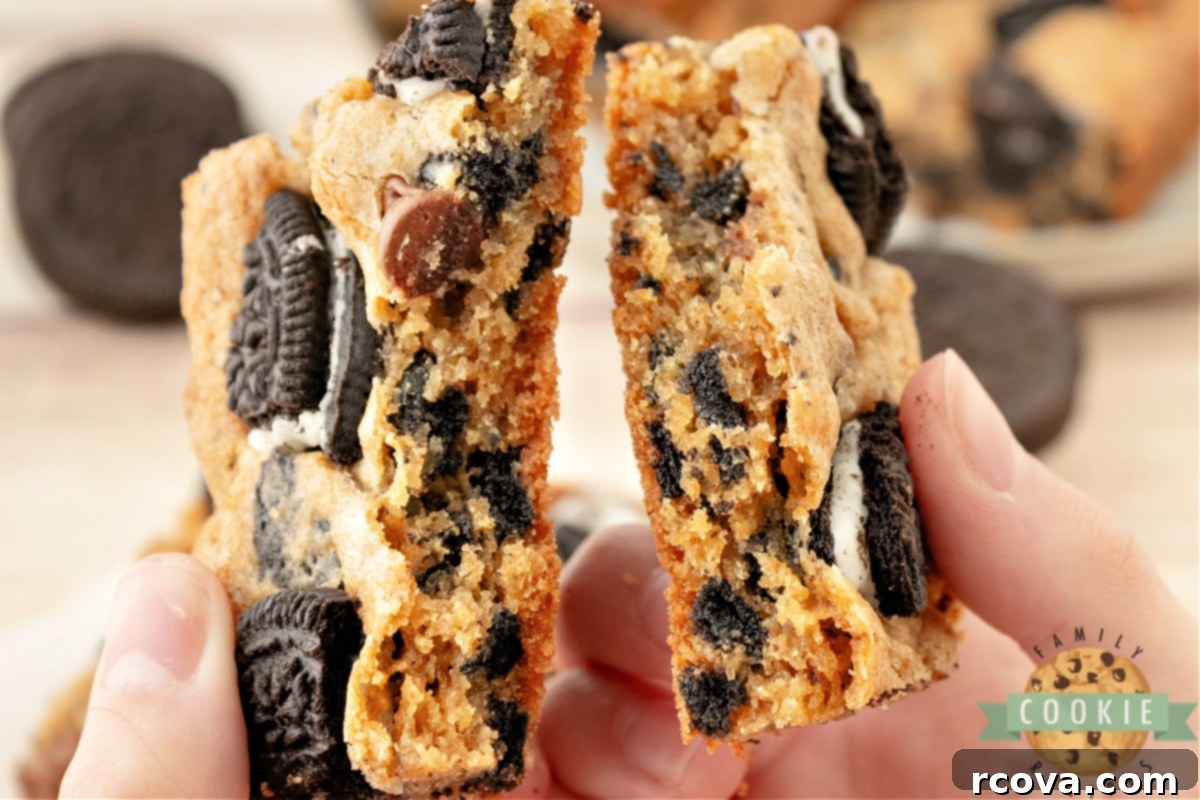
- Do Not Overbake Your Cookie Bars: This might be the most important tip for achieving soft, chewy bars. Keep a close eye on them towards the end of the baking time. As soon as the edges begin to turn a very light golden brown, and a toothpick inserted into the center comes out with moist crumbs (not wet batter), take them out of the oven. The bars will continue to cook slightly from residual heat as they cool in the pan. I personally prefer to slightly underbake cookies and bars, as even a minute or two too long in the oven can transform them from wonderfully soft to disappointingly hard. Trust your instincts and aim for that perfect gooey center!
- Use Quality Ingredients: While not always necessary, using good quality butter, fresh eggs, and pure vanilla extract can truly make a difference in the overall flavor of your homemade treats.
Mastering the Art of Softening Butter
Having butter at the correct temperature is paramount for many baking recipes, especially those for cookies and bars. Butter that is too cold won’t cream properly, and butter that’s too warm (melted) will yield a different, often undesirable, texture. Here are a few reliable methods to achieve perfectly softened butter:
- Microwave Defrost Method: This is a quick and efficient way if you’re in a hurry. For a full 1/2 cup (1 stick) of butter, you can often leave it in its paper wrapper. If you only need a portion, place the required amount in a glass or porcelain bowl. Use your microwave’s lowest defrost setting (or a very low power setting). Microwave for about 10-20 seconds. Check the butter by pressing it gently with your finger or a rubber scraper. It should indent easily without being liquid or greasy. If it’s still firm, continue to microwave in 5-10 second intervals, watching it closely. Butter softens very quickly, and you want to avoid melting it.
- Countertop Method: For the most foolproof approach, simply leave your butter out on the kitchen counter at room temperature for about 30-60 minutes before you plan to bake. The exact time will depend on your kitchen’s temperature. This method allows the butter to soften gradually and evenly throughout.
- Warm Water Bath Method: If you need softened butter quickly but prefer to avoid the microwave, you can try a warm water bath. Cut your butter into smaller pieces (about 1-inch chunks) and place them in a bowl. Fill a larger bowl with warm (not hot) water. Place the bowl with butter inside the larger bowl, ensuring no water gets into the butter. Let it sit for 5-10 minutes, stirring occasionally, until it reaches the desired softness.
How to Store Your Delicious Oreo Cookie Bars
To keep your Oreo Cookie Bars tasting fresh and delicious, proper storage is key. Store them in an airtight container at room temperature for up to one week. Placing a piece of parchment paper between layers can prevent them from sticking together. For longer storage, these bars freeze beautifully! Once completely cooled, cut the bars into individual portions. For best results and to prevent freezer burn, wrap each bar tightly in plastic wrap, then place them in a freezer-safe bag or container. They can be frozen for up to 3 months. When you’re ready to enjoy, simply thaw them at room temperature or warm slightly in the microwave for a few seconds.
Irresistible Variations for Cookies & Cream Cookie Bars
Oreo Cookie Bars are incredibly versatile, offering endless possibilities for customization and flavor experimentation. Here are some of our favorite suggestions to put a unique twist on this classic recipe:
- Different Oreo Flavors: Don’t limit yourself to original Oreos! Experiment with Golden Oreos, Mint Oreos, Peanut Butter Oreos, or even seasonal flavors for a completely new experience.
- Add a Swirl: For an extra layer of richness, spread a thin layer of cream cheese frosting or a swirl of melted white chocolate over the warm bars immediately after they come out of the oven.
- Candy Bar Mix-ins: Chop up your favorite chocolate bars (like Snickers, Twix, or Reese’s Peanut Butter Cups) and fold them into the dough along with the Oreos.
- Nutty Additions: Introduce chopped pecans, walnuts, or almonds for added crunch and flavor. Toasted nuts will offer an even deeper taste.
- Caramel Drizzle: Drizzle homemade or store-bought caramel sauce over the cooled bars before serving for a decadent treat.
- Espresso Powder: A teaspoon of instant espresso powder added to the dry ingredients can deepen the chocolate flavor without making the bars taste like coffee.
- Top with Sprinkles: For festive occasions, add colorful sprinkles to the top of the bars along with the chopped Oreos.
- Cookie Dough Chunks: For the ultimate indulgence, mix in small chunks of edible cookie dough (flour-treated for safety) into the batter before baking.
Craving More Cookie Bars? Explore Our Favorite Recipes!
If you’ve fallen in love with the ease and deliciousness of cookie bars, you’re in for a treat! We have a treasure trove of other fantastic bar cookie recipes that are just as simple to make and equally satisfying. Whether you’re looking for fruity, spicy, nutty, or classic chocolate, there’s a bar for every craving. Here are some more favorites from our collection:
- Strawberry Cheesecake Cookie Bars
- Snickerdoodle Cookie Bars
- Sugar Cookie Bars
- Chocolate Chip Cookie Bars
- No Bake Cookie Bars
- Oatmeal Chocolate Chip Cookie Bars
- Lemon Sugar Cookie Bars
- Swirled Patriotic Cookie Bars
- Fudgy Oatmeal Cookie Bars
- Twix Cookie Bars
- Easy Peanut Caramel Cookie Bars
- Gingerbread Cookie Bars
- Butterscotch Pretzel Cookie Bars
- Reese’s Cookie Bars
- S’mores Cookie Bars
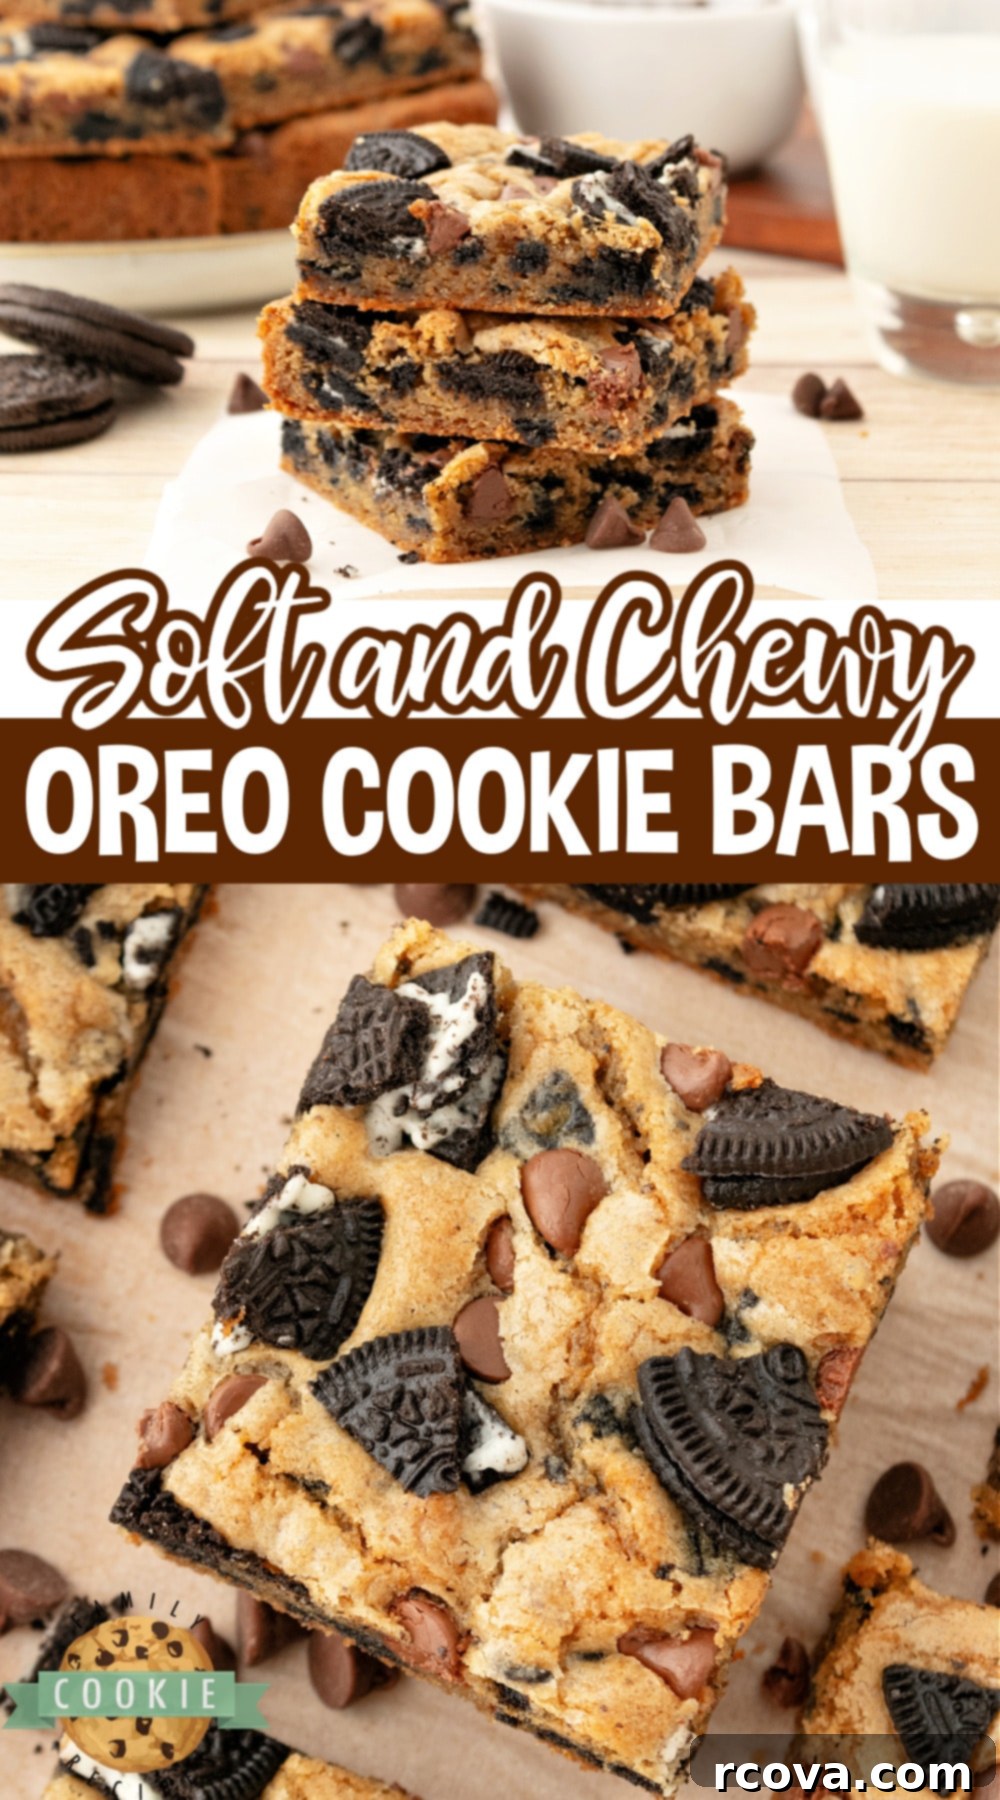
There you have it – everything you need to bake a batch of homemade Oreo Cookie Bars that are guaranteed to impress! These soft, chewy, and undeniably gooey treats, often affectionately called Cookies & Cream Bars, are more than just a dessert; they’re a simple joy to create and an absolute delight to share. Dive into this recipe and discover your new favorite way to enjoy Oreos!
