Irresistible Homemade Tagalong Cookie Bars: Your Favorite Chocolate Peanut Butter Treat, Easier Than Ever
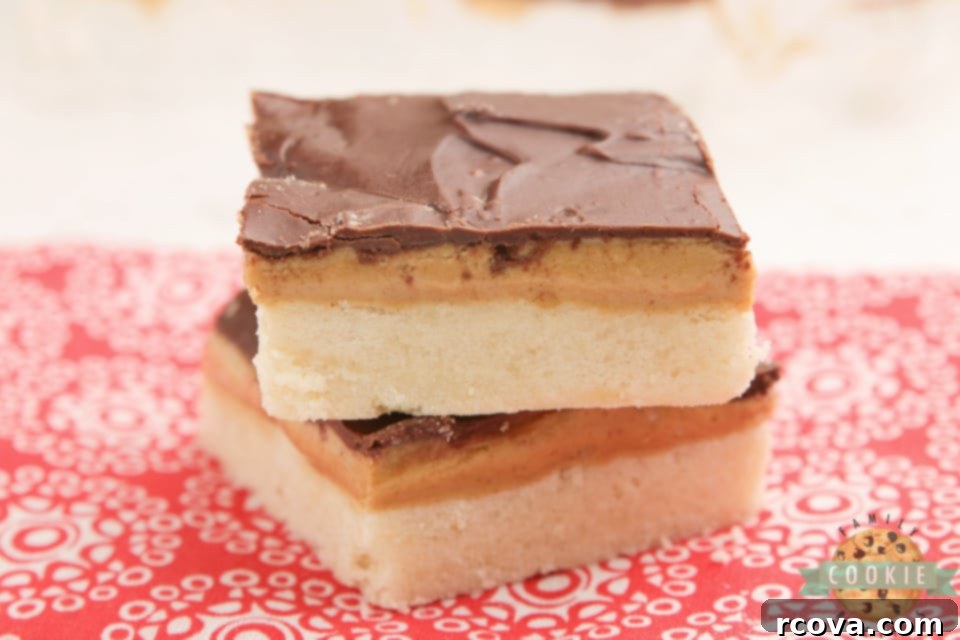
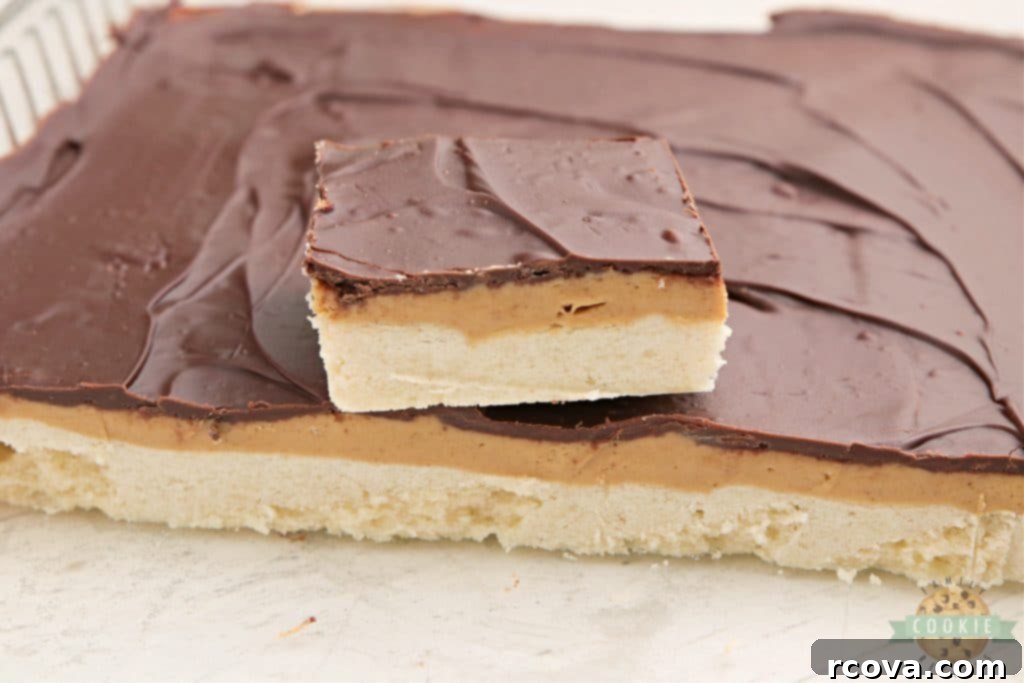
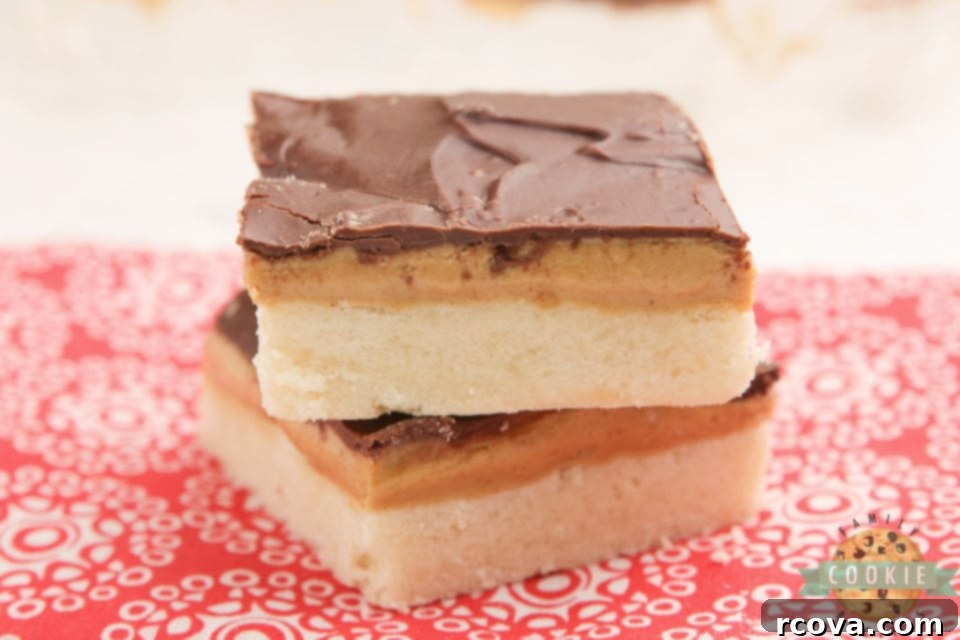
Indulge in the nostalgic delight of your favorite Girl Scout cookies without the wait! These incredible Tagalong Cookie Bars offer all the classic flavors you adore in a convenient, easy-to-make bar form. Imagine a buttery, crumbly shortbread cookie crust, generously topped with a rich, creamy peanut butter layer, and finally enrobed in a smooth, decadent chocolate coating. Each bite is a perfect harmony of sweet and savory, a true testament to the timeless appeal of chocolate and peanut butter. Forget the fuss of individual cookies; these bars come together simply, making them the ultimate dessert for parties, potlucks, or just a cozy night in.
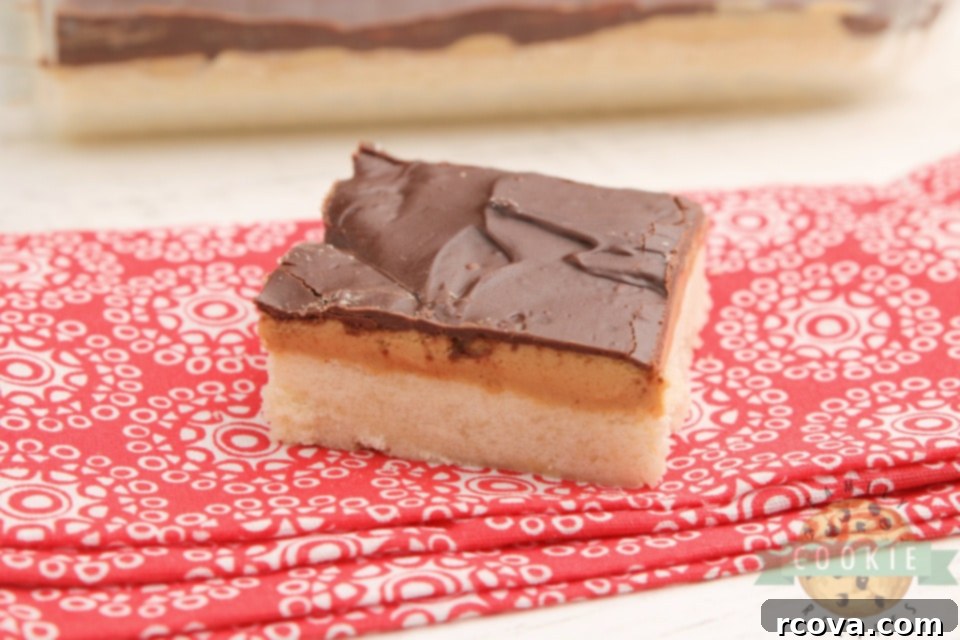
For years, the iconic red box of Girl Scout Tagalong cookies has held a special place in the hearts of dessert lovers everywhere. That quintessential combination of crisp shortbread, creamy peanut butter, and a smooth chocolate shell is simply unmatched. Now, you can capture that magic right in your own kitchen with this incredibly simple recipe for Tagalong Cookie Bars. This recipe eliminates the need for scooping and shaping individual cookies, streamlining the baking process significantly. Each of the three distinct layers—the sturdy shortbread base, the luscious peanut butter filling, and the glossy chocolate topping—is crafted with just a few basic ingredients, yielding a final product that tastes remarkably like the beloved original.
Whether you’re looking for a crowd-pleasing dessert or a comforting treat to satisfy your sweet tooth, these homemade Tagalong bars are a fantastic choice. They are quicker to prepare than traditional cookies, offering maximum flavor with minimal effort. Plus, making them at home means you can enjoy them anytime the craving strikes, not just during cookie season!
Essential Ingredients for Your Tagalong Cookie Bars
Crafting the perfect Tagalong Cookie Bar requires simple, high-quality ingredients that work together to create that unforgettable flavor profile. Here’s a closer look at what you’ll need for each decadent layer:
Cookie Layer:
- 1 cup butter, softened to room temperature: Using softened butter is crucial for achieving a smooth, well-creamed base with the sugar, leading to a tender shortbread crust. Avoid melted butter, as it changes the dough’s consistency too much.
- 1/2 cup sugar: Granulated sugar provides the perfect amount of sweetness and helps create that classic crispness in the shortbread.
- 2 cups flour: All-purpose flour forms the structure of your cookie crust. Make sure to measure it correctly by spooning it into the measuring cup and leveling it off.
- 1/4 tsp baking powder: A small amount of baking powder gives the shortbread a slight lift and contributes to its delicate texture.
- 1/2 tsp salt: Salt is essential for balancing the sweetness and enhancing the flavors of the other ingredients in the crust.
- 1/2 tsp vanilla extract: Pure vanilla extract adds a warm, inviting aroma and a depth of flavor to the shortbread.
- 2 Tbsp milk: A touch of milk helps bind the dough together and ensures a cohesive, spreadable crust.
Peanut Butter Layer:
- 1 1/2 cups peanut butter: Creamy peanut butter is key here for a smooth, spreadable layer. Choose a brand you love. Natural peanut butter can be used, but ensure it’s well-stirred and not too oily for the best consistency.
- 3/4 cup powdered sugar: Also known as confectioners’ sugar, this fine sugar blends seamlessly with the peanut butter, creating a silky-smooth, sweet, and firm filling without a grainy texture.
- 1/2 tsp vanilla extract: Vanilla enhances the rich peanut butter flavor, adding another layer of deliciousness to the filling.
Chocolate Layer:
- 1 cup semi-sweet chocolate chips: Semi-sweet chocolate provides a balanced sweetness that pairs perfectly with the rich peanut butter. High-quality chocolate chips will give you the best melt and flavor.
- 1 Tbsp shortening: Shortening is the secret ingredient for a super smooth, glossy, and easily spreadable chocolate topping that sets up beautifully without becoming too brittle. It also prevents the chocolate from seizing.
How to Make Homemade Tagalong Cookie Bars: Step-by-Step Instructions
Creating these delightful chocolate peanut butter bars is a straightforward process, broken down into three simple layers. Follow these steps carefully for the best results:
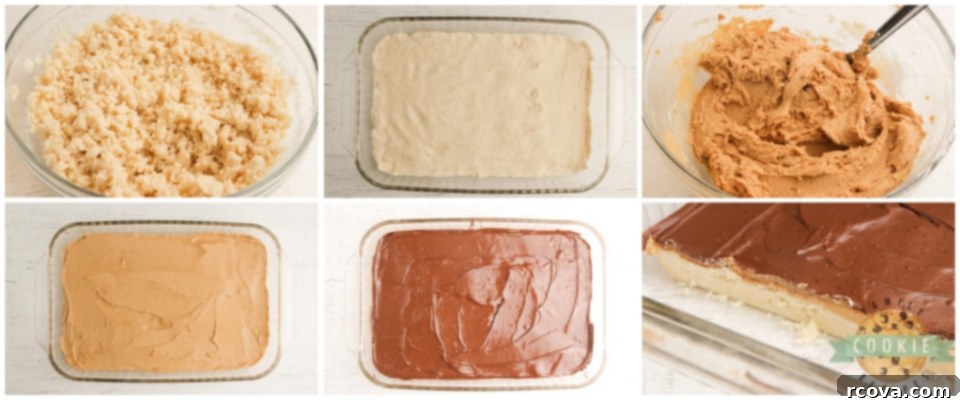
- Prepare Your Pan and Oven: Begin by preheating your oven to 350°F (175°C). This ensures a consistent baking temperature for your crust. Lightly grease a 9×13 inch baking pan with non-stick cooking spray or line it with parchment paper for easy removal. Greasing prevents sticking and ensures your bars lift out cleanly.
- Combine Dry Ingredients: In a medium bowl, whisk together the flour, baking powder, and salt. Whisking ensures these ingredients are evenly distributed, which is important for the texture of the shortbread. Set this dry mixture aside for now.
- Cream Wet Ingredients for the Crust: In a large mixing bowl, using an electric mixer, beat together the softened butter and granulated sugar for about 2-3 minutes. This creaming process incorporates air into the mixture, making the shortbread light and tender. The mixture should become pale and fluffy.
- Form the Cookie Dough: Gradually add the reserved flour mixture to the creamed butter and sugar. Then, pour in the vanilla extract and milk. Mix on low speed just until all the ingredients are combined and a soft dough forms. Be careful not to overmix, as this can lead to a tough crust.
- Press the Dough into the Pan: Spread the shortbread dough evenly into the prepared 9×13 inch pan. For a perfectly smooth and uniform crust, you can use the back of a spoon, your fingers, or even a small rolling pin to press the dough firmly and evenly across the bottom of the pan.
- Bake the Shortbread Crust: Place the pan in the preheated oven and bake for 15-18 minutes. Keep a close eye on it; you want the edges to just barely begin to turn a light golden brown. The center might still look slightly soft. Overbaking can result in a dry, hard crust, so it’s better to slightly underbake than overbake. Once baked, remove the pan from the oven and allow the cookie crust to cool completely on a wire rack. This step is crucial before adding the peanut butter layer to prevent melting.
- Prepare the Peanut Butter Filling: While the crust cools, make your delicious peanut butter layer. In a medium bowl, combine the peanut butter and powdered sugar. Mix them together thoroughly until the mixture is smooth, creamy, and well-combined. You can use a spoon or an electric mixer for this.
- Spread the Peanut Butter Layer: Once the shortbread crust is entirely cool, evenly spread the peanut butter filling over the top. A spatula or the back of a spoon works well for this. Ensure the layer is smooth and covers the entire surface of the crust.
- Melt the Chocolate Topping: In a microwave-safe bowl, combine the semi-sweet chocolate chips and shortening. Microwave for 45 seconds, then stir well. Continue microwaving in 30-second intervals, stirring thoroughly after each, until the chocolate is completely melted and smooth. If needed, you can use one final 15-second interval. Be careful not to overheat the chocolate, as it can burn or seize. Alternatively, you can melt the chocolate and shortening in a double boiler for a more controlled melting process.
- Apply the Chocolate Layer: Carefully pour the melted chocolate evenly over the peanut butter layer. Using a butter knife or an offset spatula, gently spread the chocolate until the peanut butter is completely covered in a smooth, even layer.
- Set and Serve: Allow the chocolate to set completely. This can take a few hours at room temperature, or you can speed up the process by placing the bars in the refrigerator for about 30-60 minutes. Once the chocolate is firm, use a sharp knife (wiping it clean between cuts for neat slices) to slice the large slab into individual bars. Store and serve these delightful Tagalong Cookie Bars at room temperature for the best texture and flavor.
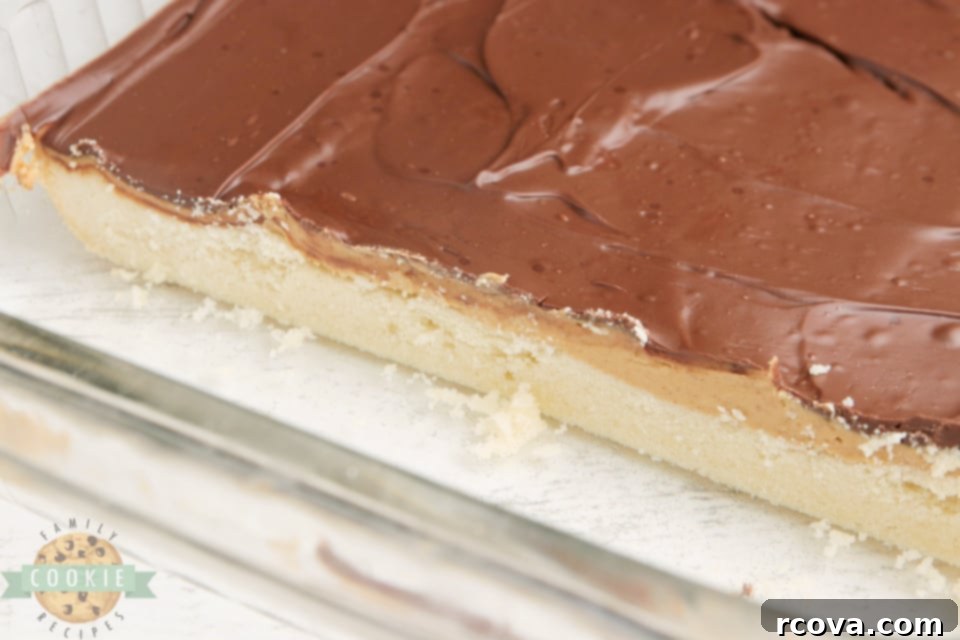
Tagalong Cookie Bars
Print
Pin
Rate
Ingredients
Cookie Layer:
- 1 cup butter softened to room temperature
- 1/2 cup sugar
- 2 cups flour
- 1/4 tsp baking powder
- 1/2 tsp salt
- 1/2 tsp vanilla extract
- 2 Tbsp milk
Peanut Butter Layer:
- 1 1/2 cups peanut butter
- 3/4 cup powdered sugar
- 1/2 tsp vanilla extract
Chocolate Layer:
- 1 cup semi-sweet chocolate chips
- 1 Tbsp shortening
Instructions
-
Preheat oven to 350°. Grease a 9X13 pan with non-stick cooking spray.
-
In a bowl, whisk together the flour, baking powder and salt. Set it aside.
-
In a large bowl, beat together butter and sugar with an electric mixer for about 2-3 minutes. Add the flour mixture and the vanilla and milk and mix just until combined.
-
Spread the dough evenly in the prepared pan. I used a small rolling pin to evenly distribute the dough smoothly.
-
Bake for 15-18 minutes or until the edges just barely begin to turn a light golden brown. Remove from oven and let the bars cool completely.
-
To make the peanut butter filling, mix the peanut butter and powdered sugar together until smooth. Spread the peanut butter filling evenly over the cooled cookie crust.
-
To make the chocolate layer, place the chocolate chips and shortening in a microwave-safe bowl and microwave for 45 seconds. Stir and then microwave for another 30 seconds. Stir until melted and smooth, microwaving for another 15 second interval if necessary. You don’t want to cook the chocolate too long so don’t heat any longer than necessary!
-
Pour the chocolate evenly over the peanut butter layer and then spread with a butter knife until the peanut butter layer is completely covered. The chocolate will set up after a few hours at room temperature, but you can speed the process up by putting the bars in the refrigerator for about 30-60 minutes. Slice into bars and store/serve them at room temperature.
Expert Tips for Making the Best Chocolate Peanut Butter Cookie Bars
Achieving bakery-quality Tagalong Cookie Bars is easy with these helpful tips:
- Butter Consistency is Key: It’s crucial that your butter is softened to room temperature, not melted. Softened butter creams beautifully with sugar, creating a light and airy base for your shortbread crust. Melted butter will result in a greasy, dense crust. If your butter is too cold, cut it into small pieces and let it sit out for 30 minutes, or microwave it briefly at 50% power in 10-second bursts until just softened.
- Creaming for Perfection: Don’t rush the creaming process of the butter and sugar. Beating them together for the recommended 2-3 minutes with an electric mixer truly makes a difference. This step incorporates air, which contributes to the tender, melt-in-your-mouth texture of the shortbread.
- Preheat for Success: Always preheat your oven completely before baking. Placing dough into an oven that hasn’t reached the correct temperature can lead to uneven baking and undesirable textures. A properly preheated oven ensures your shortbread crust bakes consistently.
- Avoid Overbaking the Crust: This is one of the most important tips for a soft, delicious cookie bar. Begin checking your cookie bars around the 15-minute mark. As soon as the edges show even the slightest hint of golden brown, remove them from the oven. The center may still appear a bit soft, but it will set as it cools. Overbaking leads to a hard, dry crust, and we definitely want a tender one!
- Cool Completely: Ensure the shortbread crust is entirely cooled before spreading the peanut butter layer. If the crust is warm, the peanut butter will melt and absorb into the crust, creating a messy and less distinct layer. Patience here pays off!
- Smooth Peanut Butter Layer: For the creamiest peanut butter filling, make sure your peanut butter is at room temperature. If it’s too cold and stiff, it will be difficult to mix smoothly with the powdered sugar. A brief microwave stint (10-15 seconds) can help if it’s too stiff.
- Melting Chocolate: When melting the chocolate, do so in short intervals and stir frequently. Chocolate can scorch easily, which will make it thick and grainy. Shortening helps to create a smooth, pourable consistency and gives the chocolate a lovely sheen. If you prefer, a double boiler can also be used for gentle, even melting.
- Clean Slices: Once the chocolate layer has fully set, use a large, sharp knife to cut your bars. For clean, professional-looking slices, wipe the knife clean with a warm, damp cloth after each cut.
- Storage: Store your Tagalong Cookie Bars in an airtight container at room temperature for up to 5-7 days. If you prefer them chilled, they can be stored in the refrigerator, but allow them to come to room temperature for a few minutes before serving for optimal flavor and texture.
Delicious Variations and Serving Suggestions
While classic Tagalong Cookie Bars are perfect as is, you can always get creative! For a twist, try adding a sprinkle of sea salt flakes over the melted chocolate for a salted caramel effect. You could also experiment with different types of chocolate, such as milk chocolate for a sweeter bar or dark chocolate for a richer, more intense flavor. White chocolate drizzle could add an elegant touch. For serving, these bars are fantastic on their own, but they also pair wonderfully with a scoop of vanilla ice cream or a glass of cold milk.
Looking for More Irresistible Cookie Bar Recipes?
If you loved these Tagalong Cookie Bars, you’re in for a treat! Cookie bars are fantastic because they offer all the deliciousness of cookies with half the effort. Here are some of our other favorite bar cookie recipes you should definitely try:
- Strawberry Cheesecake Cookie Bars: A fruity, creamy, and decadent bar that’s perfect for spring and summer.
- Sugar Cookie Bars: Simple, soft, and customizable with various frostings and sprinkles.
- Chocolate Chip Cookie Bars: The classic chocolate chip cookie, but in an easy bar form!
- No Bake Cookie Bars: Quick, effortless, and perfect when you want a treat without turning on the oven.
- Oatmeal Chocolate Chip Cookie Bars: A hearty, chewy bar with the comforting flavors of oats and chocolate.
- Lemon Sugar Cookie Bars: Bright, zesty, and refreshing, a wonderful twist on a classic.
- Swirled Patriotic Cookie Bars: Festive and colorful, ideal for holidays and celebrations.
- Fudgy Oatmeal Cookie Bars: Rich, gooey, and packed with wholesome oats.
- Snickerdoodle Cookie Bars: All the cinnamon-sugar goodness of snickerdoodles in an easy bar.
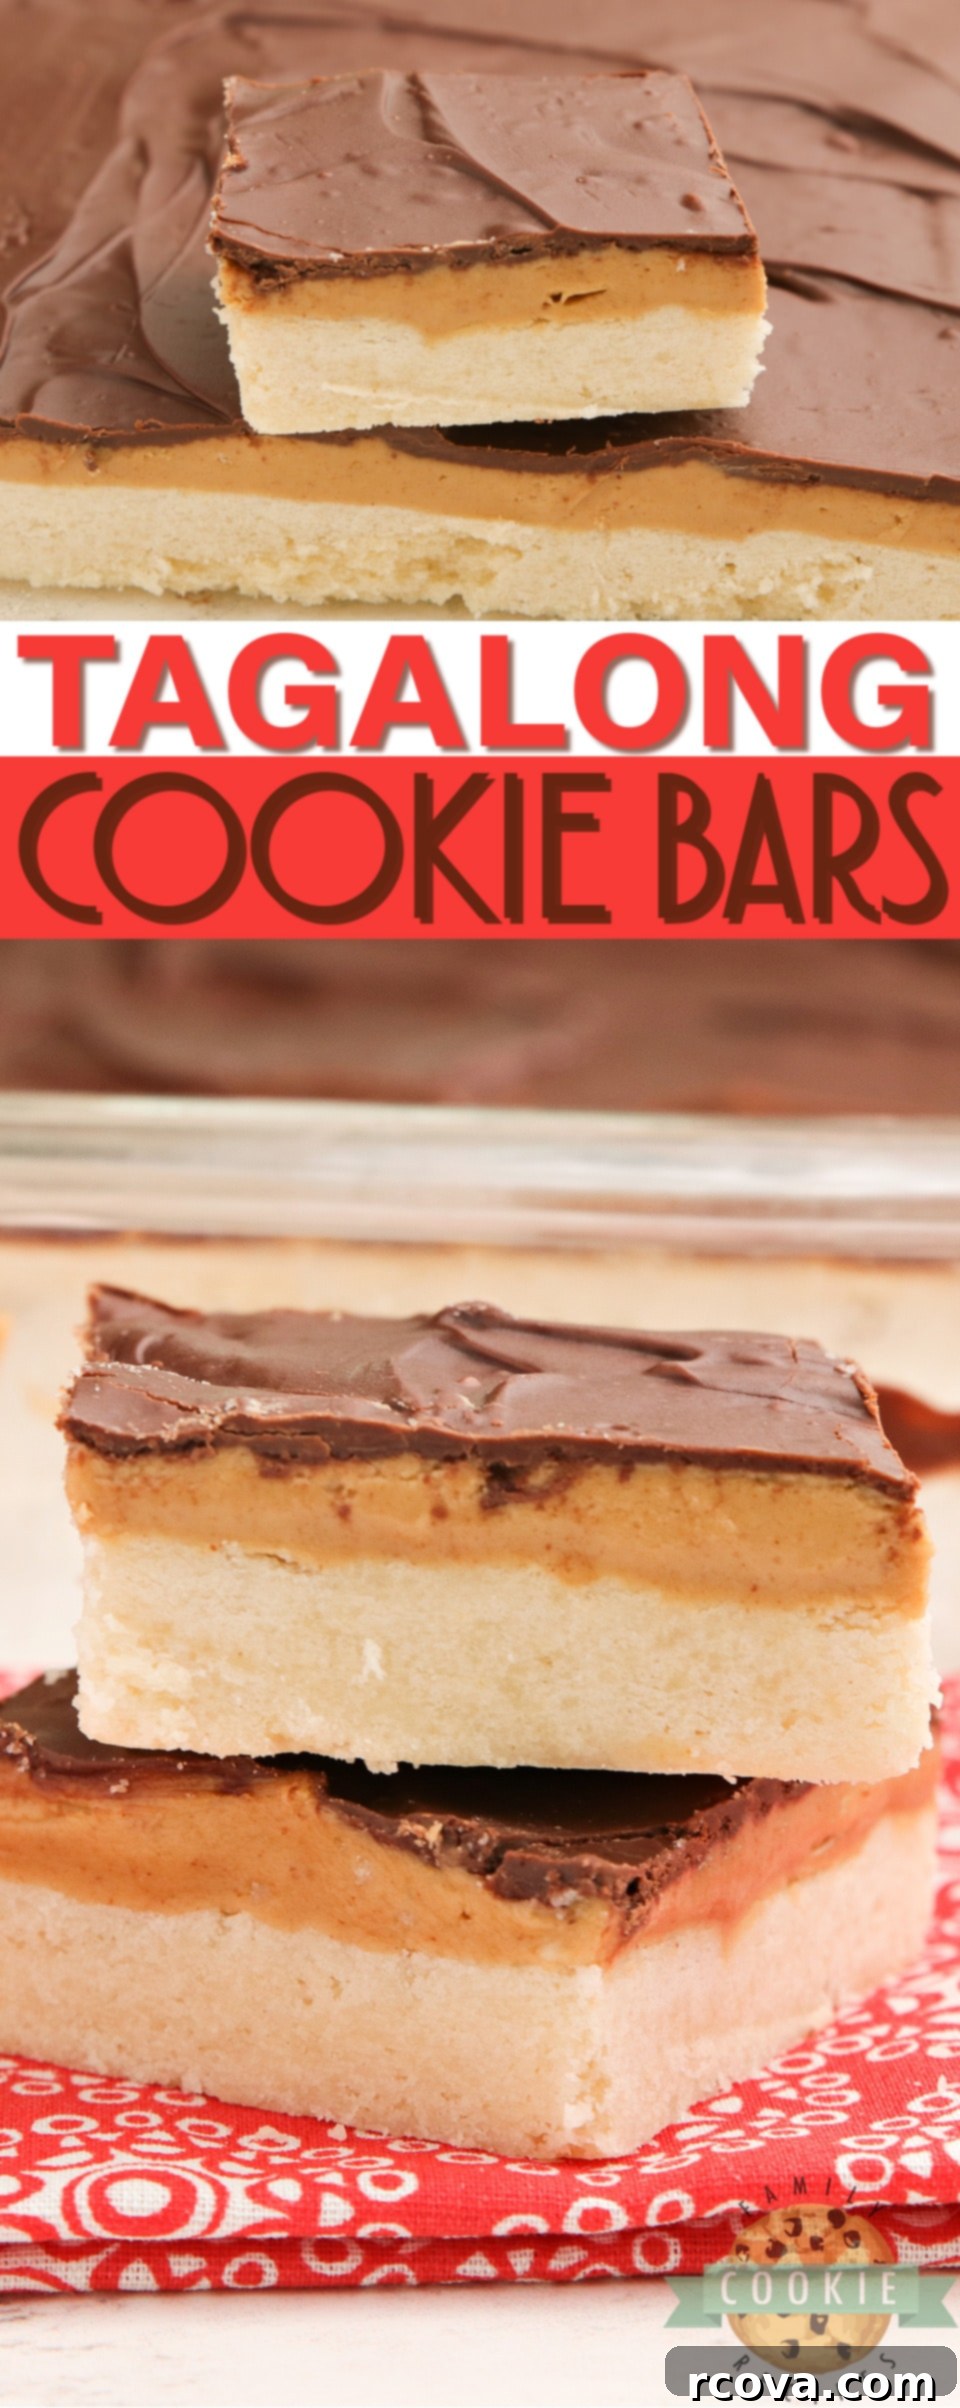
There’s nothing quite like the joy of biting into a perfectly crafted dessert, especially one that brings back sweet memories. These Tagalong Cookie Bars truly deliver on that promise, with their delightful combination of a crisp shortbread cookie crust, a velvety smooth peanut butter layer, and a luscious chocolate topping. They are simple to prepare, incredibly satisfying, and taste just like those beloved chocolate peanut butter Girl Scout cookies you grew up with. Enjoy making these at home and sharing them with friends and family!


It’s funny how the seasons seem to blend together, especially when you live somewhere like southern Utah, where spring can feel like an early summer. This year, the warmth arrived suddenly, and we’ve already traded long sleeves for shorts and spent countless hours enjoying the sunshine. My little one, who absolutely thrives outdoors, has been making the most of every warm day. She has a wild, free spirit, especially when it comes to her hair – she genuinely hates having it combed! But lately, with a little bribery and a lot of patience, I’ve managed to convince her to sit still for a few precious minutes. This allows me to tame her adorable, unruly locks into these sweet, messy pigtails.
I adore these messy pigtails! They keep her hair neatly out of her face, and let’s be honest, this particular hairstyle is one you can only truly get away with for a few short years of childhood. So, I’m definitely taking advantage while I can! As incredibly cute as she looks, there’s a tiny part of me that feels a little wistful, as if these simple pigtails somehow make her look so much older than she is. Time really does fly when you’re watching your little ones grow, whether you’re baking together or just enjoying a sunny afternoon in the yard.

