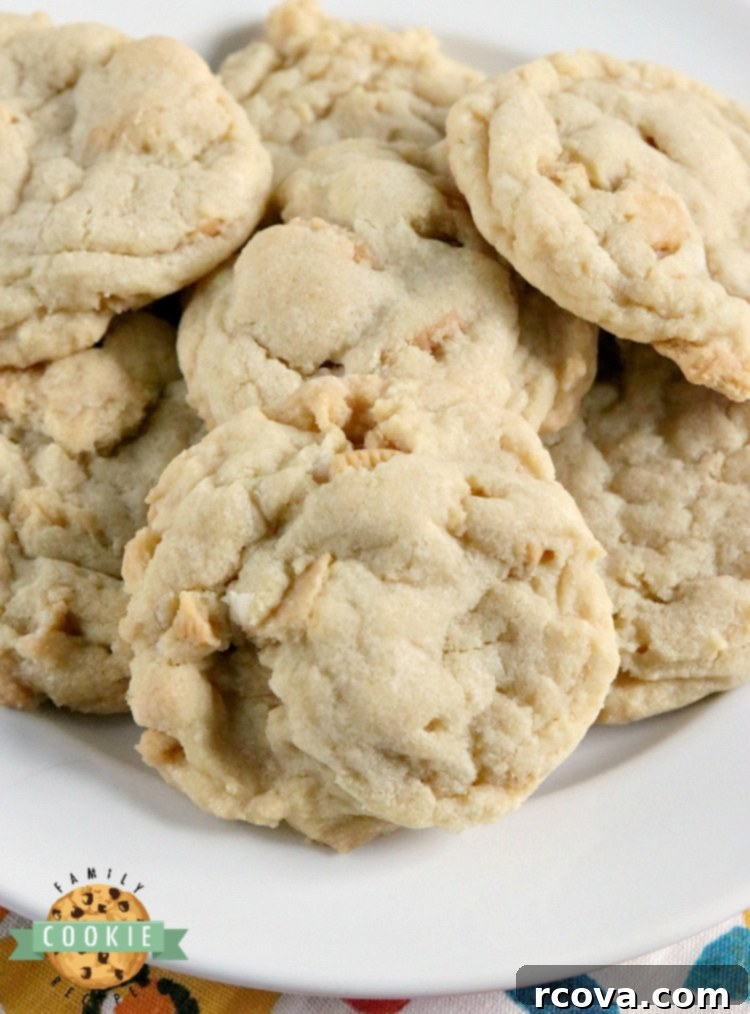
Irresistible Vanilla Cream Cookies: The Ultimate Soft & Chewy Golden Oreo Treat
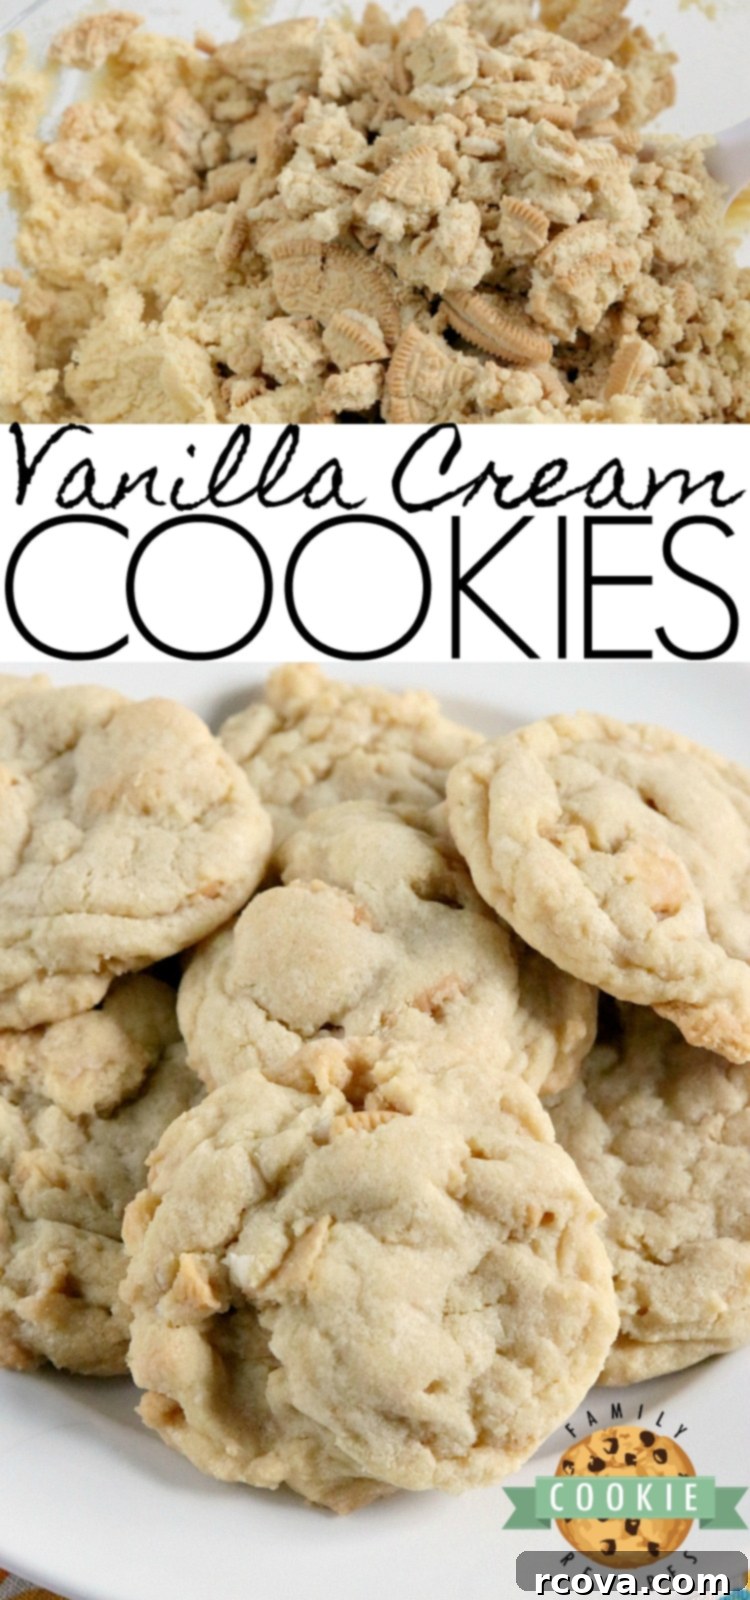
Prepare yourself for a delightful baking experience with these incredible Vanilla Cream Cookies. They are the epitome of soft and chewy, bursting with rich vanilla flavor in every bite. This incredibly simple cookie recipe stands out thanks to its secret ingredient: instant vanilla pudding mix, perfectly complemented by generous chunks of crushed Golden Oreos. The combination creates a cookie that is truly amazing, offering a unique texture and flavor that will have everyone asking for more!
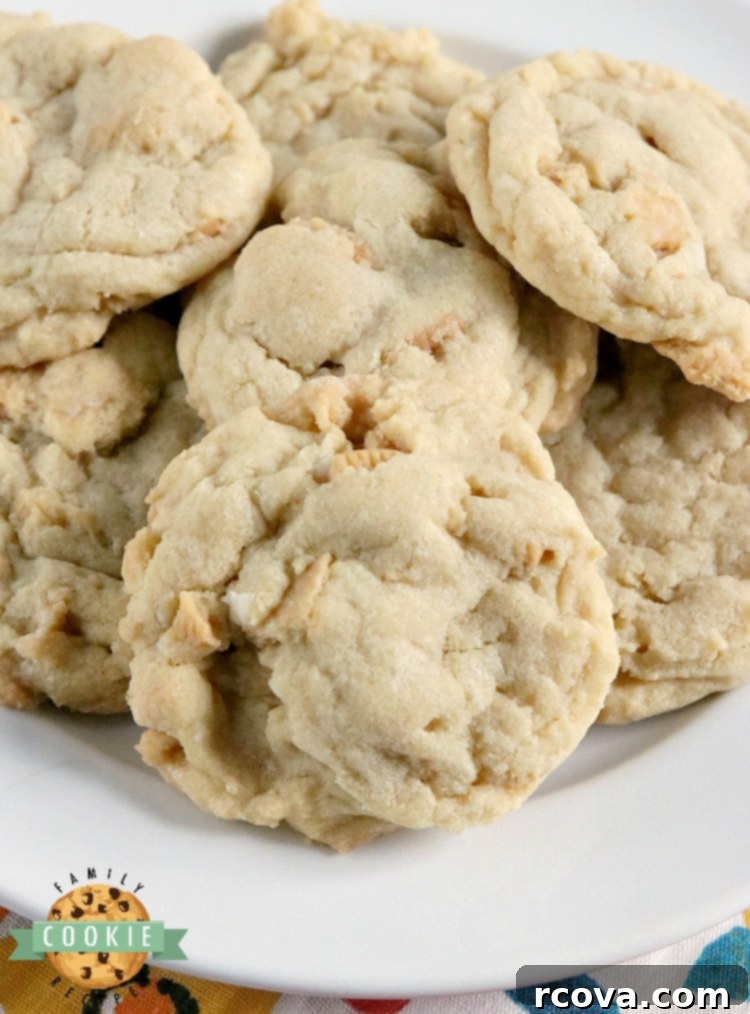
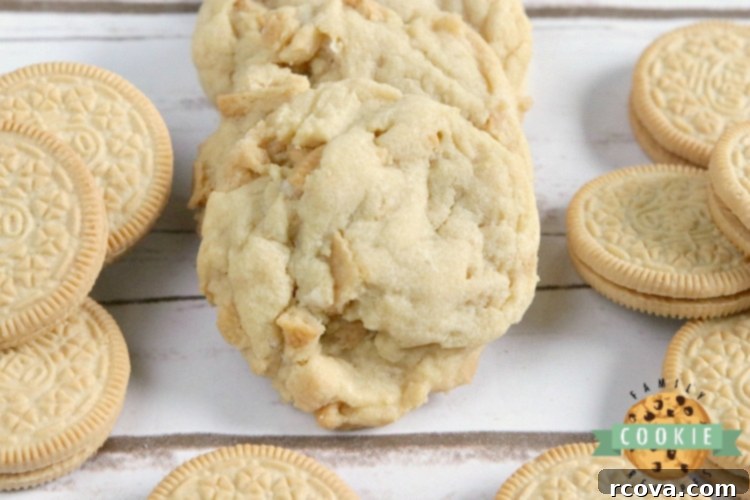
The creation of these Vanilla Cream Cookies was inspired by a simple yet brilliant modification to one of my all-time favorite recipes: Cookies and Cream cookies. The original recipe featured Oreo pudding mix and classic Oreos. For this version, I made a strategic swap, replacing the Oreo pudding with a vibrant vanilla variety and substituting the dark chocolate Oreos with the delightful Golden Oreos. This seemingly small change transformed the cookie into something entirely new and utterly spectacular. If you haven’t yet discovered the magic of Golden Oreos, you’re in for a treat! Many believe these vanilla-flavored sandwich cookies are the best variety Oreo offers, standing out from the vast array of creative (and sometimes peculiar) flavors. Their distinctive vanilla wafer taste and creamy filling are simply unmatched, and they contribute a fantastic texture and flavor contrast to these cookies. Even if you’re not a fan of traditional chocolate Oreos, I strongly encourage you to give the Golden variety a chance – they might just become your new favorite!
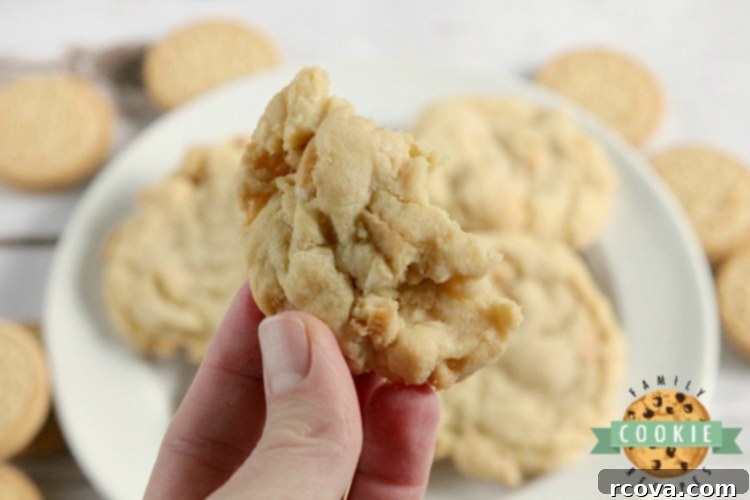
One of the key secrets to achieving that coveted soft, melt-in-your-mouth cookie texture is the inclusion of pudding mix in the dough. Instant pudding mix adds moisture and fat, which helps keep the cookies incredibly soft and prevents them from drying out during baking. This ingredient also contributes to a wonderfully chewy consistency that many bakers adore. While pudding mix is a fantastic shortcut to superior softness, there are several other crucial tips and tricks you can employ to ensure your cookies turn out perfectly soft and delicious every single time.
Pro Tips for Baking the Best Soft & Chewy Cookies:
- **Ensure Proper Flour Measurement:** Having the correct amount of flour is paramount. If your cookie dough feels excessively sticky, it likely needs a tiny bit more flour. Too little flour can lead to flat, overly thin cookies, while too much can make them dry and crumbly. Always spoon and level your flour for accuracy, rather than scooping directly from the bag.
- **Cream Butter and Sugars Thoroughly:** Don’t rush this crucial step! Spending an extra 2-3 minutes creaming together your softened butter and sugars until they are light, fluffy, and pale in color will significantly improve the consistency and texture of your cookies. This process incorporates air, which contributes to a softer, more tender crumb.
- **Always Preheat Your Oven Completely:** A properly preheated oven ensures that your cookies begin baking at the correct temperature from the moment they enter. This helps them spread evenly and bake consistently, preventing unexpected results like flat or overly crispy edges.
- **Invest in a Cookie Scoop:** For perfectly shaped cookies that are uniform in size and bake evenly, a cookie scoop is an indispensable tool. It takes the guesswork out of portioning and ensures every cookie looks as good as it tastes.
- **Utilize Parchment Paper or a Silicone Baking Mat:** These baking essentials provide a non-stick surface, making it incredibly easy to remove your delicate cookies from the sheet without scraping or damaging them. They also aid in even heat distribution, contributing to a more consistent bake across the entire batch.
- **Avoid Over-baking at All Costs:** This is perhaps the most critical tip for soft cookies. When I remove my Vanilla Cream Cookies from the oven, they still appear slightly underbaked in the center. This is intentional and perfectly okay! The cookies will continue to bake and firm up on the hot cookie sheet for a few minutes after removal, known as carry-over baking. Over-baking even by a minute or two can quickly turn soft cookies into hard, crunchy ones.
Ingredients for Irresistible Vanilla Cream Cookies
- 1 cup butter, softened
- 1/2 cup brown sugar (packed)
- 1/2 cup granulated sugar
- 1 (3.4 oz) pkg instant vanilla pudding mix (powder only)
- 2 large eggs
- 1 tsp pure vanilla extract
- 2 1/4 cups all-purpose flour
- 1 tsp baking soda
- 15 Golden Oreo cookies, coarsely crushed (aim for big, noticeable chunks!)
Simple Steps to Make Vanilla Cream Cookies
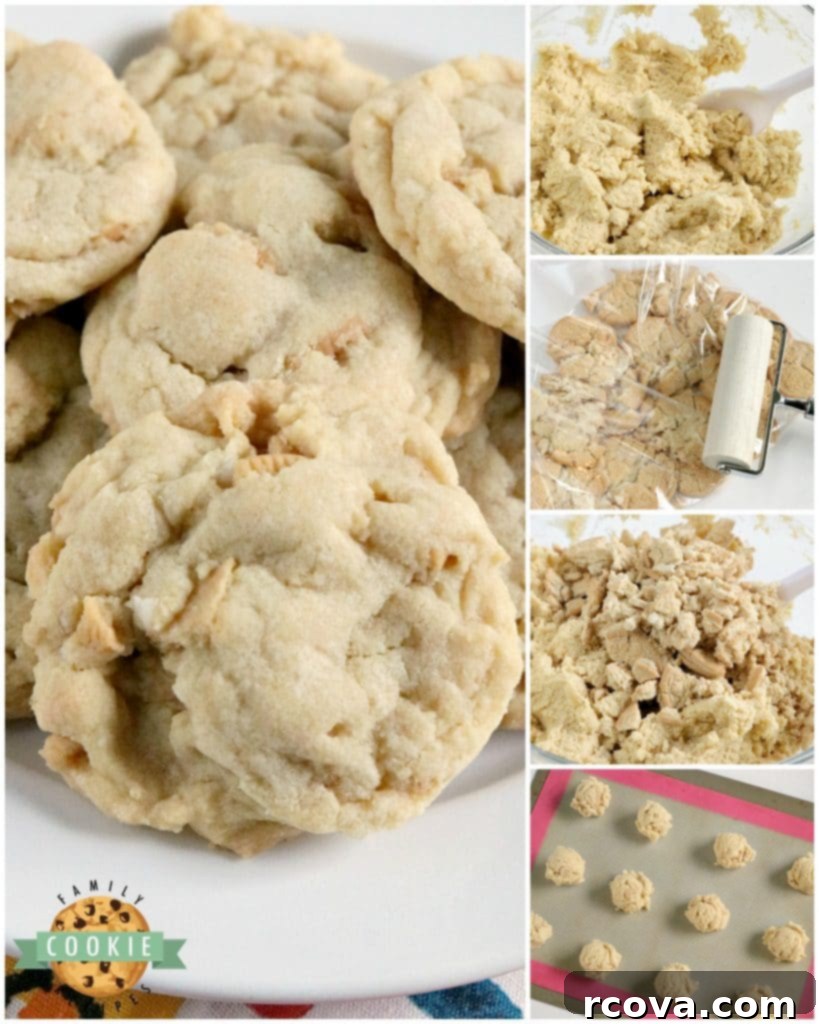
- Using a hand mixer or stand mixer, cream together the softened butter and both sugars (brown and granulated) on medium speed for 2-3 minutes until the mixture is light and fluffy. Add the instant vanilla pudding mix powder and continue to mix until it is thoroughly blended into the butter mixture.
- Crack in the eggs one at a time, mixing well after each addition. Stir in the vanilla extract until fully incorporated.
- In a separate bowl, whisk together the flour and baking soda. Gradually add the dry ingredients to the wet ingredients, mixing on low speed until just combined. Be careful not to overmix the dough.
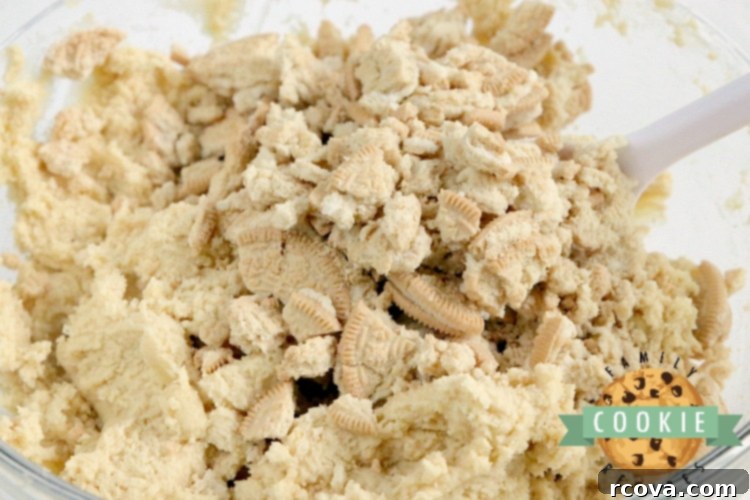
- Gently stir in the coarsely crushed Golden Oreo cookie chunks by hand with a spatula. You want to ensure they are evenly distributed throughout the dough.
- Drop rounded teaspoonfuls of cookie dough onto a greased cookie sheet or one lined with parchment paper or a silicone mat (I highly recommend using a cookie scoop for consistency). Bake in a preheated oven at 350°F (175°C) for 10 minutes, or until the edges are lightly golden and the centers still look slightly soft. Allow cookies to cool on the baking sheet for 2-3 minutes before transferring them to a wire rack to cool completely. Enjoy your perfect Vanilla Cream Cookies!
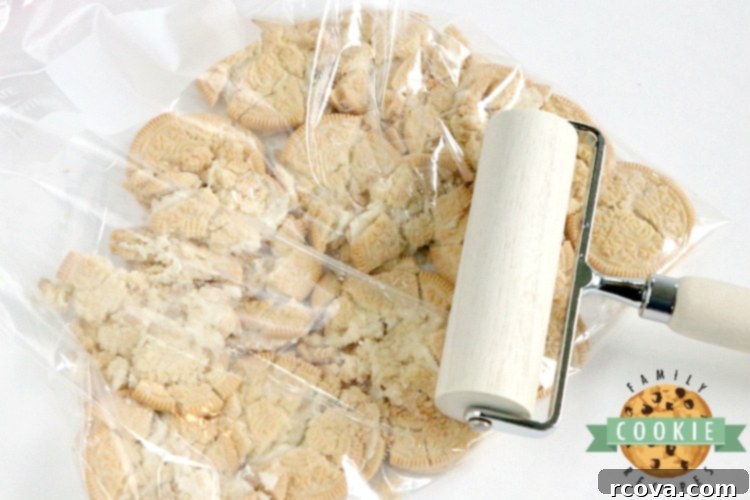
Mastering the Art of Crushing Golden Oreo Cookies for Baking
Achieving the perfect texture in these cookies means understanding how to crush your Golden Oreos effectively. The key is to avoid pulverizing them into fine crumbs; instead, you want to maintain substantial, coarsely crushed pieces. These larger chunks are what provide that satisfying textural contrast and bursts of vanilla-flavored cookie goodness within each bite. Here are a couple of popular methods:
The Ziplock Bag & Mallet/Rolling Pin Method:
This is my absolute favorite way to crush Oreos when I want control over the chunk size. Simply place your desired amount of Golden Oreos into a sturdy, freezer-safe Ziplock bag. Seal the bag, pressing out as much air as possible. Then, using a meat mallet, rolling pin, or even the bottom of a heavy glass, gently but firmly smash the cookies. The beauty of this method is the control it offers: you can easily feel the cookies breaking apart and stop when you’ve reached your desired level of coarseness. It’s also surprisingly therapeutic!
Using a Blender or Food Processor:
While faster, this method requires a bit more vigilance to ensure you don’t over-process the cookies. If you’re aiming for very fine crumbs for a pie crust or topping, a blender or food processor is ideal. However, for coarse chunks, you must use the “pulse” setting. Add the Golden Oreos to the food processor and pulse in very short bursts, just a quick second at a time. Check the consistency after each pulse, stopping as soon as you have a mix of small and larger chunks, rather than uniform crumbs. Over-blending will quickly turn your delicious cookies into a fine dust, which isn’t what we want for this recipe.
No matter which method you choose, remember that the goal is to have distinct pieces of Golden Oreo cookies – some larger, some smaller – that contribute both visual appeal and a delightful crunch to your soft vanilla cream cookies.
Vanilla Cream Cookies
Print
Pin
Rate
Ingredients
- 1 cup butter softened
- 1/2 cup brown sugar
- 1/2 cup sugar
- 1 (3.4 oz pkg instant vanilla pudding mix
- 2 eggs
- 1 tsp vanilla extract
- 2 1/4 cups flour
- 1 tsp baking soda
- 15 Golden Oreo cookies coarsely crushed (you want big chunks!)
Instructions
-
Using a hand mixer, cream the butter and sugars. Add the pudding mix and mix until well blended.
-
Add the eggs and vanilla and mix well.
-
Add the flour and baking soda and continue mixing.
-
Gently stir in the Golden Oreo cookie chunks.
-
Drop cookies by rounded teaspoonfuls (I use a cookie scoop) onto a greased cookie sheet. Bake for 10 minutes at 350°F (175°C).
Why These Vanilla Cream Cookies Will Become Your New Go-To Recipe!
There are countless cookie recipes out there, but these Vanilla Cream Cookies hold a special place in my heart (and my kitchen!) for several compelling reasons:
- **Effortless Simplicity:** First and foremost, they are incredibly simple to make. As a busy baker who loves to create homemade treats often, I truly appreciate recipes that deliver phenomenal results without demanding excessive time or complex techniques. I’ve experimented with many “gourmet” cookie recipes that involve numerous extra steps, only to find the end product wasn’t worth the additional effort. This recipe proves that simple can truly be sensational.
- **The Dough is Pure Perfection:** For many, the cookie dough itself is half the joy of baking. Some recipes yield good baked cookies but leave something to be desired in the dough department. Not these! The Vanilla Cream Cookie dough is absolutely exquisite – rich, pliable, and bursting with flavor. It’s so good, you might find yourself sneaking a spoonful or two before it even hits the oven (though remember to exercise caution with raw eggs!).
- **Consistently Flawless Results:** These cookies are a testament to reliability. Every single time I bake a batch, they turn out perfectly soft, chewy, and wonderfully textured. There’s no guesswork or disappointment; you’ll never end up with flat, hard, or overly crunchy cookies, which is incredibly important for maintaining that ideal homemade cookie experience.
- **A Universal Crowd-Pleaser:** These aren’t just my favorites; they’re everyone’s favorites! Without fail, every time I share these cookies at gatherings, parties, or with friends and family, I’m inundated with requests for the recipe. That’s always a surefire sign that you’ve got a must-have, highly cherished recipe on your hands. Be prepared to share your secret!
Achieving Perfectly Softened Butter: A Baker’s Essential Guide
Softened butter is a cornerstone of many baking recipes, especially cookies, as it allows for proper creaming with sugar, which incorporates air for a light and tender texture. “Room temperature” butter doesn’t mean melted; it should be pliable enough to make a slight indentation with your finger without it sinking straight through. Ideally, you’d set your butter out on the counter a few hours before you plan to bake. However, for those moments when you (like most of us!) aren’t quite that prepared, here are some quick and effective methods to get your butter to the perfect consistency:
The Microwave Method (Proceed with Caution!):
This is the fastest route, but it requires careful attention to avoid melting the butter. Place the entire stick of butter (unwrapped, of course!) in your microwave. Microwave on high for approximately 6-7 seconds. Check the butter – if it’s still quite firm, give it another 5-7 seconds. You might need a few short intervals. As the butter starts to feel noticeably softer, reduce subsequent intervals to just 2-3 seconds to prevent any melting. Melted butter will separate and prevent your dough from creaming properly, leading to greasier, flatter cookies.
The Defrost Setting Advantage:
A personal preference for many, including myself, is using the defrost setting on the microwave. While it takes a little longer (closer to 30 seconds to a minute, depending on your microwave), it provides a much gentler and more even heat, making it easier to soften the butter without accidentally melting it. The lower power allows for better temperature control.
The Rolling Pin Trick:
If you’re looking for a no-microwave option, this works wonderfully. Place the cold stick of butter between two sheets of parchment paper or plastic wrap. Using a rolling pin, gently but firmly roll over the butter until it flattens and softens. The pressure and friction will warm it up quickly and evenly. This method is great for achieving perfectly softened butter without any risk of melting.
The Warm Water Bath Technique:
Cut your cold butter into smaller cubes. Place these cubes in a small bowl, and then set that bowl into a larger bowl filled with warm (not hot!) water. Let it sit for about 5-10 minutes, stirring occasionally. The gentle warmth of the water will help the butter soften evenly. Just be sure no water gets into the butter!
The Grating Method:
For truly instant softening, you can grate cold butter using a box grater. The small shreds will come to room temperature very quickly. This is a great last-minute solution, though it can be a bit messier.
Whichever method you choose, the key is to aim for butter that is soft and yielding, not liquid. This ensures your cookies will have the light, airy, and chewy texture you’re hoping for!


From Our Family Kitchen: Embracing the Changing Seasons
As the weather shifts and temperatures begin to cool, signaling the approach of autumn and winter, there’s nothing quite as comforting as the aroma of freshly baked cookies filling the home. These seasonal changes also mean bundling up for outdoor adventures! I recently had the joy of buying my little Miss B her first winter coat. It’s truly amazing how any piece of clothing, especially a puffy coat, looks absolutely adorable on a baby! I simply adore my little girl, and seeing her delightful chubbiness wrapped in that warm, cozy coat brings such immense happiness. She absolutely loves her walks and bike rides, and my biggest hope is that her new coat will be warm enough for us to continue spending plenty of time outdoors, even as winter officially sets in. Thankfully, here in Washington, the winters aren’t typically too harsh, so I’m optimistic we’ll be able to enjoy the crisp air, provided the rain doesn’t get too heavy!

We hope you love these Vanilla Cream Cookies as much as our family does. They’re perfect for cozy evenings, family gatherings, or just a sweet treat any time you need a little vanilla-infused joy. Happy baking!
