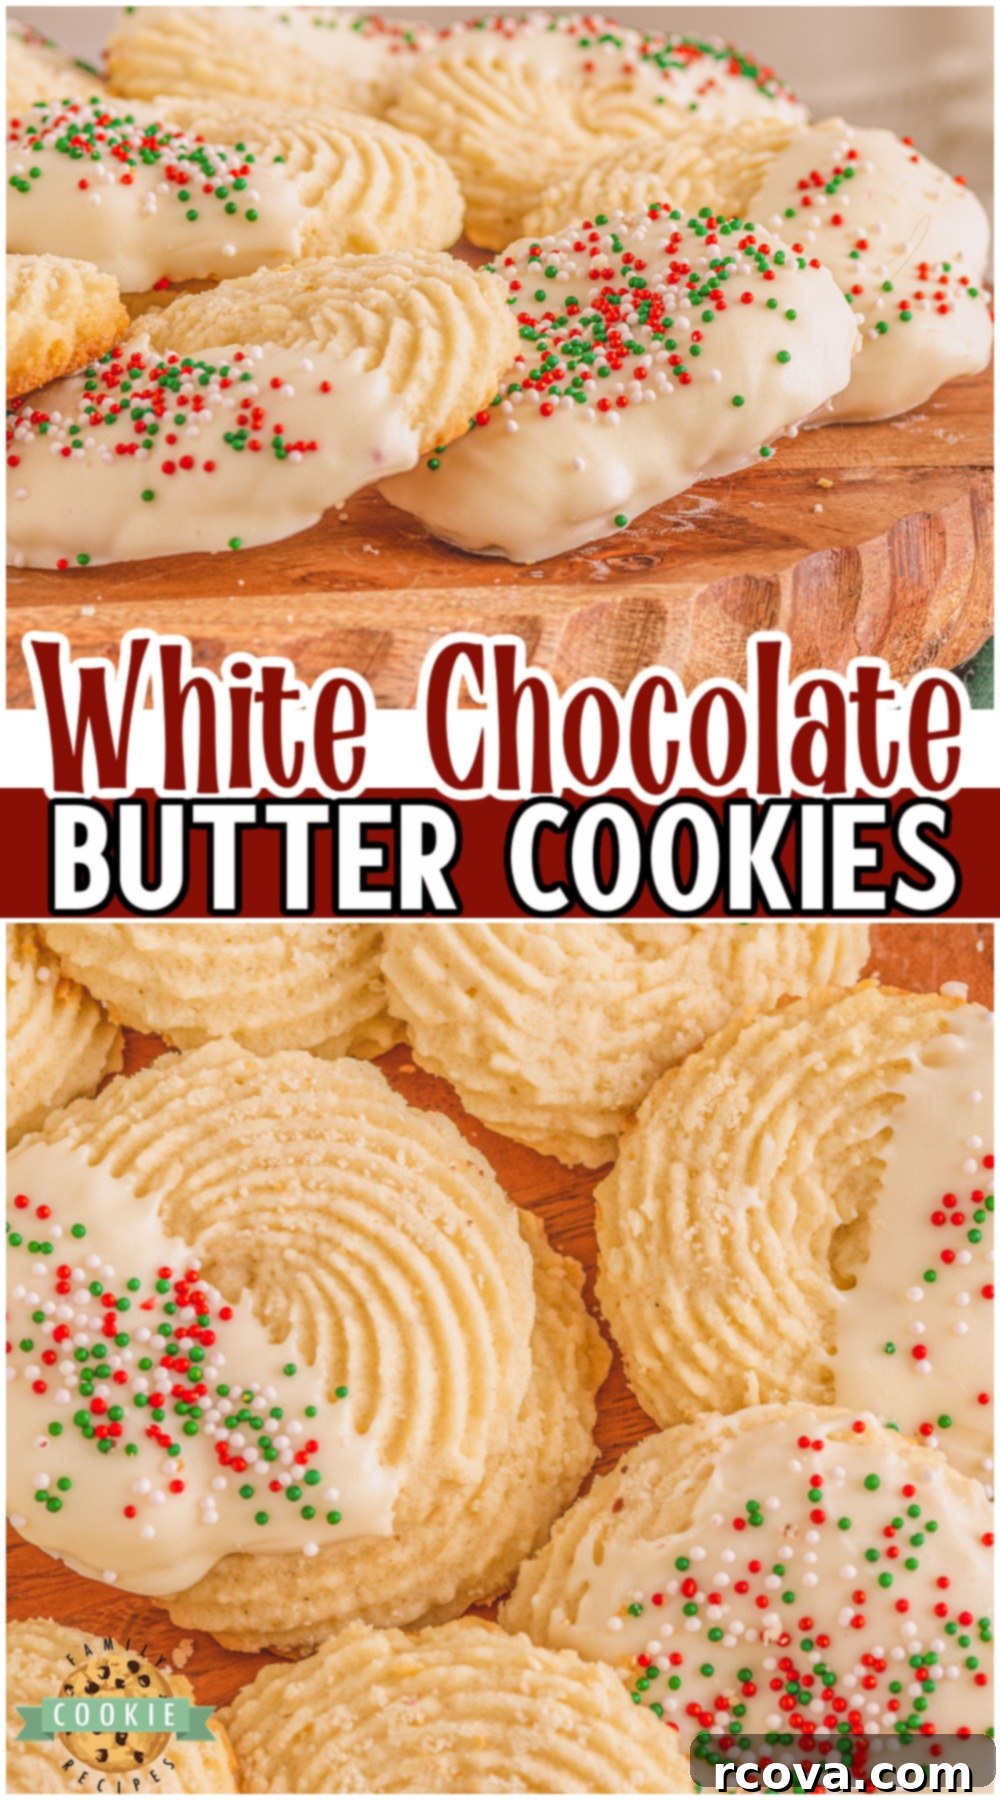
Easy White Chocolate Butter Cookies Recipe: A Melt-in-Your-Mouth Delight
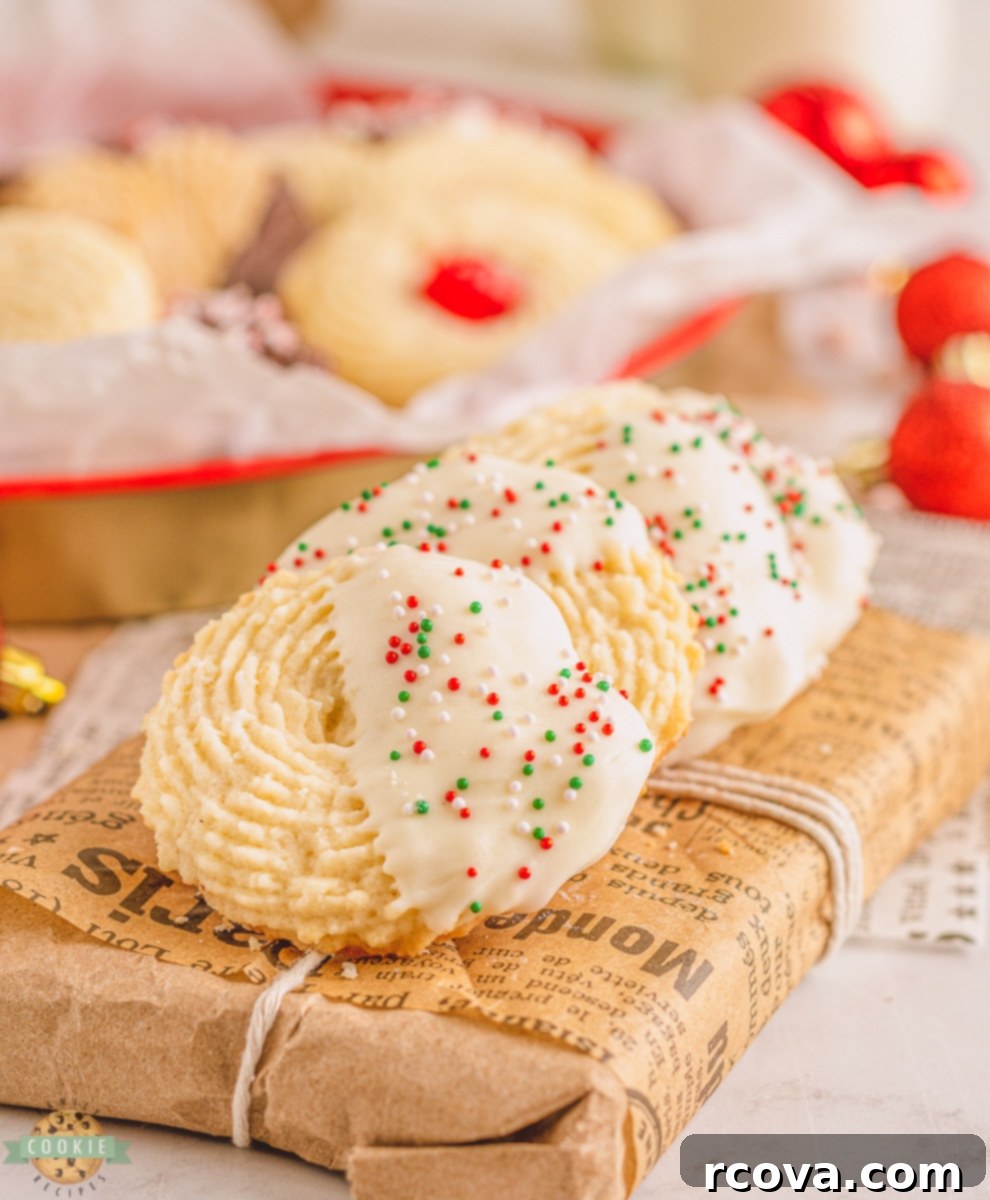
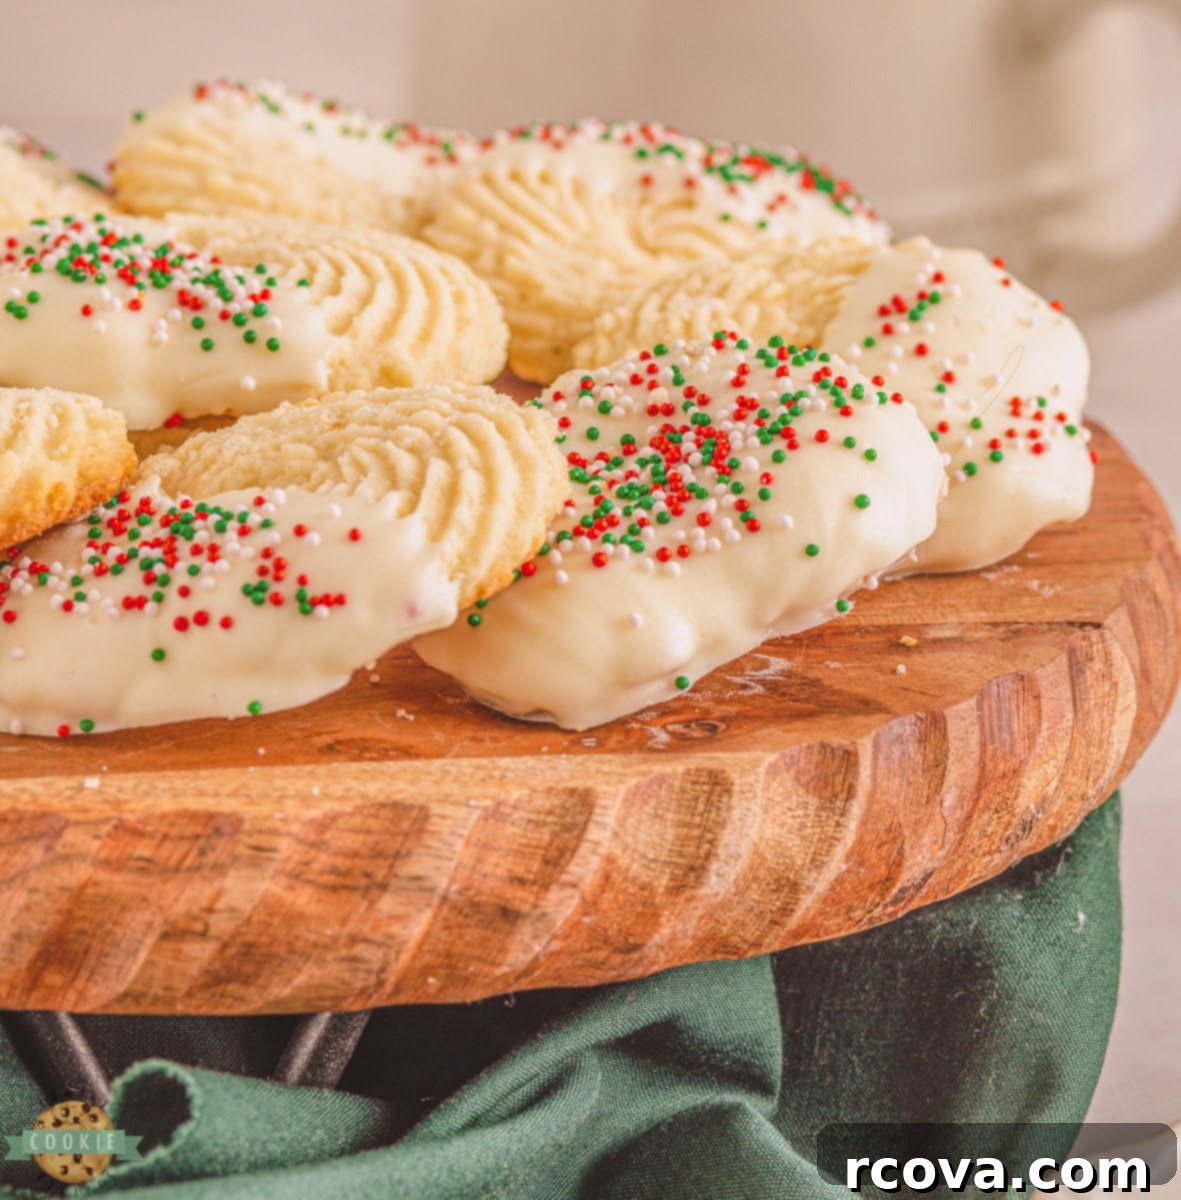
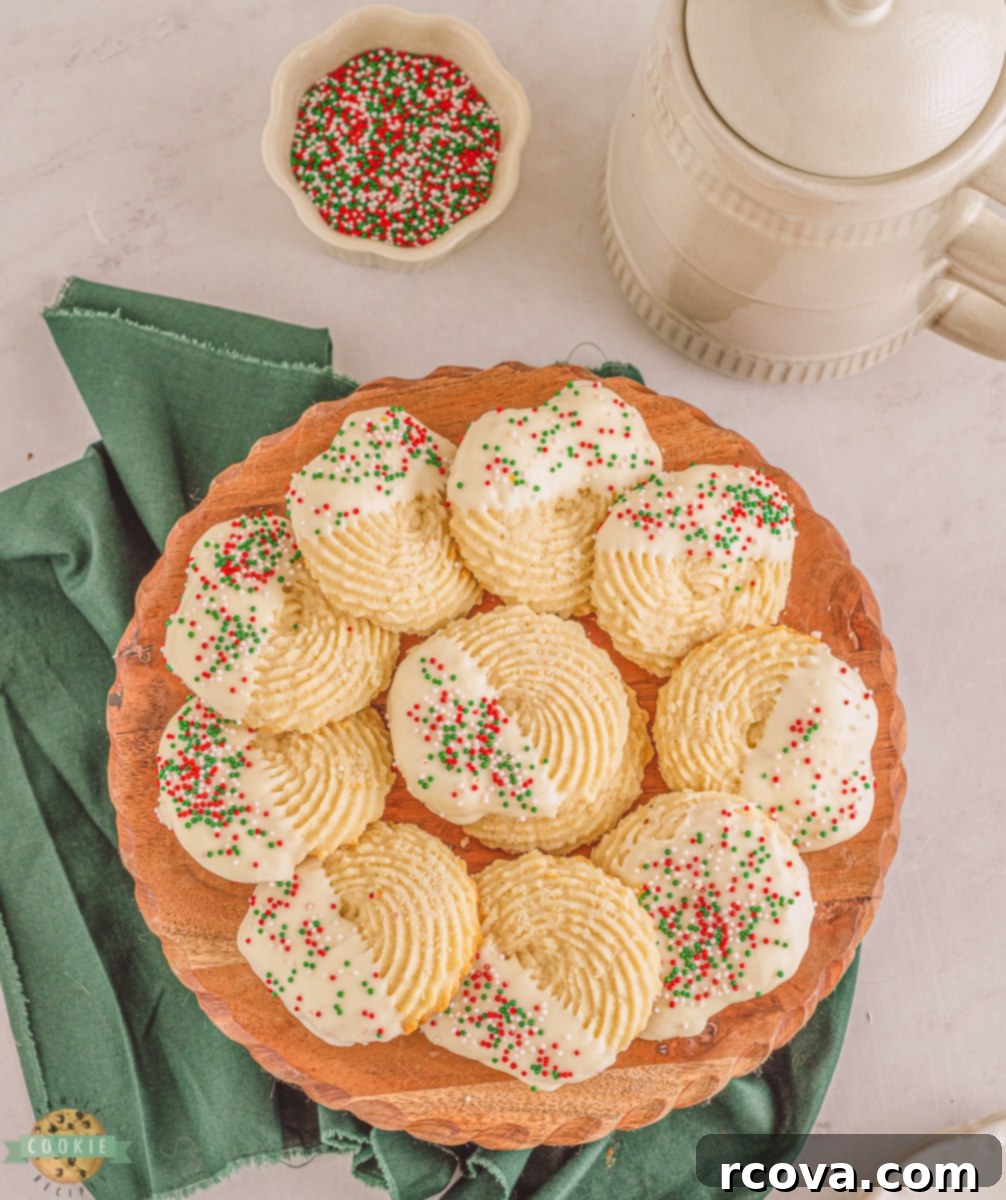
Indulge in the irresistible charm of these classic White Chocolate Butter Cookies. Crafted with a rich, buttery cookie dough that simply melts in your mouth, each cookie is then lovingly dipped in creamy white chocolate and adorned with festive sprinkles. This isn’t just a cookie recipe; it’s an experience! You’ll be amazed by the delicate, tender texture and fantastic flavor that makes these shortbread-style treats utterly unforgettable. Perfect for gifting, sharing, or simply enjoying with a warm cup of coffee, these cookies are destined to become a beloved staple in your baking repertoire.
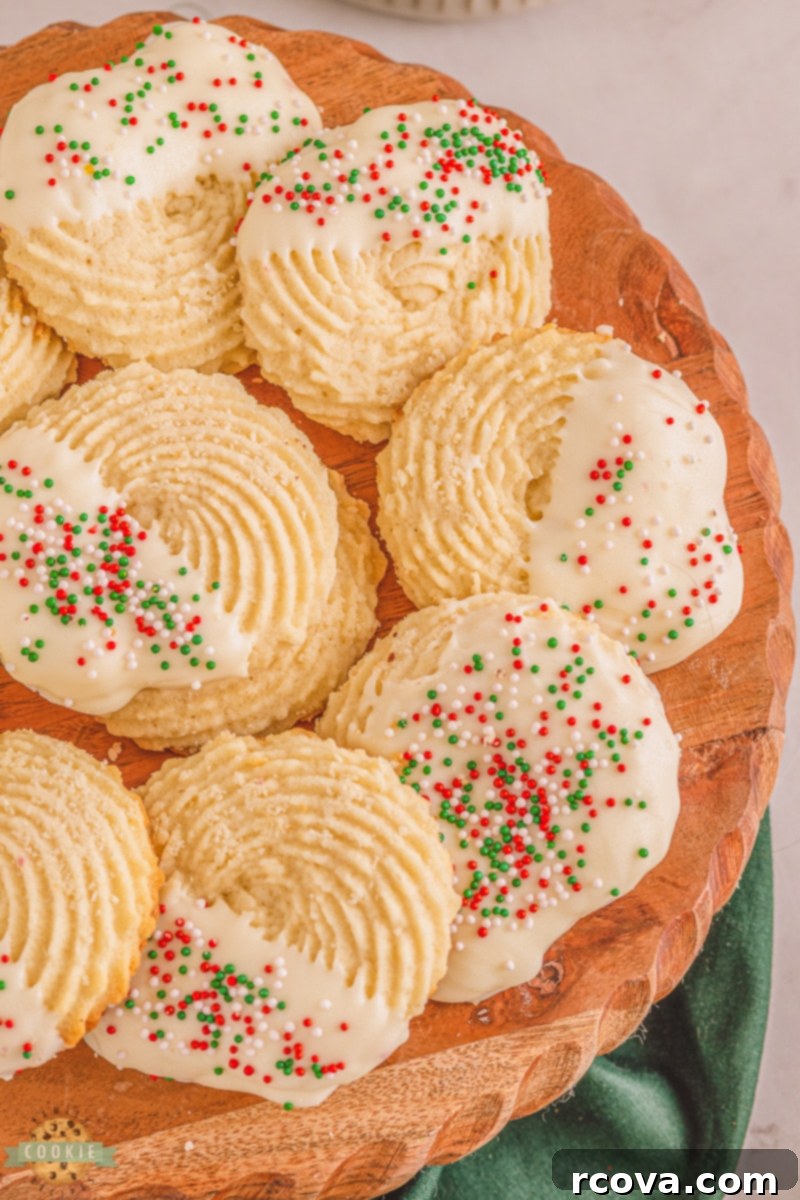
You’re going to absolutely adore this Christmas butter cookies recipe. It’s bursting with delicious flavor and incredibly straightforward to make, even for novice bakers. What’s more, every batch yields approximately 45 cookies, providing you with an abundance of treats to share with family and friends. Thinking about a delightful cookie exchange? These festive white chocolate butter cookies with their vibrant sprinkles are an ideal candidate, sure to impress everyone who tastes them. Their rich taste and beautiful presentation make them perfect for any holiday gathering or special occasion.
The Charm of Butter Cookies: What Are They?
Butter cookies, often referred to as a delightful hybrid, strike a perfect balance between the tender crumble of shortbread and the sweet versatility of traditional sugar cookies. Unlike some recipes that require rolling and cutting chilled dough, our butter cookie method utilizes a piping bag. This technique allows us to create beautiful, intricate shapes directly onto the baking sheet, adding an elegant touch that almost makes them too pretty to eat! This unique shaping method is not only fun but also contributes to the distinct, delicate texture that butter cookies are famous for. When transformed into our Christmas butter cookies with colorful sprinkles, they become a truly festive and enjoyable holiday variation that everyone will adore. The high butter content ensures a rich, melt-in-your-mouth quality that sets them apart from other cookie varieties.
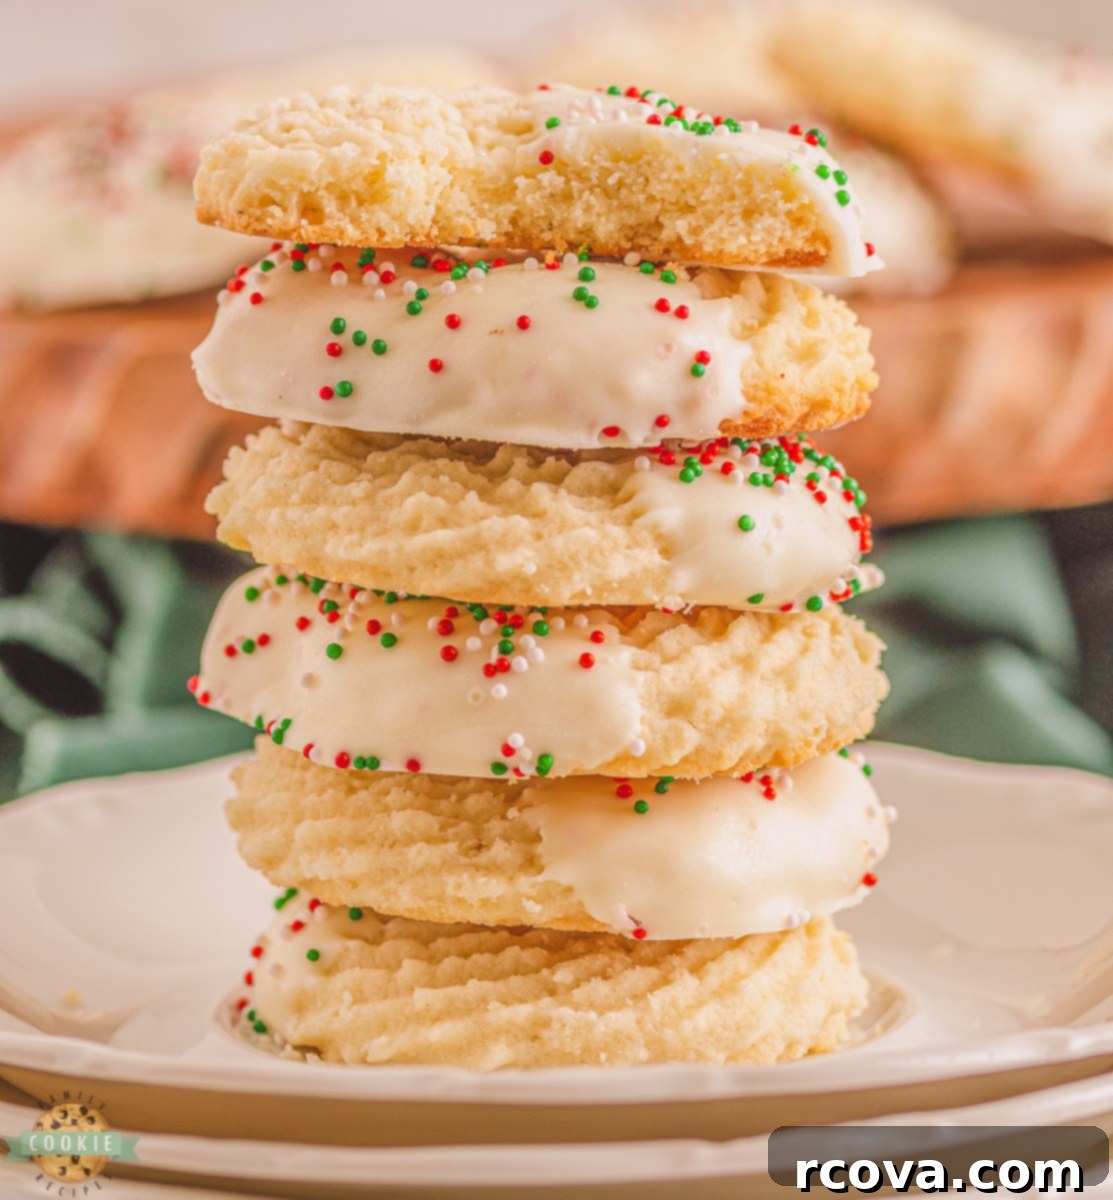
Essential Ingredients for White Chocolate Butter Cookies
Crafting the perfect batch of White Chocolate Butter Cookies requires a thoughtful selection of ingredients, each playing a crucial role in achieving that sought-after delicate texture and rich flavor. Here’s a detailed look at what you’ll need:
The Base: Rich Butter Dough Ingredients
- Butter: You’ll need 4 sticks (2 cups) of unsalted butter, softened to room temperature. The quality of your butter significantly impacts the cookie’s flavor and texture, so opt for a good brand. Room temperature butter is essential for creaming properly with sugar, creating a light and airy base.
- Granulated Sugar: Approximately 1 ⅓ cups of granulated sugar is used. This not only adds sweetness but also contributes to the cookie’s tender crumb and helps it spread slightly during baking.
- Eggs: Incorporate 2 large eggs, plus an additional egg yolk. The whole eggs add structure and moisture, while the extra yolk contributes to a richer, more luxurious texture and a beautiful golden hue. Ensure eggs are also at room temperature.
- Milk: Four tablespoons of milk are necessary to achieve the perfect consistency for piping. It adds a touch of moisture, making the dough smooth and pliable.
- Salt: A single teaspoon of salt is vital. It acts as a flavor enhancer, balancing the sweetness and bringing out the natural buttery notes of the cookies. Don’t skip it!
- Vanilla Extract: One teaspoon of pure vanilla extract infuses the cookies with a classic, warm, and comforting aroma and taste. For best results, use a high-quality vanilla extract.
- All-Purpose Flour: You will need 4 ⅔ cups of all-purpose flour. This forms the primary structure of the cookie dough. Measure your flour correctly by spooning it into a measuring cup and leveling it off, rather than scooping directly, to avoid over-measuring.
- Butter Extract: Adding ½ teaspoon of butter extract is a secret weapon for an even richer, more profound butter flavor without altering the dough’s consistency. It intensifies the buttery goodness, making these cookies truly exceptional.
The Finishing Touch: White Chocolate & Sprinkles
- White Chocolate Chips: You’ll need ⅔ cup of high-quality white chocolate chips, melted. This creamy coating adds an extra layer of sweetness and a beautiful visual appeal. Choose a good brand for smooth melting and a superior taste.
- Sprinkles: Red and green holiday sprinkles are perfect for a fun, festive touch, especially during Christmas. However, feel free to use any color or mix of sprinkles to match your desired theme or occasion. They add both visual charm and a slight textural crunch.
Step-by-Step Guide: How to Make Irresistible White Chocolate Butter Cookies
Making these delicious white chocolate butter cookies is a rewarding process, yielding beautiful, bakery-quality treats right from your own kitchen. Follow these detailed steps for the best results:
Preparing the Dough
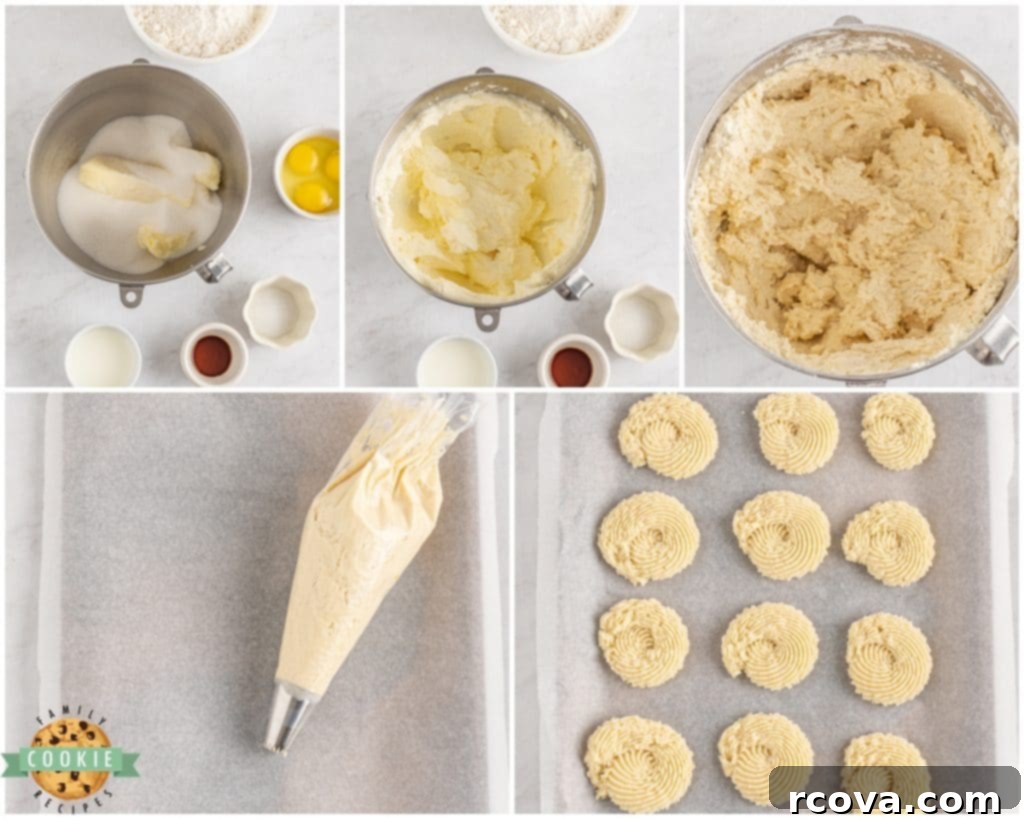
- Cream Butter and Sugar: In the bowl of a stand mixer fitted with a paddle attachment, combine your softened butter and granulated sugar. Beat them together on high speed for about 2 minutes, or until the mixture becomes incredibly creamy, light, and fluffy. This step is crucial for incorporating air, which contributes to the cookies’ tender texture.
- Add Eggs: Scrape down the sides of the bowl, then add the 2 whole eggs and the extra egg yolk. Beat again for approximately 15 seconds, just until fully combined. Be careful not to overmix at this stage.
- Incorporate Liquids and Flavorings: Next, add the milk, salt, and vanilla extract to the mixture. Beat briefly until these ingredients are well incorporated, ensuring the flavors are evenly distributed throughout the dough.
- Mix in Flour: Gradually add the all-purpose flour to the wet ingredients. Mix on low speed until the flour is just combined and no streaks remain. Overmixing the flour can develop the gluten, leading to tougher cookies, so mix until just incorporated.
- Enhance with Butter Extract: Stir the butter extract into the dough. This final addition will deepen the rich buttery flavor without affecting the texture.
Shaping and Chilling Your Cookies
- Prepare for Piping: Spoon the prepared dough into a piping bag that has been fitted with a large star tip. A sturdy piping bag is recommended for this relatively firm dough.
- Pipe Cookie Shapes: Hold the piping bag at a 90-degree angle (perpendicular) from a baking sheet lined with parchment paper. Gently pipe circle cookies onto the parchment in a counterclockwise motion, ensuring that the cookies are at least 2 inches apart to prevent them from touching or overlapping as they bake. If the dough creates a small “tail” at the end of piping, gently smooth it into the cookie with a clean, damp finger.
- Chill the Dough: This step is critical! Place the entire baking sheet with the piped cookies into the refrigerator to chill for at least one hour. Chilling helps the cookies hold their shape better during baking and prevents excessive spreading, resulting in perfectly defined designs. For even firmer cookies, consider chilling for up to 2 hours.
Baking and Decorating
- Preheat Oven & Bake: While the cookies are chilling, preheat your oven to 350 degrees F (175 degrees C). Once chilled, bake the cookies one tray at a time for 12 minutes. For even baking, rotate the baking sheet halfway through the baking time. The cookies should be lightly golden at the edges.
- Cool Completely: As soon as the cookies are out of the oven, transfer them to a wire rack to cool completely. They are delicate when warm and firm up as they cool. Ensure they are fully cooled before decorating to prevent the chocolate from melting off.
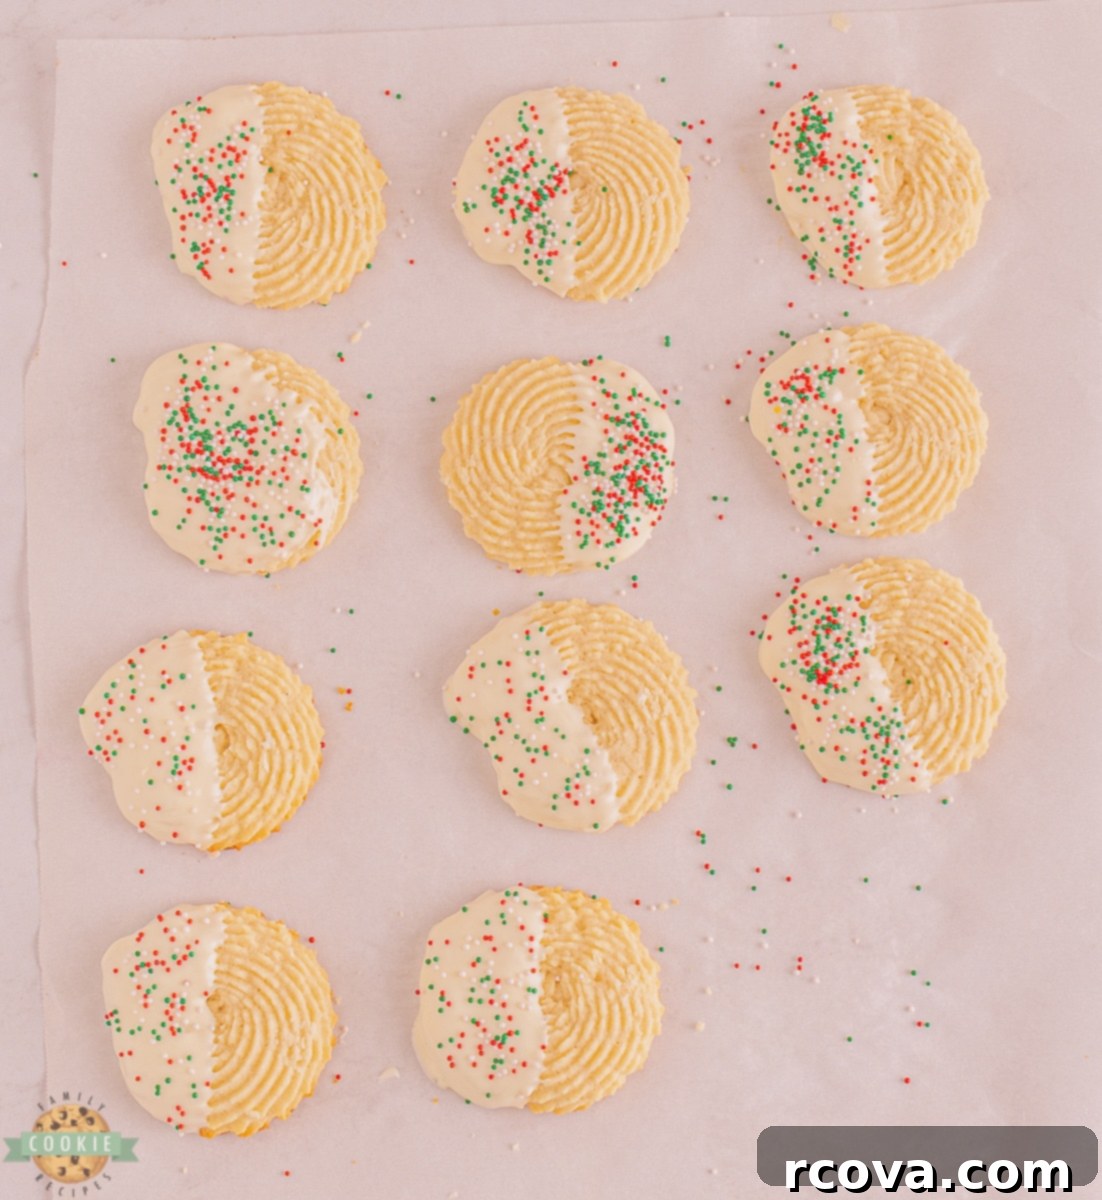
- Dip and Decorate: Once the cookies have cooled, melt your white chocolate chips. Dip each cookie halfway into the smooth, melted white chocolate. Immediately after dipping, sprinkle the tops with your red and green holiday sprinkles (or any sprinkles you prefer!).
- Allow to Set: Let the dipped and sprinkled cookies sit at room temperature or in the fridge until the white chocolate has completely set and hardened. This ensures a crisp chocolate coating. Once set, they are ready to enjoy!
Pro Tips for Perfect Butter Cookies Every Time
- Room Temperature Ingredients are Key: Ensure your butter and eggs are at true room temperature. This allows them to cream together effectively, creating an emulsified, airy dough that results in light, tender cookies.
- Don’t Overmix the Dough: Once you add the flour, mix only until just combined. Overmixing develops the gluten in the flour, which can lead to tough, chewy cookies instead of delicate, melt-in-your-mouth ones.
- Use Quality Butter: Since butter is a primary ingredient, a high-quality butter will greatly enhance the flavor profile of your cookies. You’ll taste the difference!
- Chill Thoroughly: The chilling step is not optional. Cold dough holds its piped shape much better in the oven, preventing excessive spreading and ensuring your beautiful designs stay intact.
- Bake One Tray at a Time: For consistent baking and even browning, bake one tray of cookies at a time in the center rack of your oven. This prevents uneven heat distribution and helps achieve uniform results.
- Parchment Paper is Your Friend: Always line your baking sheets with parchment paper. This prevents sticking and makes transferring the delicate cookies much easier after baking.
- Test Your Piping Tip: Before piping on your baking sheet, do a small test pipe on a plate to get a feel for the dough’s consistency and the pressure needed for your desired shape.
Variations & Customization Ideas for Your Butter Cookies
While white chocolate and sprinkles make for a fantastic combination, these butter cookies are incredibly versatile! Feel free to get creative with these variations:
- Different Chocolate Coatings: Instead of white chocolate, try dipping them in melted dark chocolate, milk chocolate, or even a swirl of two types of chocolate for a marbled effect.
- Flavor Extracts: Experiment with different extracts in the dough. Almond extract provides a classic flavor, peppermint extract is great for holiday cookies, or orange zest can add a bright, citrusy note.
- Decorations Beyond Sprinkles: Beyond holiday sprinkles, consider using edible glitter, finely chopped nuts (like pistachios or pecans), mini chocolate chips, or a simple drizzle of contrasting chocolate.
- Nutty Additions: For an added crunch and flavor, finely chop nuts (pecans, walnuts, almonds) and fold them into the dough before piping.
- Glaze Options: For a lighter coating, you could skip the melted chocolate and instead drizzle them with a simple powdered sugar glaze flavored with lemon juice or vanilla.
- Coloring the Dough: For themed parties or holidays, a few drops of food coloring can transform the dough into vibrant colors before piping.
WHITE CHOCOLATE BUTTER COOKIES
Print
Pin
Rate
Ingredients
- 2 cup butter room temp
- 1 ⅓ cup sugar
- 2 eggs
- 1 egg yolk
- 4 Tbsp milk
- 1 tsp salt
- 1 tsp vanilla
- 4 ⅔ cup flour
- ½ tsp butter extract
- ⅔ cup white chocolate chips melted
- Red & green sprinkles
Instructions
-
Add the butter and sugar to the bowl of a stand mixer fitted with a paddle attachment. Beat together on high speed for 2 minutes or until creamy and fluffy. Add in the eggs and beat for 15 seconds. Next, add in the milk, salt and vanilla and beat together. Lastly, add in the flour and mix to combine completely.
-
Mix the butter extract into the dough. Spoon the dough into a piping bag fitted with a large star tip. Hold the piping bag at a 90 degree angle above a parchment lined baking sheet. Pipe circle cookies onto the parchment in a counterclockwise motion, ensuring not to touch or overlap any of the cookies. Use a clean finger to smooth the tail of the dough into the cookie. Place the baking sheet into the fridge to chill for at least 1 hour.
-
Once chilled, place the sheet of cookies into the preheated oven to bake for 12 minutes. Once baked, remove from the oven and place onto a cooling rack to cool completely.
-
Once cooled, dip each of the cookies halfway into the melted white chocolate chips. Sprinkle with red and green sprinkles. Let set at room temp or in the fridge until the white chocolate has set completely.
Nutrition
Unlocking Richer Flavor: Where to Find Butter Extract
Butter extract is a fantastic ingredient that can elevate the buttery richness of your baked goods, adding a depth of flavor that is hard to achieve with butter alone. While it might not be a staple in every pantry, it’s becoming increasingly popular among bakers. You may have some luck finding this flavor enhancer in the baking aisle of your local grocery store, typically alongside vanilla and other extracts. However, if your regular supermarket doesn’t carry it, don’t despair! You’ll almost certainly find success by checking the cake decorating sections of larger retail stores like Walmart, or dedicated craft stores such as Joann or Michaels. Many professional and amateur cake decorators utilize butter extract to give their creations a richer, more indulgent taste. For ultimate convenience, I personally find it easiest to purchase butter extract online here, ensuring I always have it on hand for my favorite recipes.
Storing Your White Chocolate Butter Cookies for Maximum Freshness
Proper storage is essential to maintain the delicate texture and fresh taste of your homemade white chocolate butter cookies. These delightful treats can last for up to a week if stored correctly in an airtight container in the refrigerator. The cool environment helps to preserve their freshness and prevent the butter from going rancid. If you prefer to keep them at room temperature, they will remain delicious for up to 2 days when kept in an airtight container. Be mindful that warmer temperatures can affect the chocolate coating, potentially making it softer. It’s particularly important to note that I do not recommend freezing the cookies once they have been dipped in white chocolate. Freezing and then thawing can cause the chocolate to “sweat” or bloom, leading to a dull, streaky appearance and potentially altering the texture. Enjoy them fresh, or plan your baking to enjoy them within the recommended storage times!
The Art of Freezing Butter Cookies: Dough vs. Baked
Freezing cookies is a fantastic way to prepare ahead or ensure you always have fresh treats on hand. There are two primary methods I prefer for freezing these butter cookies, each with its own advantages, though it’s important to remember the caveat about freezing chocolate-dipped cookies.
Freezing Unbaked Dough
This method is my absolute favorite for ultimate freshness. To freeze unbaked cookie dough, first scoop and shape the dough into individual balls or your desired piped shapes with your hands (if not piping directly onto parchment for baking). Then, arrange these dough portions in a single layer on a parchment-lined cookie sheet. You can place them as close together as possible without them touching. Freeze the cookie sheet for several hours until the dough balls are solid. Once frozen solid, transfer them to a freezer-safe ziplock bag or an airtight container. This prevents freezer burn and allows you to easily grab just a few cookies at a time. When you’re ready to bake, you can either let the frozen dough thaw on a cookie sheet while your oven preheats, or you can bake them directly from frozen. If baking from frozen, simply add a couple of minutes to the recommended bake time to compensate for the colder dough. This method allows for warm, freshly baked cookies whenever a craving strikes!
Freezing Baked Cookies
Freezing baked cookies is another convenient option, one that my mother-in-law utilizes all the time! These cookies generally turn out quite well, though they might be a tiny bit drier and more crumbly once thawed compared to those baked from frozen dough. For best results, ensure the cookies are completely cooled before freezing. Place them in a single layer on a baking sheet to freeze, then transfer them to an airtight freezer container or bag once solid. It’s crucial to make sure you thaw them properly before eating, as frozen cookies are quite hard and not very pleasant to bite into. Thankfully, they typically only take about 20 minutes or so to thaw out at room temperature, making them a quick and easy dessert solution. Just avoid freezing them *after* dipping in white chocolate to maintain the best appearance and texture of the chocolate coating.
Discover More Holiday Cookie Recipes
If you’ve enjoyed making these White Chocolate Butter Cookies, you’ll love exploring other festive recipes. Expand your holiday baking repertoire with these fantastic cookie ideas, perfect for gatherings, gift-giving, or simply sweet indulgence:
- STACKED CHRISTMAS TREE COOKIES
- HOLIDAY SPICED SNICKERDOODLES
- CHRISTMAS CUT OUT COOKIES
- HOLIDAY STAR COOKIES
- SPICED CHRISTMAS SHORTBREAD COOKIES
- CHRISTMAS SUGAR COOKIE BARS
- CHRISTMAS SUGAR COOKIE RECIPE
- MINT CHRISTMAS COOKIES
- MINI SUGAR COOKIE BITES

We are fortunate to have several cousins living close by, and I absolutely adore seeing them grow up as great friends! Here they are, captured in a candid moment, enjoying lunch out on the deck. I had to snap this picture because I truly hope we can recreate this exact scene in 20 years when they’re all adults – a beautiful testament to family and the simple joys of sharing good food.

This White Chocolate Butter Cookies recipe is an instant classic and a holiday favorite, thanks to its incredibly easy-to-make cookie dough and the charming, colorful sprinkles. You’re going to find immense joy in both the process of baking these cookies and, of course, in savoring every buttery bite. Whether you’re a seasoned baker or just starting out, this recipe promises delicious results that will brighten any occasion. Get ready to bake, share, and enjoy!
