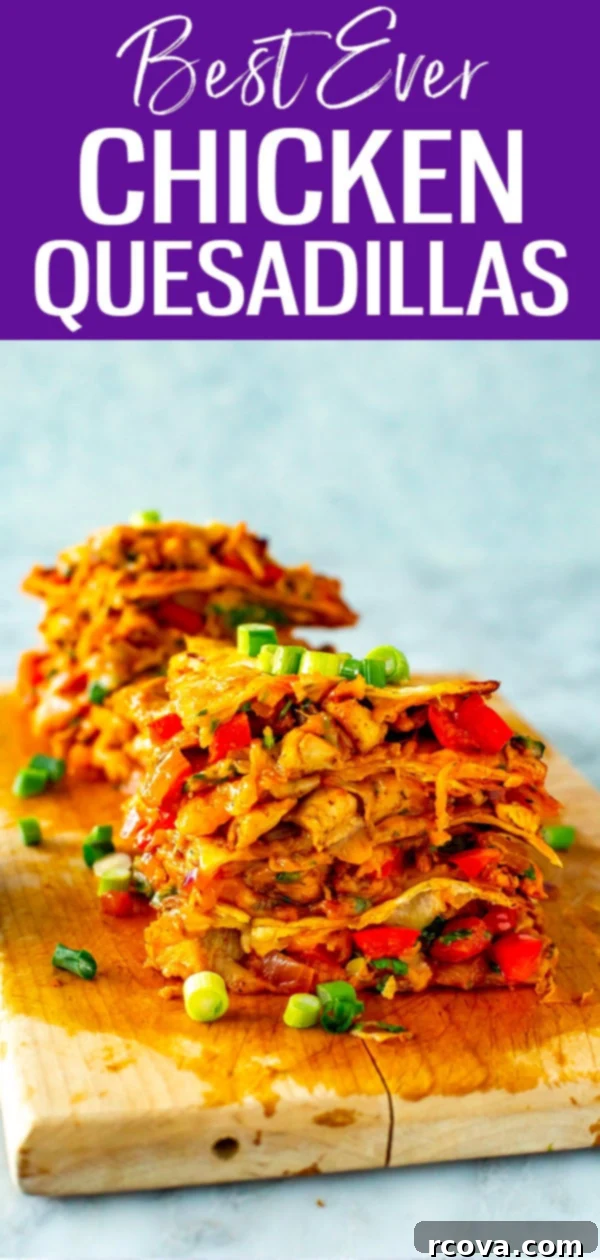
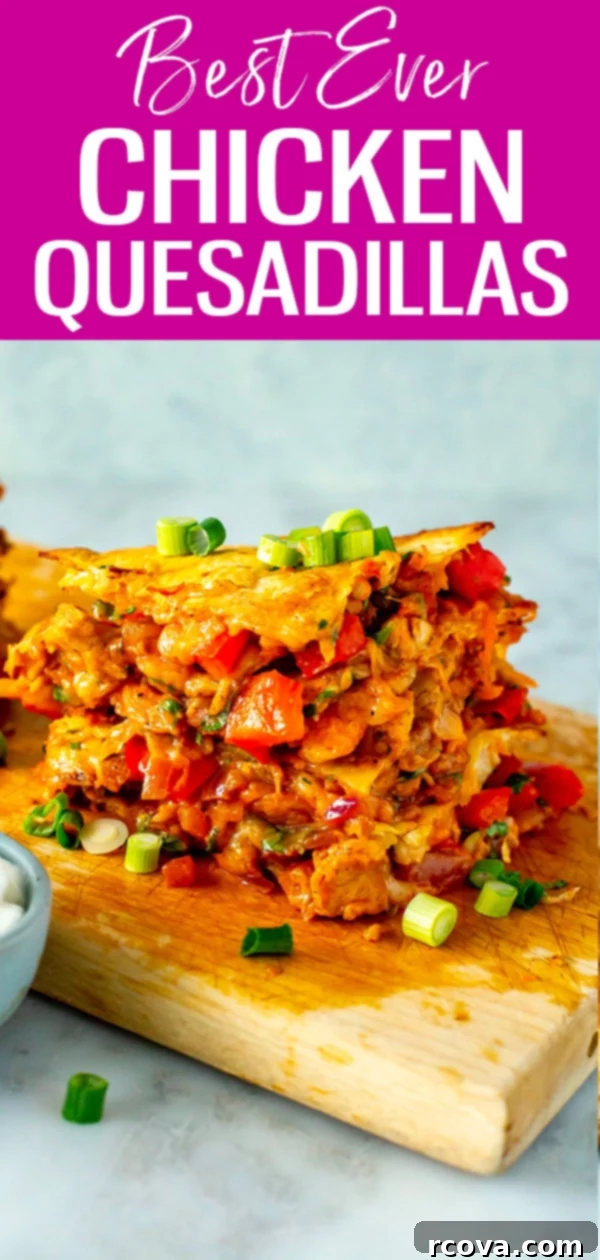
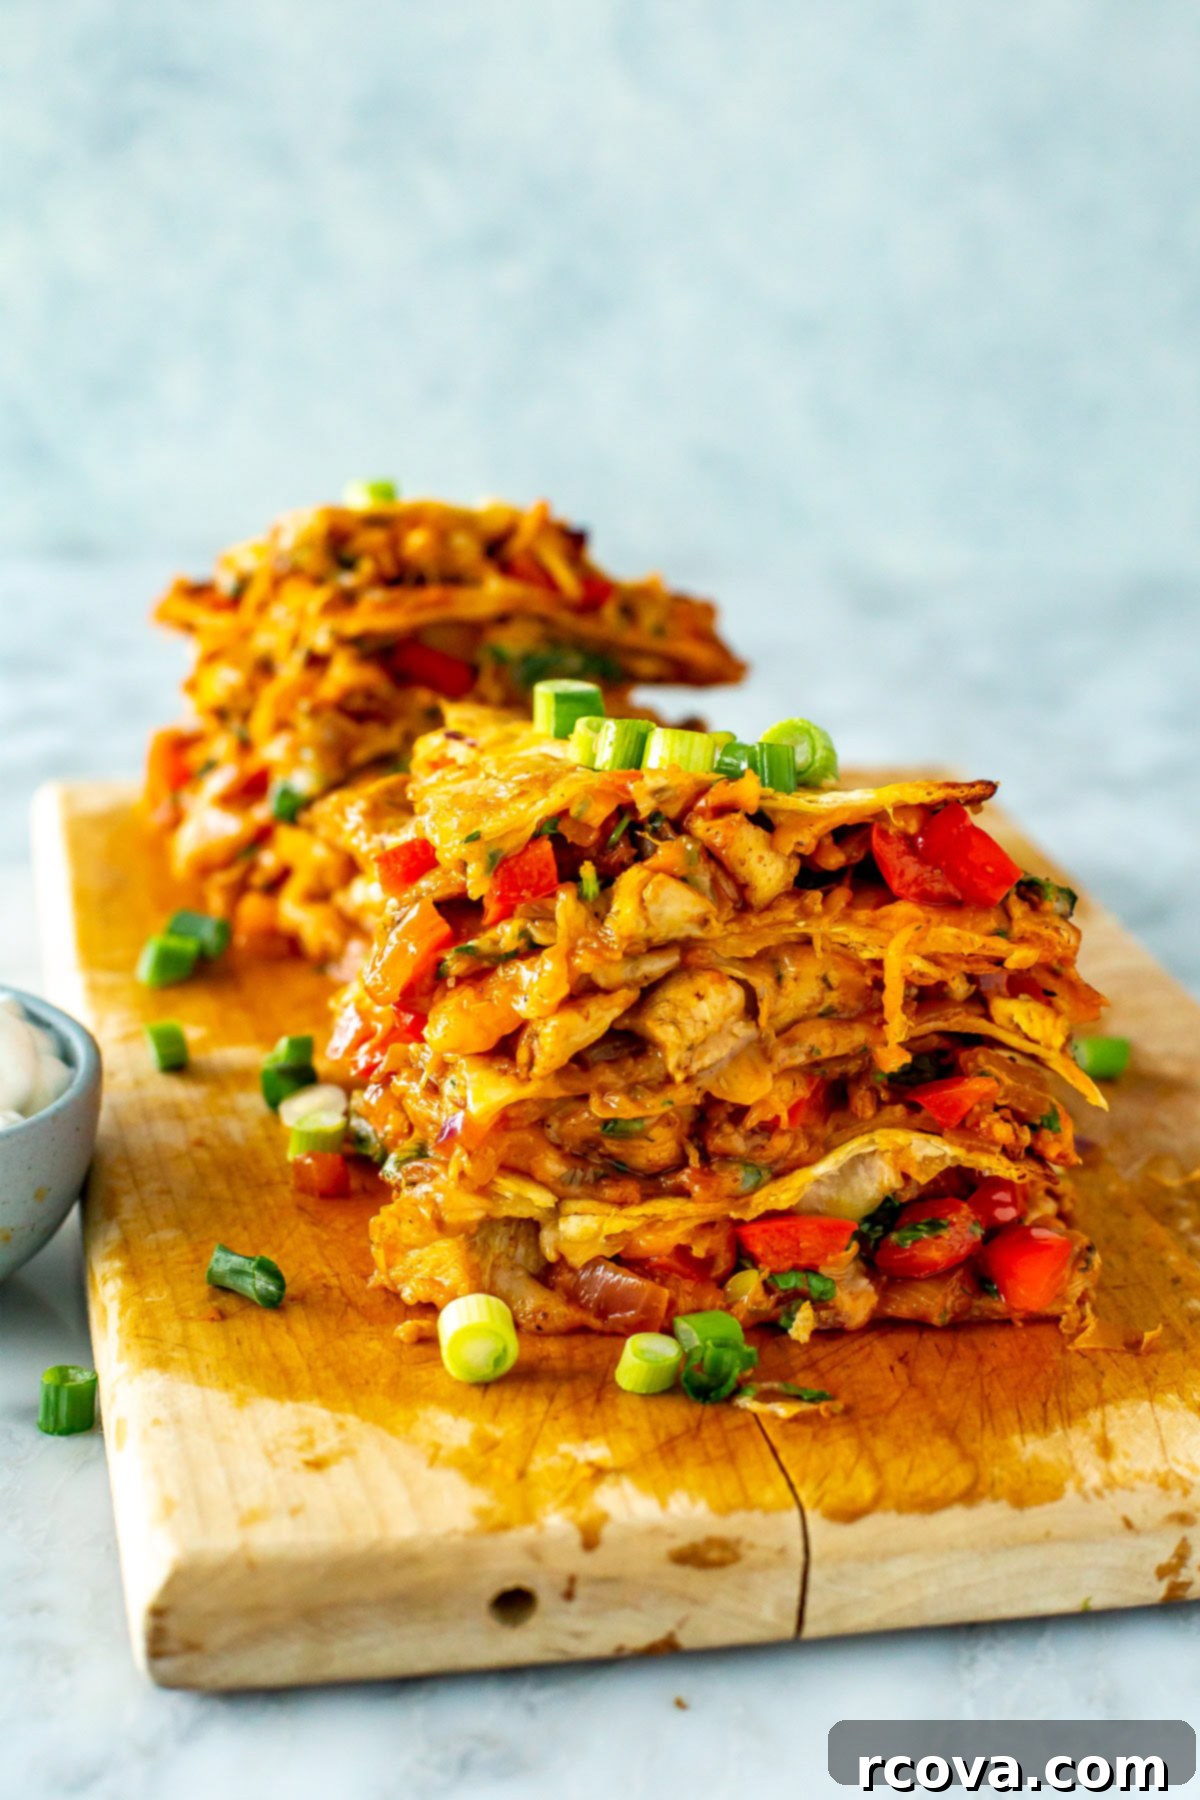
The Ultimate Homemade Chicken Quesadillas: Easy, Cheesy & Crowd-Pleasing!
Welcome to the ultimate guide for crafting the best chicken quesadillas you’ll find anywhere. Forget takeout; these homemade delights are packed with succulent, tender sliced chicken, vibrant bell peppers, savory red onion, and a generous helping of melty Tex-Mex cheese, all nestled within perfectly crisp tortillas. This recipe promises a satisfying, customizable, and always popular meal that comes together quicker than delivery. Serve them piping hot straight from the skillet or oven, accompanied by your favorite toppings like fresh salsa, creamy guacamole, or cool sour cream, and prepare for rave reviews!
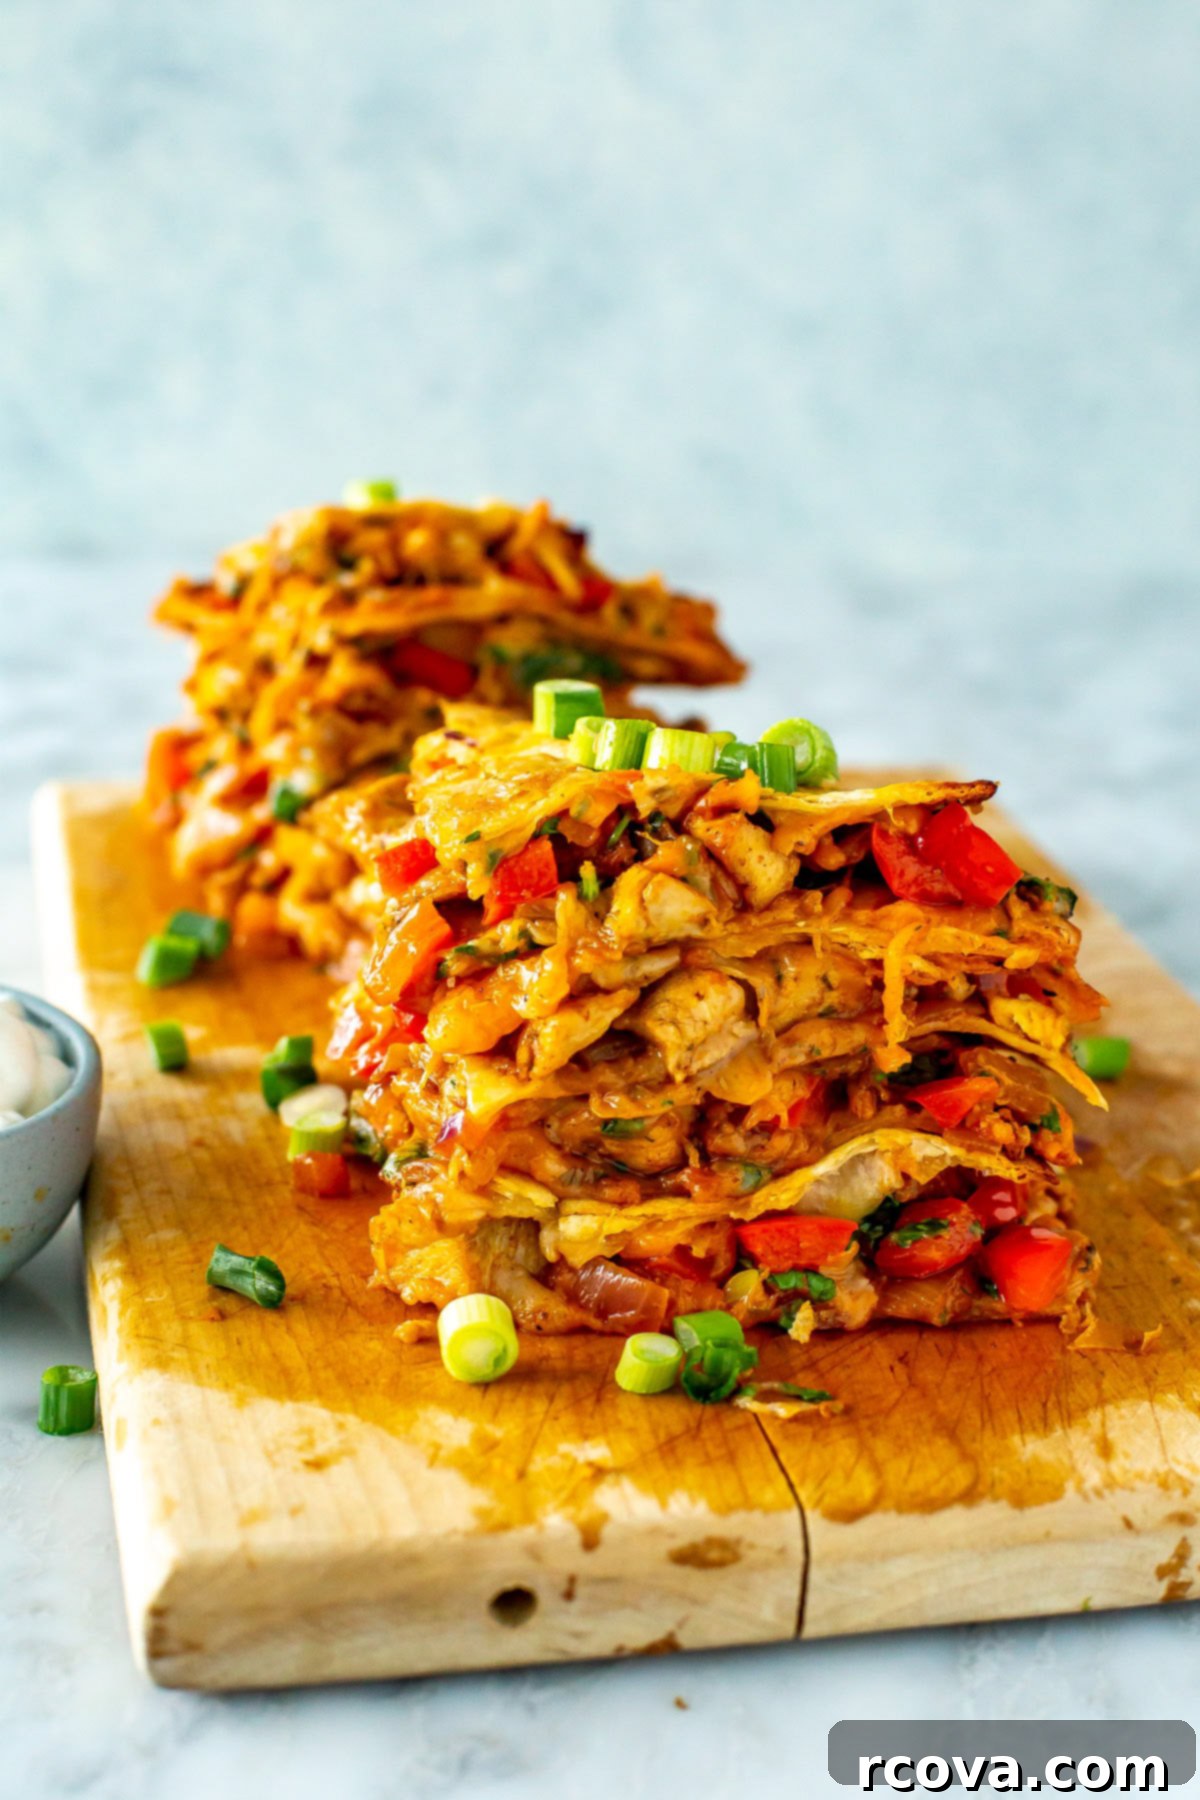
Whether you’re looking for a quick weeknight dinner, a fun family meal, or an impressive dish for entertaining guests, these chicken quesadillas tick all the boxes. They’re incredibly versatile, allowing you to easily adapt the fillings to suit various tastes or utilize ingredients you already have on hand. The combination of perfectly seasoned chicken and vegetables with gooey, melted cheese creates a textural and flavor experience that’s truly unmatched. Read on to discover all the tips, tricks, and variations to make these quesadillas a staple in your kitchen.
Why You’ll Fall in Love with This Chicken Quesadilla Recipe
This isn’t just another chicken quesadilla recipe; it’s designed to be your go-to for a reason. Here’s why you’ll absolutely adore making and devouring these flavorful quesadillas:
- Effortlessly Customizable for Everyone: One of the best aspects of quesadillas is their adaptability. You can effortlessly swap out the protein, add different vegetables, or experiment with various cheeses to cater to picky eaters, dietary restrictions, or simply use up whatever fresh ingredients you have in your fridge. This ensures that every single person gets to enjoy their ideal quesadilla, making mealtime a breeze and always exciting.
- Superior to Takeout – Faster and Fresher: Say goodbye to long waits for delivery and lukewarm food. These chicken quesadillas come together in a fraction of the time it takes for takeout to arrive, and they taste infinitely fresher. You’ll get that irresistible combination of hot, gooey cheese and perfectly crisp tortillas, fresh from your skillet or oven, delivering an authentic Tex-Mex experience right in your home.
- Quick and Easy Weeknight Dinner: With minimal prep and cooking time, this recipe is a lifesaver on busy weeknights. From start to finish, you can have a delicious and wholesome meal on the table in under an hour, making it perfect for those evenings when time is of the essence but you still crave something satisfying.
- Family-Friendly and Fun: Kids and adults alike will cheer for quesadillas! They are naturally appealing to a wide range of palates and can even become a fun activity where everyone gets to build their own. The simple, comforting flavors make them an instant hit at any family dinner.
- Excellent for Meal Prepping: These quesadillas are not only delicious fresh, but they also store and reheat beautifully. You can prepare the chicken and veggie filling in advance, or even assemble and freeze entire quesadillas for future quick meals. This makes them a fantastic option for batch cooking and staying ahead of your weekly meal plan.
- Bursting with Flavor: Our carefully selected blend of taco seasoning, fresh garlic, and crisp vegetables elevates the chicken, creating a rich and aromatic filling. Paired with the sharp, creamy Tex-Mex cheese, every bite is a explosion of classic, comforting flavors that will transport you straight to your favorite Mexican eatery.
FREE Budget-Friendly Meal Plan!
Save thousands of dollars on food every year with my free budget-friendly meal plan ebook.
Key Ingredients & Smart Substitutions for Perfect Chicken Quesadillas
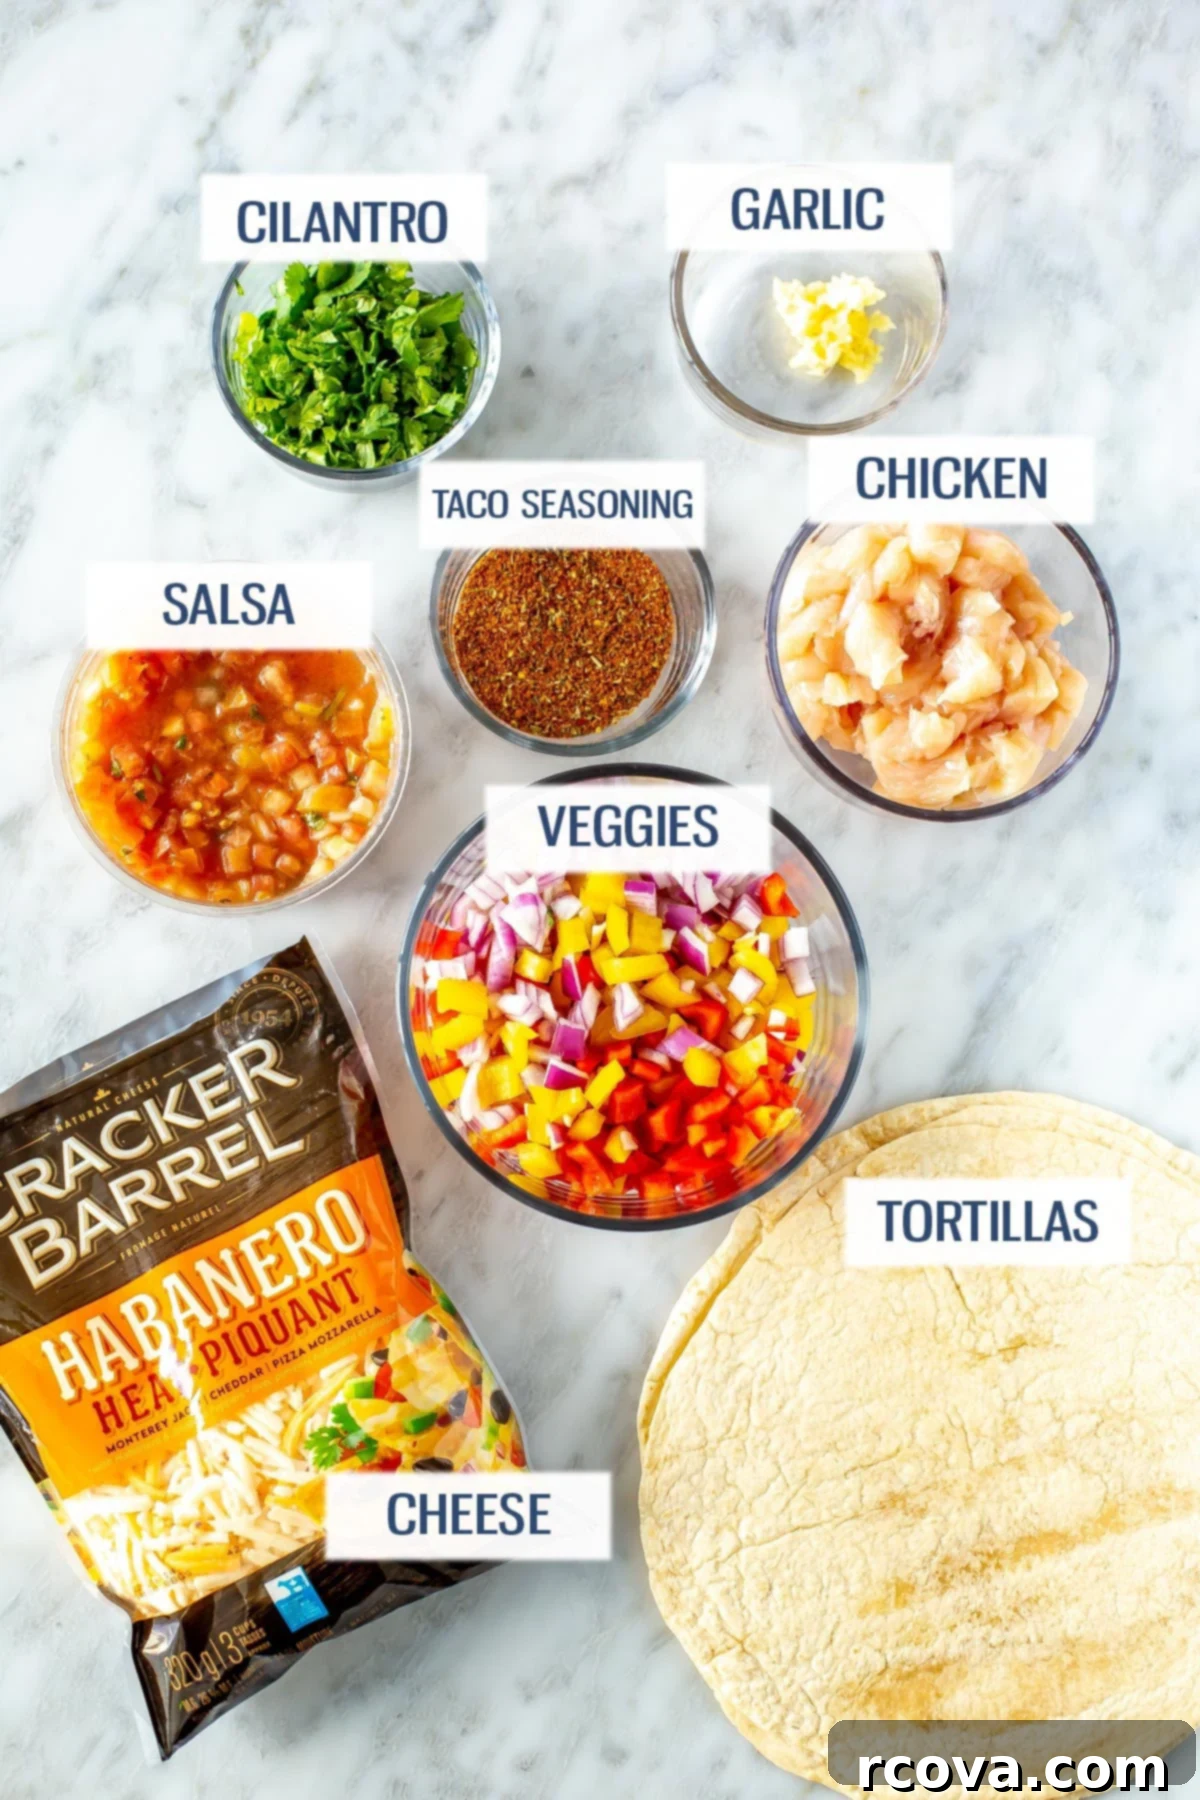
Crafting the perfect chicken quesadilla starts with quality ingredients. Here’s a breakdown of what you’ll need and how you can easily swap items to fit your pantry and preferences:
-
Olive Oil: Essential for sautéing the chicken and vegetables, providing a subtle flavor.
- **Substitution:** Any neutral cooking oil works well, such as canola oil, avocado oil, or vegetable oil. Butter can also add a rich, savory note.
-
Chicken Breasts: We use boneless, skinless chicken breasts, diced into 1/2-inch pieces for quick and even cooking.
- **Substitution:** Feel free to use boneless, skinless chicken thighs for a juicier texture. Leftover cooked chicken (like rotisserie chicken) is an excellent time-saver – simply shred or dice and add to the pan after the veggies are softened, just to warm through. Ground turkey or even plant-based chicken alternatives can also be used.
-
Taco Seasoning: This blend of spices is crucial for that authentic Tex-Mex flavor.
- **Substitution:** If you don’t have a store-bought mix, create your own with a blend of chili powder, ground cumin, paprika (smoked paprika for extra depth), garlic powder, onion powder, a pinch of oregano, salt, and black pepper. Adjust to your taste!
-
Minced Garlic: Fresh garlic offers an aromatic base that enhances all the other flavors.
- **Substitution:** Jarred minced garlic is a convenient alternative. In a pinch, 1/2 teaspoon of garlic powder can replace two cloves of fresh garlic, though fresh is always recommended for the best flavor.
-
Bell Pepper: Adds a sweet crunch and vibrant color to the filling. Any color bell pepper (red, green, yellow, orange) will work beautifully.
- **Substitution:** Poblano peppers are a great option if you prefer a slightly smoky flavor with a mild heat. Other veggies like zucchini, corn, or sautéed mushrooms can also be delicious additions.
-
Red Onion: Provides a mild, slightly sweet, and pungent flavor that complements the other ingredients.
- **Substitution:** White or yellow onions can be used, but they have a slightly milder flavor profile. For a more intense onion flavor, consider using finely diced shallots.
-
Pico de Gallo or Salsa: We like using fresh pico de gallo or a good quality store-bought salsa (like the Garden Fresh variety) to add a burst of fresh tomato and onion flavor.
- **Substitution:** While fresh pico de gallo is ideal for flavor and texture, you can also use canned diced tomatoes (drained well) seasoned with a little lime juice and cilantro, or simply slice up some fresh tomatoes for a milder taste. To avoid soggy quesadillas, consider serving wetter salsas on the side rather than mixing them into the filling before baking.
-
Flour Tortillas: The foundation of our quesadilla, offering a soft yet crisp texture when cooked.
- **Substitution:** White or whole-wheat flour tortillas are both great choices. For a gluten-free option, look for corn tortillas or gluten-free flour tortillas, keeping in mind that corn tortillas might be slightly smaller and require more careful handling to prevent tearing. Larger “burrito-size” tortillas can also be used for bigger quesadillas.
-
Tex-Mex Shredded Cheese: This blend is our absolute favorite for quesadillas, delivering a perfectly melty, authentic taste.
- **Substitution:** You can use any shredded cheese variety that melts well. Monterey Jack, cheddar, a Mexican blend, or even mozzarella can be excellent choices. The key is to use freshly shredded cheese if possible, as pre-shredded varieties often contain anti-caking agents that can affect meltiness.
-
Fresh Cilantro: Adds a bright, herbaceous freshness that cuts through the richness of the cheese and chicken.
- **Substitution:** If you’re not a fan of cilantro (the “soap gene”), feel free to omit it altogether. Fresh parsley can offer a similar fresh green note, or a squeeze of lime juice can add brightness without the cilantro flavor.
How to Make the Best Chicken Quesadillas: A Step-by-Step Guide
Making these incredibly delicious chicken quesadillas is a straightforward process, whether you’re a seasoned cook or just starting out. Follow these easy steps to achieve perfectly golden, cheesy, and flavor-packed quesadillas every time.
Step 1: Sauté the Seasoned Chicken
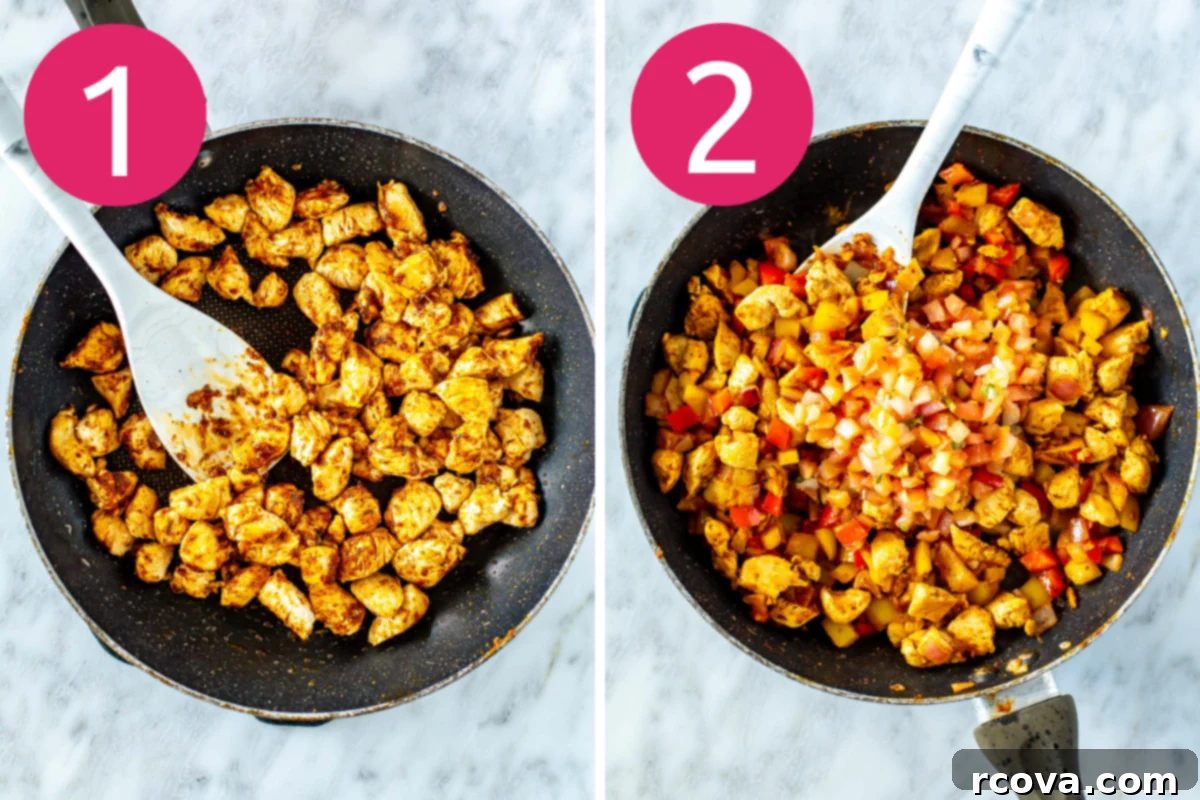
Begin by heating about 1 tablespoon of olive oil in a large skillet over medium-high heat. Once the oil shimmers, add your diced chicken breast in an even layer. Cook the chicken for about 2-3 minutes, stirring occasionally, until it’s just lightly browned on all sides. It doesn’t need to be cooked through at this stage, as it will continue cooking with the vegetables and in the oven. The goal is to develop some color and flavor. Avoid overcrowding the pan; if necessary, cook the chicken in batches to ensure proper browning and not steaming.
Step 2: Infuse Flavor with Seasoning and Sauté the Veggies
Once the chicken has a nice sear, stir in the taco seasoning and minced garlic. Cook for another minute, allowing the spices to bloom and the garlic to become fragrant. This step is crucial for building deep flavor. Next, add the diced bell peppers and red onion to the skillet. Continue to sauté for 4-5 minutes, or until the vegetables have softened slightly but still retain a bit of their crispness. Finally, stir in the pico de gallo or salsa, mixing it thoroughly with the chicken and vegetables. Remove the skillet from the heat, and your flavorful filling is ready!
Step 3: Prepare Tortillas and Layer the First Cheese Base
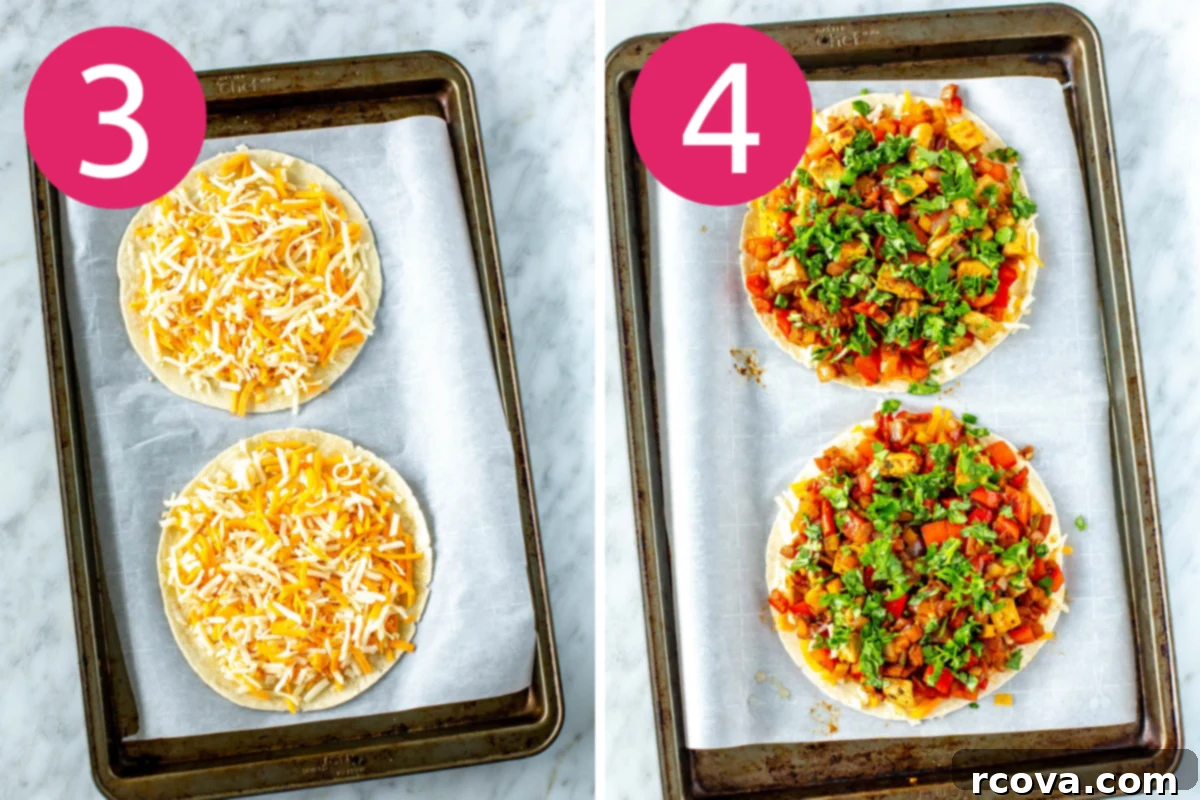
Preheat your oven to 400°F (200°C). This oven method ensures uniform cooking and exceptional crispness. Line one or two large baking sheets with parchment paper for easy cleanup and to prevent sticking. Place your flour tortillas flat on the prepared baking sheets. For each quesadilla, sprinkle a generous layer of shredded Tex-Mex cheese evenly over one half of a tortilla, extending almost to the edges. This initial cheese layer acts as a delicious adhesive and provides a crispy foundation.
Step 4: Add the Irresistible Chicken and Veggie Filling
Now, spoon the cooked chicken, bell pepper, onion, and pico de gallo mixture evenly over the cheese on each tortilla. Distribute the filling carefully, making sure not to overfill, which can make the quesadillas difficult to fold and prone to breaking. If desired, sprinkle a bit of fresh chopped cilantro over the filling at this stage to add a vibrant burst of fresh flavor.
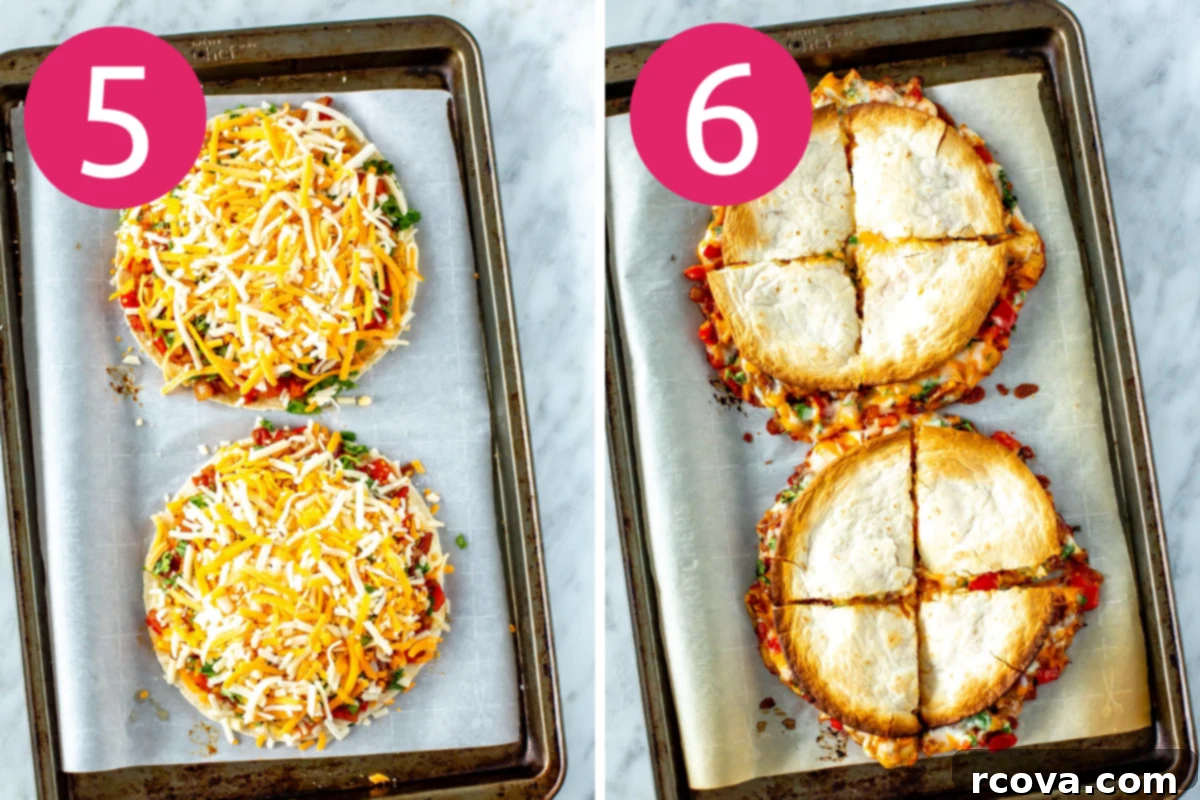
Step 5: Secure with More Cheese and the Second Tortilla
To ensure maximum cheesiness and to help bind all the delicious components together, sprinkle another generous layer of shredded cheese over the chicken and veggie filling. Then, gently place a second tortilla directly on top, pressing down lightly to create a neat sandwich. This top layer of cheese will melt and fuse with the bottom layer, locking in the filling and contributing to that satisfying gooey center.
Step 6: Bake to Golden Perfection and Slice
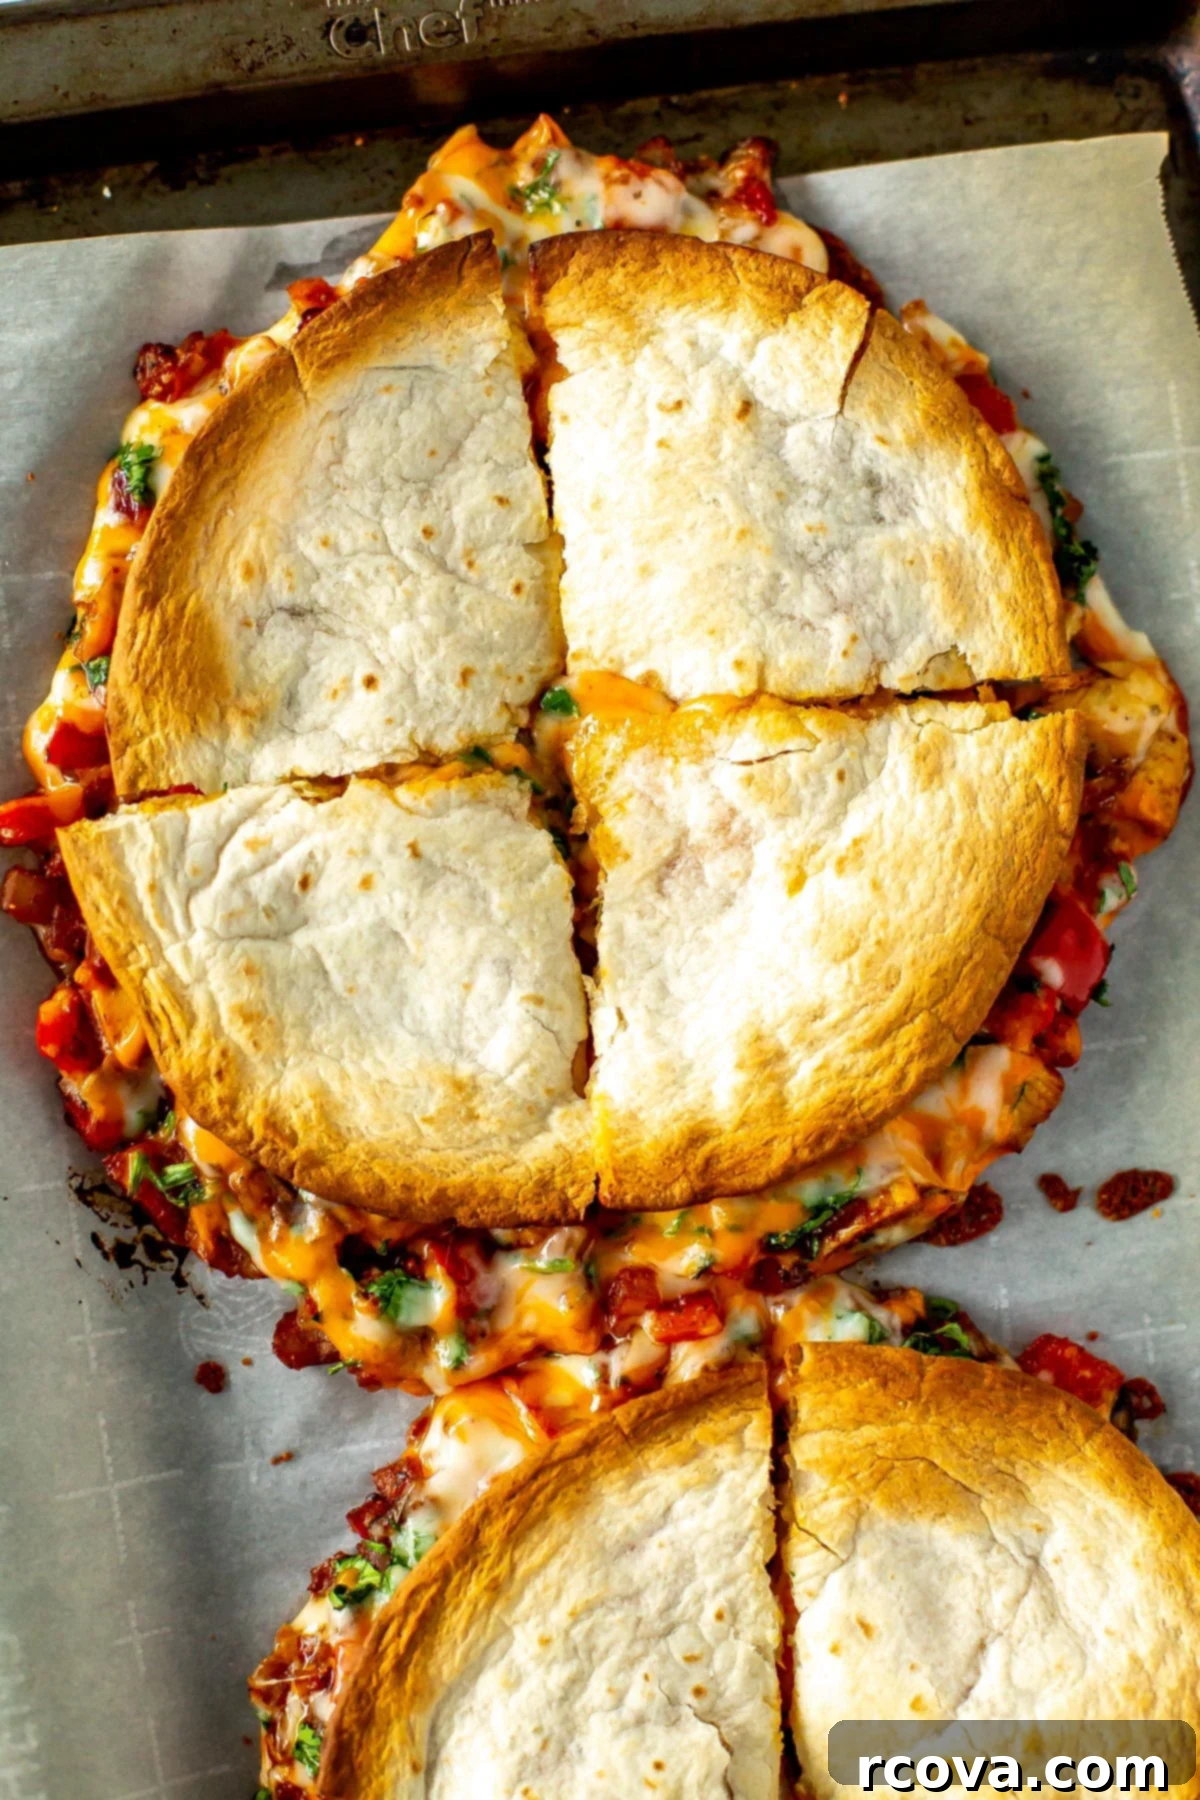
Transfer the baking sheets to your preheated oven and bake for 10-15 minutes. Keep an eye on them; the exact time may vary based on your oven and tortilla size. You’re looking for the tortillas to turn a beautiful golden brown and become wonderfully crispy, with the cheese inside fully melted and bubbly. Once baked, carefully remove the quesadillas from the oven. Allow them to cool for just a minute or two before slicing each one into quarters with a pizza cutter or a sharp knife. This slight cooling period helps the cheese set, preventing the filling from spilling out. Serve immediately and enjoy your perfectly crafted chicken quesadillas!
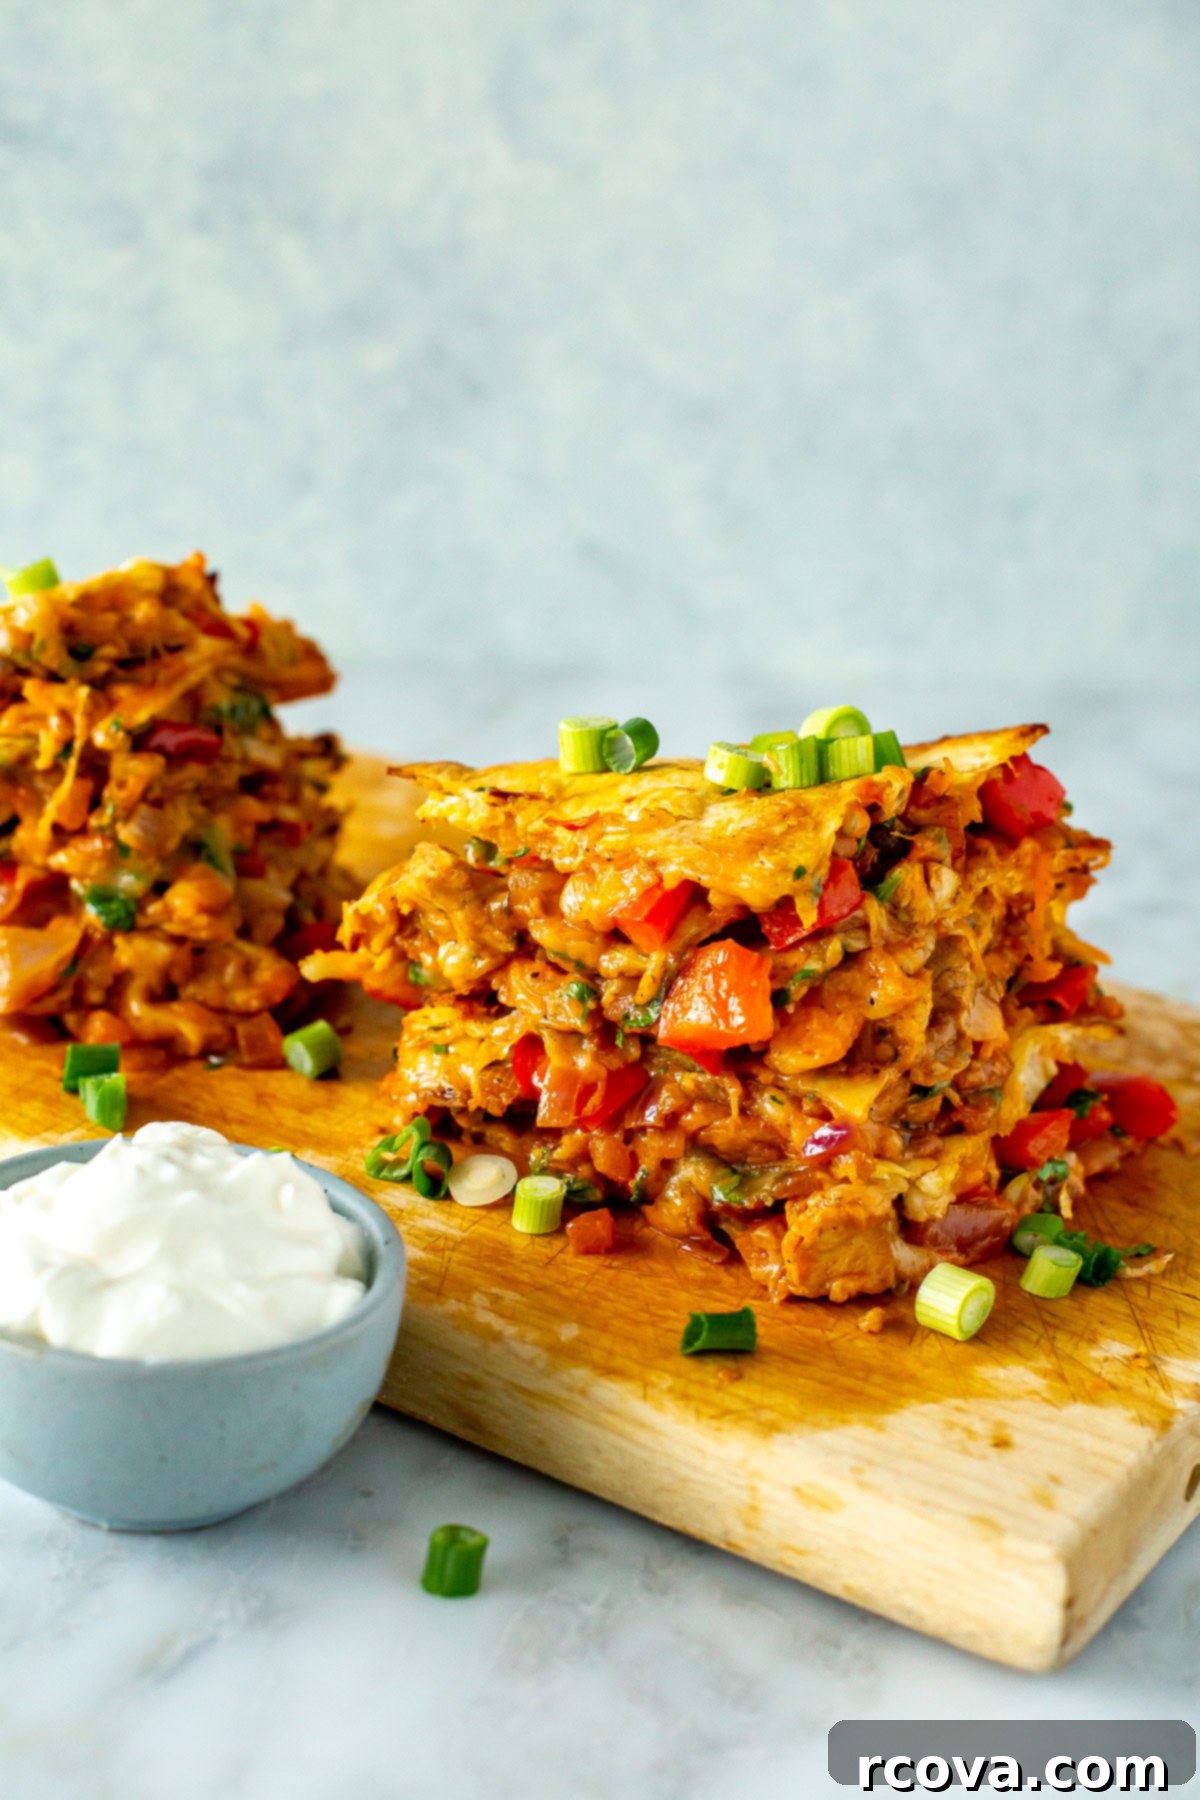
Recipe Tips and Delicious Variations
Quesadillas are wonderfully forgiving and incredibly versatile, making them a fantastic canvas for culinary creativity. Here are some essential tips and exciting variations to elevate your chicken quesadillas even further:
- Don’t Skimp on the Cheese: This is perhaps the most important tip for a truly satisfying quesadilla! A generous layer of cheese, both as a base and on top of your filling, does more than just add flavor. It acts as the “glue” that holds all the delicious ingredients together, ensuring that irresistible, stretchy, melty bite in every single piece. The cheese on the outer layers will also crisp up nicely in the oven or skillet.
-
Switch Up the Protein: While chicken is fantastic, feel free to get creative!
- Seafood: Cooked shrimp seasoned with a touch of chili-lime spice makes for a vibrant filling.
- Beef or Pork: Ground beef, shredded barbacoa, or leftover pulled pork can be seasoned with taco spices for a hearty twist.
- Vegetarian Options: For a meatless version, try black beans, pinto beans, or refried beans for a creamy texture, seasoned tofu or tempeh, or even a mix of roasted sweet potatoes and corn.
-
Experiment with Different Veggies: Bell peppers and onions are classic, but don’t limit yourself!
- Mushrooms: Sautéed mushrooms add an earthy depth.
- Zucchini or Spinach: Quickly sautéed zucchini or wilted spinach are healthy and delicious additions.
- Corn & Black Beans: A simple mix of canned or frozen corn (thawed and drained) and black beans adds great texture and flavor.
- Roasted Vegetables: Try pre-roasting vegetables like sweet potatoes or butternut squash for an extra layer of sweetness and depth.
-
Make it Spicier: If you love a kick, there are many ways to amp up the heat:
- Add finely sliced fresh jalapeños or serrano peppers to the filling.
- Sprinkle a pinch of chili flakes or cayenne pepper into the taco seasoning.
- Use a spicy salsa or a dash of your favorite hot sauce.
- Incorporate a chipotle in adobo, minced, for a smoky heat.
-
Stovetop Cooking Method: For a classic quesadilla, ditch the oven and use a large skillet instead.
- Heat a lightly oiled skillet over medium heat. Place one cheese-laden tortilla down, add filling, another layer of cheese, and the top tortilla.
- Cook for 3-4 minutes per side, pressing down gently with a spatula, until golden brown and crispy, and the cheese is beautifully melted. This method gives a slightly chewier tortilla with distinct crispy spots.
-
Try Different Tortillas: The type of tortilla can dramatically change the experience.
- Whole Wheat: For a healthier alternative.
- Spinach or Flavored Tortillas: Add a visual twist and subtle flavor.
- Gluten-Free Tortillas: Ensure everyone can enjoy these delicious quesadillas. Corn tortillas will give a different flavor and texture but are naturally gluten-free.
- Crispy Edges are Key: Whether baking or stovetop cooking, ensure your tortillas are adequately browned and crispy on the edges. This textural contrast is essential for a great quesadilla. If using the oven, a light brush of oil on the outside of the top tortilla can help.
- Don’t Overfill: While tempting, too much filling can make your quesadillas difficult to handle, messy, and prevent them from cooking evenly. Aim for a generous but manageable layer.
Frequently Asked Questions About Chicken Quesadillas
Got questions about making the perfect chicken quesadillas? We’ve got answers to some of the most common queries:
Can I use pre-cooked chicken for quesadillas?
Absolutely! Using pre-cooked chicken is a fantastic way to save time and streamline the cooking process. Leftover rotisserie chicken, grilled chicken, or even boiled chicken breasts all work perfectly. Just make sure to shred or dice it before adding it to the skillet. You’ll simply warm it up with the sautéed veggies and seasoning in Step 2, ensuring it’s thoroughly heated before assembling the quesadillas. This makes for an even quicker meal!
How do I keep the quesadillas from getting soggy?
To prevent soggy quesadillas, especially when baking:
- Drain wet ingredients: If using fresh pico de gallo or salsa, make sure it’s well-drained to remove excess liquid. Even better, consider serving wetter toppings on the side for dipping.
- Don’t overfill: Too much filling, particularly liquid-rich ingredients, can make the tortillas steam instead of crisp.
- Cook properly: Ensure your oven is fully preheated or your skillet is hot enough to crisp the tortillas quickly. The baking method in this recipe is excellent for overall crispness.
Can I make quesadillas on the grill?
Yes, grilling quesadillas adds a fantastic smoky flavor! Assemble your quesadillas as instructed. You can either wrap them loosely in aluminum foil to prevent burning and ensure the cheese melts, then grill for a few minutes per side until heated through and cheese is melted. Or, for direct grill marks and crispier tortillas, place them directly on medium-heat grates for 2-3 minutes per side, watching carefully to prevent burning.
What kind of cheese is best for quesadillas?
A good melting cheese is key. Tex-Mex shredded cheese (a blend of Monterey Jack, cheddar, and often asadero) is highly recommended for its flavor and meltability. Other excellent choices include Monterey Jack, mild cheddar, Oaxaca cheese, or even a mix of mozzarella and provolone. For the best melt, always opt for block cheese that you shred yourself, as pre-shredded varieties often contain anti-caking agents that can hinder smooth melting.
Can I make this recipe vegetarian?
Absolutely! To make these quesadillas vegetarian, simply omit the chicken. You can replace it with a variety of plant-based proteins such as black beans, pinto beans, seasoned tofu or tempeh, or a hearty mix of extra vegetables like corn, zucchini, and mushrooms. Ensuring your vegetarian filling is well-seasoned will result in equally delicious quesadillas.
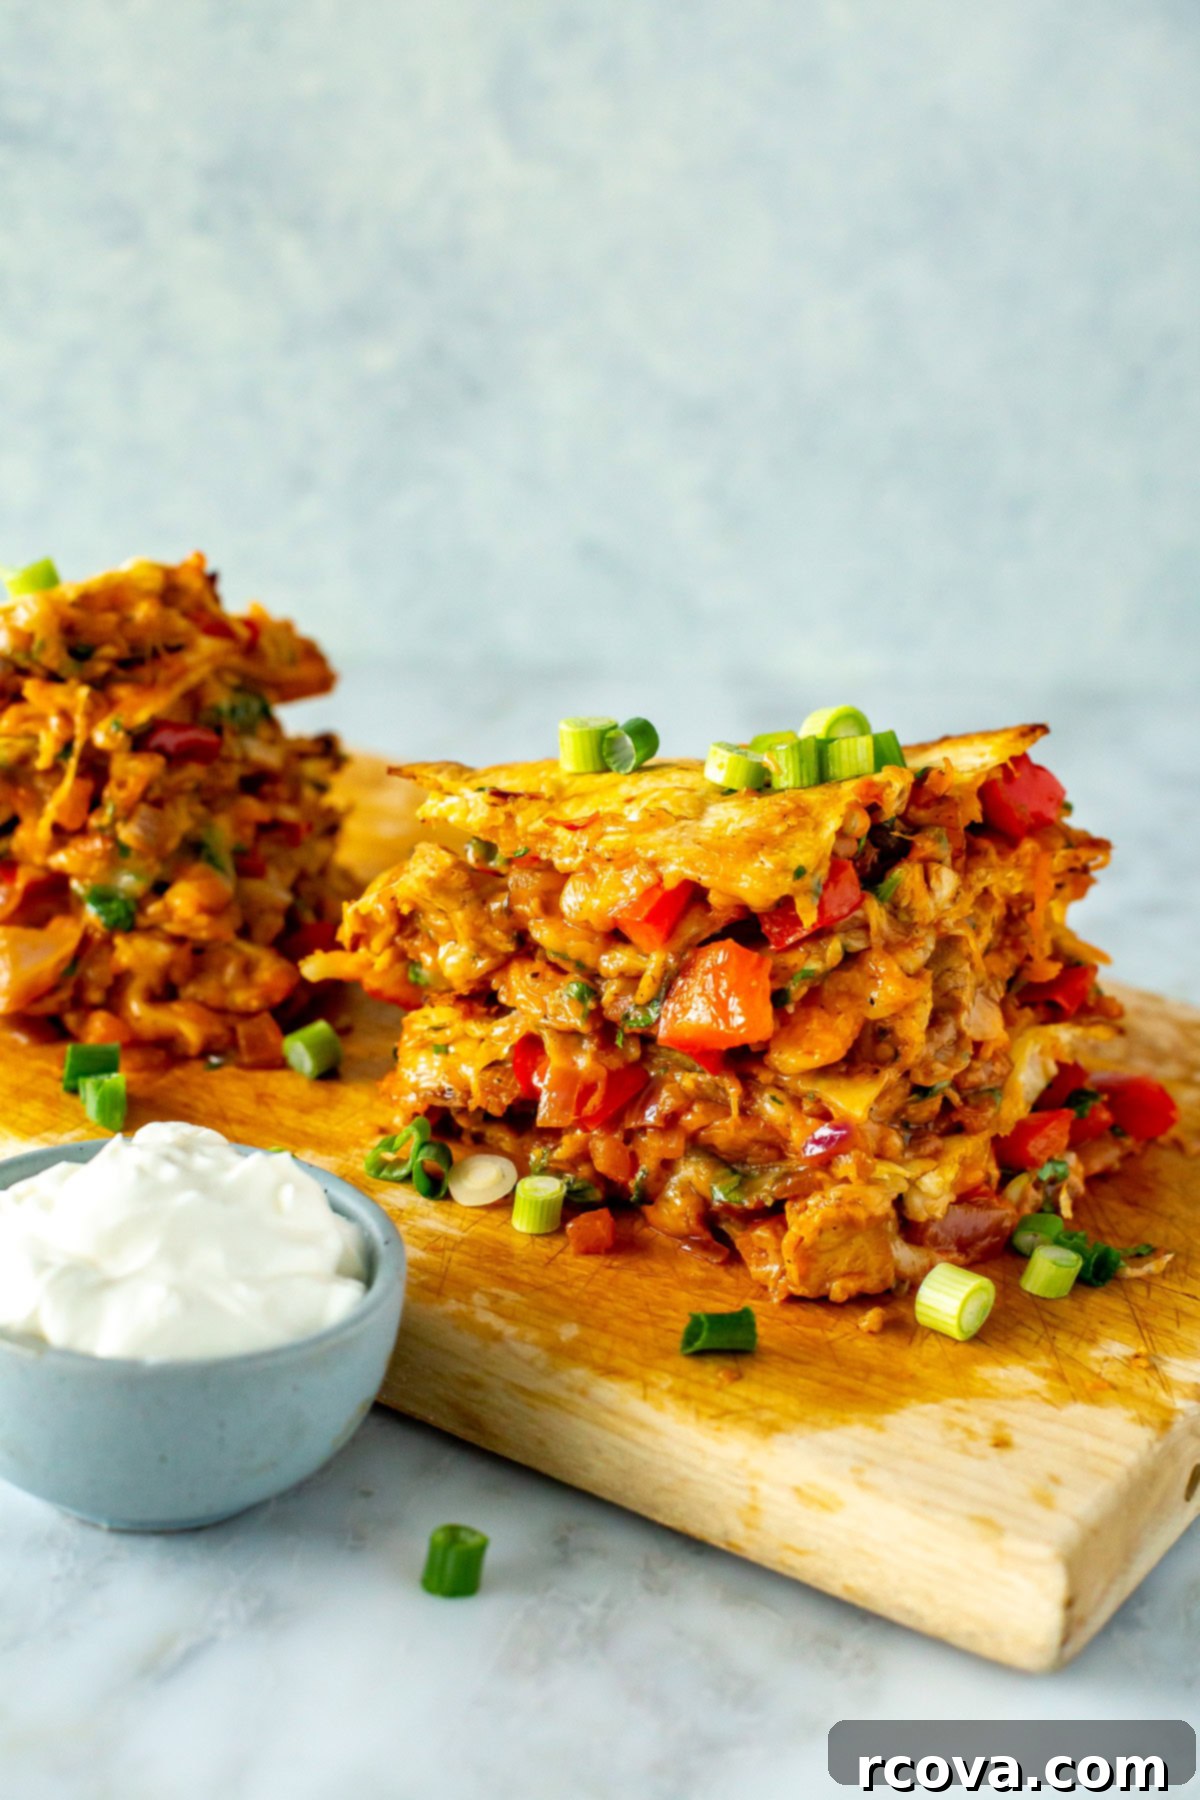
What to Serve with These Delicious Chicken Quesadillas
These cheesy chicken quesadillas are undeniably delicious on their own, making for a satisfying meal. However, pairing them with the right sides can elevate your dining experience and create a complete, well-rounded feast. Here are some tasty ideas to complement your quesadillas:
-
Classic Guacamole: Keep it traditional and refreshing with a bowl of creamy, homemade guacamole. The cool, rich avocado perfectly balances the savory quesadilla.
Try this simple 4-Ingredient Guacamole recipe. -
Bright Corn Salsa: Add a burst of fresh flavor and color with a vibrant corn salsa. Its sweetness and tang pair wonderfully with crispy tortillas.
Check out this delicious Chipotle Corn Salsa recipe. -
Refreshing Side Salad: Balance the richness of the quesadillas with a light and crisp salad. A simple green salad with a vinaigrette or a more substantial kale salad offers a refreshing counterpoint.
- For a hearty option: The Best Kale Salad on the Internet
- For a crunchy delight: Kale Crunch Salad
- Mexican Rice: A classic pairing, a fluffy side of Mexican rice adds substance and rounds out the meal perfectly.
- Black Beans or Refried Beans: Serve a simple side of seasoned black beans or creamy refried beans for an authentic touch and added protein.
- Pico de Gallo: Even if you included it in the filling, extra fresh pico de gallo for dipping is always a good idea for added freshness.
- Sour Cream or Greek Yogurt: A dollop of cool sour cream or a healthier Greek yogurt option provides a delightful creamy contrast.
How to Store and Reheat Your Chicken Quesadillas
These chicken quesadillas are perfect for meal prep and make fantastic leftovers. Here’s how to properly store them and reheat them to maintain their deliciousness:
Make Ahead: You can assemble the quesadillas up to a day in advance. Prepare the chicken and veggie filling, layer everything between the tortillas with cheese, then tightly wrap the unbaked quesadillas in plastic wrap or foil and refrigerate. When you’re ready to eat, simply unwrap and bake as directed. This is a great time-saver for busy evenings!
Store: Allow any leftover cooked quesadillas to cool completely before storing. Place them in an airtight container or wrap them tightly in foil, then refrigerate for up to 3 days. Proper cooling and sealing prevent them from getting soggy or drying out.
Reheat:
- Skillet (Recommended for crispiness): For the best results, reheat quesadillas in a dry or lightly oiled skillet over medium heat. Cook for 2-4 minutes per side, or until the cheese is melted again and the tortillas are crisp.
- Oven: Preheat your oven to 350°F (175°C). Place the quesadillas on a baking sheet and heat for 10-15 minutes, or until warmed through and crispy.
- Air Fryer: Reheat at 350°F (175°C) for 5-7 minutes, flipping halfway, until crispy and hot.
- Microwave (Least Recommended): While quick, reheating in the microwave will result in soft, potentially chewy tortillas. Heat in 30-second intervals until warmed through.
Freeze and Reheat from Frozen: Cooked chicken quesadillas freeze beautifully, making them excellent for quick future meals.
- To Freeze: Allow cooked quesadillas to cool completely. Wrap each quesadilla individually in plastic wrap, then a layer of aluminum foil, or place them in freezer-safe bags. Freeze for up to 2 months. Make sure your chicken was fresh when initially cooked; do not re-freeze chicken that has already been cooked, frozen, and defrosted once.
- To Reheat from Frozen: You can reheat quesadillas straight from frozen. Place them on a baking sheet in a preheated oven at 375°F (190°C) for 15-20 minutes, or until thoroughly heated and crispy. You might need to remove the foil for the last few minutes if wrapped.
More Delicious Quesadilla & Tex-Mex Recipes
If you loved these chicken quesadillas, you’re in for a treat! Explore more of our favorite quesadilla creations and Tex-Mex inspired dishes that are perfect for any meal.
-
Freezer-Friendly Tex Mex Breakfast Quesadillas
-
Easy Sheet Pan Quesadillas
-
Street Corn Cajun Chicken Tacos
Recommended Meal Prep Tools for This Recipe
Having the right tools can make all the difference in your meal prep journey, especially when cooking delicious dishes like these chicken quesadillas. Here are some essential items that will help you prepare, store, and enjoy this recipe with ease:
- Grab some glass meal prep bowls if you plan on turning these quesadillas into your weekly lunches. These are great for storing individual portions and are perfect for reheating.
- I get all my free-range chicken from Butcher Box, conveniently delivered to me frozen. Sourcing high-quality meat makes a big difference in flavor and texture.
- Get a meat thermometer to make sure your chicken is cooked through to a safe internal temperature (165°F or 74°C). This ensures both food safety and optimal tenderness.
- Freeze this recipe in glass microwave-safe bowls for up to 3 months. These are ideal for long-term storage and convenient reheating.
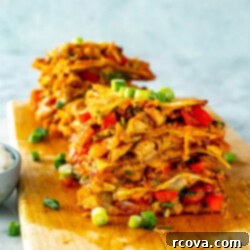
Chicken Quesadilla Recipe {Best Ever!!!}
Print
Pin
Rate
8 servings
524
kcal
Taylor Stinson
15
minutes
30
minutes
45
minutes
Prevent your screen from going dark
FREE budget-friendly meal plan ⬇️
SEND ME MY PLAN
Ingredients
-
1 tbsp olive oil -
2 chicken breasts diced into 1/2 inch pieces -
1 tbsp
taco seasoning
add salt and pepper if using homemade taco seasoning -
2 cloves minced garlic -
1 bell pepper, diced any colour -
1 red onion, diced -
1/2 cup store-bought pico de Gallo or salsa -
8 medium-sized flour tortillas -
6-8 cups tex mex shredded cheese you can add more or cheese depending on the exact size of your tortillas and your personal preference -
2 tbsp fresh chopped cilantro, optional
Instructions
-
Preheat the oven to 400 F. Add olive oil to a large skillet over medium-high heat. Add chicken, sautéing for 2 minutes until lightly browned then add in taco seasoning and minced garlic, stirring well until combined. Add in bell pepper and onions, sautéing for another 4-5 minutes until softened. Stir in pico de Gallo then remove from heat.
-
Line 2 baking sheets with parchment paper, then add 2 flour tortillas to each. Add a layer of cheese to each tortilla (about 3/4 cup cheese per tortilla), then add chicken mixture and a bit of cilantro if desired. Finish with a final layer of cheese (about another 3/4 cup), then add remaining tortillas overtop.
-
Bake quesadillas for 10-15 minutes until the cheese is melted and the tortillas are crispy. Remove from the oven, slice into quarters with a pizza cutter, then serve and enjoy!
Notes
You can use 3 cups of leftover chicken for this recipe. Defrost chicken overnight in the fridge, cut into pieces, then add in after the peppers and onions have cooked.
These quesadillas can be frozen for up to 3 months as long as you use fresh/leftover refrigerated chicken – NOT chicken that has been cooked, frozen and defrosted. Cooked, frozen chicken cannot be frozen twice.
Nutrition
Calories:
524
kcal
(26%)
Carbohydrates:
22
g
(7%)
Protein:
40
g
(80%)
Fat:
31
g
(48%)
Saturated Fat:
16
g
(100%)
Polyunsaturated Fat:
2
g
Monounsaturated Fat:
10
g
Trans Fat:
1
g
Cholesterol:
125
mg
(42%)
Sodium:
1115
mg
(48%)
Potassium:
383
mg
(11%)
Fiber:
2
g
(8%)
Sugar:
5
g
(6%)
Vitamin A:
1336
IU
(27%)
Vitamin C:
22
mg
(27%)
Calcium:
616
mg
(62%)
Iron:
2
mg
(11%)
