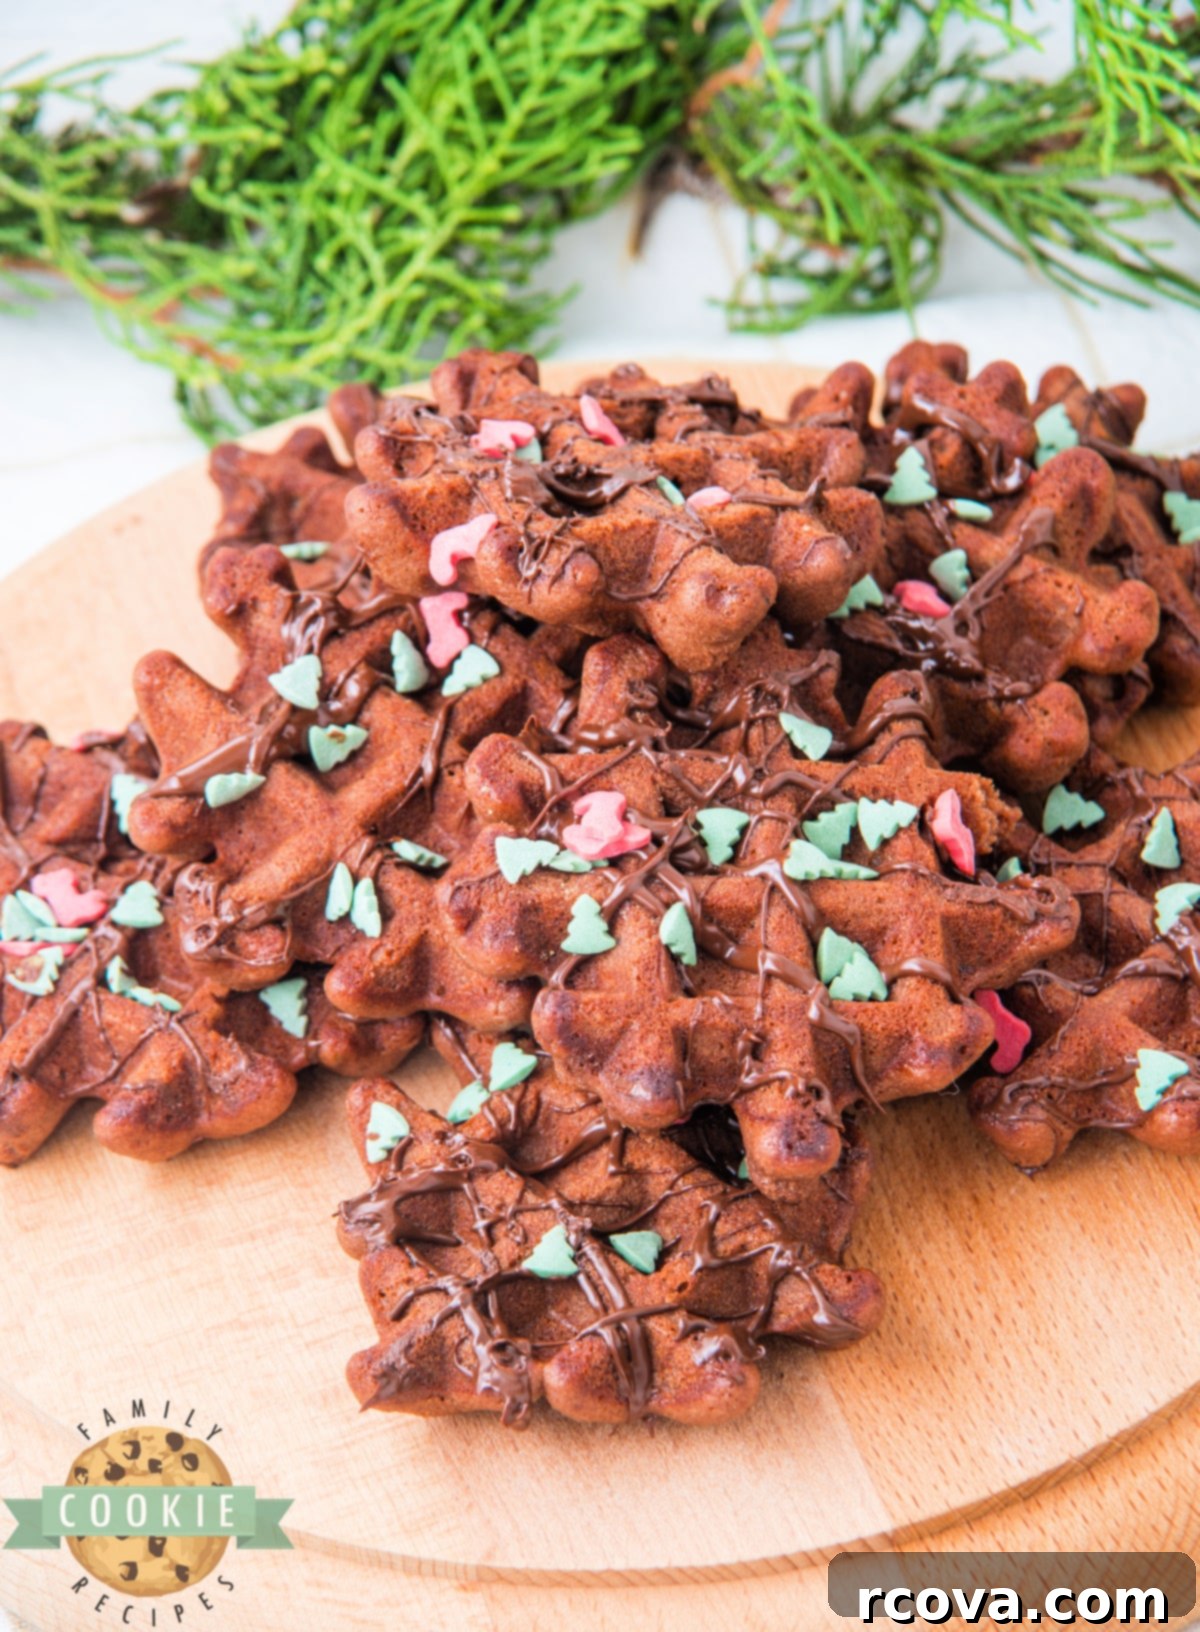
Effortless Holiday Joy: No-Bake Christmas Chocolate Waffle Cookies Made in Minutes!
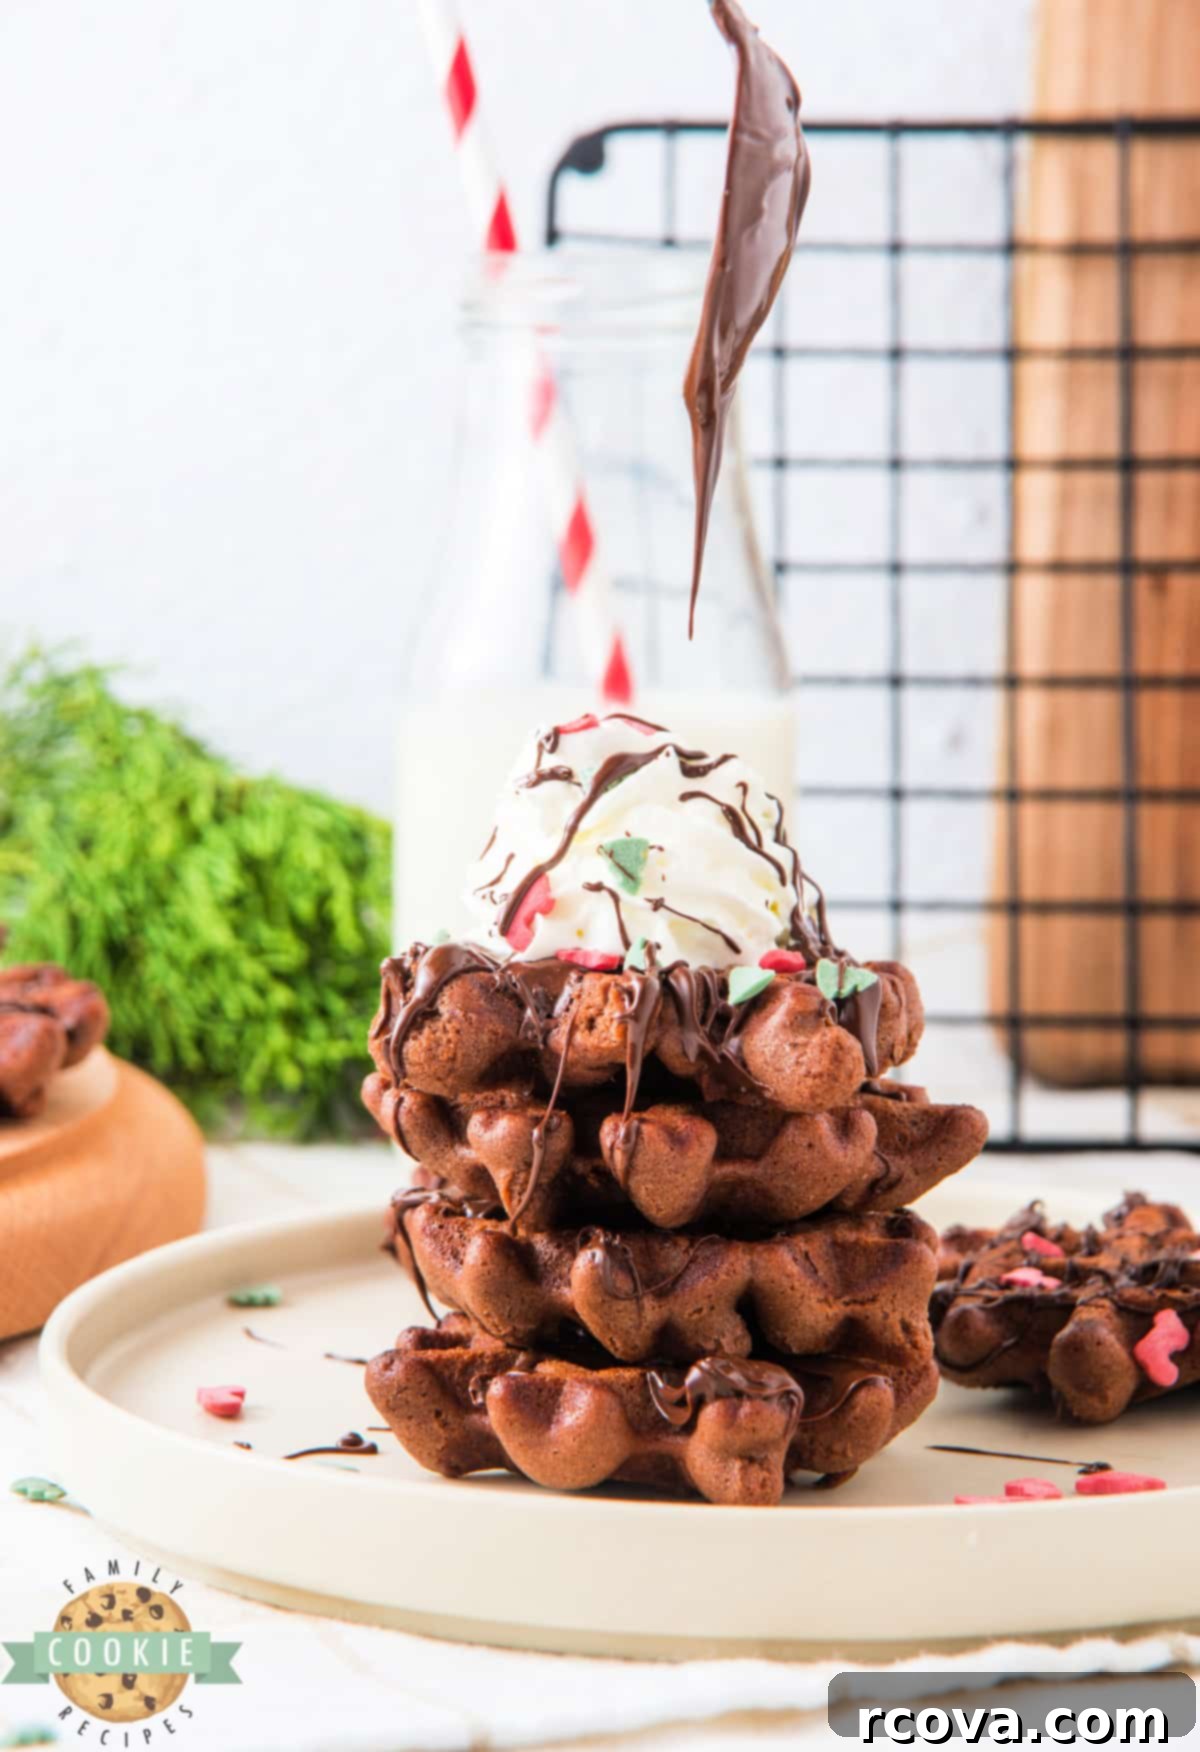
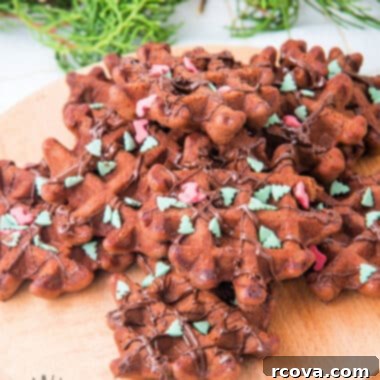
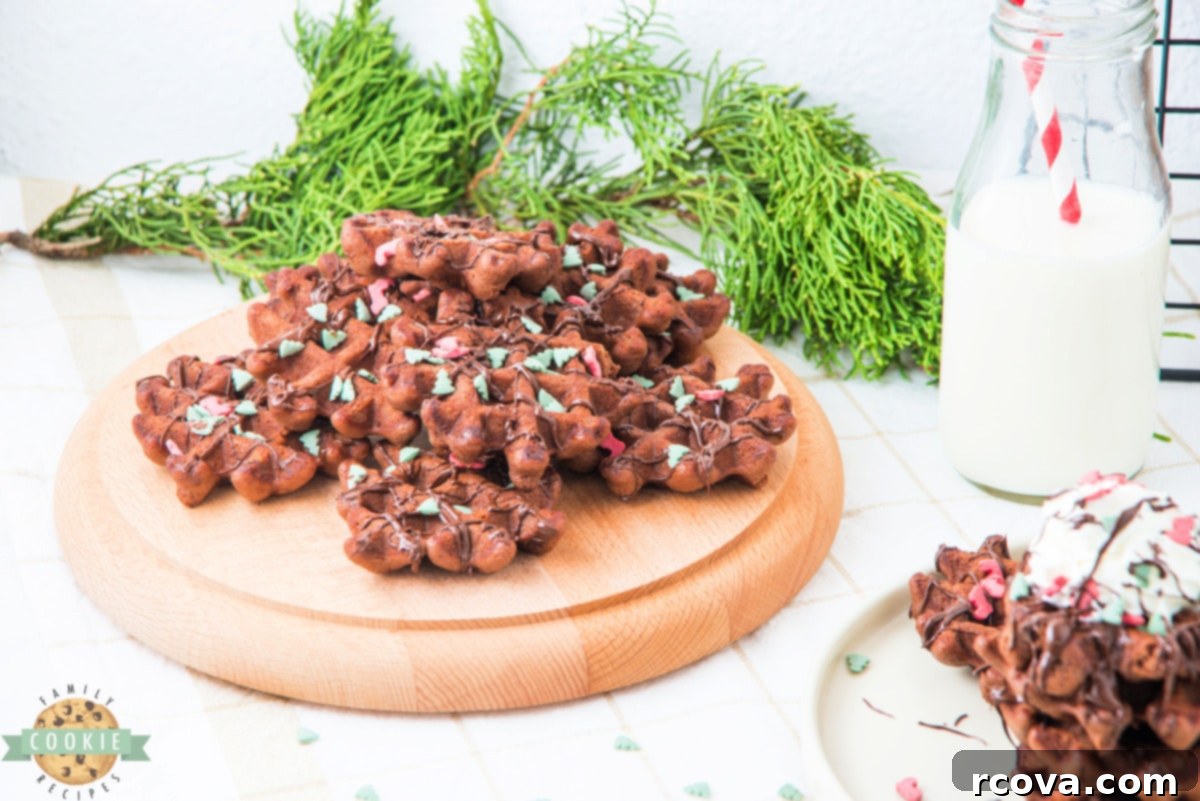
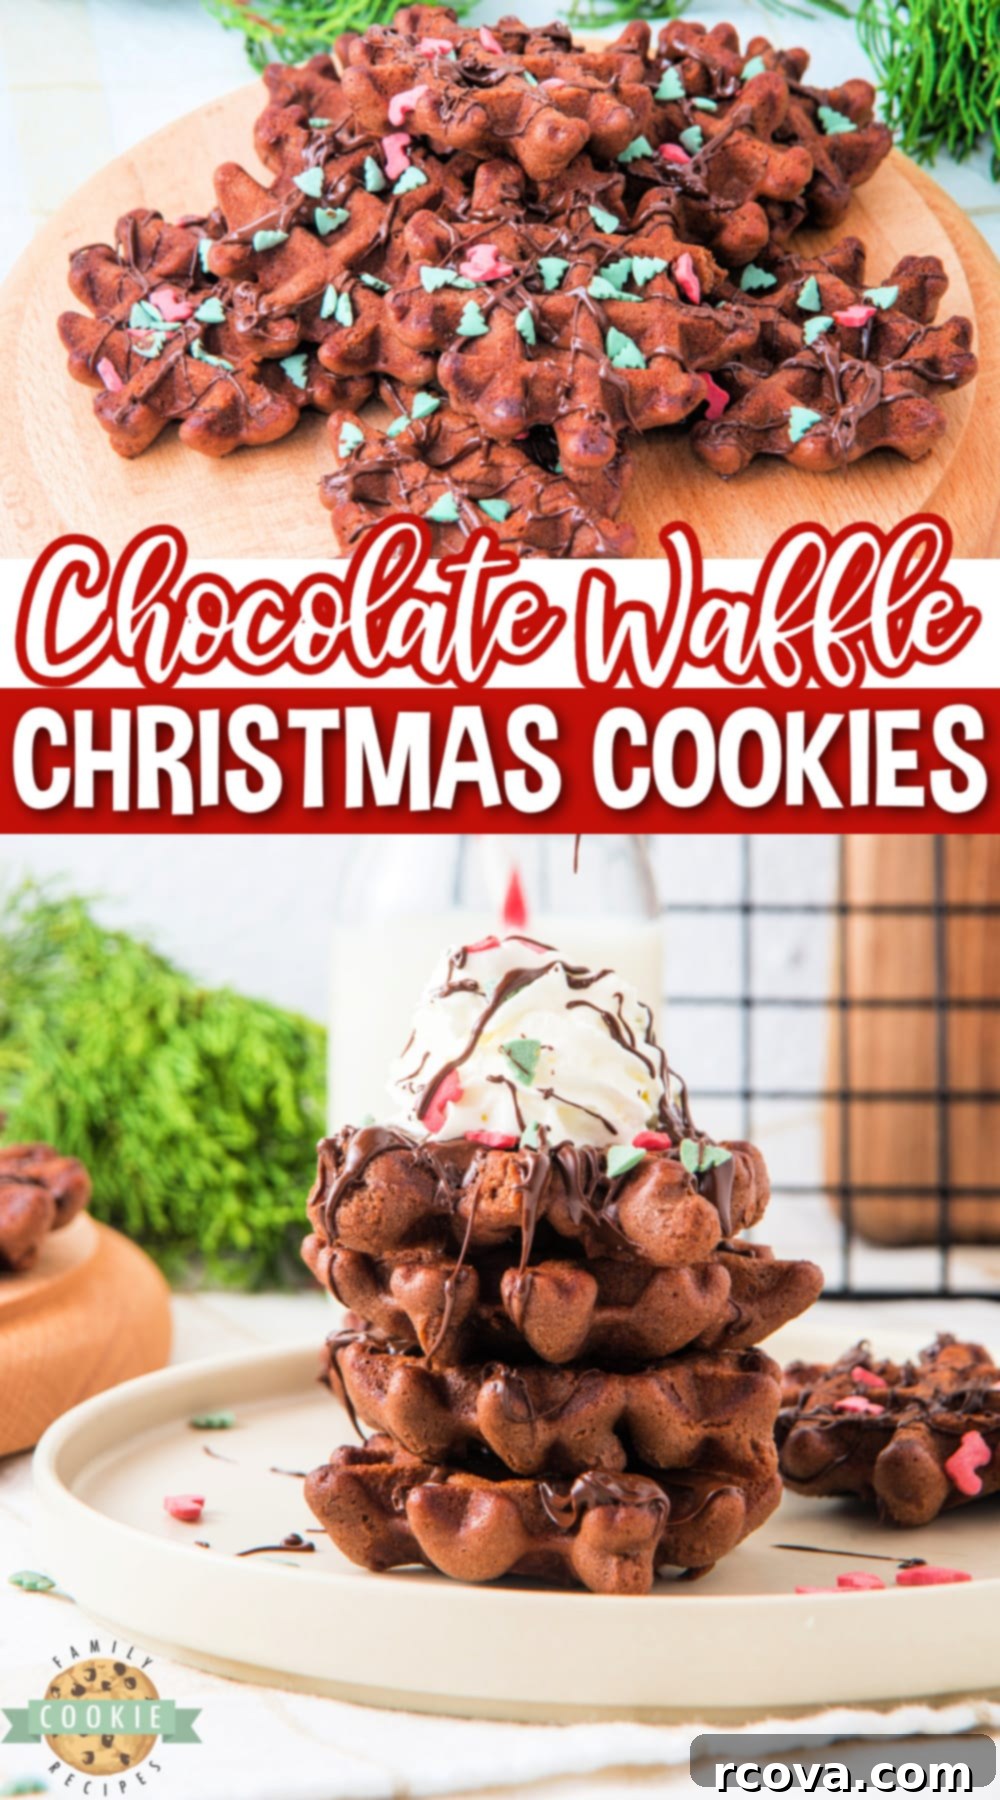
Embrace the festive spirit this holiday season with our truly irresistible Christmas Chocolate Waffle Cookies! These delightful treats are incredibly soft, wonderfully fudgy, and boast a unique texture that sets them apart from traditional baked cookies. The best part? They’re effortlessly made right in your waffle maker, meaning no oven is needed at all! Imagine whipping up a batch of delicious chocolate cookies adorned with vibrant festive sprinkles, all while your oven remains free for other holiday baking endeavors. This recipe is designed for ease, speed, and maximum holiday cheer, making it a perfect addition to your Christmas traditions.
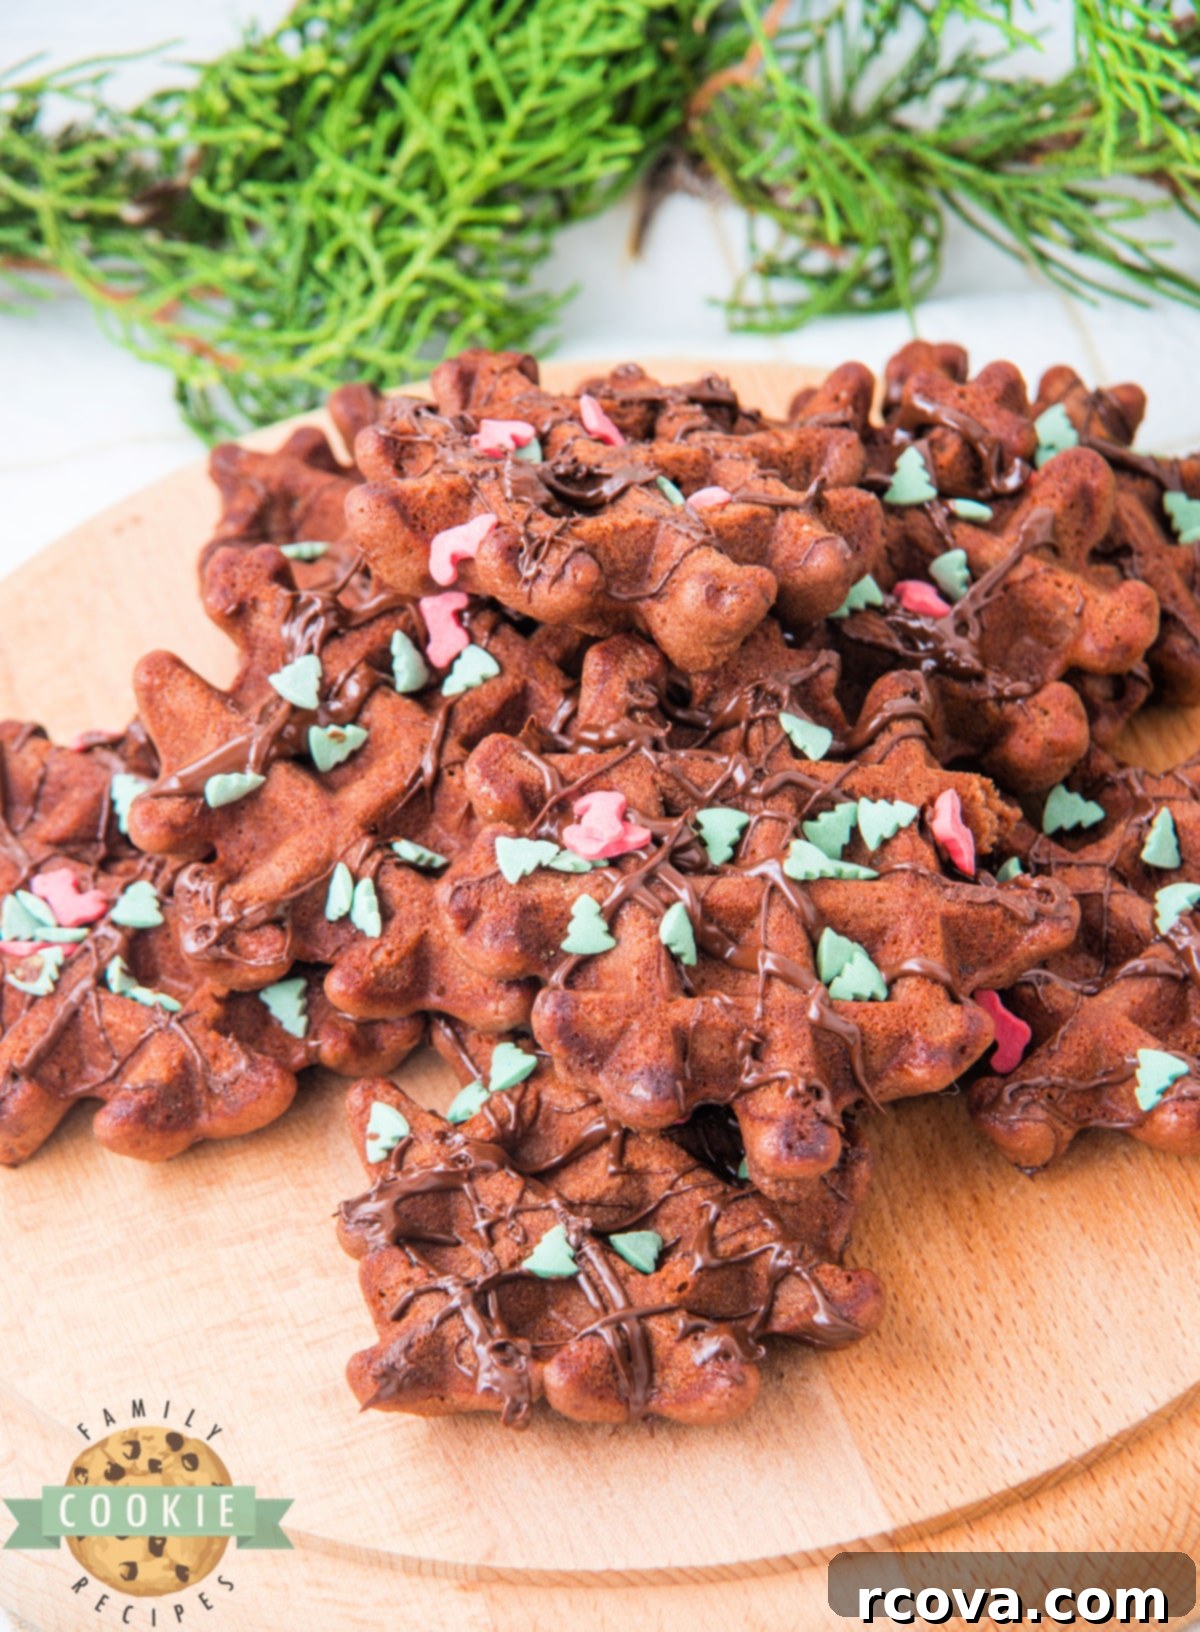
The holidays are undoubtedly the best time for baking and creating sweet memories, and these waffle cookies add an extra layer of fun to the experience! While your oven might be busy roasting a turkey, baking a pie, or preparing other delicious Christmas dishes, your trusty waffle iron can become the star of your dessert production. This innovative approach allows you to multitask and churn out warm, freshly made cookies in mere minutes. Whether you own a mini waffle maker, perfect for single-serving delights, or a larger waffle iron that can produce four cookies at once, this recipe is adaptable to your kitchen setup. It’s a fantastic way to enjoy homemade cookies without the fuss and heat of a traditional oven, making holiday baking less stressful and more enjoyable.
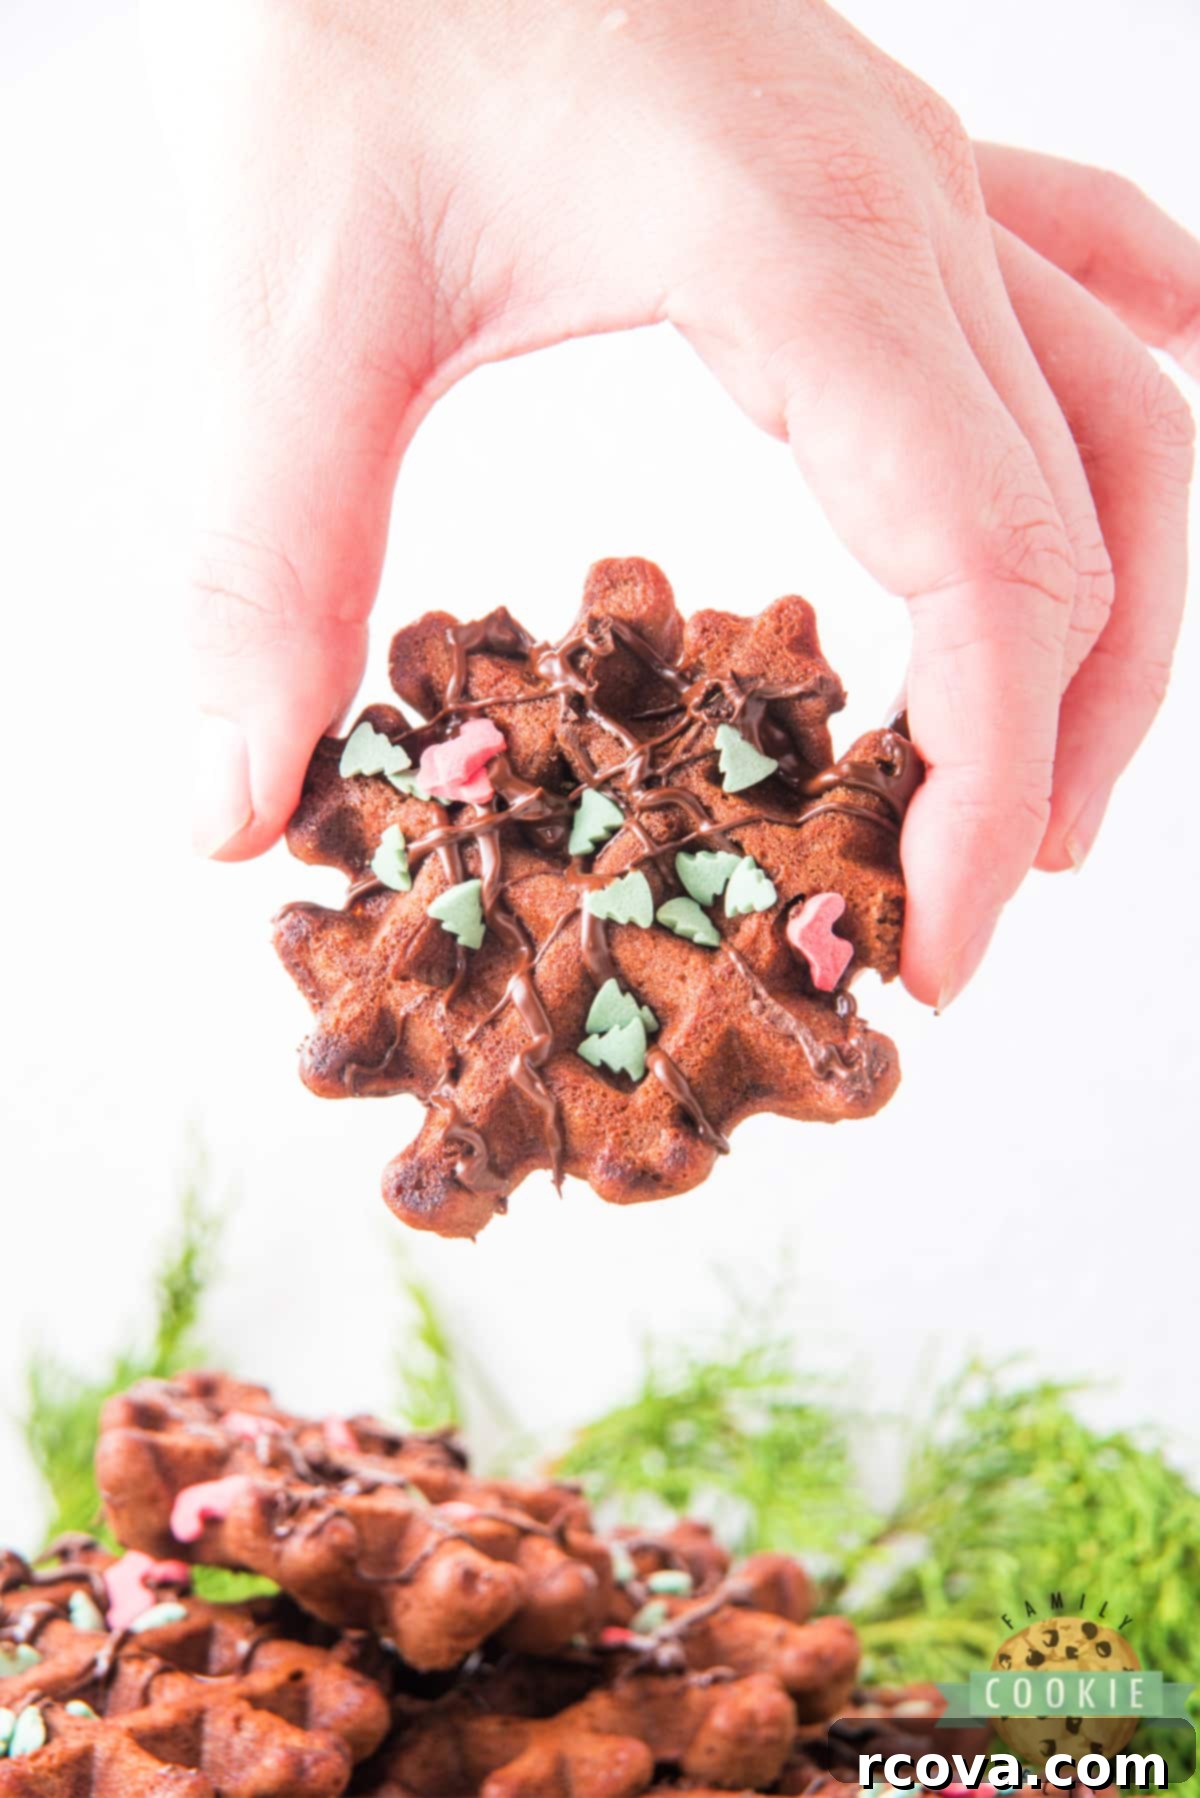
Unveiling the Charm of Waffle Cookies
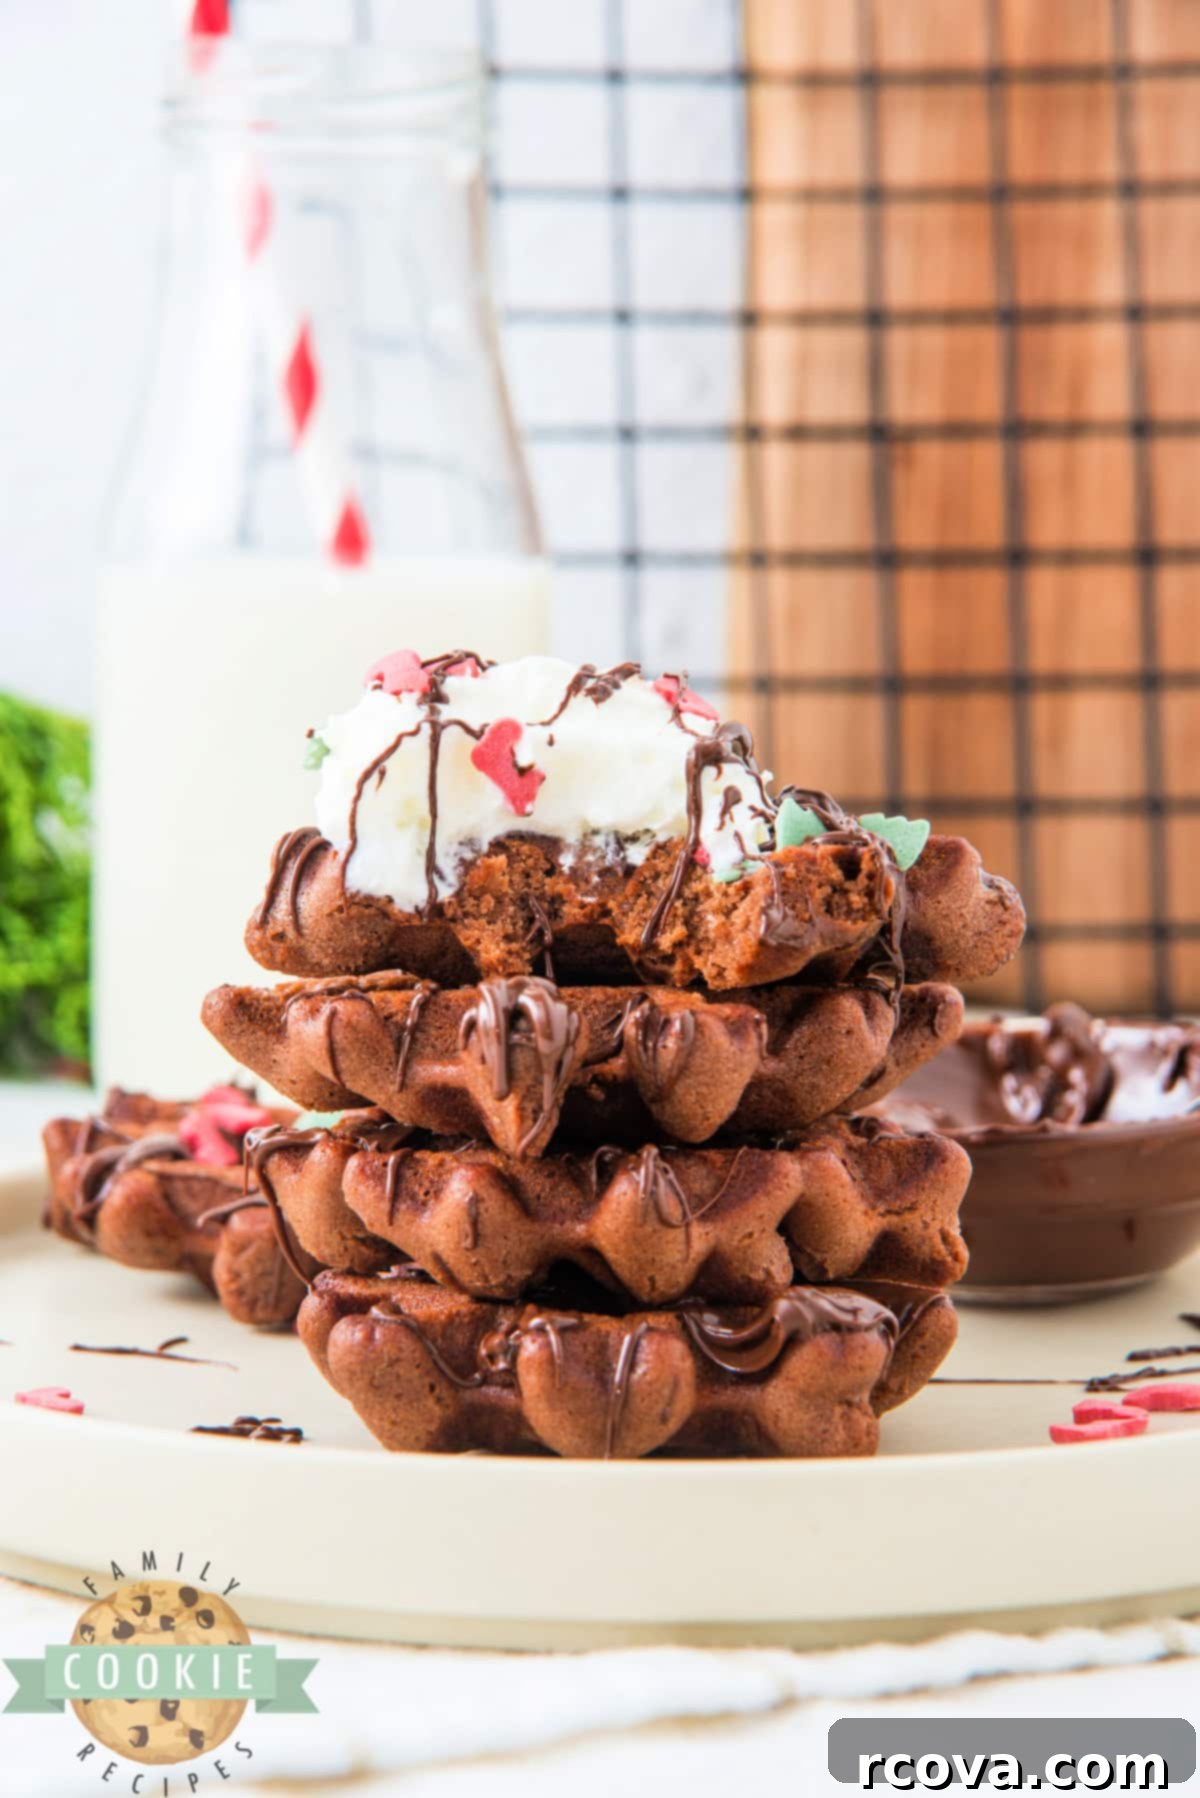
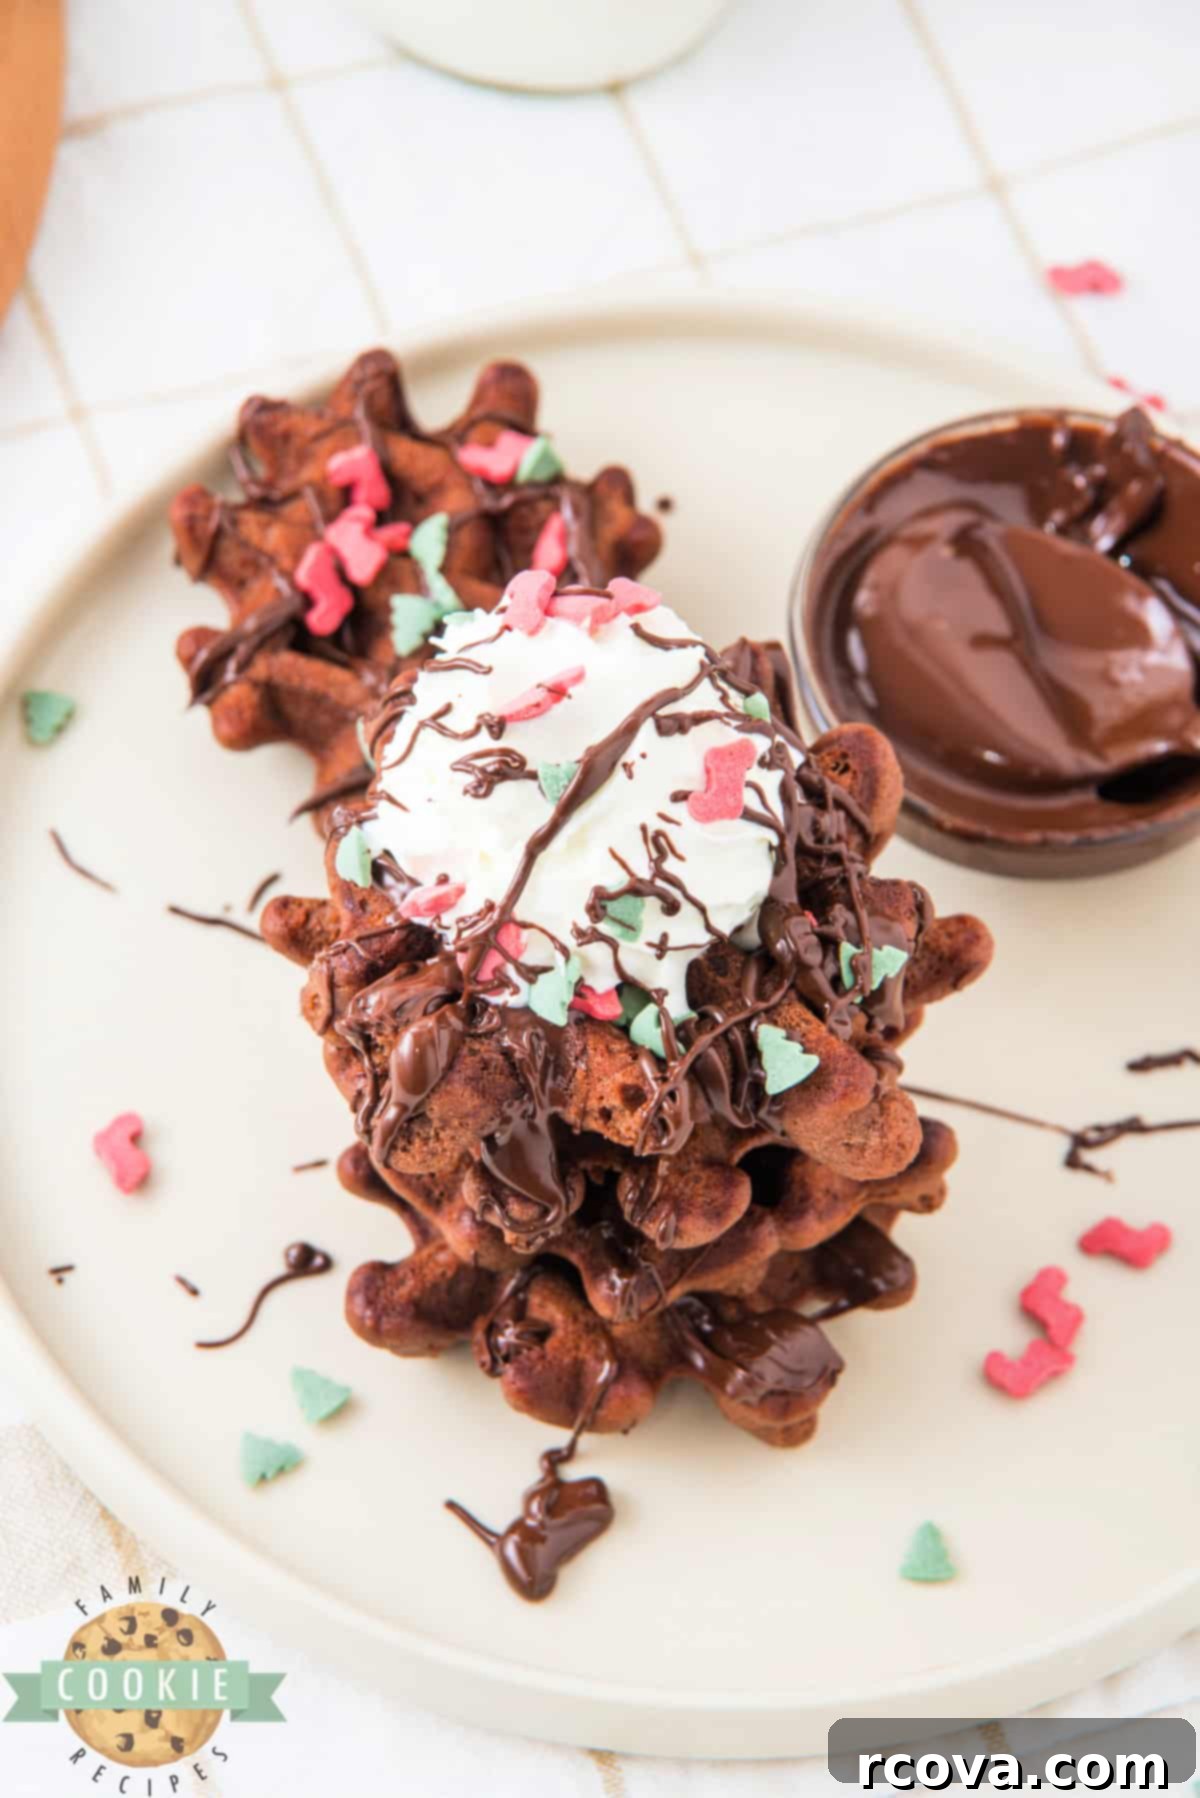
Waffle cookies, as the name cleverly suggests, are simply cookies that take on the beloved, iconic waffle pattern! It’s a brilliantly simple concept: transform traditional cookie dough into a fun, new shape using a waffle maker. By placing a spoonful of cookie batter into your preheated waffle iron, you’ll have a perfectly cooked, uniquely textured cookie ready to enjoy in approximately 2 to 3 minutes. This method offers a playful and engaging way to serve cookies, especially for parties or family gatherings, as their distinctive appearance is always a conversation starter. The ridged surface isn’t just for looks; it creates a delightful interplay of soft interior and slightly crispy edges. Serve these warm chocolate waffle cookies with a generous scoop of vanilla ice cream, a dollop of whipped cream, or even a sprinkle of powdered sugar for an extra decadent and memorable treat that everyone will adore.
Why You’ll Adore This Unique Chocolate Cookie Recipe
Beyond their charming appearance, these Christmas Chocolate Waffle Cookies offer a multitude of reasons to become your new holiday favorite. They combine convenience with customization, making them a joy to prepare and even more delightful to devour.
- Customizable Soft and Chewy Texture: The waffle iron provides a unique cooking environment that results in a wonderfully soft and fudgy cookie. The individual cooking process means you have precise control over the texture. Prefer your cookies incredibly gooey and soft? Cook them for a shorter duration. Craving a slight crispness on the outside while maintaining a chewy center? Leave them in for an extra minute. This adaptability allows you to cater to everyone’s cookie texture preferences, making each batch perfectly personalized.
- Effortlessly Festive and Versatile Appearance: What truly makes these cookies shine for the holidays are the colorful sprinkles! The deep chocolate base serves as a beautiful canvas for vibrant red and green holiday sprinkles, instantly transforming them into a festive masterpiece. But don’t limit yourself to Christmas! This recipe is incredibly versatile. Swap out the holiday sprinkles for pastel colors for Easter, rainbow sprinkles for birthdays, or even school colors for graduation parties. The chocolate drizzle not only adds an extra layer of flavor but also acts as the perfect adhesive for your chosen decorations, ensuring your sprinkles stick beautifully.
- Ideal for Sharing and Gifting During the Holidays: These unique chocolate waffle cookies are an absolute crowd-pleaser and are perfect for any holiday gathering, cookie exchange, or as thoughtful homemade gifts. Their distinctive shape and festive decoration make them stand out on any dessert platter. Pack them in decorative tins or bags tied with a ribbon for a personalized touch that friends, family, and neighbors will truly appreciate. The ease of making them also means you can whip up multiple batches without stress, ensuring there’s enough joy to go around!
- No Oven Required – A Holiday Lifesaver!: One of the biggest advantages of this recipe, especially during the busy holiday season, is the complete lack of oven reliance. When your oven is typically monopolized by roasts, casseroles, or other baked goods, the waffle maker provides an invaluable alternative for dessert creation. This frees up crucial oven space and helps manage your kitchen workflow, allowing you to prepare multiple dishes simultaneously without breaking a sweat. It’s an efficient and smart way to conquer holiday baking.
- Quick & Easy Preparation from Start to Finish: From mixing the dough to cooking each batch, these cookies are designed for speed and simplicity. The dough comes together quickly, and individual cookies cook in just 2-3 minutes. This means you can have warm, fresh cookies ready to serve in under 30 minutes, including resting time! This makes them perfect for impromptu guests, last-minute cravings, or when you simply want a delicious homemade treat without a lengthy baking process.
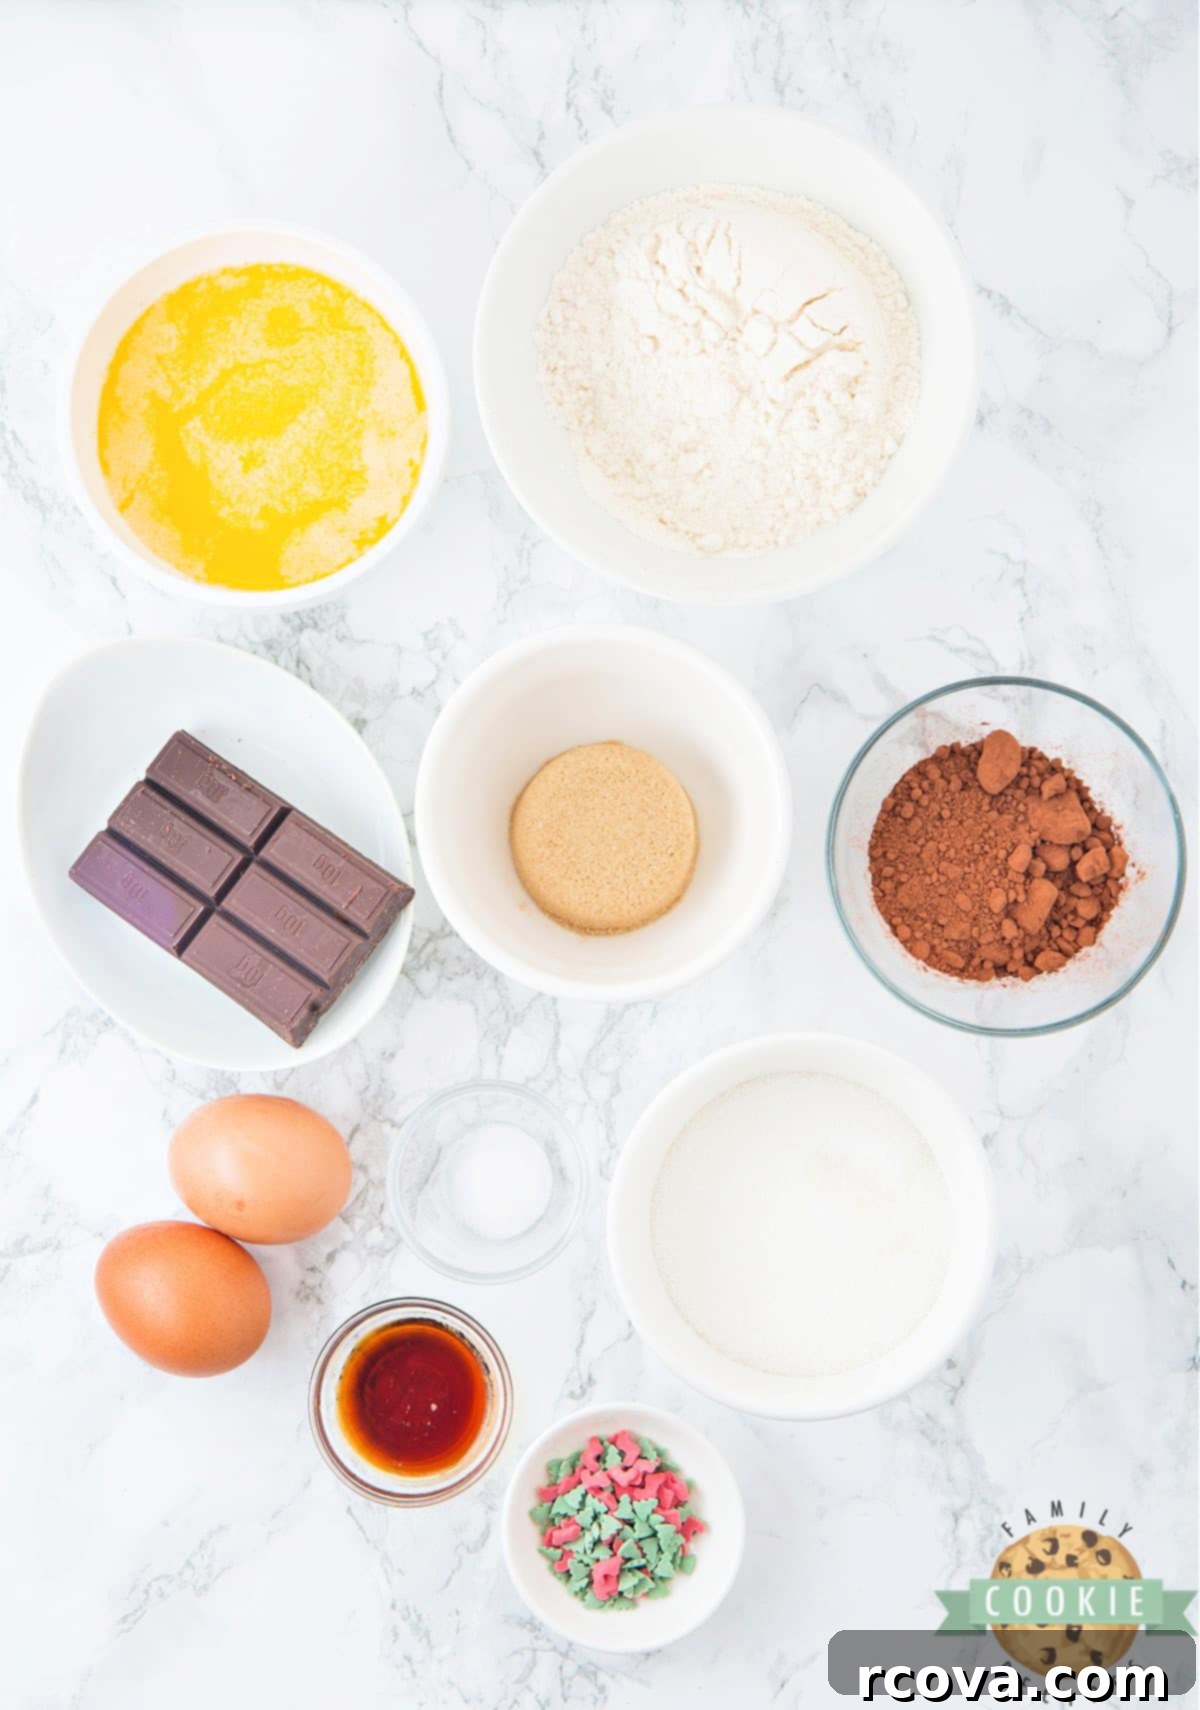
Essential Ingredients for Your Christmas Chocolate Waffle Cookies
Crafting these delectable waffle cookies requires a handful of common pantry staples. Each ingredient plays a crucial role in achieving that perfect fudgy texture and rich chocolate flavor. Here’s a closer look at what you’ll need and some tips for best results:
- Butter: You’ll need ½ cup of melted butter. For superior flavor and texture, always opt for real butter. I typically use salted butter as it helps to balance the sweetness, but unsalted butter will work just as wonderfully; simply add a pinch more salt to your dry ingredients if using unsalted. Ensure it’s fully melted before combining with the other wet ingredients to achieve a smooth, consistent dough.
- Sugars: This recipe calls for a combination of ½ cup granulated sugar and ¼ cup brown sugar. Granulated sugar contributes to crispness and sweetness, while brown sugar adds moisture, chewiness, and a subtle molasses flavor that complements the chocolate beautifully. Make sure your brown sugar is soft and fresh; if it’s hard, a quick trick is to microwave it with a damp paper towel for a few seconds to soften it.
- Eggs: Two large eggs act as a crucial binding agent, holding all the ingredients together and contributing to the structure and richness of the cookies. For best results, allow your eggs to come to room temperature before mixing, as this helps them incorporate more evenly into the batter, leading to a smoother dough.
- Vanilla Extract: Just one teaspoon of high-quality vanilla extract can elevate any cookie recipe, and these chocolate waffle cookies are no exception. Vanilla deepens the chocolate flavor and adds a warm, aromatic note. The quality of your vanilla truly makes a difference, so don’t hesitate to use your favorite premium brand.
- Cocoa Powder: Unsweetened cocoa powder is the star ingredient that delivers that intense, rich chocolate flavor we all crave. Ensure you’re using unsweetened cocoa, not hot chocolate mix. Dutch-processed cocoa powder will yield a darker color and milder chocolate flavor, while natural unsweetened cocoa will be lighter and more intensely chocolaty. Either works well, depending on your preference.
- All-Purpose Flour: One cup of all-purpose flour provides the necessary structure for these cookies. It’s a versatile flour that works perfectly here. If you prefer a gluten-free option, a good quality 1:1 gluten-free baking blend can often be substituted, but results may vary slightly in texture.
- Salt: A tiny pinch of ¼ teaspoon of salt is vital! It doesn’t just add saltiness; it beautifully enhances and balances all the other sweet and rich flavors in the cookie dough, making the chocolate taste even more prominent.
- Chocolate Chips (for Drizzle): You’ll need ½ cup of semi-sweet or milk chocolate chips to create a simple, elegant drizzle for the top of your cooled cookies. This not only adds an extra layer of delicious chocolate flavor but, more importantly, provides the perfect sticky base for your festive sprinkles to adhere to.
- Holiday Sprinkles: To give these cookies their festive charm, an assortment of holiday sprinkles (typically red and green for Christmas) is essential. These add visual appeal and a fun crunch. For other occasions, feel free to get creative and use whatever colors or shapes of sprinkles you desire! Confetti, nonpareils, or even edible glitter can transform these into a treat for any celebration.
Crafting Your Christmas Chocolate Waffle Cookies: Step-by-Step Guide
Making these no-bake cookies is a straightforward and enjoyable process. Follow these detailed steps to ensure perfectly fudgy and festive treats every time.
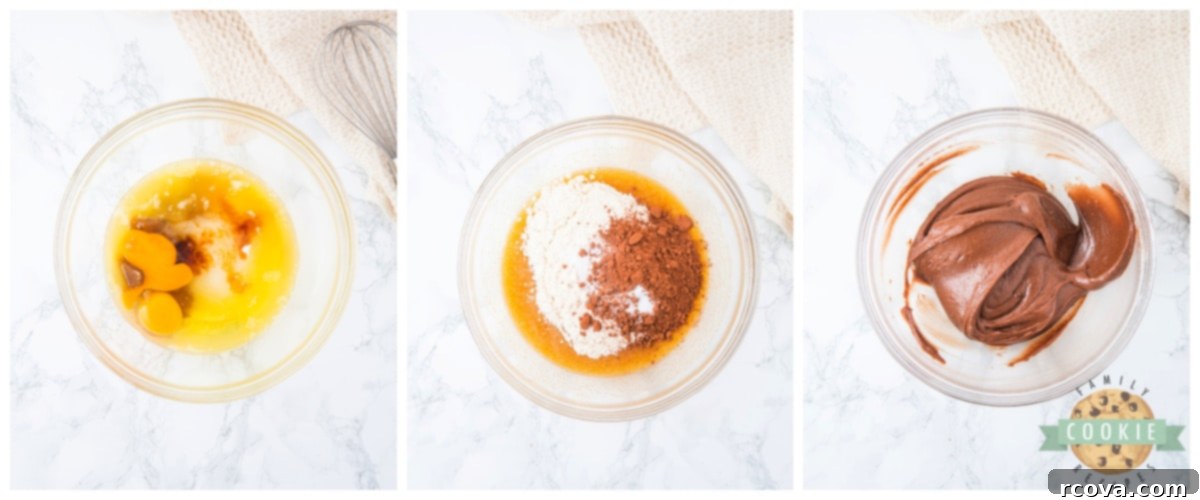
- Combine Wet Ingredients: In a spacious mixing bowl, combine the melted butter, both granulated sugar and brown sugar, eggs, and vanilla extract. Whisk or beat these ingredients thoroughly until they are fully combined and the mixture is smooth and creamy. This ensures a uniform texture in your cookies.
- Incorporate Dry Ingredients: To the same bowl, add the unsweetened cocoa powder, all-purpose flour, and salt. Mix these dry ingredients into the wet mixture until a smooth, cohesive dough forms. Be careful not to overmix, as this can lead to tougher cookies. Mix just until no streaks of flour remain.
- Rest the Dough: This step is often overlooked but crucial for optimal texture! Cover the bowl and allow the cookie dough to rest at room temperature for at least 15 minutes. This resting period allows the flour to fully hydrate, which helps the ingredients to settle and prevents the cookies from spreading too much in the waffle maker, ultimately yielding a better, more tender texture.
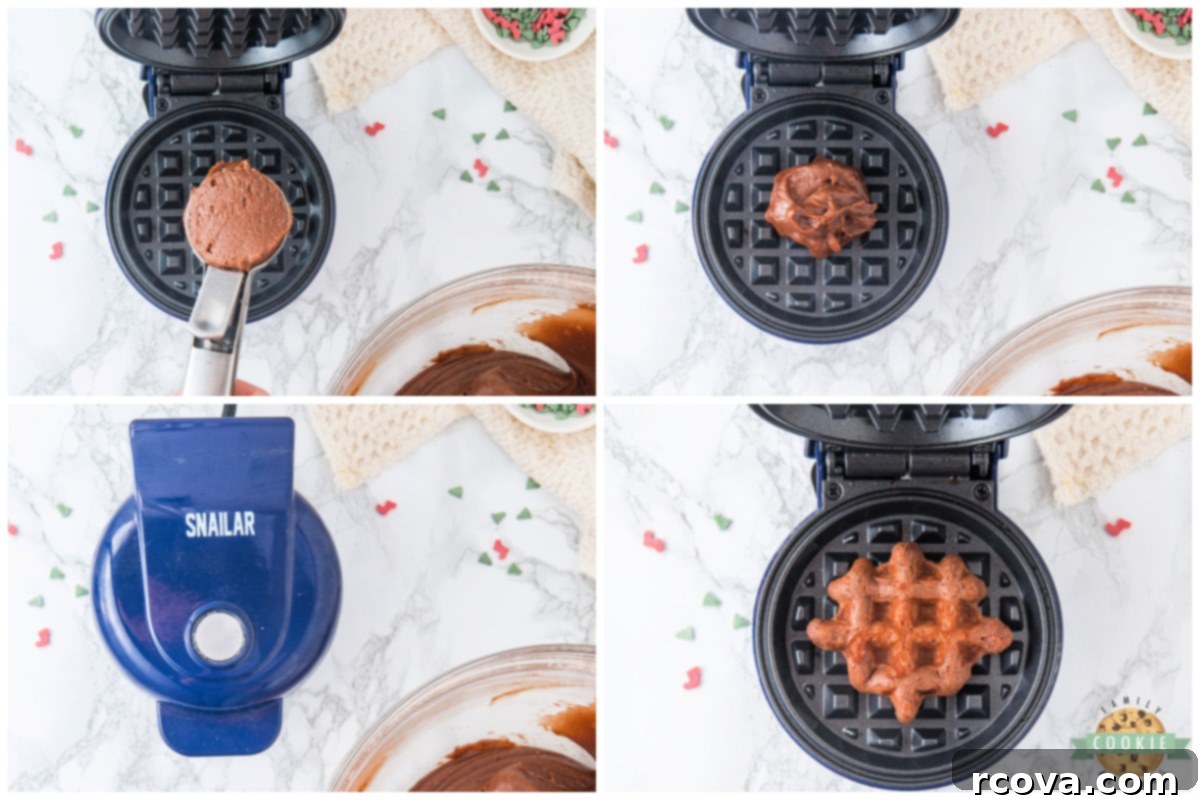
- Preheat Your Waffle Maker: While your dough is resting, plug in and preheat your electric waffle maker. It’s essential that the waffle maker is fully preheated and hot before you add any dough. This prevents sticking and ensures that the cookies cook evenly, developing that desirable slightly crispy exterior and soft interior. Most waffle makers have an indicator light that signals when it’s ready.
- Cook the Waffle Cookies: Once your waffle maker is piping hot, scoop about one tablespoon of dough per cookie and place it in the center of each waffle section. Close the lid and cook for approximately 2 to 3 minutes. The exact cooking time will depend on your waffle maker model and your desired level of crispness. For softer, fudgier cookies, cook for less time. For a crispier edge, extend the cooking by another 30 seconds to a minute. Always keep a close eye on the first couple of cookies to determine the ideal cooking time for your specific waffle maker and preferred texture.
- Cool the Cookies: Carefully remove the cooked waffle cookies from the waffle maker using a spatula. Transfer them immediately to a wire cooling rack. Allowing them to cool on a rack ensures air circulation, helping them to firm up slightly and prevent them from becoming soggy.
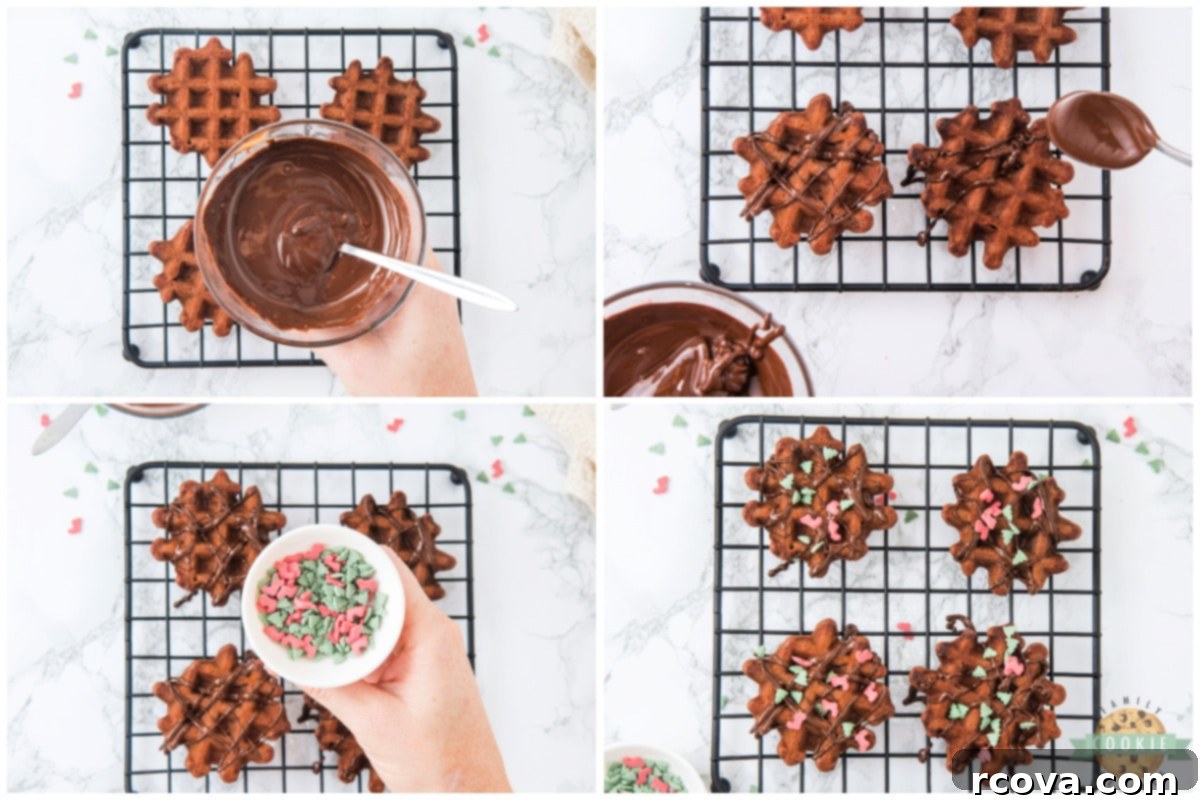
- Melt the Chocolate for Drizzle: Place your semi-sweet or milk chocolate chips in a microwave-safe bowl. Microwave on high for 30 seconds. Remove and stir well. Continue microwaving in 15-second intervals, stirring vigorously after each interval, until the chocolate is completely melted and smooth. Be careful not to overcook the chocolate, as it can seize and become lumpy. If it feels too thick, a tiny bit of coconut oil or vegetable oil (¼ teaspoon) can help thin it out.
- Drizzle and Decorate: Once the cookies have cooled completely, drizzle the melted chocolate generously over the top of each cookie. While the chocolate is still wet, immediately sprinkle your chosen holiday sprinkles (or any sprinkles!) over the chocolate. This ensures the sprinkles adhere securely before the chocolate sets. Allow the chocolate to harden completely before stacking or storing the cookies.
Christmas Chocolate Waffle Cookies
Print
Pin
Rate
Ingredients
- ½ cup butter melted
- ½ cup granulated sugar
- ¼ cup brown sugar
- 2 large eggs
- 1 teaspoon vanilla extract
- ⅓ cup unsweetened cocoa powder
- 1 cup all-purpose flour
- ¼ teaspoon salt
- ½ cup semi-sweet or milk chocolate chips for drizzling
- holiday sprinkles for decoration
Instructions
-
In a large bowl, combine the melted butter, granulated sugar, brown sugar, eggs, and vanilla extract. Mix thoroughly until the wet ingredients are fully combined and smooth.
-
Add the cocoa powder, all-purpose flour, and salt to the same bowl. Mix until the dough is smooth and uniform, being careful not to overmix.
-
Allow the dough to rest for 15 minutes. This step is important for improving the cookie’s final texture.
-
While the dough is resting, preheat your electric waffle maker. Ensure it reaches its full operating temperature before proceeding to prevent sticking and achieve a nice, even texture.
-
Once the waffle maker is hot, place one tablespoon of dough onto each section to form individual cookies. Cook for 2 to 3 minutes, or until the cookies are fully cooked through to your preferred level of softness or crispness. (Cooking times may vary slightly between waffle maker models, so monitor the first batch closely).
-
Carefully remove the cooked cookies from the waffle maker and transfer them to a wire cooling rack to cool down and firm up.
-
In a microwave-safe dish, melt the chocolate chips. Microwave for 30 seconds, stir, then continue in 15-second intervals, stirring after each, until smooth and fully melted. Avoid overheating the chocolate.
-
Drizzle the melted chocolate over the cooled cookies. Immediately apply holiday sprinkles while the chocolate is still wet to ensure they stick. Allow the chocolate to set completely before serving or storing.
Nutrition
How to Store Your Christmas Chocolate Waffle Cookies?
To ensure your delightful waffle cookies remain fresh and delicious for as long as possible, proper storage is key. Here are some guidelines based on how quickly you plan to enjoy them:
- Room Temperature: If you anticipate devouring these cookies within 3 to 4 days, storing them at room temperature is perfectly acceptable. The most crucial step is to place them in an airtight container immediately after they have cooled completely. This prevents them from drying out or becoming stale, maintaining their soft, fudgy texture. Keep the container in a cool, dry place away from direct sunlight.
- Refrigerator: For those living in warmer, more humid climates, or if you wish to extend their freshness for up to a week, refrigerating your cookies is a wise choice. Again, an airtight container is paramount to protect them from absorbing other odors and to prevent them from drying out. Be aware, however, that refrigeration can sometimes alter the texture of chocolate cookies, potentially making them a bit firmer or slightly less chewy. If you prefer a softer cookie, you might want to bring them back to room temperature for a few minutes before serving.
- Freezer: If you’re planning to bake ahead for the holidays or simply want to keep a stash of these delightful treats for an extended period, the freezer is your best friend. To freeze, first ensure the cookies are completely cooled and the chocolate drizzle has fully set. Then, wrap individual cookies tightly in plastic wrap, followed by a layer of aluminum foil to prevent freezer burn. Place the wrapped cookies in a freezer-safe airtight container or a heavy-duty freezer bag. They can be stored in the freezer for up to 2-3 months. When you’re ready to enjoy them, simply thaw the cookies at room temperature for a few hours. For a warm treat, you can even gently reheat them in the waffle maker for about 30 seconds to a minute!
Selecting the Perfect Vanilla Extract: A Deep Dive
Vanilla extract, though often a background player, is a powerhouse ingredient that profoundly impacts the overall flavor profile of your cookies. Its quality can truly elevate a good cookie to an extraordinary one. A few years ago, I embarked on a journey to test ten different vanilla extracts, and the results were eye-opening, leading me to discover some new absolute favorites that I now wholeheartedly recommend.
For my everyday baking, I find myself consistently reaching for TOTONAC’s Mexican Vanilla. This pure vanilla extract stands out because it contains no alcohol, which is a significant plus for me as I genuinely dislike the often bitter or artificial taste that can come with alcohol-based extracts. Each time I experiment with a different brand, I inevitably return to Totonac’s because its smooth, rich, and authentic vanilla flavor is simply unparalleled. It truly makes a noticeable difference in the depth of taste in any baked good, especially in chocolate recipes where it helps to enhance the cocoa notes.
Another absolute gem that I adore for special occasions or when I want that extra touch of gourmet flavor is Nielsen Massey Vanilla Bean Paste. This isn’t just an extract; it’s a paste infused with real vanilla bean flecks, offering an intense, complex, and visually appealing vanilla presence. The flavor it imparts is by far superior, boasting a creamy, rich, and fragrant essence that is simply divine. While a bit more of an investment, a small amount goes a long way, and the unparalleled taste it brings to your Christmas Chocolate Waffle Cookies is well worth it. Using high-quality vanilla is one of those small changes that yields surprisingly big results in your baking, transforming simple ingredients into something truly special.
Discover More Delicious Holiday Cookie Recipes
If you’re looking to expand your holiday baking repertoire beyond these fantastic waffle cookies, here are some other festive favorites from our collection that you’re sure to love. Each recipe is designed to bring joy and deliciousness to your Christmas celebrations!
- CHRISTMAS BROWNIE COOKIES
- CHRISTMAS SPRINKLE SUGAR COOKIES
- NO-BAKE GINGERBREAD COOKIES
- RASPBERRY CHOCOLATE CRINKLE COOKIES
- EGGNOG OATMEAL COOKIES
- HOLIDAY BUTTER COOKIES
- CHRISTMAS TREE TWIX COOKIES
- GINGERBREAD COOKIE BARS
- CHOCOLATE RITZ CRACKER COOKIES
- MINT CHRISTMAS COOKIES
- PEPPERMINT SHORTBREAD COOKIES
- GINGERBREAD HOUSE COOKIES
- CHRISTMAS SUGAR COOKIES
We hope these Christmas Chocolate Waffle Cookies bring a little extra magic and a lot of deliciousness to your holiday celebrations. Their no-bake simplicity, delightful texture, and festive appeal make them a perfect choice for bakers of all skill levels. Enjoy the process of creating these wonderful treats and sharing them with your loved ones!
