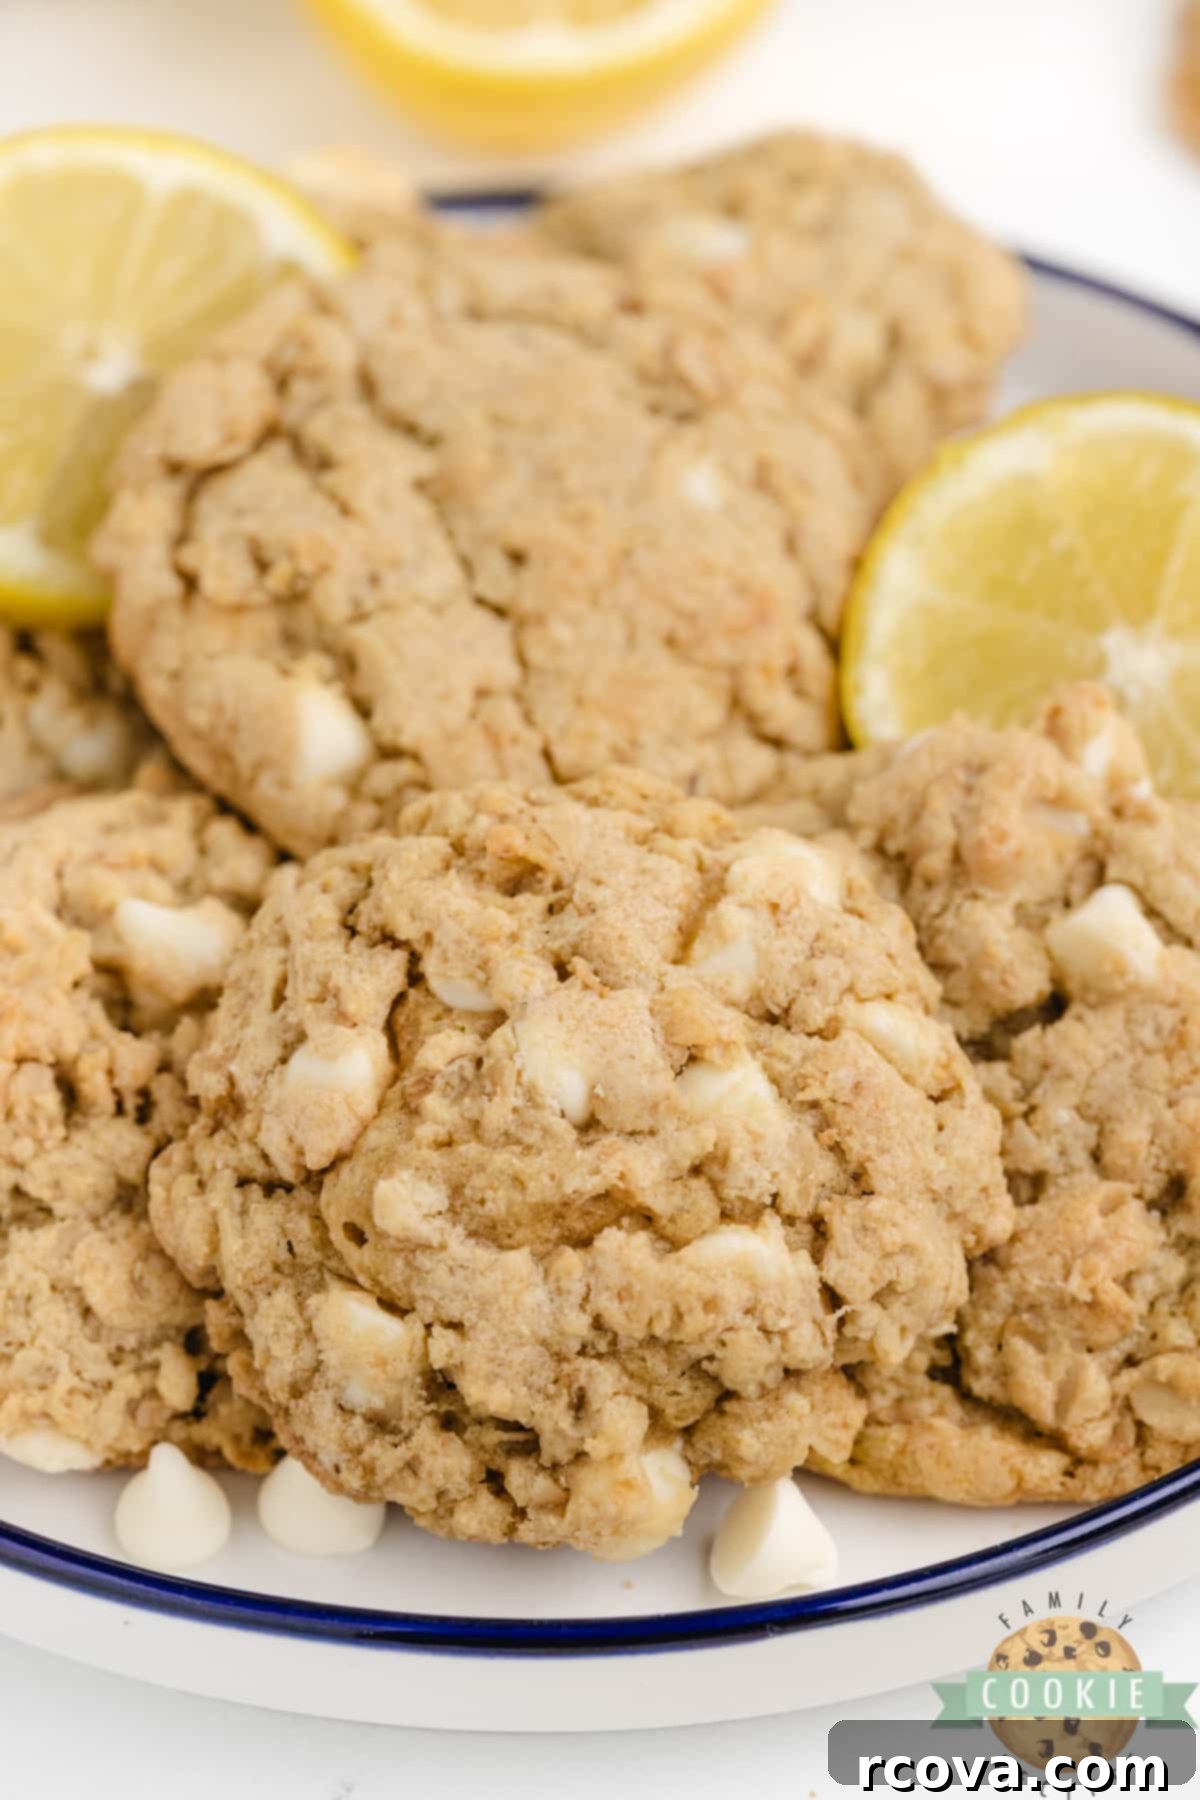
Delicious Lemon Oatmeal Cookies: Soft, Chewy & Zesty Recipe
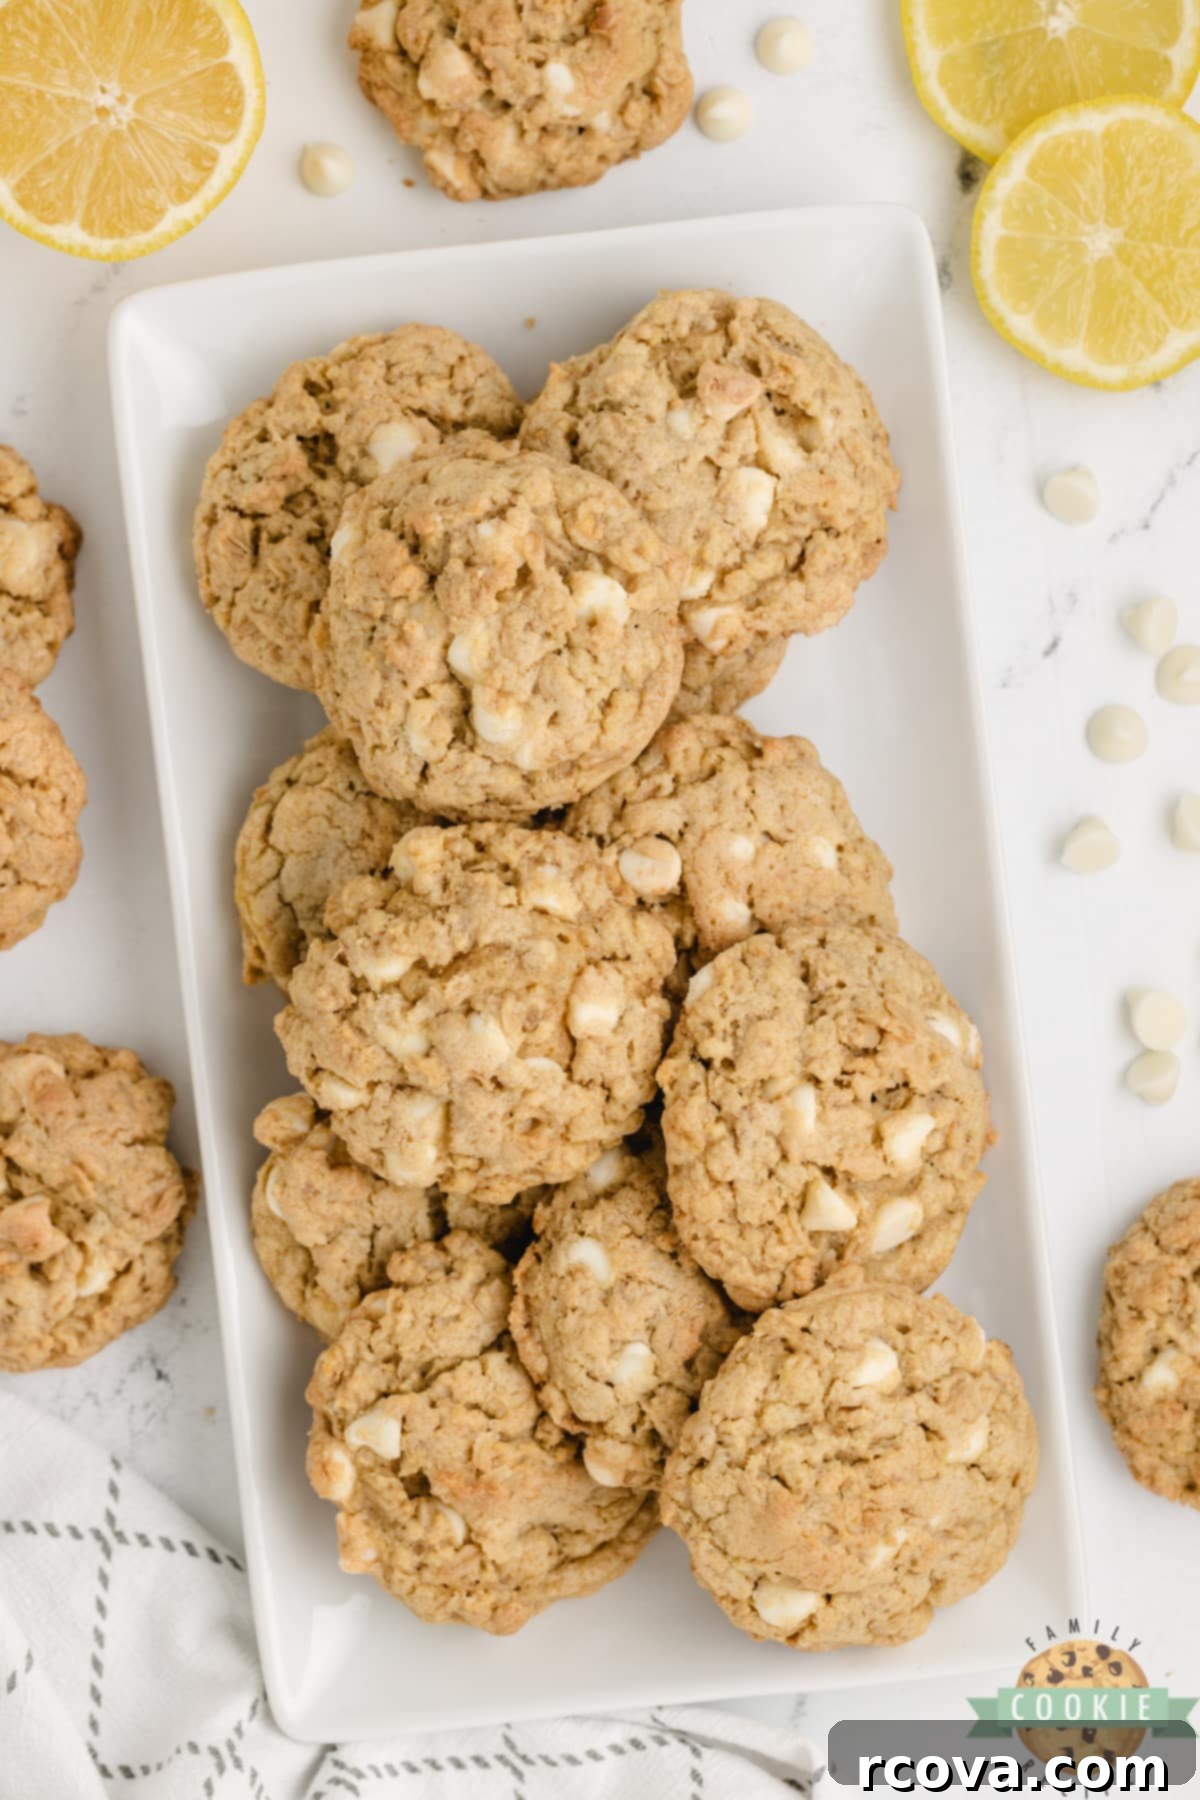
Discover the irresistible delight of Lemon Oatmeal Cookies – a perfect blend of soft, chewy texture with a vibrant, zesty lemon flavor. This easy recipe achieves its unique taste and incredible consistency thanks to the secret ingredient: lemon pudding mix, perfectly complemented by sweet white chocolate chips. If you’re searching for an elevated oatmeal cookie experience that’s bursting with citrus, look no further. This recipe is designed to be straightforward, delivering a batch of incredibly flavorful cookies with minimal fuss, making it an ideal choice for both seasoned bakers and beginners.
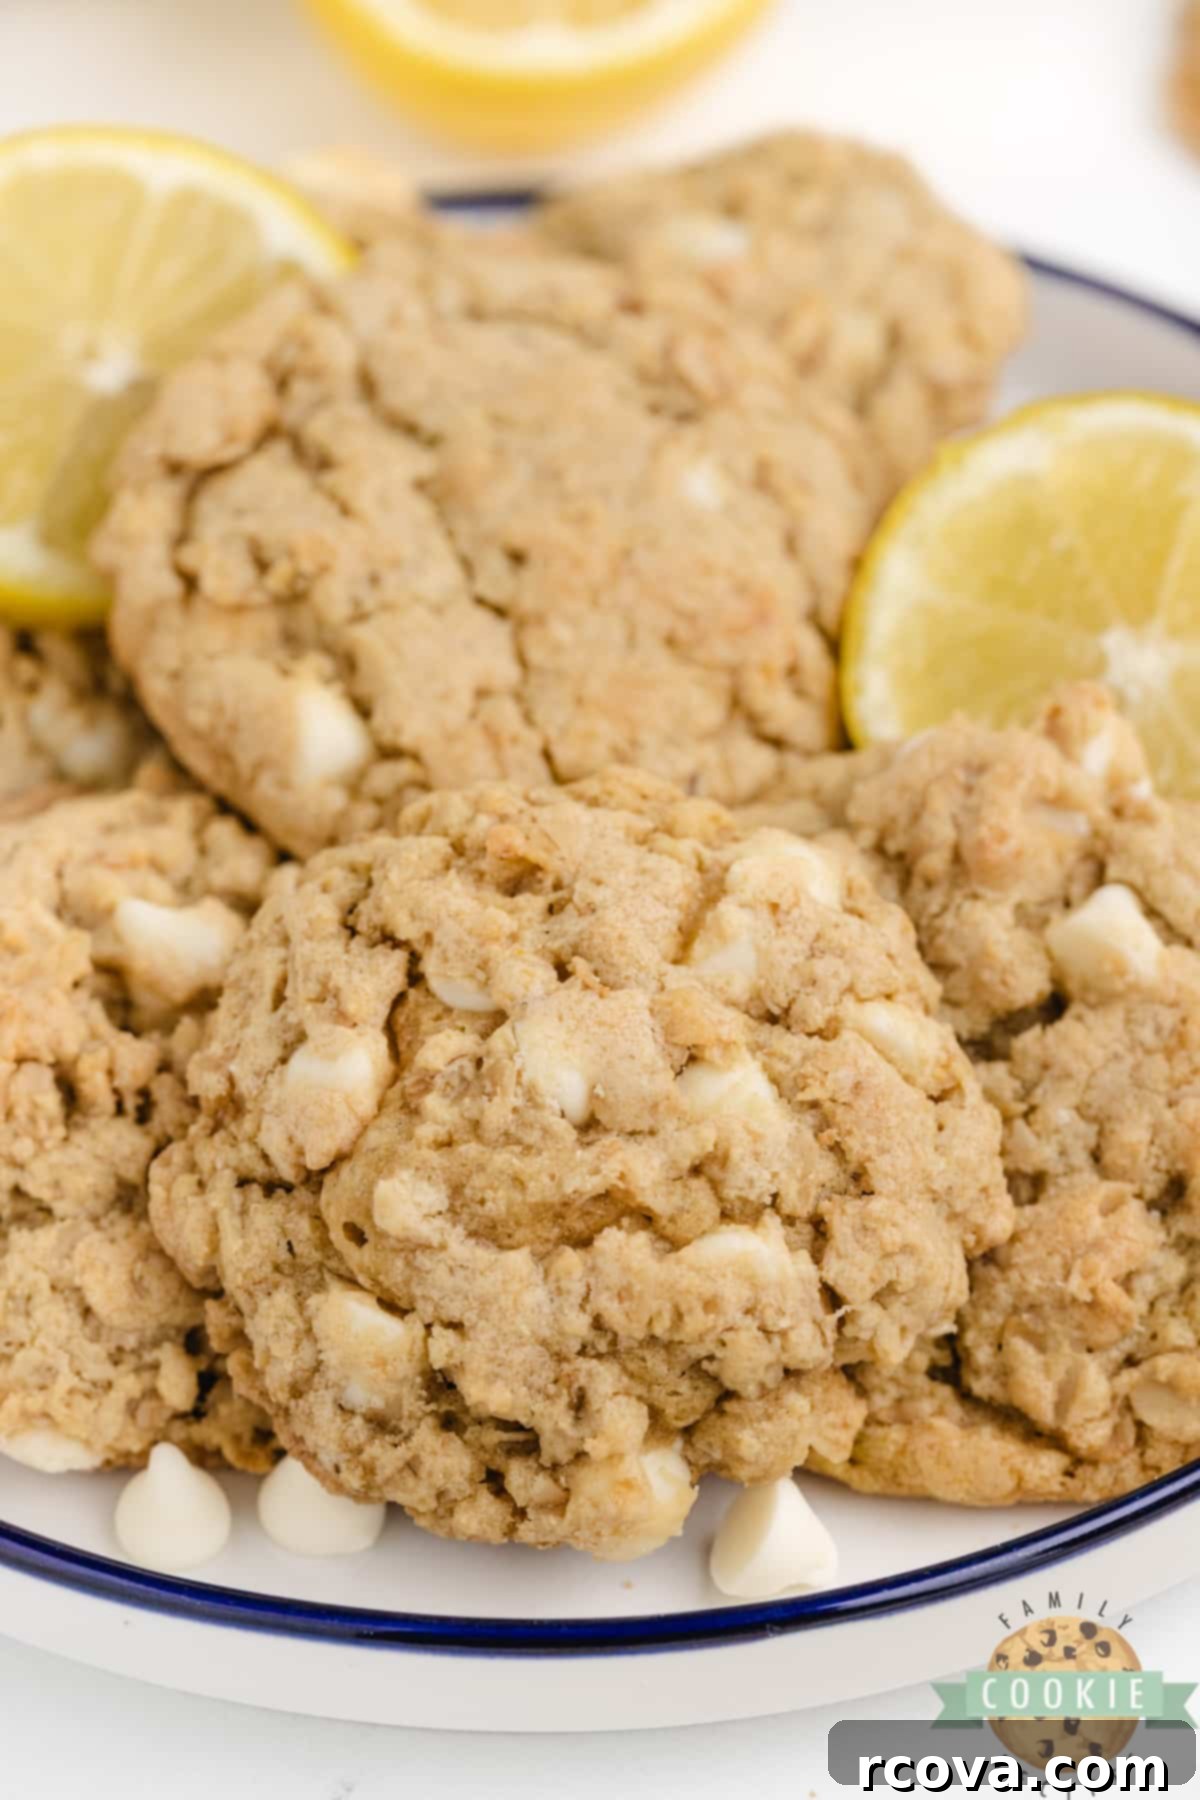
Oatmeal cookies have always held a special place in my heart. There’s something inherently comforting about their wholesome texture and adaptable nature. While classic oatmeal cookies are wonderful, I’ve always enjoyed experimenting with different flavors to keep things exciting. Lately, my kitchen has been filled with the bright and invigorating aroma of lemon, inspiring me to infuse this cheerful citrus note into my go-to oatmeal cookie recipe. The idea of incorporating lemon pudding mix immediately came to mind, knowing it would not only impart a fantastic lemon flavor but also contribute to an incredibly soft and moist texture. The results were truly spectacular, exceeding all my expectations and creating a cookie that’s both familiar and wonderfully fresh. The combination of chewy oats, zesty lemon, and sweet white chocolate creates a harmony of flavors that is truly addictive.
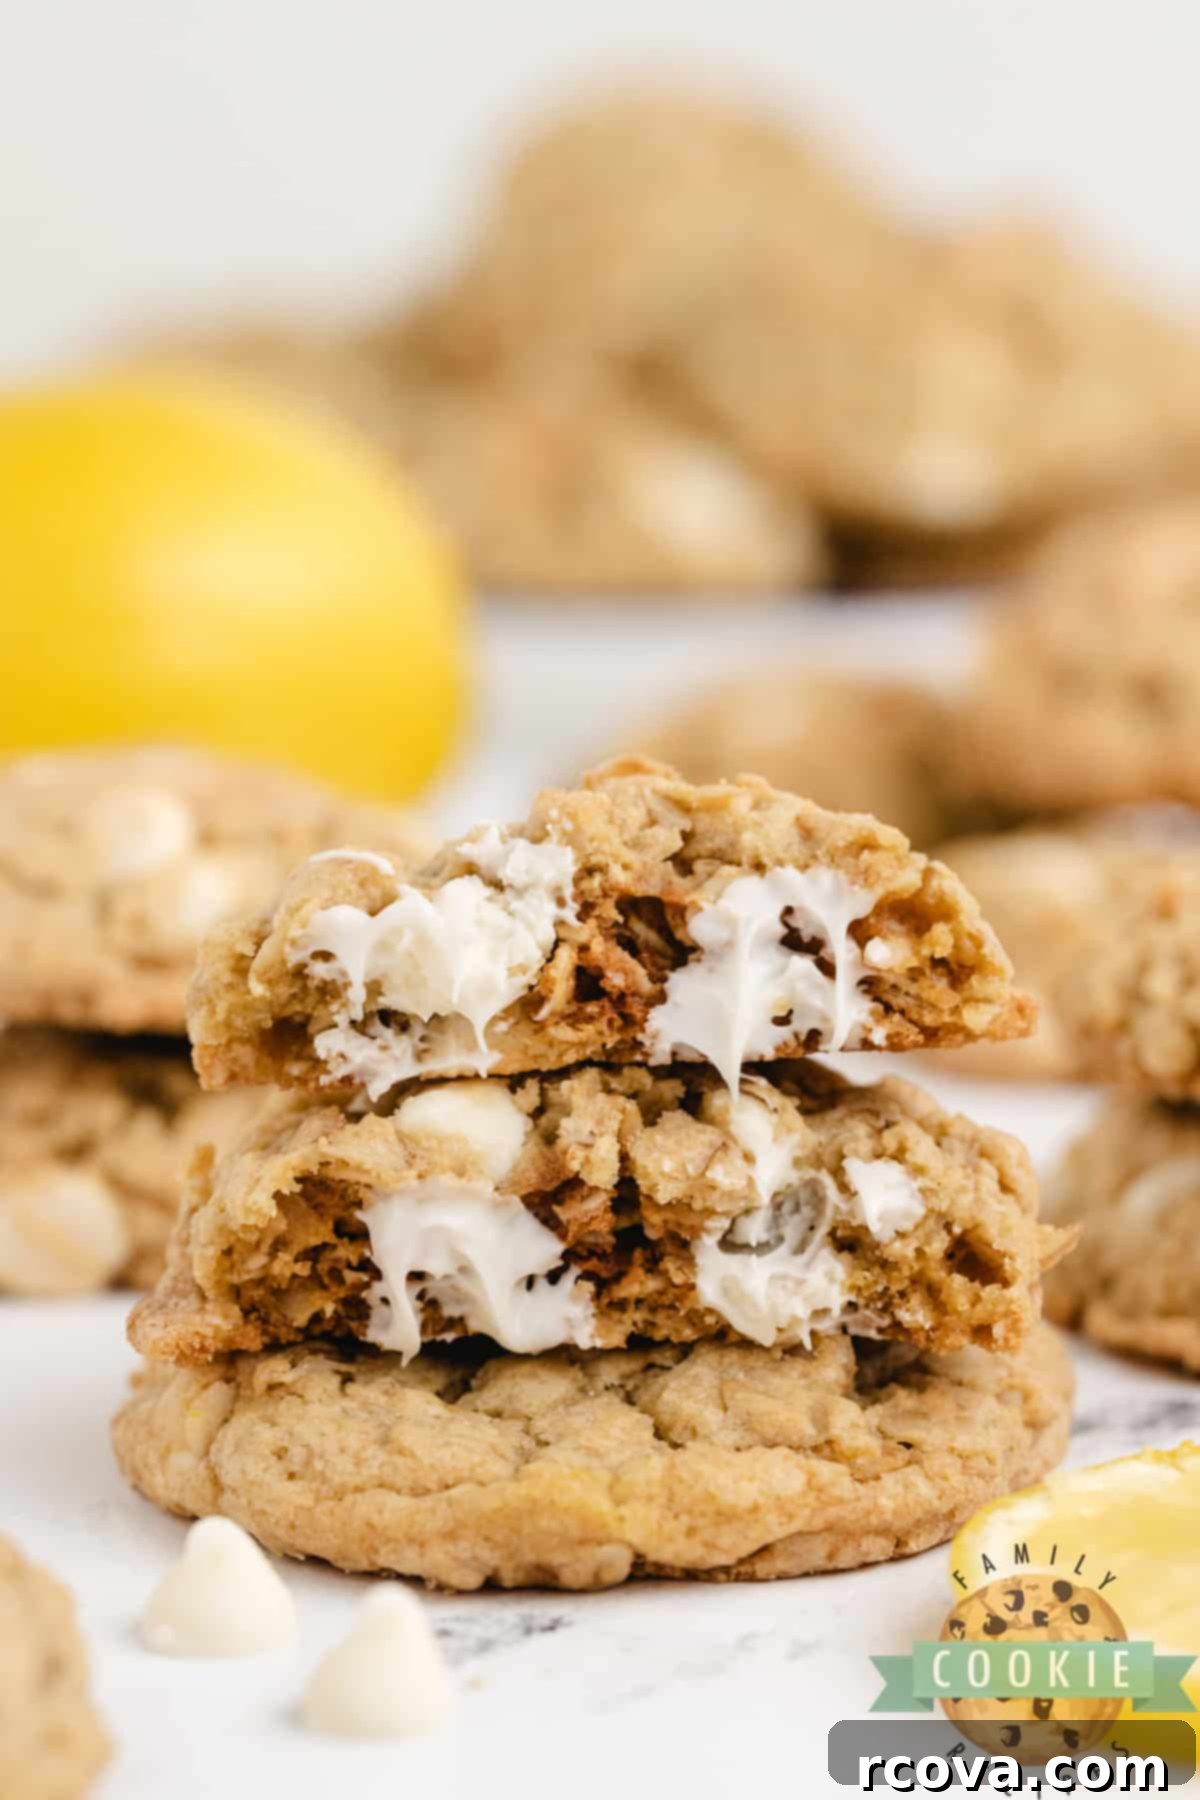
Unlock the Secret to Perfect Oatmeal Cookies
Achieving consistently delicious oatmeal cookies requires a few key techniques. After countless batches and years of baking, I’ve gathered several invaluable tips that elevate an ordinary cookie to an extraordinary treat. Master these, and you’ll be baking the best oatmeal cookies every time, including these delightful lemon-infused variations, ensuring they are always soft, chewy, and full of flavor!
- Ensure Proper Flour Measurement: The right amount of flour is crucial for cookie texture. If your dough feels overly sticky after mixing all ingredients, you might need to add a touch more flour, a teaspoon at a time, until it reaches a manageable consistency. Too little flour can lead to flat, overly spread cookies, while too much can result in dry, crumbly ones. Always spoon flour into your measuring cup and level it off with a straight edge for accuracy, avoiding scooping directly from the bag which can pack it too tightly.
- Cream Butter and Sugars Thoroughly: Don’t rush this step! Creaming together butter and sugars for a full 2-3 minutes introduces air into the mixture, creating a light, fluffy base. This aeration is vital for the cookies’ final texture, contributing to their softness and chewiness. Use an electric mixer on medium speed until the mixture is visibly lighter in color and fluffy, almost like whipped cream. This step is the foundation for a tender cookie.
- Always Preheat Your Oven Completely: This might seem obvious, but it’s a step often overlooked. A properly preheated oven ensures that your cookies begin baking at the correct temperature immediately, which is essential for consistent results. Cold spots or a gradually heating oven can lead to uneven baking, affecting both texture and appearance. Allow at least 15-20 minutes for your oven to fully reach and stabilize at the target temperature before placing cookies inside.
- Invest in a Cookie Scoop: For perfectly shaped and uniformly sized cookies, a cookie scoop is a game-changer. Not only does it make portioning dough incredibly quick and easy, but it also ensures that all your cookies bake evenly. No more guessing or inconsistent sizes, which can lead to some cookies burning while others are underbaked. A 1.5 to 2 tablespoon scoop is ideal for most standard cookie sizes, creating professional-looking results every time.
- Utilize Parchment Paper or Silicone Baking Mats: These baking essentials are your best friends in the kitchen. Lining your baking sheets with parchment paper or a silicone baking mat prevents sticking, promotes even browning, and makes cleanup an absolute breeze. Cookies will slide right off the pan without any scraping, preserving their perfect shape and texture. They also eliminate the need for grease, making them a healthier and more reliable option.
- Avoid Overbaking at All Costs: This is perhaps the most critical tip for soft, chewy cookies. When you remove your cookies from the oven, they should still look slightly underbaked in the center, with edges just beginning to turn golden. The cookies will continue to cook on the hot baking sheet for a few minutes after removal (this is called carryover baking). Overbaking even by a minute can lead to dry, hard cookies. Trust the process; slight underbaking is key to that desirable chewy texture and prevents them from becoming crisp and brittle.
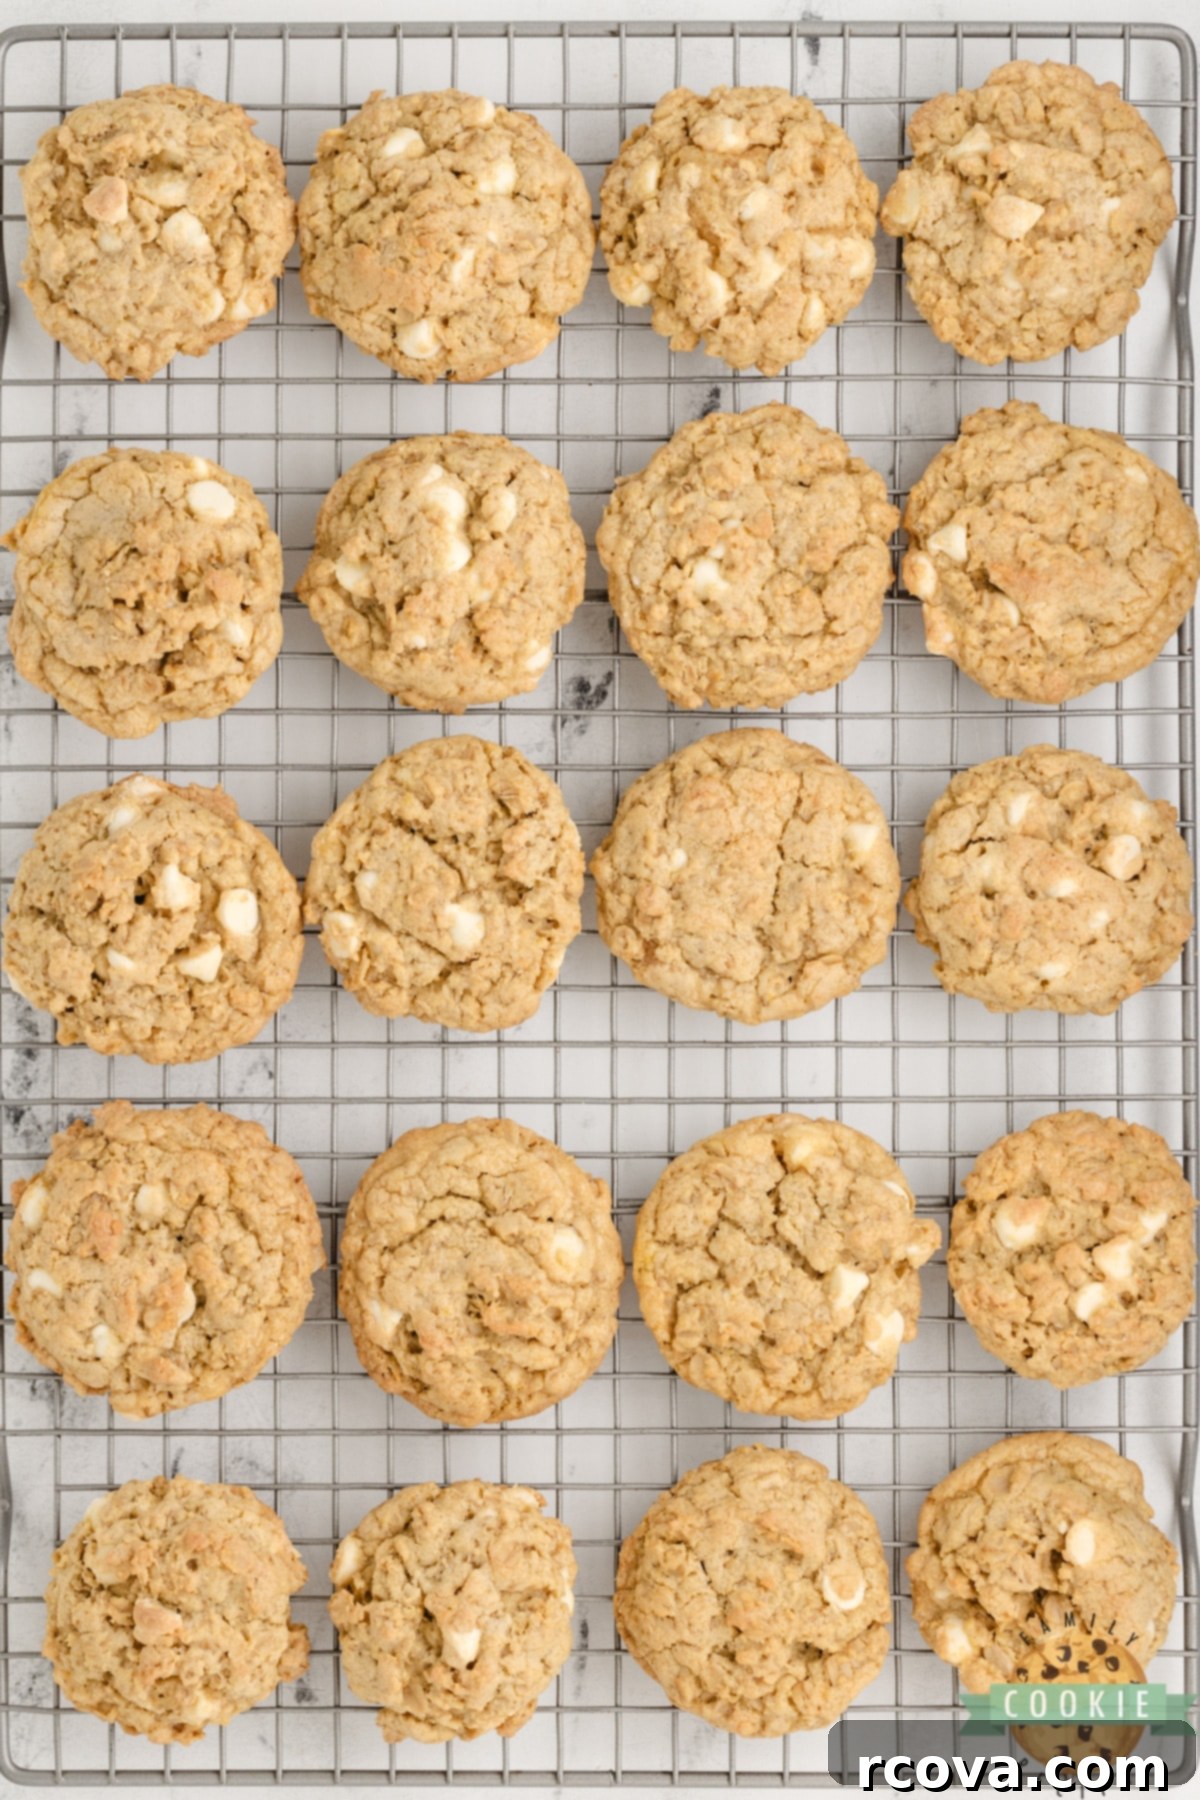
- Cool on a Wire Rack: After allowing the cookies to set on the baking sheet for 2-3 minutes, transfer them to a wire cooling rack. This allows air to circulate around them, preventing the bottoms from becoming soggy and ensuring they cool evenly. Cooling completely on a rack helps to maintain their crisp edges and soft centers.
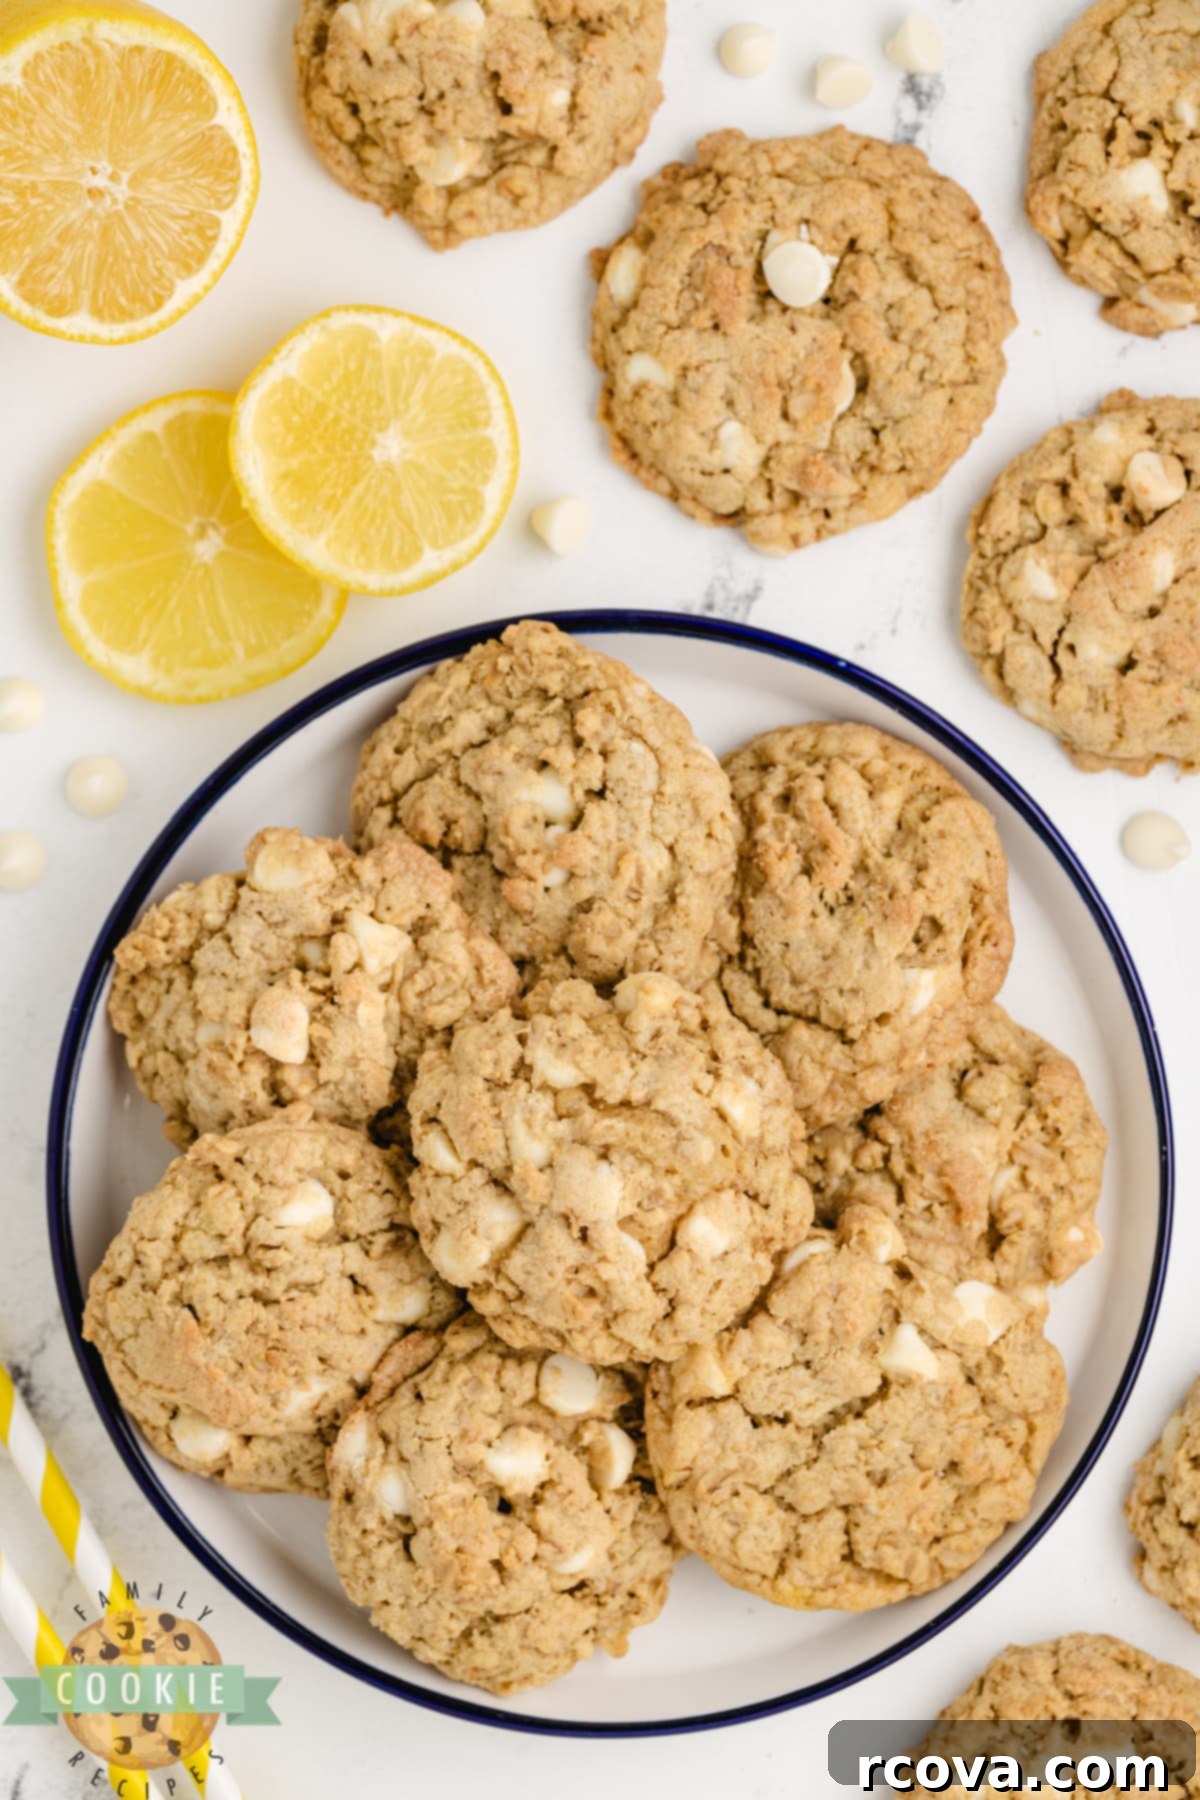
Quick Oats vs. Old-Fashioned Oats: Choosing Your Perfect Texture
When it comes to baking oatmeal cookies, the type of oats you choose can significantly impact the final texture. Both quick oats (also known as instant oats) and old-fashioned oats (or rolled oats) are viable options, and your decision often comes down to personal preference for chewiness and density. Understanding the differences between these two types of oats can help you tailor your cookies to your liking for the ultimate lemon oatmeal cookie experience.
Old-fashioned oats are whole oat groats that have been steamed and then rolled into flat, larger flakes. This minimal processing allows them to retain more of their structural integrity. When used in cookies, old-fashioned oats contribute a distinct, hearty chewiness and a more substantial texture. They make the cookies feel more rustic and, frankly, more like you’re truly indulging in an oatmeal treat – which, for me, makes it much easier to justify enjoying a few of these zesty lemon wonders for breakfast! Their robust nature also means they hold up better, providing a satisfying bite.
Quick oats, on the other hand, are rolled even thinner and cut into smaller pieces than old-fashioned oats. This extra processing means they cook much faster and absorb liquids more rapidly. In cookies, quick oats will result in a denser, softer, and slightly puffier cookie. If you prefer a more uniform, less textured cookie that melts in your mouth and has a less pronounced oat presence, quick oats might be your preferred choice. They tend to blend into the dough more seamlessly, creating a smoother interior.
For this Lemon Oatmeal Cookies recipe, I personally lean towards old-fashioned oats to achieve that satisfyingly chewy texture that contrasts beautifully with the soft interior and bright lemon flavor. The distinct texture of the rolled oats adds character to each bite. However, feel free to use quick oats if that’s what you have on hand or if you simply prefer a softer cookie. You can even experiment with a combination of both types (e.g., half old-fashioned, half quick) to find your ideal balance of chewiness and tenderness. Don’t be afraid to customize and make the recipe your own, as the perfect cookie texture is a matter of individual taste!
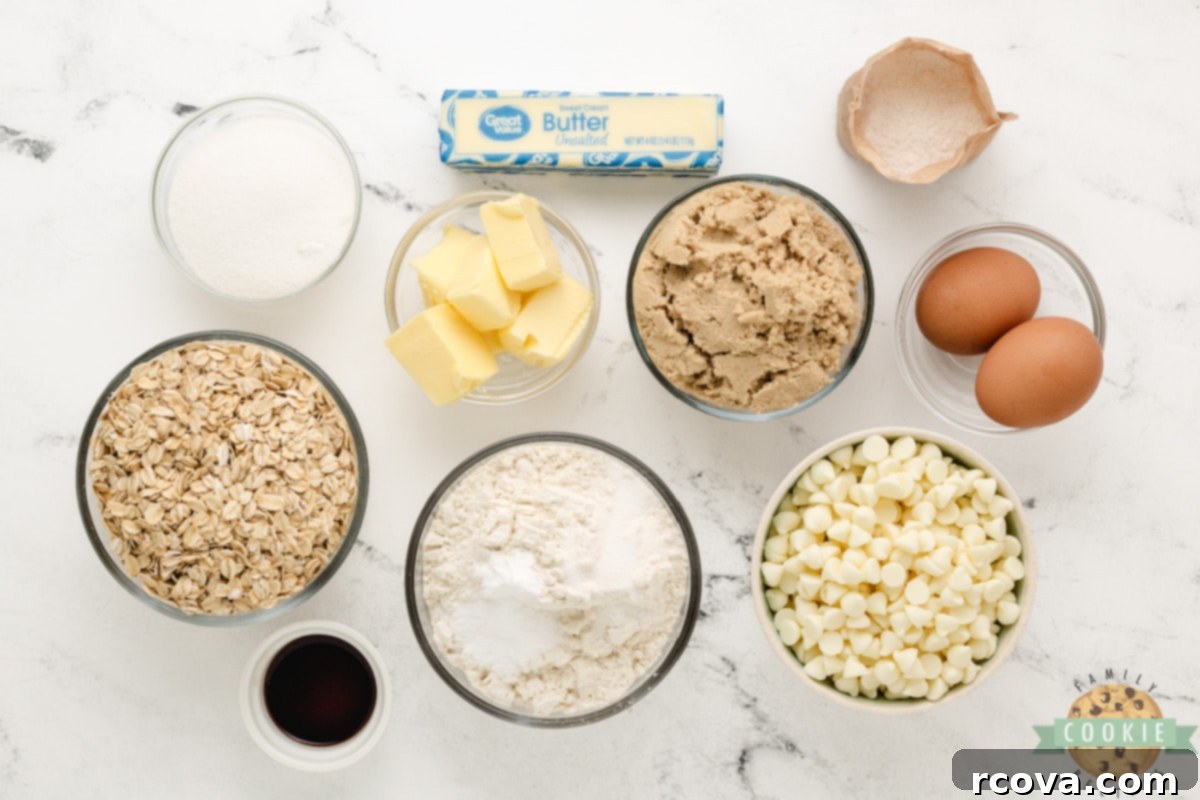
Key Ingredients for Your Zesty Lemon Oatmeal Cookies
Each ingredient in this lemon oatmeal cookie recipe plays a vital role in creating their unique flavor and delightful texture. Here’s a closer look at what you’ll need and why, along with some helpful tips for each:
- Butter: I typically use salted butter for most of my baking, as the touch of salt enhances all the other flavors. However, unsalted butter works perfectly fine too; just be sure to adjust the added salt in the recipe if you opt for unsalted. The most critical aspect is ensuring your butter is softened to room temperature. This allows it to cream properly with the sugars, incorporating air for a light, tender crumb. Cold butter won’t emulsify correctly, and melted butter will lead to greasy, flat cookies.
- Butter-Flavored Shortening: While you can substitute this with an equal amount of additional butter if preferred, butter-flavored shortening is a fantastic ingredient for achieving an exceptionally soft and tender cookie texture that is difficult to replicate with butter alone. It helps prevent over-spreading by maintaining its structure at higher temperatures and contributes to a wonderfully delicate chew. If you don’t have butter-flavored, regular shortening can also be used, though the butter-flavored variety adds an extra layer of richness to the flavor profile.
- Brown Sugar and Granulated Sugar: This combination is essential for both flavor and texture. Light brown sugar adds moisture, contributing to the cookies’ chewiness, a subtle caramel note, and a richer depth of flavor. Granulated sugar provides crispness around the edges, sweetness, and helps with spread. Always ensure your brown sugar is fresh and soft; dry, hard brown sugar will not incorporate well and can affect the dough’s consistency and moisture content.
- Eggs: I always use large eggs for consistency in my recipes. They act as a binder, providing structure to the cookies, adding moisture, and contributing to the richness of the dough. Ensuring your eggs are at room temperature is also important, as this helps them emulsify better with the other ingredients, leading to a smoother, more uniform dough and a better final texture.
- Vanilla Extract: While lemon is the star of this recipe, a good quality vanilla extract provides a foundational warmth and depth of flavor that subtly complements the bright citrus beautifully. Don’t skimp on the vanilla; a pure extract makes a noticeable difference in the overall flavor complexity, enhancing rather than overpowering the lemon.
- Instant Lemon Pudding Mix: This is the secret weapon for these cookies! A small 3.4 oz box of instant lemon pudding mix is crucial. It infuses the cookies with an intense, authentic lemon flavor without the need for additional lemon zest or juice, which can sometimes alter the dough’s consistency. Beyond flavor, the pudding mix also contributes to the cookies’ incredibly soft and moist texture, helping them stay fresh and delicious for longer. Make sure it’s *instant* pudding, not cook-and-serve.
- All-Purpose Flour: Standard all-purpose flour is ideal for these cookies. It provides the necessary structure without making them tough. For best results, measure your flour accurately by spooning it into the measuring cup and leveling it off with a flat edge, rather than packing it. While I haven’t tested it, oat flour might work as a substitution, but it could change the texture significantly due to its different protein content and absorption properties.
- Baking Soda & Salt: Baking soda is our leavening agent, reacting with the acidic brown sugar (and potentially other ingredients) to help the cookies rise and spread slightly, creating that classic chewy texture. Ensure your baking soda isn’t old or expired for optimal leavening. Salt balances the sweetness and enhances all the other flavors, making them pop and preventing the cookies from tasting bland.
- Oats: As discussed in the previous section, I prefer old-fashioned (rolled) oats in this recipe for their chewy texture and hearty bite, which makes these cookies wonderfully satisfying and adds a rustic charm. However, quick oats can be used for a softer, denser cookie, or you can use a combination of both if you like a balance.
- White Chocolate Chips: These are optional, but highly recommended for an extra layer of indulgence! White chocolate chips add pockets of creamy sweetness and a lovely textural contrast that pairs exceptionally well with the tangy lemon flavor. The mild sweetness of white chocolate allows the lemon to shine through while providing a delightful counterpoint. If you’re not a fan, you can certainly omit them, but they truly elevate the cookie experience.
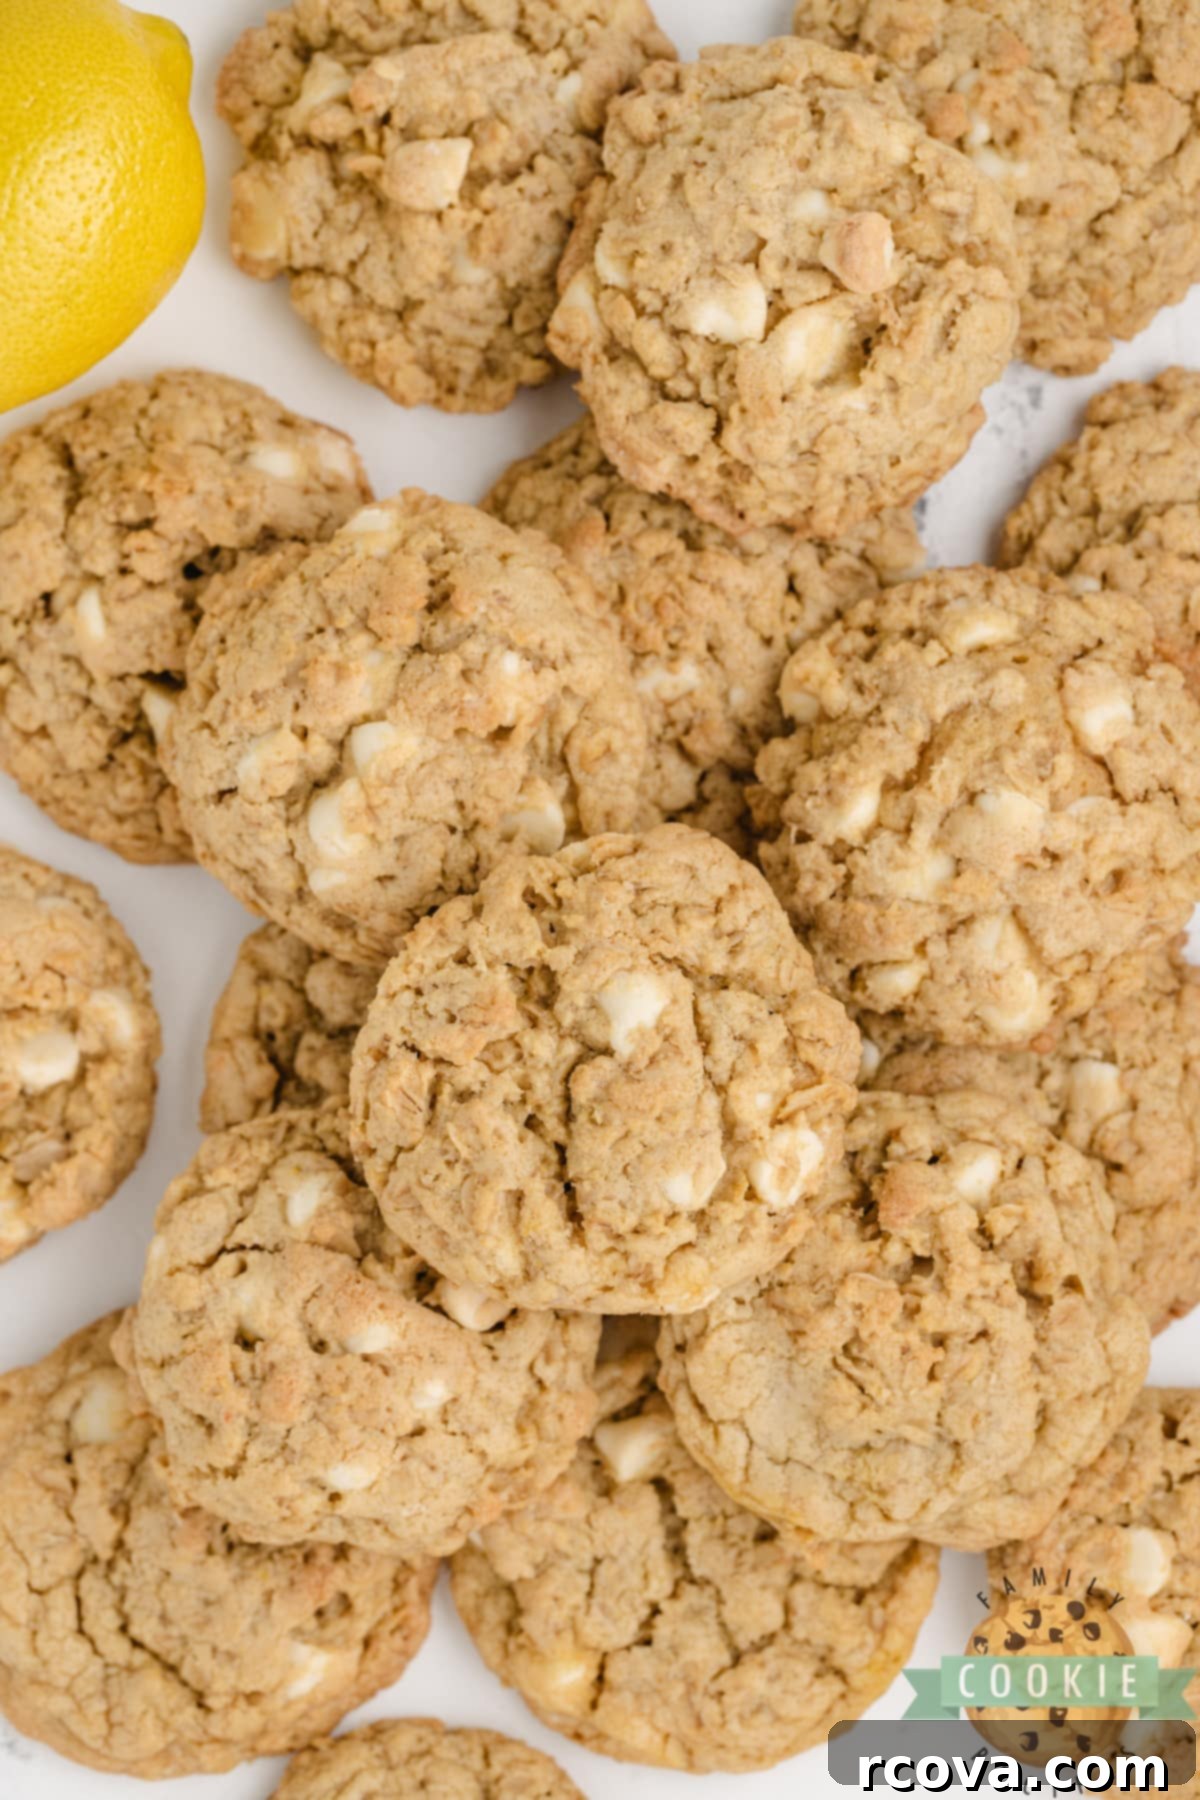
Step-by-Step Guide to Baking Zesty Lemon Oatmeal Cookies
Ready to bake a batch of these incredibly soft, chewy, and flavor-packed Lemon Oatmeal Cookies? Follow these simple steps for a delightful baking experience, from preparation to the final golden-brown treat:
1. Preparation is Key
Before you begin mixing, let’s get organized. First, preheat your oven to 350°F (175°C). A properly preheated oven ensures even baking from the start, preventing flat, unevenly cooked cookies. Next, line your baking sheets with parchment paper or silicone baking mats. This crucial step prevents sticking, promotes even heat distribution for consistent browning, and makes cleanup effortless. Gather all your ingredients and ensure your butter and eggs are at room temperature for optimal mixing and emulsification. This small step can make a big difference in your cookie’s texture.
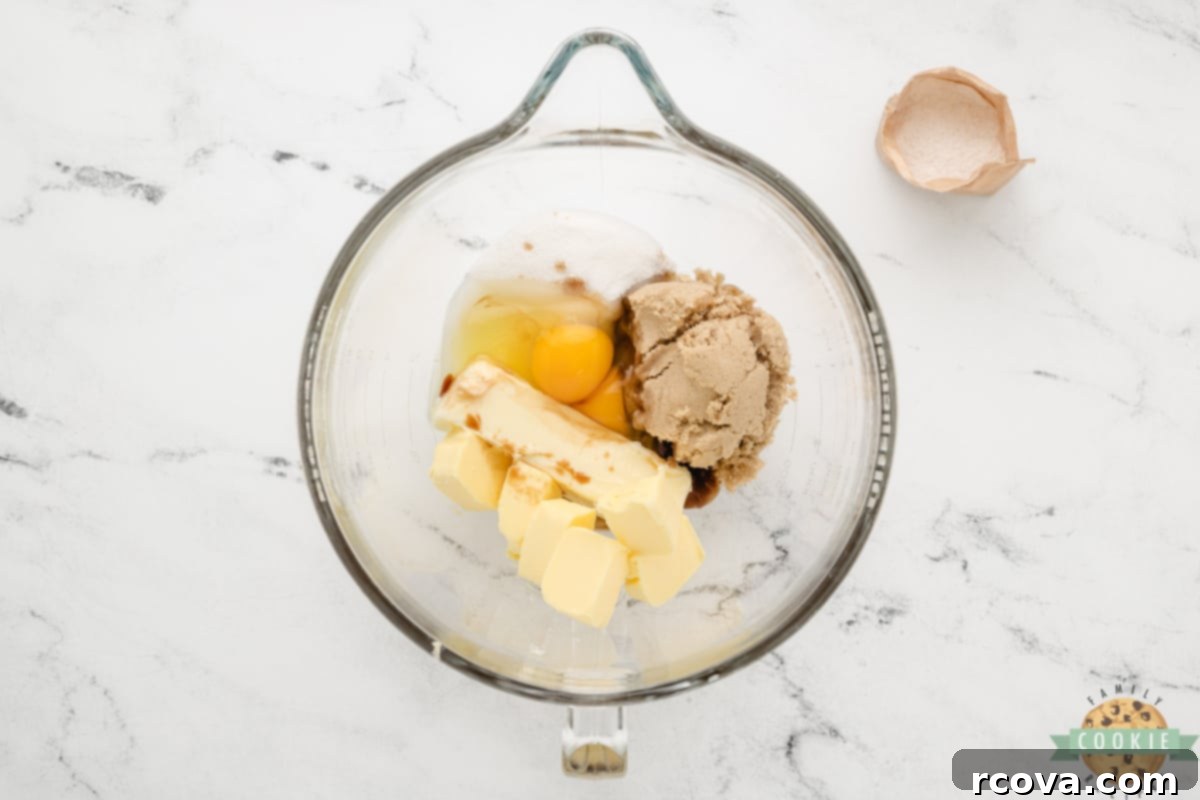
2. Creaming the Wet Ingredients
In a large mixing bowl, combine the softened butter, butter-flavored shortening, packed light brown sugar, granulated white sugar, large eggs, and vanilla extract. Using an electric mixer, cream these ingredients together on medium speed for 2-3 minutes. This process is crucial for incorporating air into the mixture, which will give your cookies their wonderful light and fluffy texture, acting as the foundation for a tender crumb. Scrape down the sides of the bowl occasionally to ensure everything is thoroughly combined and no pockets of unmixed ingredients remain, guaranteeing a consistent dough.
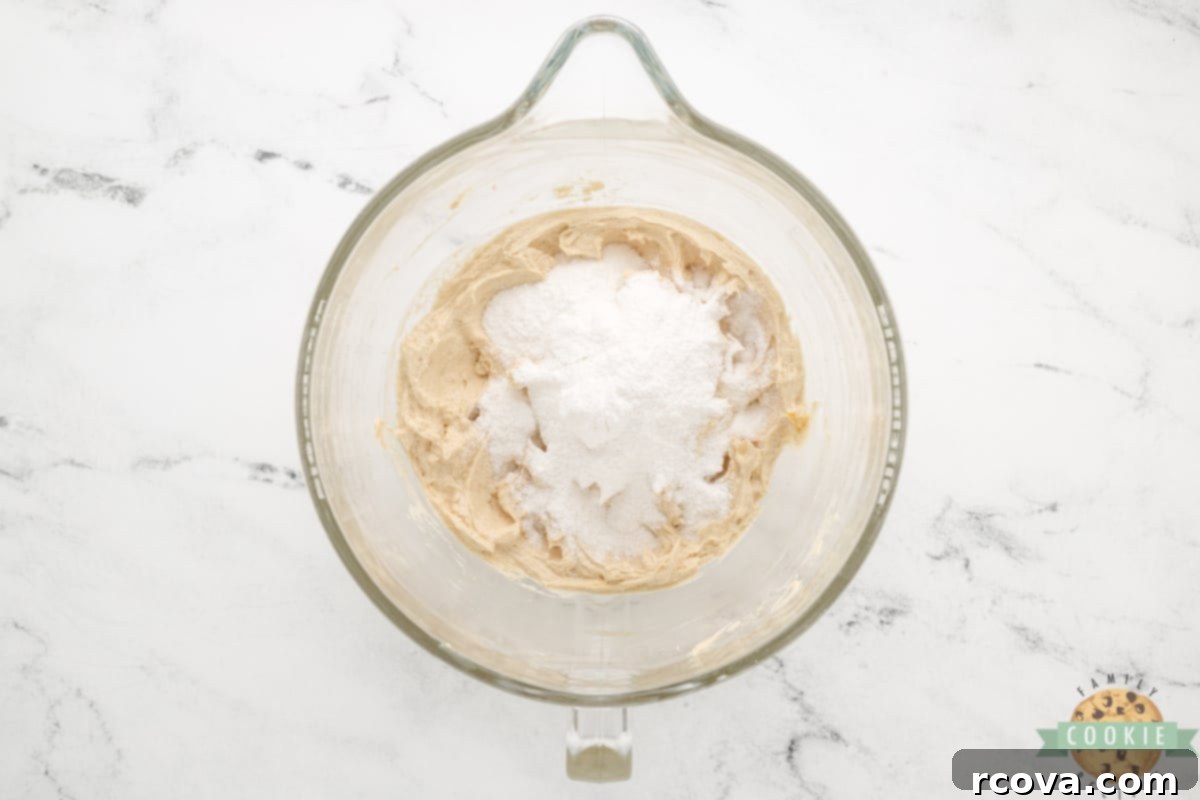
3. Infusing the Lemon Zest Factor (Pudding Power!)
Now for the star flavor! Add the instant lemon pudding mix to your creamed wet ingredients. Mix again on low to medium speed until the pudding powder is fully incorporated and the mixture is smooth and evenly lemon-yellow in color. The pudding mix not only adds an incredible depth of authentic lemon flavor but also contributes significantly to the cookies’ amazing softness and moisture, ensuring a delightful chew with every bite. Make sure there are no dry pockets of pudding mix.
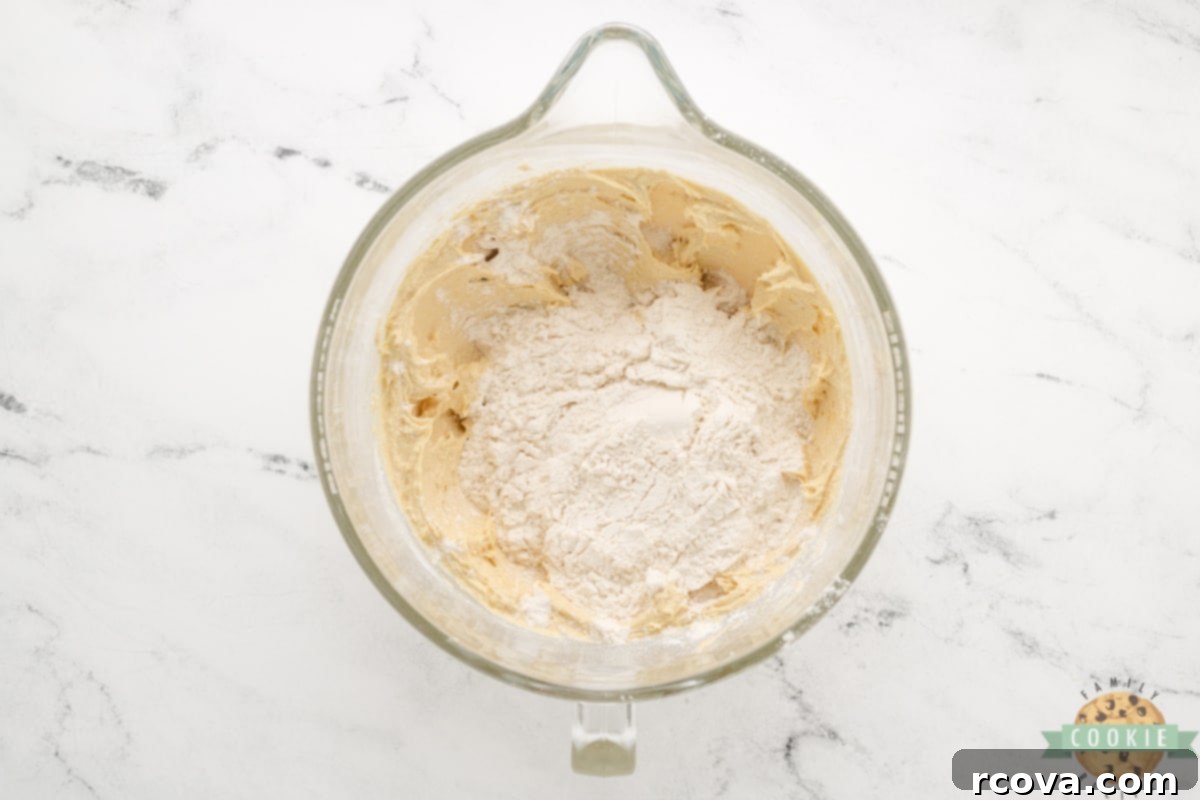
4. Combining Dry Ingredients
In a separate, medium-sized bowl, whisk together the all-purpose flour, baking soda, and salt. This step ensures these dry ingredients are well distributed and evenly dispersed before adding them to the wet mixture, which prevents pockets of leavening agents or salt in the final cookie. Gradually add the dry ingredient mixture to the butter mixture, mixing on low speed until just combined. Be careful not to overmix at this stage; overmixing can develop too much gluten, resulting in tougher, less tender cookies. Stop as soon as the flour streaks disappear.
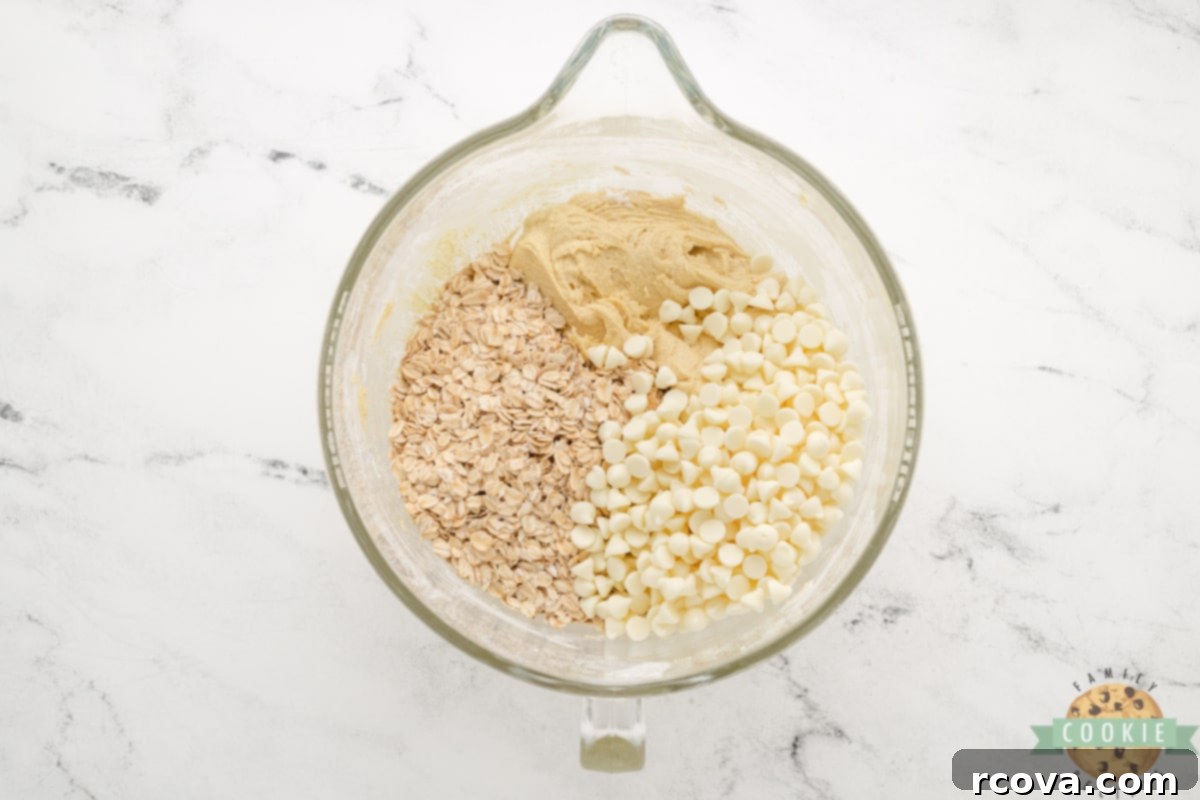
5. Folding in the Oats and White Chocolate
Finally, gently stir in the rolled oats and white chocolate chips. Use a sturdy spoon or spatula for this step and mix just until they are evenly distributed throughout the dough. Overmixing here can also affect the texture of your cookies. The white chocolate chips are optional but highly recommended for their creamy sweetness and textural contrast that beautifully complements the tangy lemon. If you prefer other mix-ins, feel free to get creative!
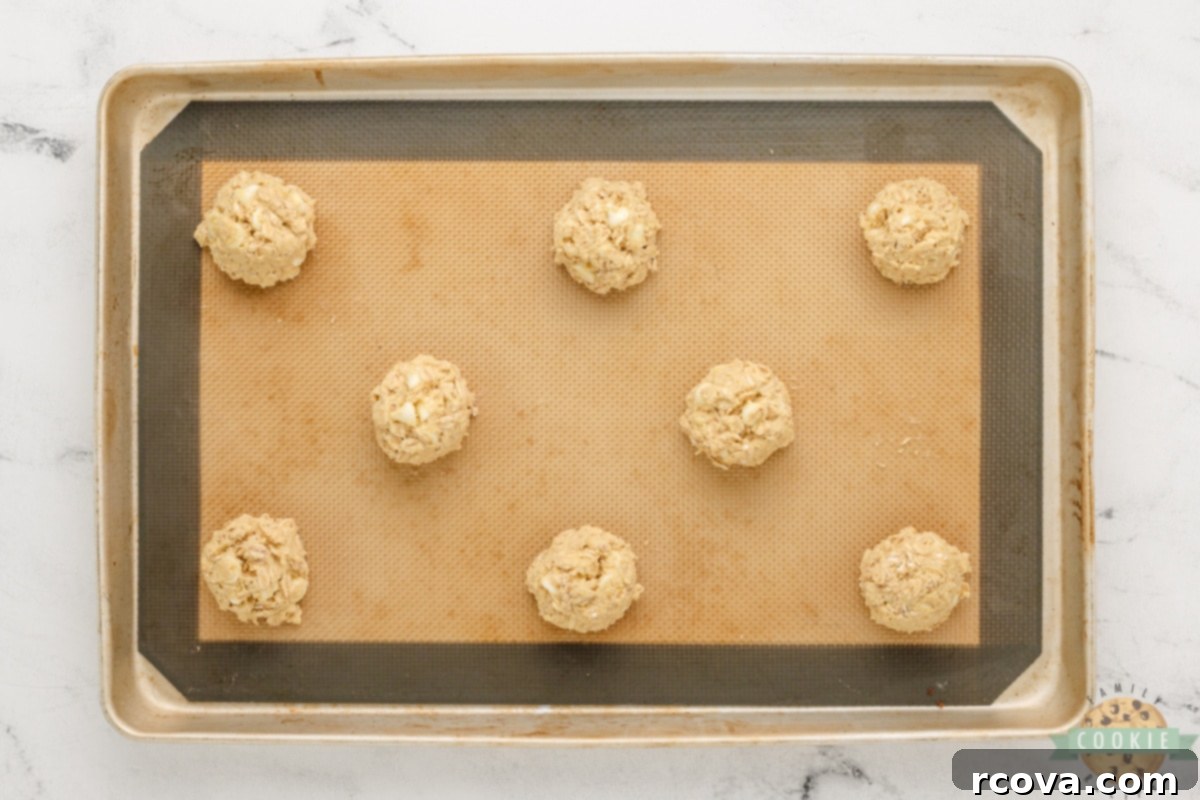
6. Baking to Golden Perfection
Using a cookie scoop (or rounded teaspoonfuls), drop the dough onto your prepared baking sheets, leaving about 2 inches between each cookie to allow for proper spreading. Bake for 9-11 minutes. Remember the golden rule: DO NOT OVERBAKE! The cookies should still look slightly soft and underbaked in the center when you pull them out of the oven. Their edges will be lightly golden. They will continue to set and firm up as they cool on the baking sheet due to residual heat (known as carryover baking), achieving that perfect soft and chewy consistency that we all love. Let them cool on the sheet for 2-3 minutes before transferring to a wire rack.
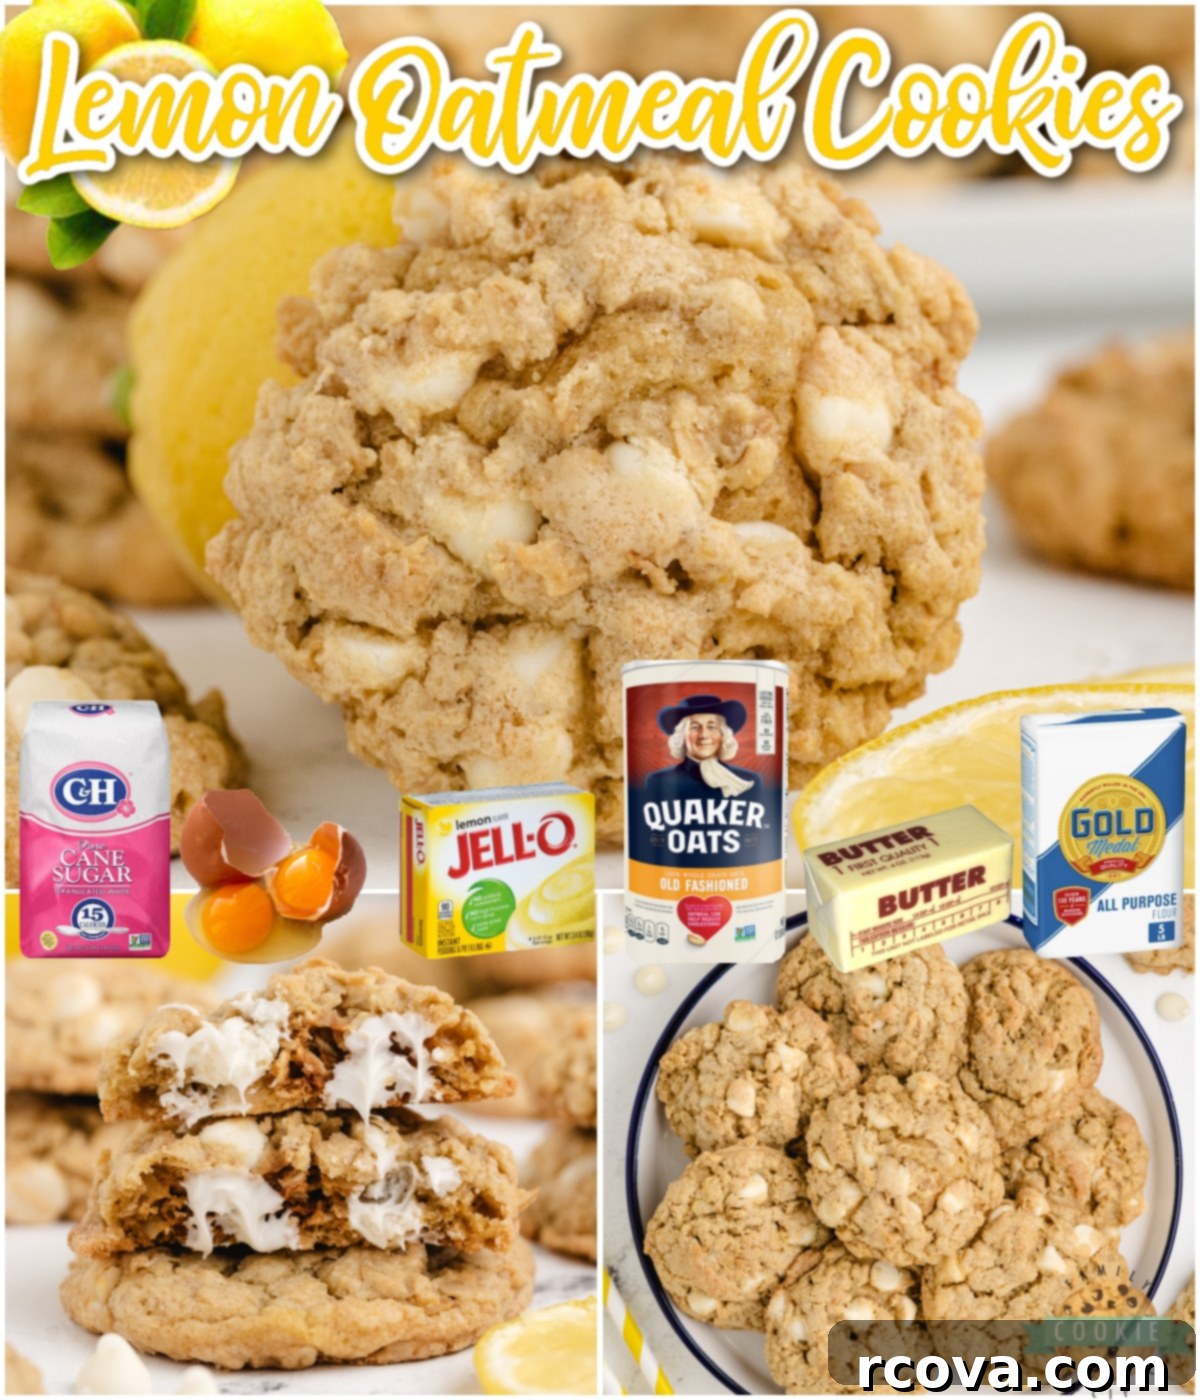

Lemon Oatmeal Cookies
Print
Pin
Rate
Cookies
Cookies
Lemon Oatmeal Cookies
10 minutes
10 minutes
36
cookies
194
kcal
Jessica & Nellie
Prevent your screen from going to sleep
Ingredients
-
½
cup
butter softened -
½
cup
butter flavored shortening -
1
cup
packed light brown sugar -
½
cup
white sugar -
2
eggs -
1
tsp
vanilla extract -
3.4
oz
box of instant lemon pudding mix -
1 ½
cups
all-purpose flour -
1
tsp
baking soda -
½
tsp
salt -
3
cups
rolled oats -
2
cups
white chocolate chips
optional
Instructions
-
Preheat oven to 350°. Line a baking sheet with parchment paper.
-
In a large bowl, cream together the butter, shortening, brown sugar, white sugar, eggs, and vanilla until smooth. Add in pudding mix and mix again until well combined.
-
In a separate bowl, combine the flour, baking soda and salt and stir into the butter mixture.
-
Stir in the oats and white chocolate chips just until mixed.
-
Drop by rounded teaspoonfuls onto cookie sheets. Bake 9-11 minutes or until light and golden. Don’t overbake!
Nutrition
Calories:
194
kcal
|
Carbohydrates:
26
g
|
Protein:
2
g
|
Fat:
9
g
|
Saturated Fat:
4
g
|
Polyunsaturated Fat:
1
g
|
Monounsaturated Fat:
3
g
|
Trans Fat:
1
g
|
Cholesterol:
18
mg
|
Sodium:
114
mg
|
Potassium:
71
mg
|
Fiber:
1
g
|
Sugar:
15
g
|
Vitamin A:
95
IU
|
Vitamin C:
1
mg
|
Calcium:
32
mg
|
Iron:
1
mg
Tried this recipe?
Mention @familycookierecipes or tag #familycookierecipes!
Frequently Asked Questions for Cookie Perfection
How Do You Soften Butter to Room Temperature Quickly and Perfectly?
Softened butter is non-negotiable for achieving the right cookie texture. It creams properly with sugar, creating air pockets that lead to a light, fluffy dough. If your butter is straight from the fridge and you’re short on time, here are a few reliable methods to get it perfectly softened without melting:
- The Microwave Method (Carefully!): This is the fastest, but it requires precision. Place a whole stick of butter (unwrapped from foil) in the microwave. Microwave it on a low power setting (or the defrost setting, if available, which is often gentler) for 5-7 seconds. Check its softness by gently pressing it; it should yield easily but still feel cool. If still too firm, repeat in 3-5 second bursts, flipping the stick each time. The goal is pliable butter that yields to gentle pressure, not melted butter, which can lead to greasy, flat, and less chewy cookies.
- The Warm Water Bath: Fill a glass or bowl with hot tap water. Let it sit for a minute to warm the glass, then empty it. Place the inverted warm glass over your stick of butter on a plate. The residual heat trapped under the glass will gently soften the butter in about 5-10 minutes, making it evenly soft without melting the edges.
- The Grating Method: If you’re really in a hurry, you can grate cold butter using a box grater. The smaller pieces will come to room temperature much faster due to increased surface area. Once grated, let it sit for about 5-10 minutes, and it should be ready to use. This is a great trick for urgent baking needs.
- The Pounding Method: Place cold butter between two sheets of parchment paper. Use a rolling pin or a heavy pan to gently pound and flatten the butter. This increases its surface area, speeding up the softening process significantly. Once flattened, it will soften within minutes.
Remember, perfectly softened butter means it’s still cool to the touch but easily dented with a finger, leaving a slight impression. It should hold its shape when pressed, not be oily or shiny.

Why Do My Oatmeal Cookies Burn on the Bottom But Aren’t Done in the Middle?
This is a common baking frustration that many home bakers encounter, and it’s usually due to one or a combination of factors related to your baking setup and technique. Addressing these issues can help you achieve perfectly baked, soft, and chewy lemon oatmeal cookies every time:
- Baking Sheet Material and Color: The most frequent culprit is often the baking sheet itself. Dark-colored baking pans absorb and retain heat more intensely than lighter, shiny ones. This often leads to the bottoms of your cookies browning rapidly, and even burning, before the centers have a chance to cook all the way through. I highly recommend using lighter-colored, heavy-duty aluminum baking sheets. These conduct heat more evenly and gently, promoting uniform baking. If you only have dark pans, try reducing your oven temperature by 25°F (15°C) and keeping a closer eye on them.
- Over-Greasing the Pan: While a little grease can prevent sticking, excessive cooking spray or butter can create a hot, oily layer that scorches the bottom of your cookies. This is another reason why I strongly advocate for parchment paper or silicone baking mats. They provide a perfectly non-stick surface without the need for additional grease, promoting even baking and effortless release of your cookies.
- Oven Temperature Inaccuracy: Your oven thermostat might not be entirely accurate. An oven running hotter than its setting can rapidly burn the bottoms of cookies while the interior struggles to catch up. Consider investing in an inexpensive oven thermometer to verify your oven’s true temperature. If it’s consistently off, you can adjust your oven setting accordingly to compensate. Hot spots within the oven can also contribute, so rotating your baking sheets halfway through can help.
- Rack Placement: Baking cookies on the very bottom rack can expose them to more direct heat from the oven’s heating element, leading to uneven cooking and potentially burnt bottoms. For most cookies, the middle rack is ideal for even heat distribution, ensuring consistent baking from top to bottom. If using multiple sheets, ensure adequate space for air circulation.
- Dough Thickness and Consistency: If your cookie dough balls are too thick or inconsistent in size, the outside might cook too quickly while the inside remains raw. Using a cookie scoop helps ensure uniform size and shape, which is crucial for even baking. For particularly thick cookies, gently flattening them slightly before baking can promote more even cooking.
By addressing these points, you can significantly reduce the risk of burnt bottoms and achieve perfectly baked, soft, and chewy lemon oatmeal cookies every time. Patience and observation are your best tools!
How to Store Your Lemon Oatmeal Cookies for Maximum Freshness
Once your delicious Lemon Oatmeal Cookies have cooled completely – and resisting the urge to eat them all immediately! – proper storage is key to keeping them soft, chewy, and fresh. Store them in an airtight container at room temperature. A piece of bread placed in the container can even help absorb excess moisture and keep them soft. They will remain wonderfully soft and flavorful for up to 3-5 days. For longer storage, you can freeze baked cookies in an airtight freezer-safe bag or container for up to 3 months. To enjoy, simply thaw them at room temperature for a quick, delicious treat anytime.
Other Irresistible Oatmeal Cookie Recipes to Explore
If you’ve fallen in love with these vibrant Lemon Oatmeal Cookies, you’ll be thrilled to discover the incredible versatility and comforting goodness of oatmeal in baking. From classic variations to exciting new twists, there’s an oatmeal cookie for every craving. Here are some other cherished oatmeal cookie recipes from our collection that we’re sure you’ll adore and want to add to your baking repertoire:
- Fudgy Oatmeal Cookie Bars
- Homemade Oatmeal Cream Pies
- White Chocolate Cherry Oatmeal Cookies
- Oatmeal Chocolate Chip Cookie Bars
- Chocolate Chip Oatmeal Cookies
- Microwave Oatmeal Chocolate Chip Cookies
- Toffee Oatmeal Cookies
- Blackberry Oatmeal Cookies
- Best Oatmeal Raisin Cookies
- Peanut Butter Oatmeal Chocolate Chip Cookies
- Best Monster Cookies

These Lemon Oatmeal Cookies are more than just a treat; they’re an experience. With their remarkably soft and chewy texture, vibrant lemon flavor enhanced by lemon pudding mix, and delightful bursts of sweetness from white chocolate chips, they are guaranteed to become a new favorite in your household. This easy oatmeal cookie recipe truly offers a fresh and exciting twist on a beloved classic, perfect for spring, summer, or whenever you need a little burst of sunshine. Enjoy baking and sharing these sunny, zesty delights with friends and family!
